GridPaw cat puzzle icon GridPaw

Rooms & Exits Walkthrough: Chapter 1 and 2 Level Guides

Unofficial fan-made guide. Not affiliated with Webelinx Games, the developer of Rooms & Exits: Escape Room Games.
Chapter 1 · Wicked Games 11 of 11 with full written steps · 11 with a video
These guides are not summaries of other guides. Each room is rebuilt frame by frame from recorded playthroughs of the current build, then cross-checked against a second recording, so the item order matches what the game actually accepts today.

Rooms & Exits: Escape Room Games is a hidden-object escape game by Webelinx Games. You play Fiona, a journalist working her way through locked rooms, and every level is a closed loop: find objects, combine or dismantle them, use the result on the thing that will not move, read the clue you just uncovered, and walk out the door. There is no timer pressure and no fail state — the level only stops moving when you have missed an item.

Chapter 1 is called Wicked Games. It opens with a short warm-up room, then drops you in the jail cell of Level 2, and from there each room adds one more layer of item chaining. That is why Level 2 is the room most players search for: it is the first level where the chain is longer than two steps, and the first one where an item has to be dismantled rather than used.

Chapter 1 guides.

Chapter 1 · Wicked Games Chapter 2 · No Honor Among Thieves Chapter 3 Chapter 4+
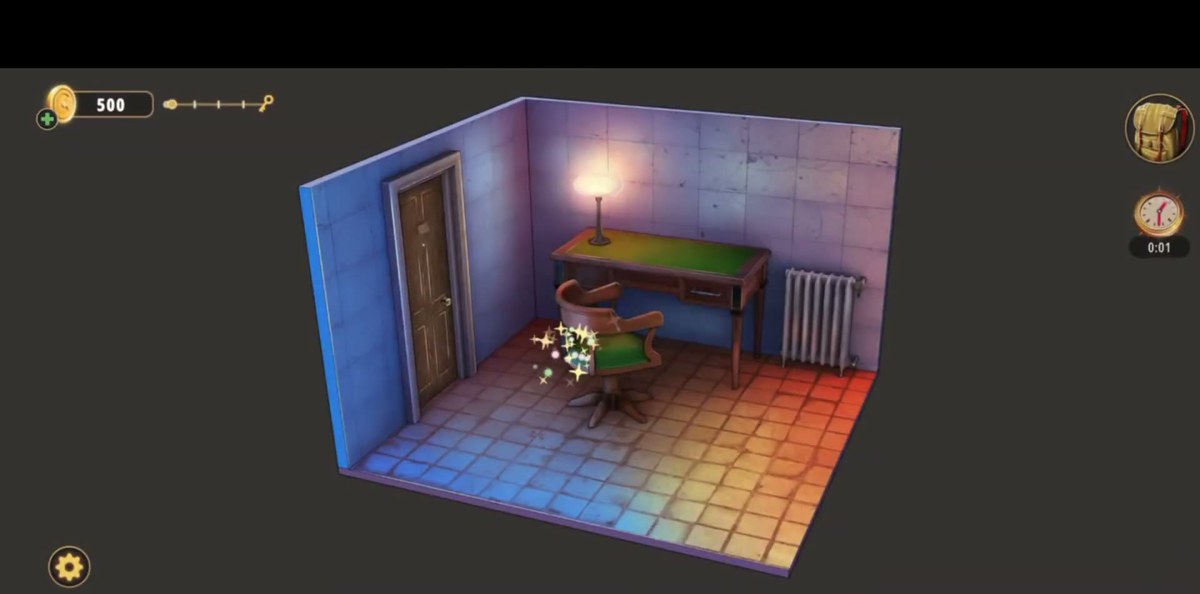
Rooms & Exits Chapter 1 Level 1: Warm Up walkthrough
Level 1 Warm Up

Tutorial room in two halves: jar and Key, two bolt-cutter halves, the chained door and a 3x3 sliding lock.

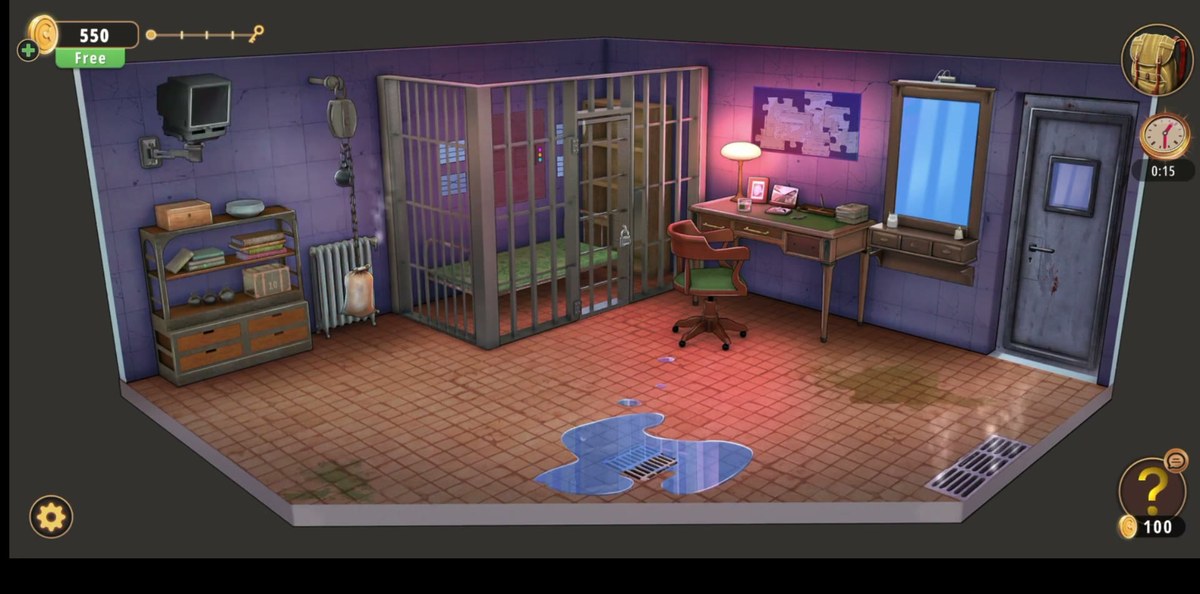
Rooms & Exits Chapter 1 Level 2: Escape Room walkthrough
Level 2 Escape Room

Jail cell. Book spines, hidden handle, world map jigsaw and the 514 safe.

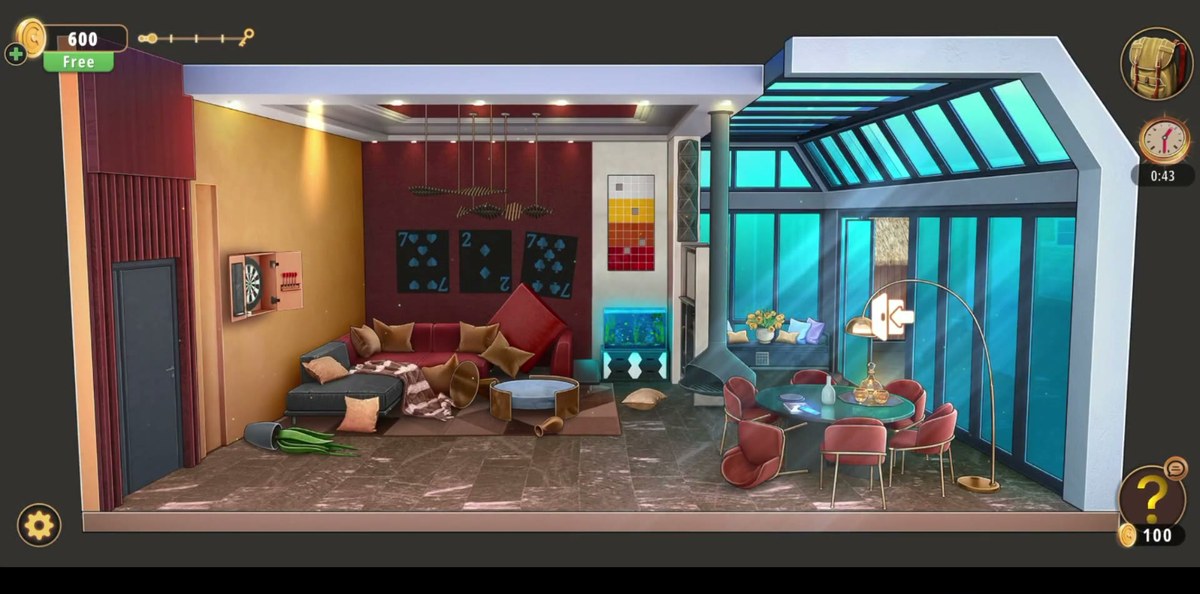
Rooms & Exits Chapter 1 Level 3: William's Apartment walkthrough
Level 3 William's Apartment

City apartment. Card-suit dial lock 727, keypad 2519, 4x4 symbol panel, two bottles and phone code 35721.

Rooms & Exits Chapter 1 Level 4: High School walkthrough
Level 4 High School

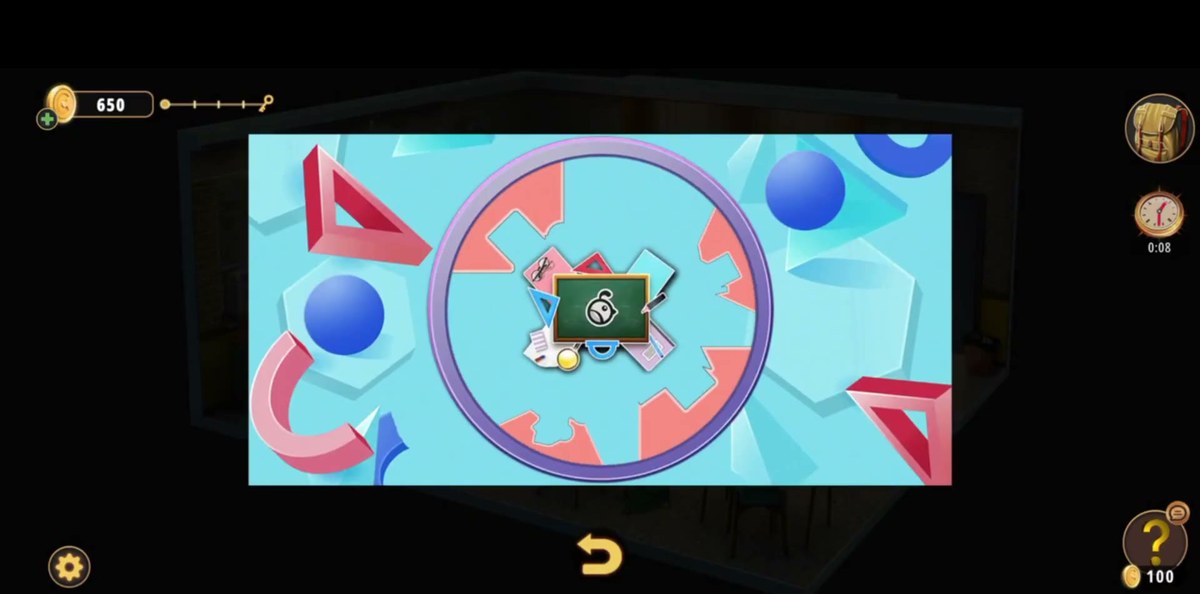
Classroom, corridor and trophy cabinet. Arcade maze gives 1590, blackboard cipher, globe 20/17/39, locker panel and hex tiles.

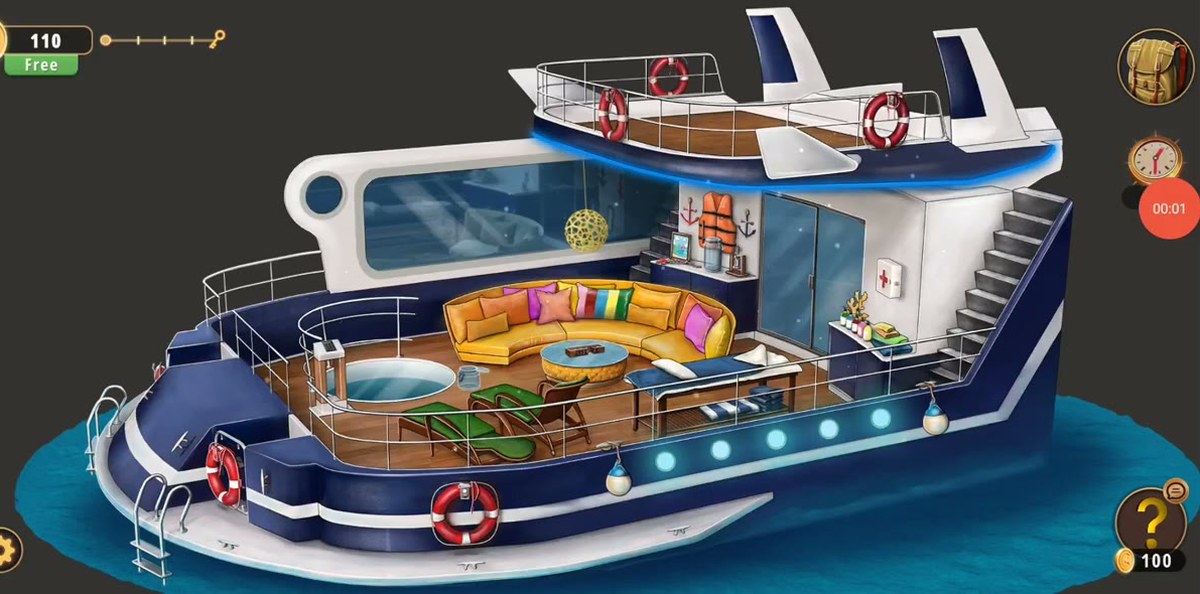
Rooms & Exits Chapter 1 Level 5: Yacht walkthrough
Level 5 Yacht

One code only: 58137 down the orange life vest opens the steel keypad by the stairs. Four sand jars, the bell shelf, the shark tank and three shelves of bottles fill the rest of the boat.

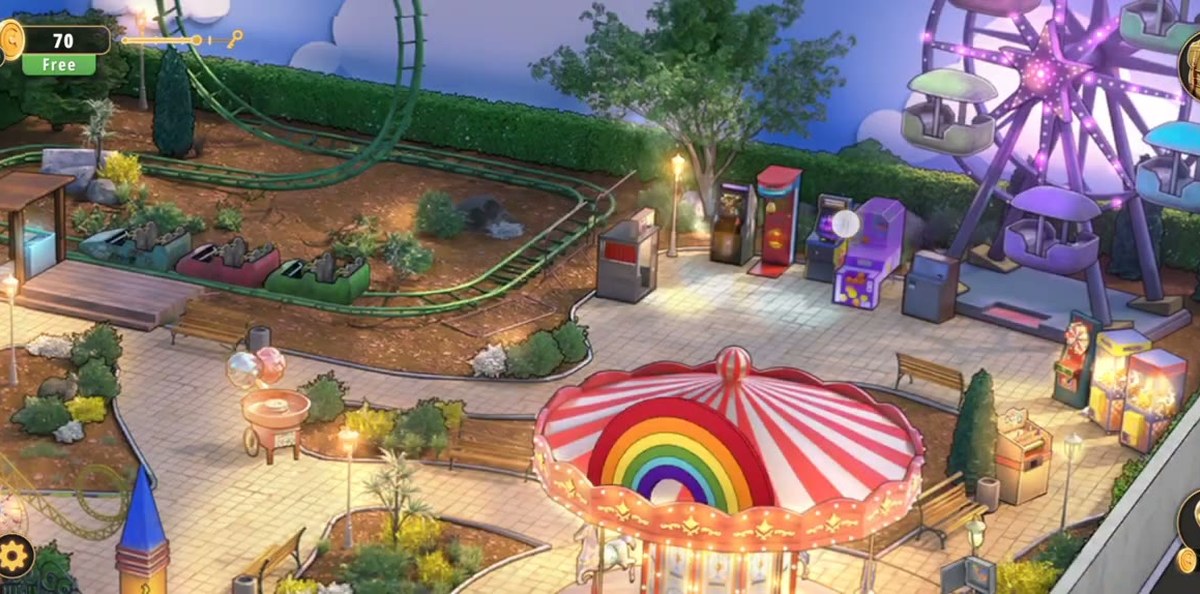
Rooms & Exits Chapter 1 Level 6: Amusement Park walkthrough
Level 6 Amusement Park

Six numbers and a circuit: the blue ticket machine takes 1496, the photo-booth strips give 20 / 67 / 81 for the strength tester, and the ring toss board has to reach 150 before the exit opens.

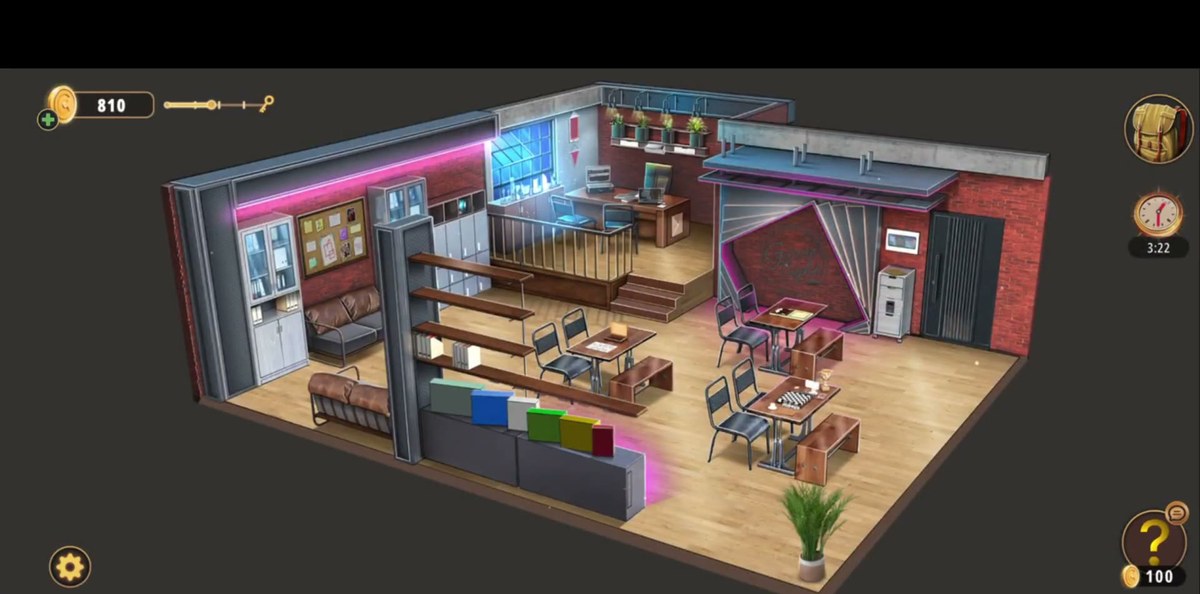
Rooms & Exits Chapter 1 Level 7: The Game Night Agency walkthrough
Level 7 The Game Night Agency

Safe code 55793 sits on a crumpled note under the board-game shelf, beside the Scrabble box. A 4x4 card board, a fox tangram, slide blocks and six letter notes (H=C, M=T) make up the rest of the office.

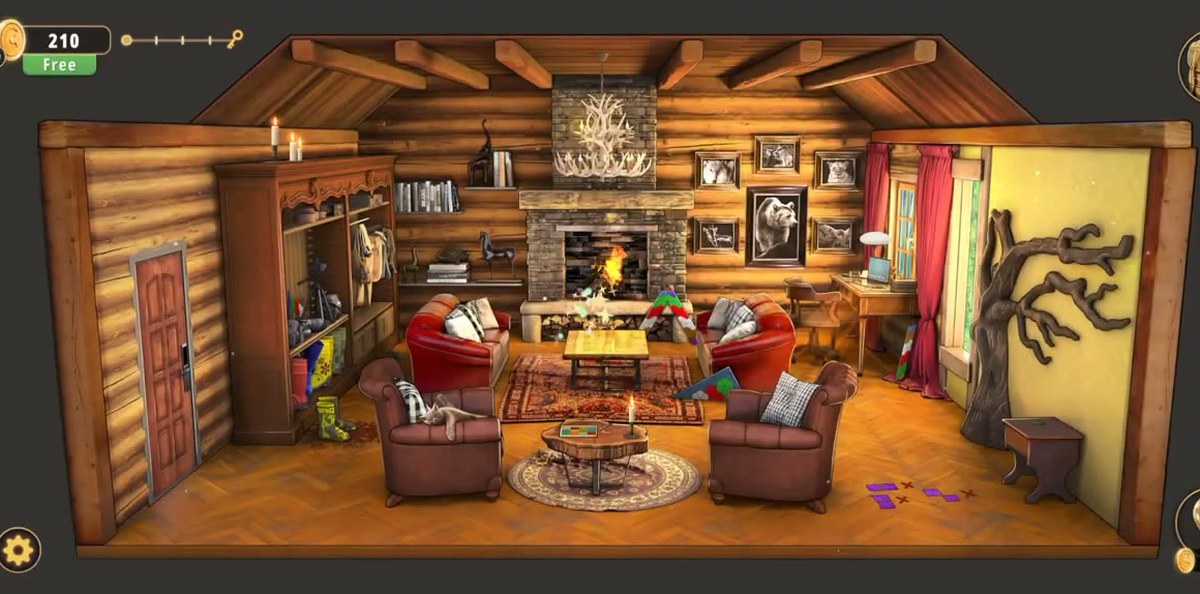
Rooms & Exits Chapter 1 Level 8: Log Cabin walkthrough
Level 8 Log Cabin

Two codes in one room: 1746 on the desk laptop and 358429 on the door keypad. Eight glass pieces feed the hex panel and the red safe takes a twelve-button paw code.

Rooms & Exits Chapter 1 Level 9: Junkyard walkthrough
Level 9 Junkyard

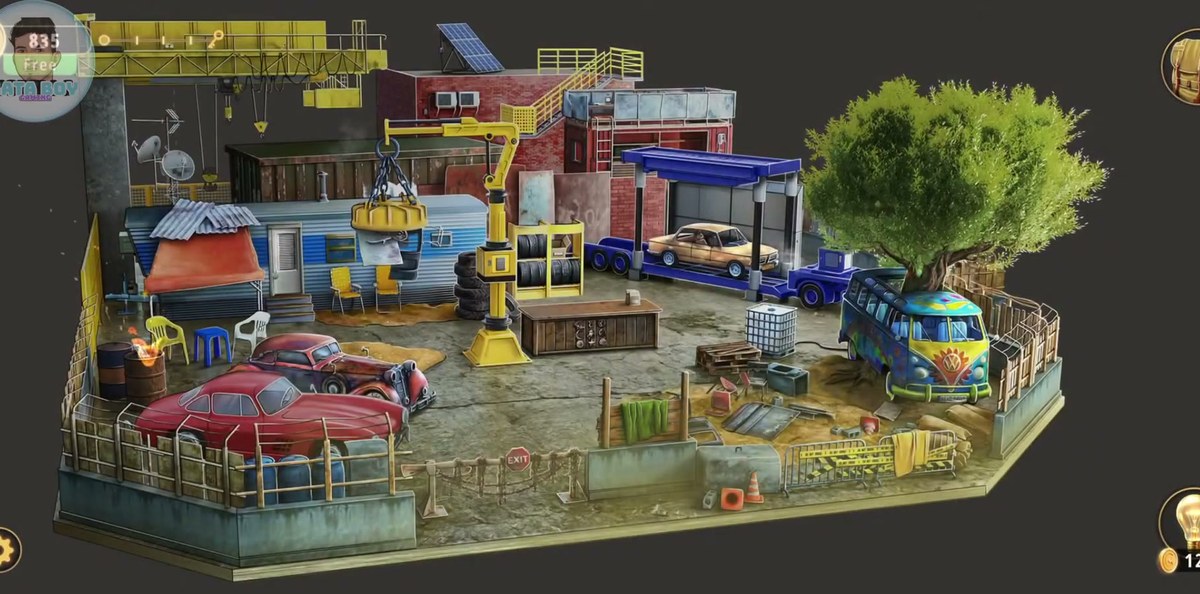
JWFMI opens the letter lock on the trailer door and 99452 opens the yellow panel beside the crane. The steering maze, the ring puzzle and the crane parts tray fill out the yard.

Rooms & Exits Chapter 1 Level 10: Train Station walkthrough
Level 10 Train Station

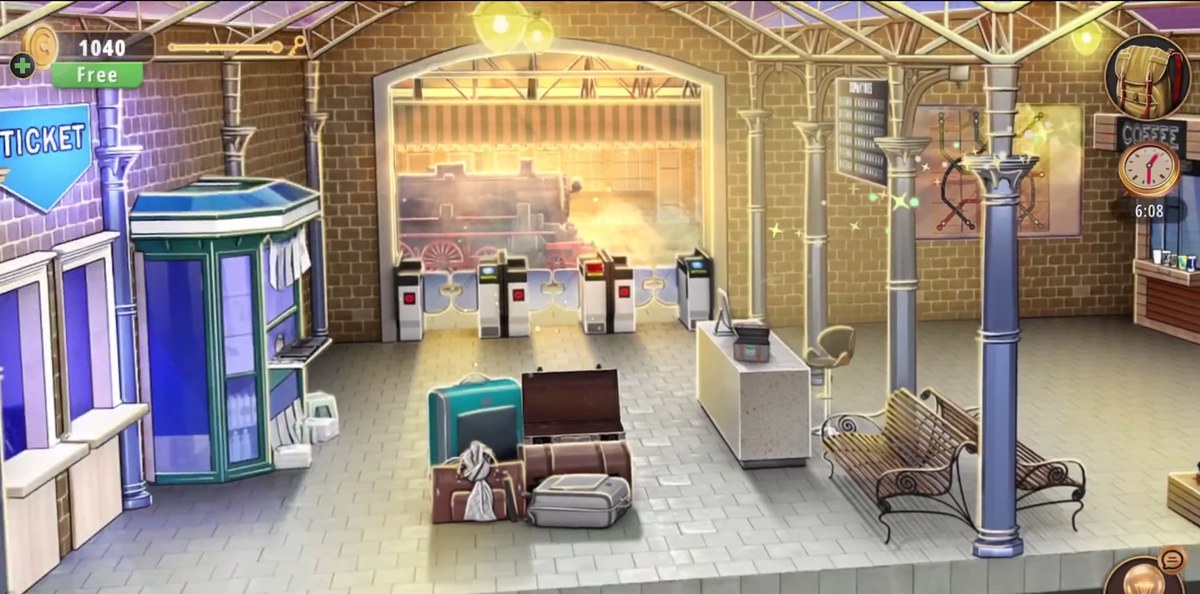
Nothing to crack: the note, the slot number, the chest code 77059 and the cup order are all handed to you, and the work is matching each one to the right object.

Rooms & Exits Chapter 1 Level 11: Lighthouse walkthrough
Level 11 Lighthouse

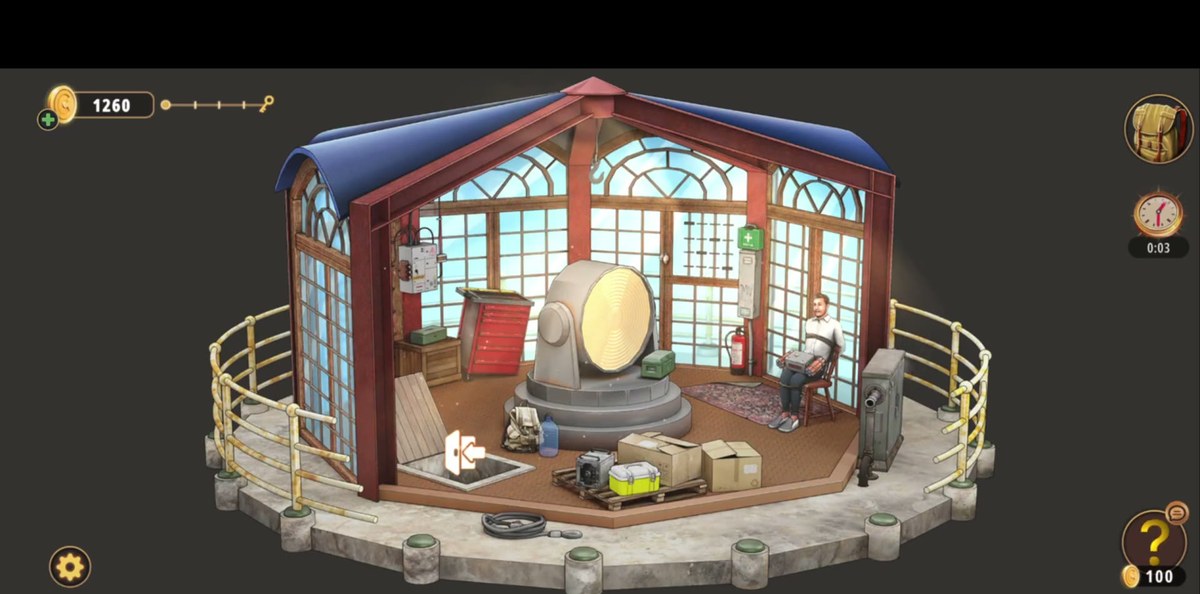
The last lock is a colour pairing, not a number: five fuse colours on a paper match five buttons on the bomb panel. Wheel and Handle, Candle and Lighter, the lettered books and the candle chart fill the two floors.

Chapter 2 guides.

Chapter 2 is No Honor Among Thieves and it moves the series from domestic rooms to high-street shops: a phone store, a cinema lobby, a pharmacy, then an optical store, a gym and the rest of the mall. The puzzles are one layer more mechanical than Chapter 1 — keypads, seat charts, running totals and colour locks sit alongside the usual find-and-combine chains.

Chapter 2 · No Honor Among Thieves 26 of 26 with full written steps · 26 with a video
  1. 1 Cell Phone Store guide Cell Phone Store: a phone with no SIM, a handbag on the sofa, a 3x3 pattern lock that prints the six-digit passcode, then a fifteen-button wall panel hiding the front-door key.
  2. 2 Cinemas guide Cinema lobby: a key off the peg rack with the selfie stick, a ticket printer and seat chart, a running-total terminal, a burnt BURNING CITY poster and the four-digit exit code it hides.
  3. 3 Pharmacy guide Pharmacy: a circled letter on a word-search, HEALTH on the steel keyboard, four numbered pills and an eight-digit keypad, the multivitamin wall, and a three-digit colour lock on 438.
  4. 4 Optical Store guide Optical Store: a key pegged on the eyewear shelf, the five-digit code 68459 inside the locked glasses cabinet, the refractor lens drawer, the phoropter readings and a safe that spells T-O-D.
  5. 5 Gym guide Gym: a three-screen shape plate on 1-6-5, four numbered yellow mats giving 6098 on locker 1, the weight rack colour count feeding 3516 into the exercise bike console and a treadmill arrow run.
  6. 6 Candy Shop guide Candy Shop: a jar weighed on the scale at 6841 to set the four-wheel drawer lock, a memory game over ice creams, a sweet sudoku, the letter board that spells G6H8 and the exit door.
  7. 7 Food Court guide Food Court: a smoothie blended to 350 ml for the till code, a card paid under the name MARIA, 53402 at the back-office terminal and the three-letter lock that takes ZCO.
  8. 8 Pet Shop guide Pet Shop: green arrows on a drawer, a cage stack and a dot panel, a tap handle for the parrot water dispenser, the fish temperature chart and the aquarium thermostat set to 053.6 F to drop the chest.
  9. 9 Indoor Playground guide Indoor Playground: a soft-play hall dressed as a garden, a piece of paper reading 3764 and a four-wheel chest that opens on the exit key.
  10. 10 Restaurant guide Restaurant: a four-drink chalkboard, a briefcase on 6743, a plate-and-fork total of 18, a nut-sort board, pizza assembly and the four-letter lock that spells FOOD.
  11. 11 DIY Shop guide DIY Shop: a sticky note reading 51432, a five-dial lock on 42130, the blueprint letters G D C, tracing paper 954 and three gas valves that pay out the coins.
  12. 12 Jewelry Store guide Jewelry Store: a nine-necklace rack, a five-pendant colour puzzle, seven watch-jigsaw pieces that print the four door digits, and a double door with green dial panes plus a key lock.
  13. 13 Grocery Store guide Grocery Store: a wallet that dismantles into a coin and the 58431267 Code card, an eight-button vent panel, a five-dial drinks-fridge code 02725 and the 65219 till code.
  14. 14 Exchange Office guide Exchange Office: a hidden calculator holding five rates, a six-wheel rate board, the laptop password 6795 and a six-button symbol keypad on the door.
  15. 15 Fashion Store guide Fashion Store: a handwritten bill totalling 363,99, the register keypad, a barcode scan that returns 30015 and the door keypad that ends the level.
  16. 16 Art Supplies Store guide Art Supplies Store: the 052 drawer code, two colour-button locks, a mandala canvas to finish and the heart key that ends the level for +50 coins.
  17. 17 Shoe Store guide Shoe Store: an arithmetic box whose answer is 96, a number panel of three totals (31, 23, 18), the till code 2120 and the five-symbol locker that frees the exit sneaker.
  18. 18 Sports Store guide Sports Store: The seven cap colours that give the till passcode 6273519, the gym slide puzzle that drops a Key, the hoodie-and-ball icon puzzle and the five billiard balls 8-4-3-7-1 that set the exit keypad to 84371.
  19. 19 Bookstore guide Bookstore: The poster counts Pink 1, Red 6, Purple 4, Yellow 3 that open the back-room door, the four plates E=5 X=8 I=3 T=1 that spell 5831 on the EXIT keypad, and the +50 coin finish.
  20. 20 Furniture Store guide Furniture Store: The four carpet parts and the round rug, the yellow safe that takes 693, the oven panel that takes 12:08, the tangram board that yields the Mirror, the mirrored paper that turns 12850 into the till code 02851, and the ID card that opens the exit.
  21. 21 Household Appliances guide Household Appliances: The note that counts circles, the TV that prints 1286, the pink four-dial lock, the key it hides and the exit worth +50 coins.
  22. 22 Print Shop guide Print Shop: The four jersey numbers behind the till code 133951, the CD in the cash drawer, the ink cartridge that unfreezes the big printer, the six-segment wheel whose missing number is 54, and the printed sheet that feeds the exit door — whose keypad takes a different one of its six numbers in every playthrough.
  23. 23 Bakery guide Bakery: The two three-window drawer locks (421 on the coloured dial, 693 from the slip of paper in the cake case), the cupcake recipe at 35 minutes and 250 degrees, the six-switch fuse box, and the silver stand that hands you the exit key for +50 coins.
  24. 24 Toy Store guide Toy Store: The block train, the semaphore chart that spells TRAIN, the heart-box colour grid, the balloon tunnel gate and the key that opens the exit.
  25. 25 Restroom guide Restroom: The drain ring that has to total 61, the four grid papers and the twenty-nine clicks they add up to, the two restrooms on either side of the corridor, and the +50 coin finish.
  26. 26 Parking guide Parking: The paperclip and the lift hatch, the three plates 1876 / 3542 / 2002 on floor -2, the five-fader panel, the C B A D keypad that takes 0243, and the ride to P that ends Chapter 2.

Chapter 2 is being written room by room. The three guides above are complete; every other room shows as “Coming soon” until its recording has been read frame by frame.

Chapter 3 guides.

Chapter 3 is Murder Dressed in White and it takes the series back indoors — the rooms of a house rather than a high street. A dining room, a living room, a study, a guest toilet, a workshop and eighteen more, twenty-four rooms in all. The rooms are smaller than Chapter 2's shops and the puzzle count per room is lower, but the clues are read rather than collected: an equation printed above a padlock, a four-digit code on a crumpled piece of paper, a projection that lands on a fruit bowl.

Chapter 3 · Murder Dressed in White 24 of 24 with full written steps · 24 with a video
  1. 1 Dining Room guide Dining Room: the three-dial lock that takes 358 from the equation 13 x 3 x 9 - 2 + 9, the four-dial safe that takes 8563 off the crumpled paper, the fruit-bowl projection, and the playing cards in the sideboard drawer.
  2. 2 Living Room guide Living Room: a 3x3 sliding-tile lid on the bookshelf box that opens a Key, and the white door that Key unlocks — no numeric code in this room.
  3. 3 Study Room guide Study Room: the desk lamp's Roman numerals, the 2015 wall safe, the 45837 bookshelf sequence and the 62850 four-dial case, plus the hidden-key drawer.
  4. 4 Guest Toilet guide Guest Toilet: the mirror-cabinet digits, the 346 three-dial lock on the cistern panel, and the sliding vent that hides the exit key.
  5. 5 Workshop guide Workshop: the five-column machine display that settles on 41018, the laptop that takes text and shows 14:00, and the Roman-numeral wall clock.
  6. 6 Guest Bedroom guide Guest Bedroom: IX and IV on the lampshade give 94 for the hamper padlock, and the ID card in the chest gives the name DAVID for the phone.
  7. 7 Master Bathroom guide Master Bathroom: three cistern tiles read as 27 / 91 / 51 for the 279151 panel, and four pale wall tiles give 6389 for the black door keypad.
  8. 8 Kids Playroom guide Kids Playroom: the toy-chest combination 396, the wall-chart symbols, and the slide-and-ladder sequence that opens the playhouse door.
  9. 9 Backyard guide Backyard: count 13 stars for the bench panel, read the newspaper order 3-1-5-6-2 for the pillow lock, and winch the scale with the gear mechanism.
  10. 10 Garden guide Garden: the four-dial lock takes B N U G by letterform shape, the dated notice reads 1911, and the brick wall wants the large brick pulled proud first.
  11. 11 Kitchen guide Kitchen: the recipe-card digits, the 325 oven dial, the fridge-shelf colour order and the drawer key that ends the room.
  12. 12 Driveway guide Driveway: no typed code — the A17 door plate, the AUTO light stalk, William Foster's 1866 memorial tablet, and the five-slider valve panel, then the skeleton key at the gate.
  13. 13 Kids Bedroom 1 guide Kids Bedroom 1: the wooden box front 74 and side 4, the desk calculator chaining 48 x 5 = 240 then 240 x 74 = 17,760, and the matchstick lid display the level is built around.
  14. 14 Storage Room guide Storage Room: the four-quadrant wall dial reading 6/0/3/7 then 2/4/1/5, over the floor numbers 5/7/8/8 around a green question mark.
  15. 15 Garage guide Garage: the four-letter lock LSZA, read off the framed car screen and the shape board.
  16. 16 Attic guide Attic: the four-digit lock 3549 behind the clock hand, ending at 8:55 with +50 coins.
  17. 17 Terrace guide Terrace: the padded white crate's four-digit lock 7432 and the balance-scale panel above the red pans reading 7435.
  18. 18 Basement guide Basement: the pipe manifold set from 3L/1S/2V/5W, the wall keypad 1200, and a barbell that wants 18 kilos a side.
  19. 19 Garden Shed guide Garden Shed: tune the radio to 91.8, then set the red toolbox dials to 918.
  20. 20 Kids Bedroom 2 guide Kids Bedroom 2: no keypad and no typed code — Battery plus Flashlight, light under the bed, then the stained-glass tile board.
  21. 21 Hobby Room guide Hobby Room: three locks and no door keypad; the hex box's six-tile rotation and the four carved diamond recesses.
  22. 22 Master Bedroom guide Master Bedroom: four locks and no typed door code — circle 8, square 2, star 0, pentagon 1.
  23. 23 Entertainment Room guide Entertainment Room: 7561 on the case by the foosball table and 56941 on the metal box, straight off the arcade HIGH SCORE table.
  24. 24 Hallway guide Hallway: the last door takes 51378 — R A N D Y written as numbers.

Chapter 3 is being written room by room. Dining Room is live with both codes verified from footage; the remaining fourteen rooms show as “Coming soon”.

What actually blocks people.

Three patterns show up in every room, and knowing them saves the most time:

How these pages are built.

Every step on this site is taken from a screen recording of the level being cleared, read frame by frame, and then verified against a second independent recording of the same room. Where the two disagree, the page says so instead of picking one. The screenshots on each guide are frames from that recording, cropped to the game area, and the embedded video is the source recording itself, linked to the exact second of each step.

That method exists because Rooms & Exits has been patched repeatedly. Chapter 1 Level 2, for example, used to ask you to sort books by size and to cut open an armchair cushion; the current build rotates patterns on four fixed spines and hides the paper in a hanging sack. Guides written before that patch still rank, and they still send players to objects that do nothing. Rebuilding from footage is the only way to stay correct.

FAQ.

What is Rooms & Exits: Escape Room Games?

A hidden-object escape room game by Webelinx Games. You play Fiona, a journalist, and clear one locked room per level by finding items, combining or dismantling them for clues and cracking locks. Chapter 1 is Wicked Games.

Why do other Rooms & Exits guides show different steps?

The game has been patched since the first wave of walkthroughs. Level 2 is the clearest example: the crumpled paper sits in a hanging sack rather than in furniture upholstery, and the safe gives up a puzzle before it gives up the key. Old guides point at objects that no longer react.

Do I need to watch the video, or is the text enough?

The text is enough. Each step names the object, the inventory action and the target, and the timestamps are there only if you want to see a move performed once.

Play Shikaku → · Play Akari → · More Japanese logic puzzles →