 GridPaw
 Shikaku
 Akari
 Kakuro
 Nonogram
 Nurikabe
 Pictomino
 KenKen
 Binary
 Star Battle
 Hashi
 Slitherlink
 Murder Sudoku
 Meowdoku
 Crazy Cleanup
Rooms & Exits Chapter 3 Level 13 Walkthrough: Kids Bedroom 1
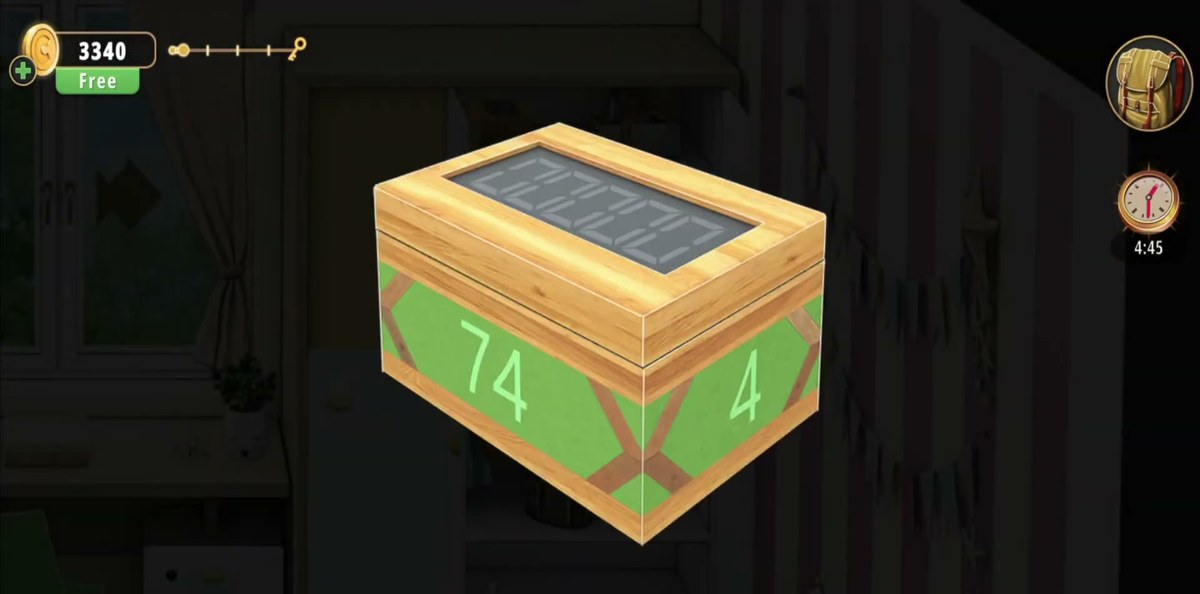
Kids Bedroom 1 is the thirteenth room of Chapter 3, Murder Dressed in White, and it is the opposite of Kitchen in almost every way. Kitchen was one room with one long chain of locks; this is a small pastel bedroom packed with nine or ten separate toys, each of which is its own little puzzle. There is no keypad on the wall and no single code to type at the door. What the level actually hands you is a wooden box with two numbers on its sides, a working calculator on the desk, and a matchstick display built into the box lid.
The run plays all the way to 8:43, and the last hundred seconds are more than the lid. After the matchsticks there is a six-animal clue card, a light-wood cabinet whose wide drawer is already open at 8:21 with folded clothes and two puzzle pieces inside, a tangram that surrenders a small key at 8:39, and an exit arrow that appears over the door one second before the video fades out. None of that was in the truncated copy this page was first written from.
Kids Bedroom 1 is room 13 of 15 in Chapter 3. The wooden box carries 74 (front panel) and 4 (side panel); the desk calculator turns 48 × 5 into 240 and then 240 × 74 into 17,760.
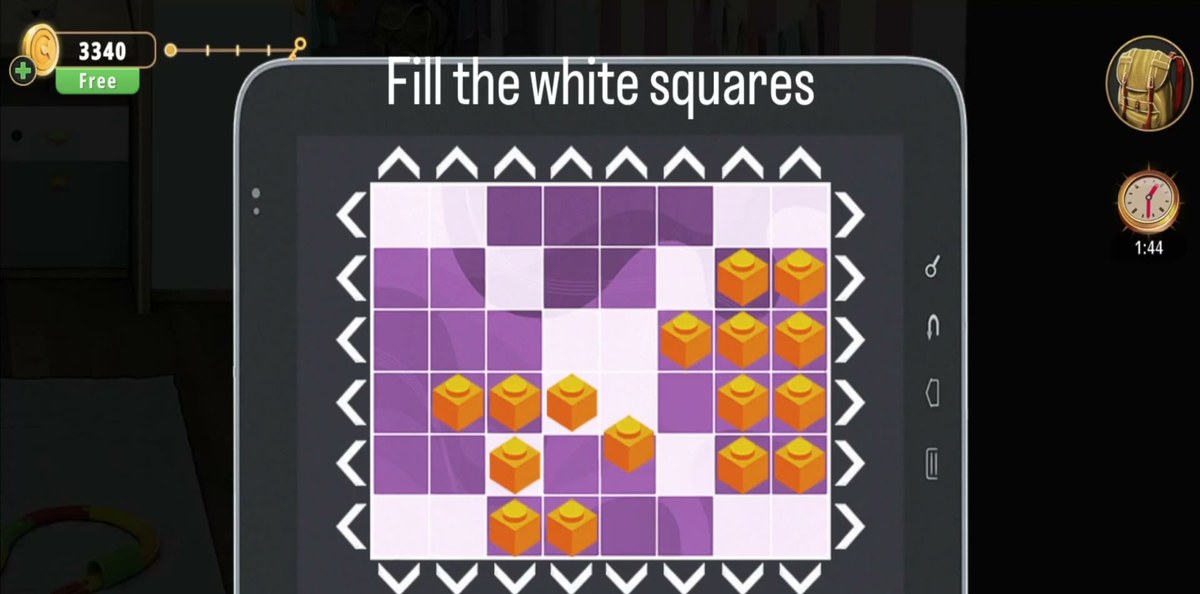
- Start with the tablet on the rug: it asks you to Fill the white squares with the orange blocks. No digits involved.
- Inspect the wooden box. Front green panel 74, right green panel 4. Its lid is a matchstick segment display, dark until you have the matches.
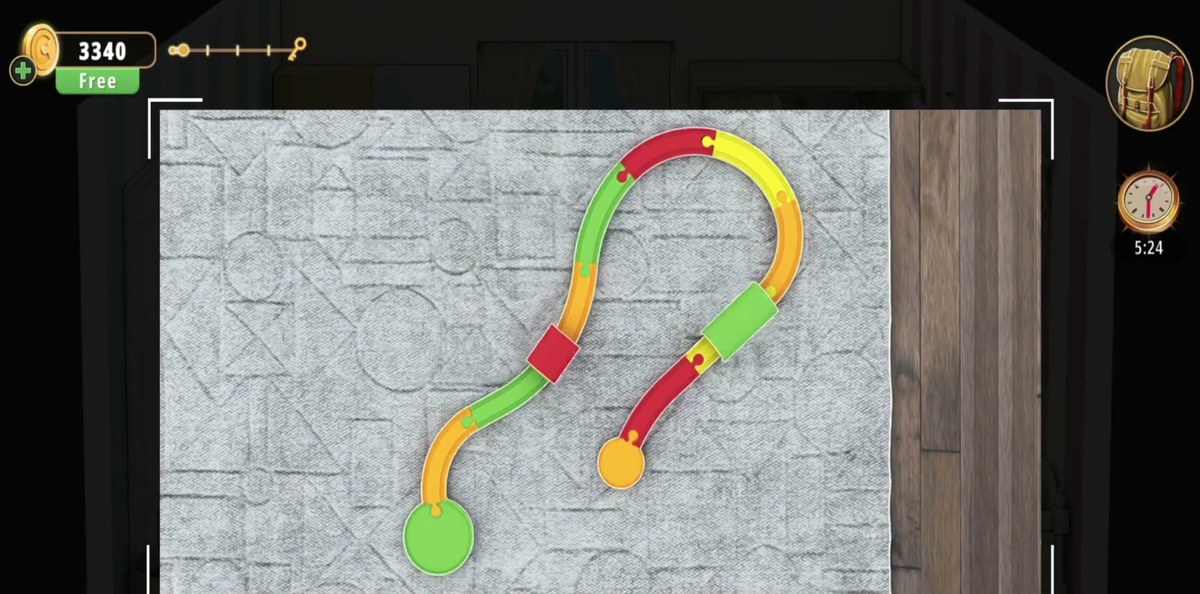
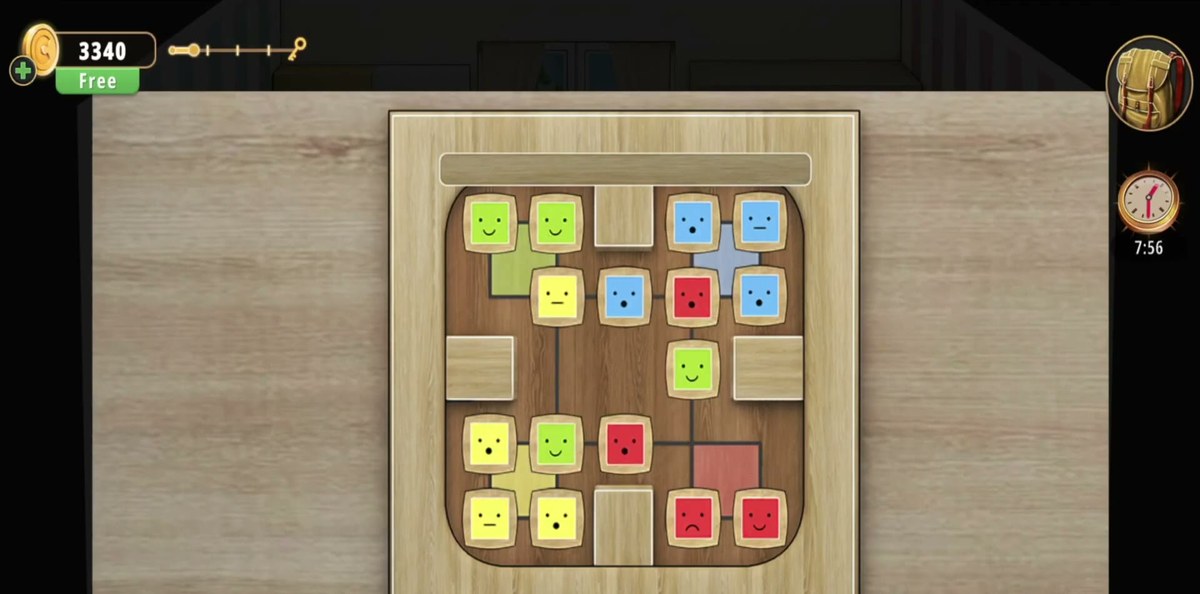
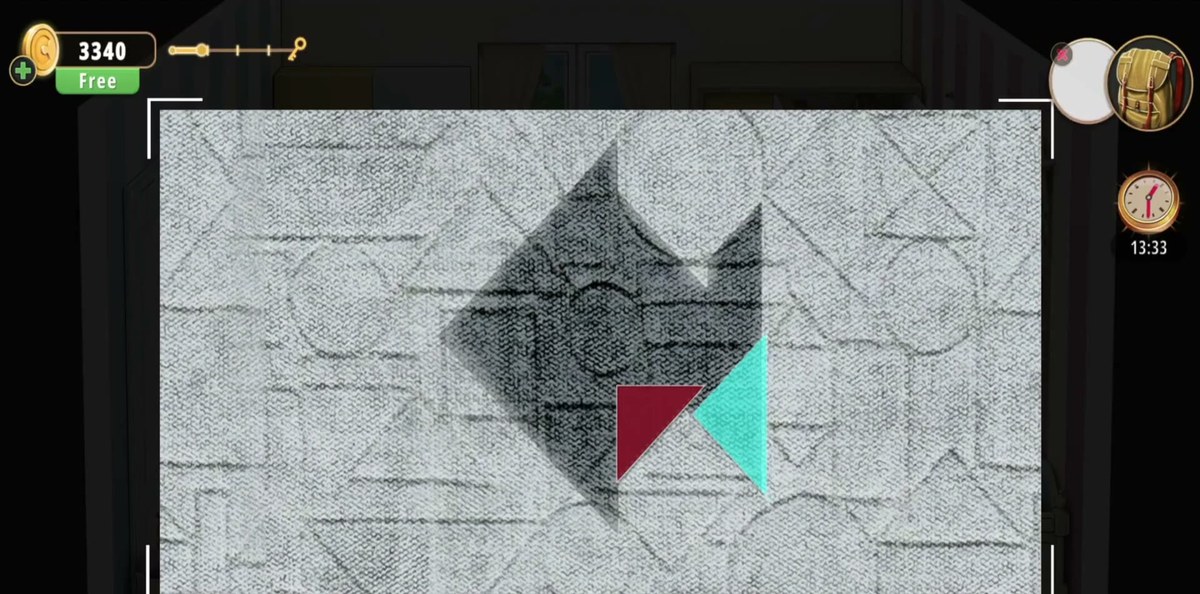
- Work the toy track on the rug, the sliding smiley-block board (the long one), the fish tangram, the six animal knobs and the butterfly pattern picture.
- Open the desk drawer with the key already in its lock, and pick up the Matches.
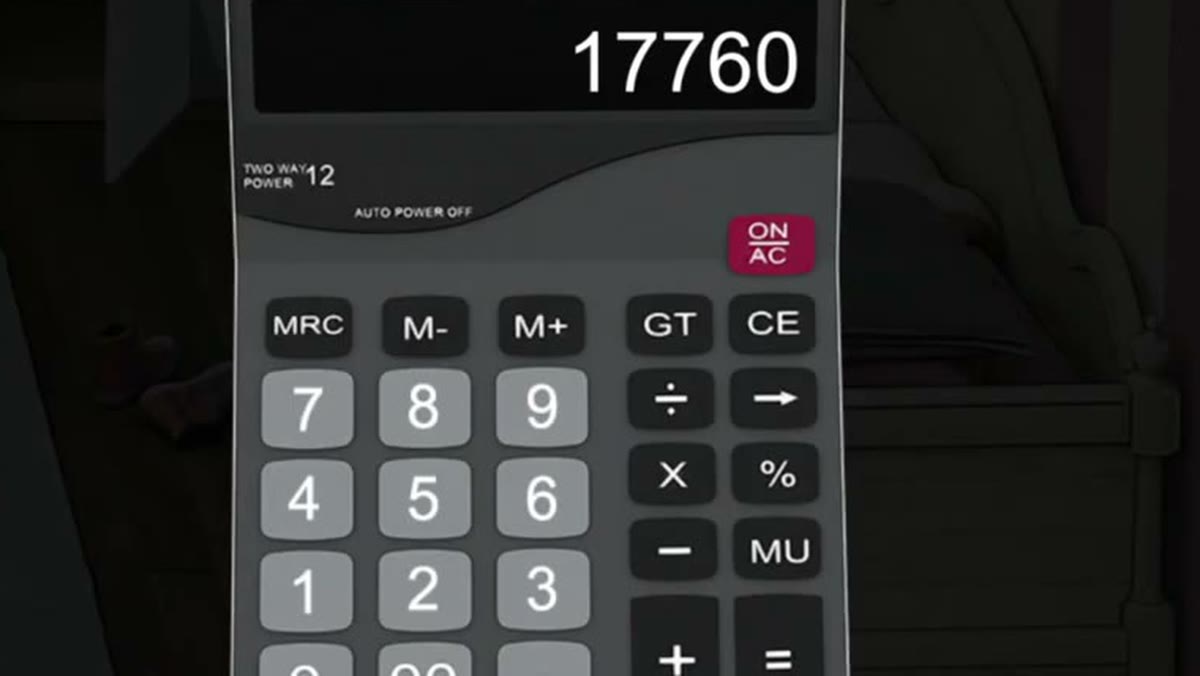
- At the desk calculator, run 48 × 5 = 240, then 240 × 74 = 17,760 — the five-digit result is what the level is building toward.
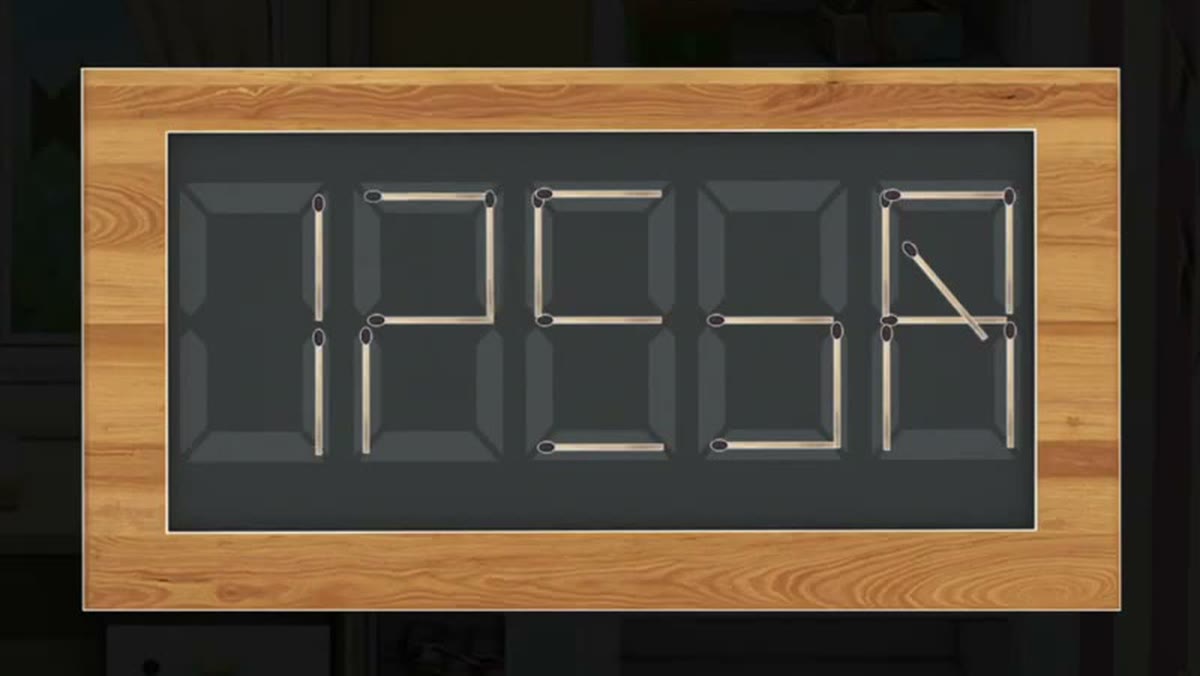
- Look at the box-lid board at 7:00: it is a static arrangement of matchstick digits with one diagonal match, and nothing is entered on it on camera. Treat it as a clue, not a lock.
- Then finish the room: the animal clue card at 7:51, the cabinet drawer at 8:21 with its two puzzle pieces, the tangram that gives up a key at 8:39, and the exit arrow over the door at 8:42.
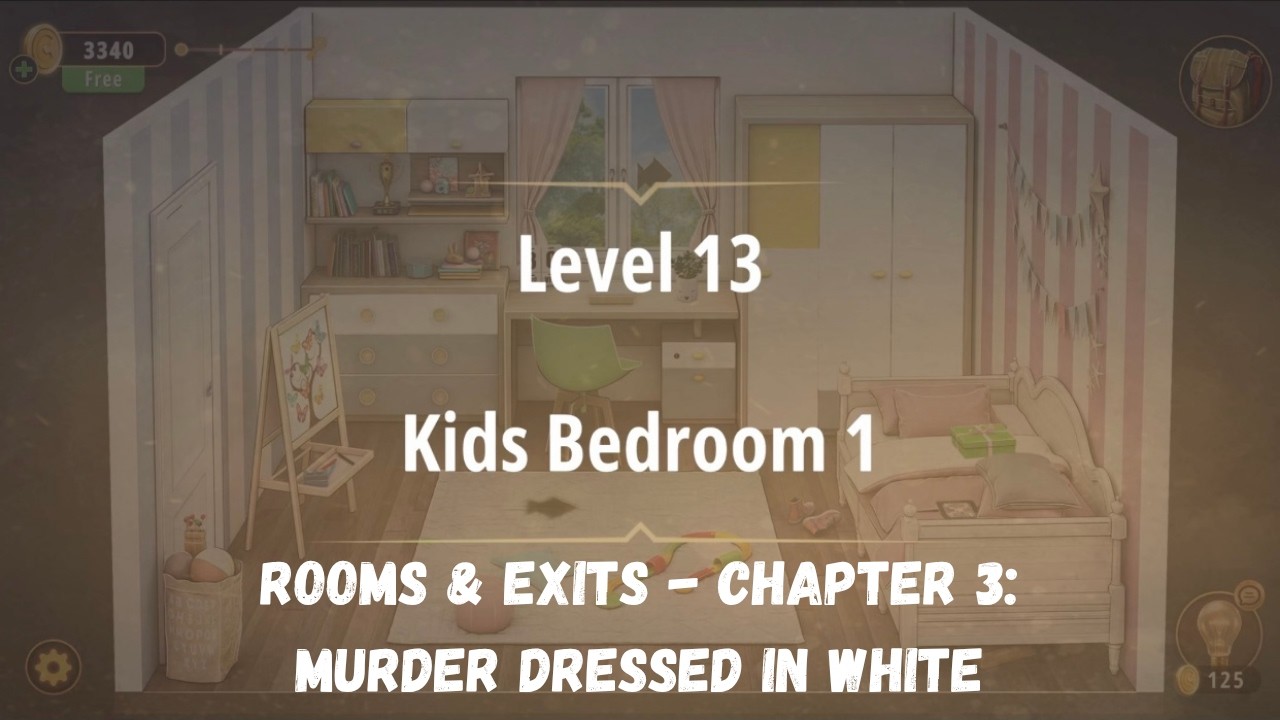
The Kids Bedroom 1 run used for every frame on this page.
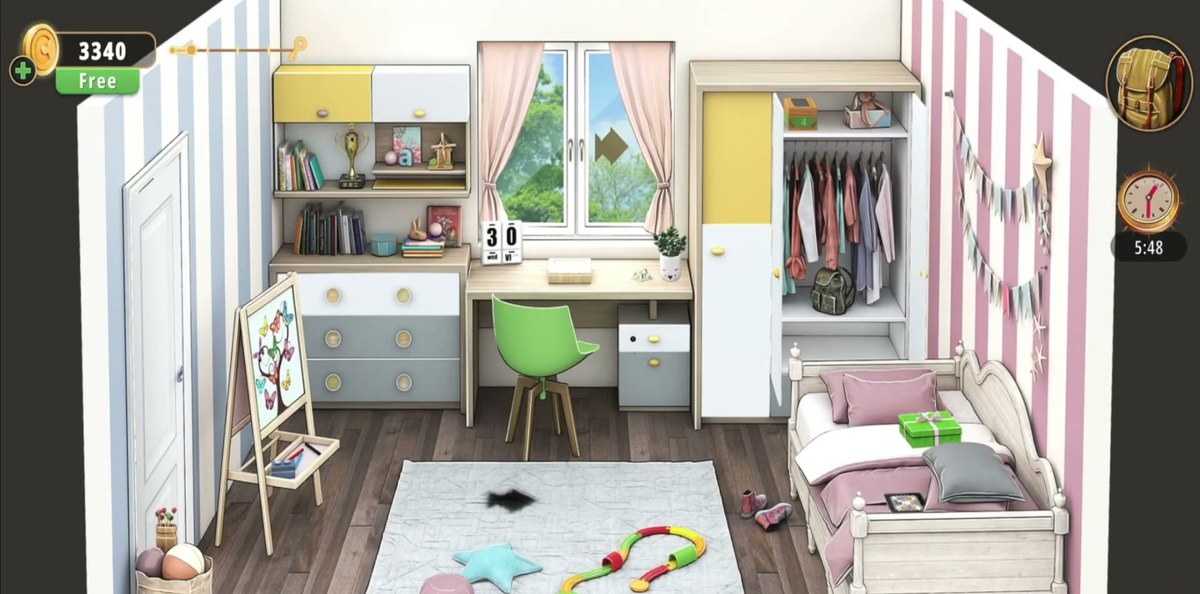
What this level actually is.
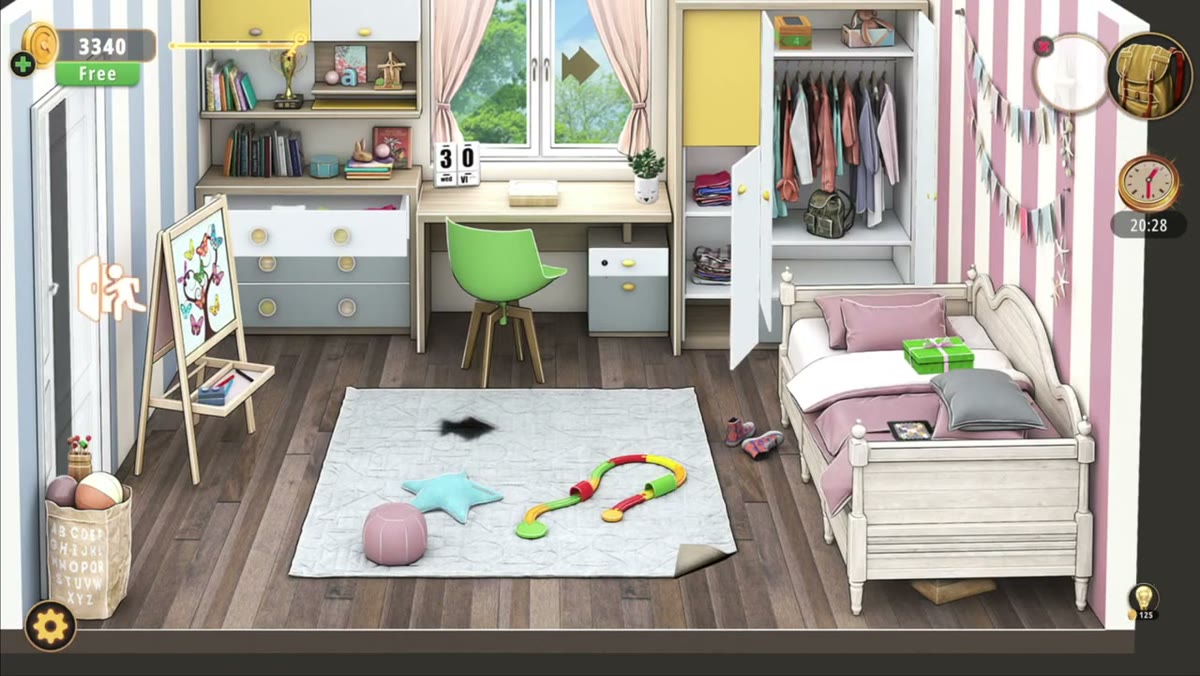
One square bedroom, seen from a high angle, with three walls in play. The left wall is striped blue and white and carries a plain white door, a fabric toy bin printed with the alphabet, and a wooden easel holding a painting of a butterfly tree. The back wall is a wide window with pink curtains, a desk underneath it, and a lime-green chair. The right wall is striped pink and white, and against it sit the wardrobe and the bed — white frame, pink duvet, a green gift box sitting on the mattress.
The floor is the busiest surface in the room. A large pale rug covers most of it, and on the rug are a pink pouf, a blue star cushion, a segmented caterpillar toy curled into a question mark, and a red-yellow-green toy track that the game turns into its own puzzle. Two red and blue high-top sneakers sit by the bed. Almost every object in this room is interactive, which is why the recording spends the first minute simply opening things.
Structurally, this is a hub level rather than a chain. Kitchen made you solve one lock to reach the next; Kids Bedroom 1 lets you work its puzzles in almost any order and only links them at the end, through the box: the box's side numbers feed the calculator, the calculator's result feeds the box's lid display, and the matches you pick up are what let you set that display. Because the parts are independent, you can leave the sliding-block board for last without blocking anything.
The map: what is where.
Everything we could identify, and what it is for.
| Object | Where | What it does |
|---|---|---|
| Tablet | On the rug, centre left | Grid puzzle with the instruction FILL THE WHITE SQUARES. Orange stud-topped blocks into white cells. |
| Wooden box | Wherever the game inspects it; also the wardrobe's top shelf | Green side panels printed 74 (front) and 4 (right). The lid is a matchstick digit display. |
| Matchstick display | Built into the box lid | Matchstick seven-segment digits, static on camera from 7:00 to 7:26, with one match laid diagonally. |
| Calculator | On the desk under the window | Working calculator; the run uses 48 × 5 = 240 then 240 × 74 = 17,760. |
| Toy track | Rug, in front of the bed | Red, yellow and green track segments with puzzle-piece connectors; join the round ends. |
| Sliding smiley blocks | Full-screen board | Coloured square blocks with faces; the level's longest puzzle, about 2:06 to 3:36. |
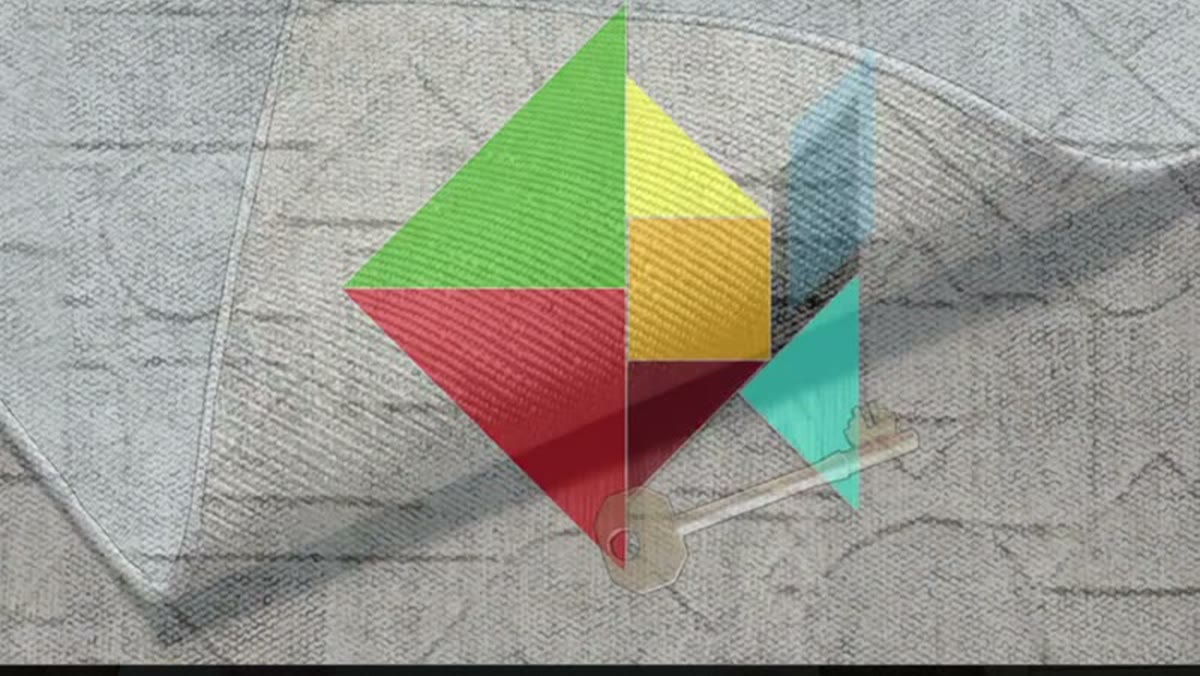
| Fish tangram | Framed close-up on a textured panel | Dark fish silhouette filled with red and blue triangles. |
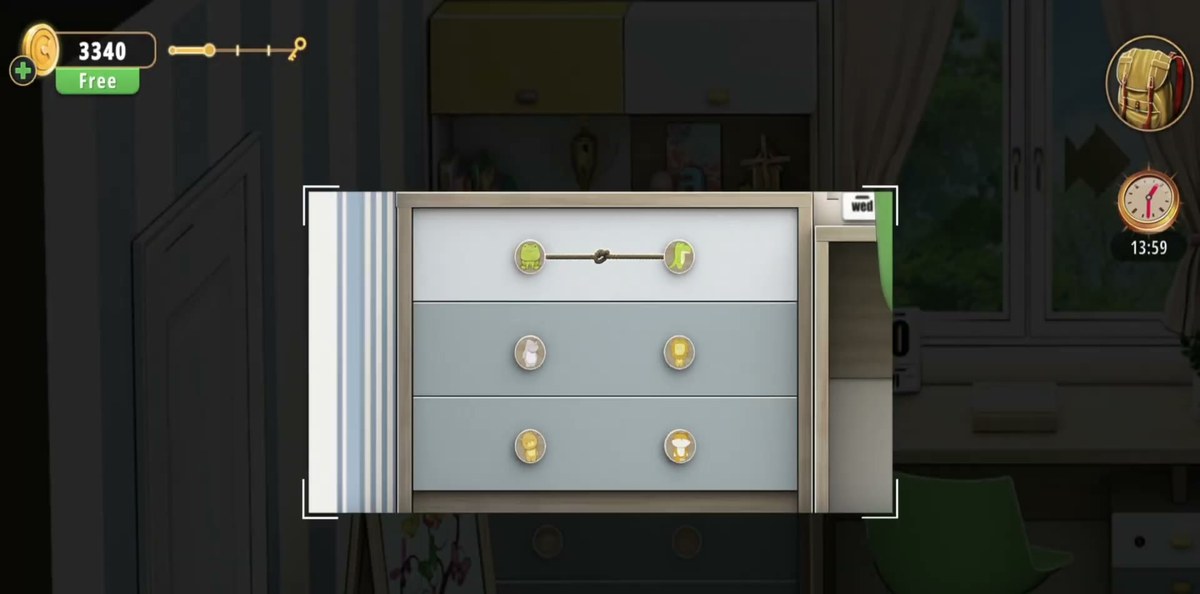
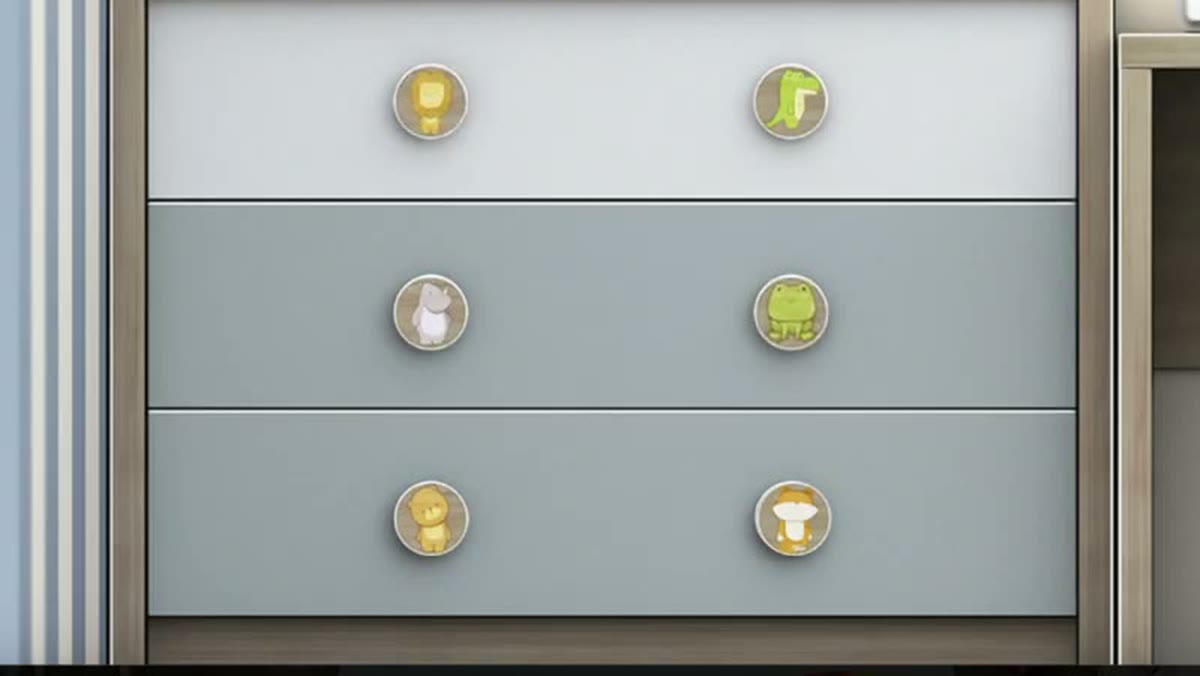
| Animal-knob dresser | Under the desk, right side | Six knobs: frog, crocodile, hippo, lion, duck, mushroom. |
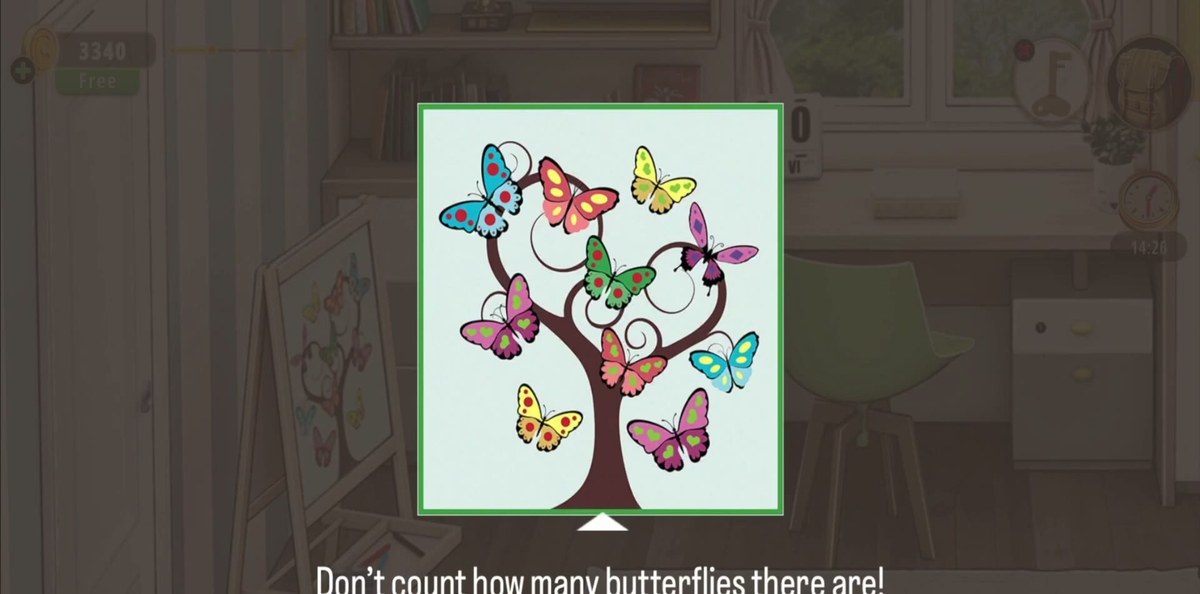
| Butterfly picture | Framed, and again on the easel | Carries the rule: count the number of butterfly patterns that have the same color. |
| Desk drawer + key | Under the desk | Silver key already in the top drawer's keyhole at 5:00. |
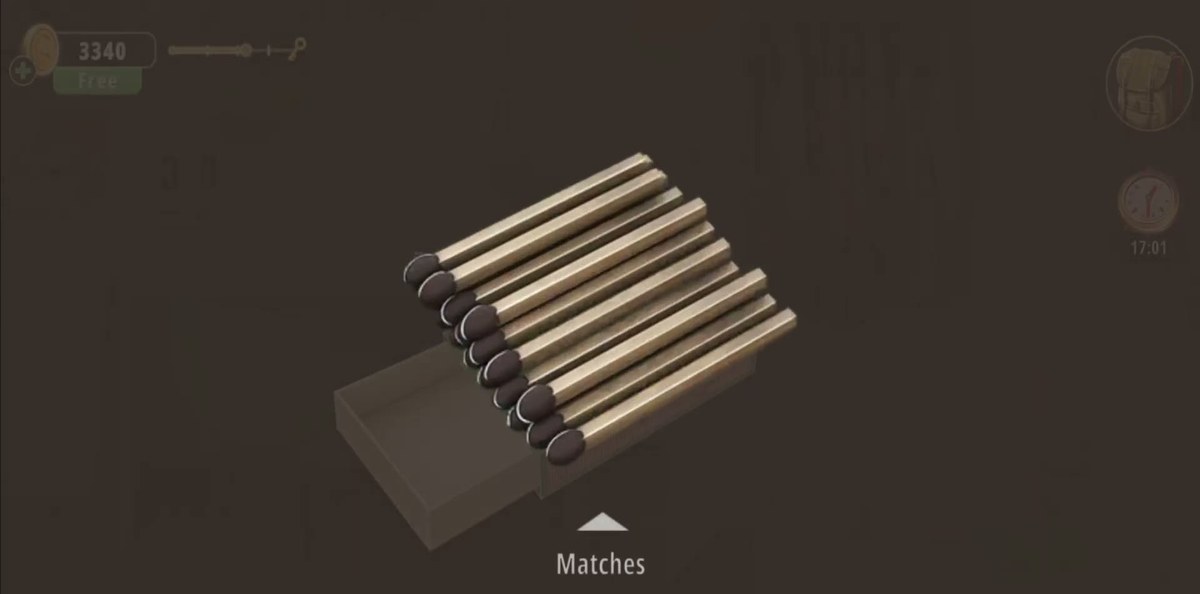
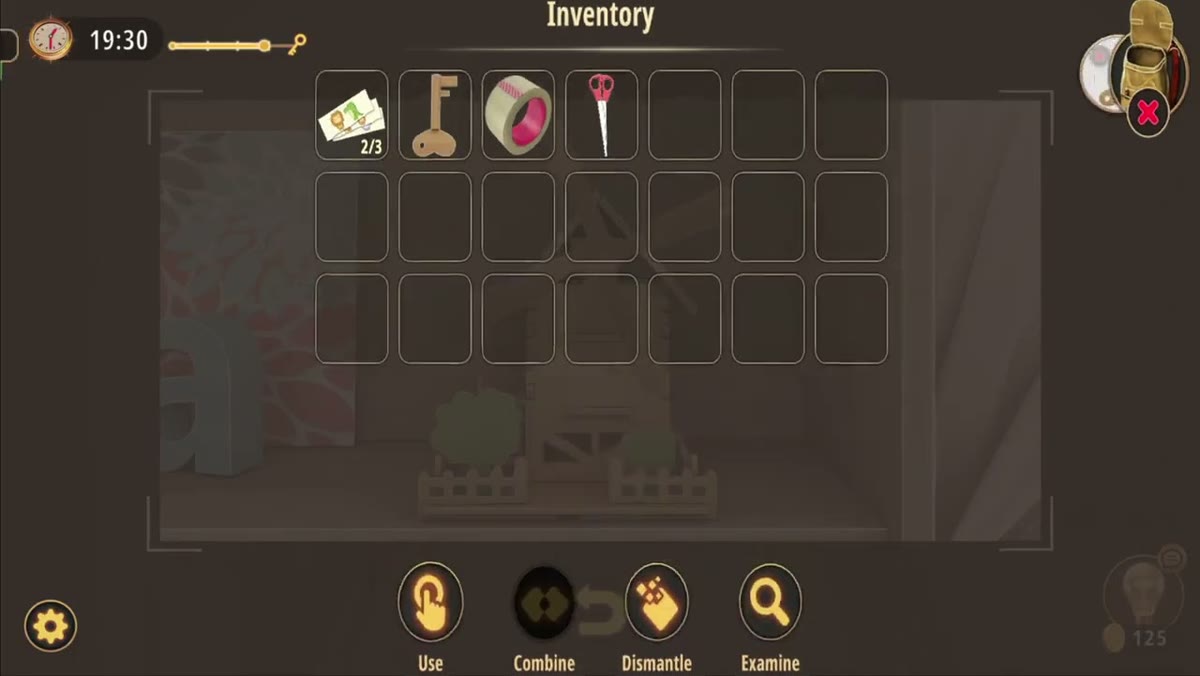
| Matches | Inventory pickup | Labelled Matches; brown box, two rows of gold-headed matches. |
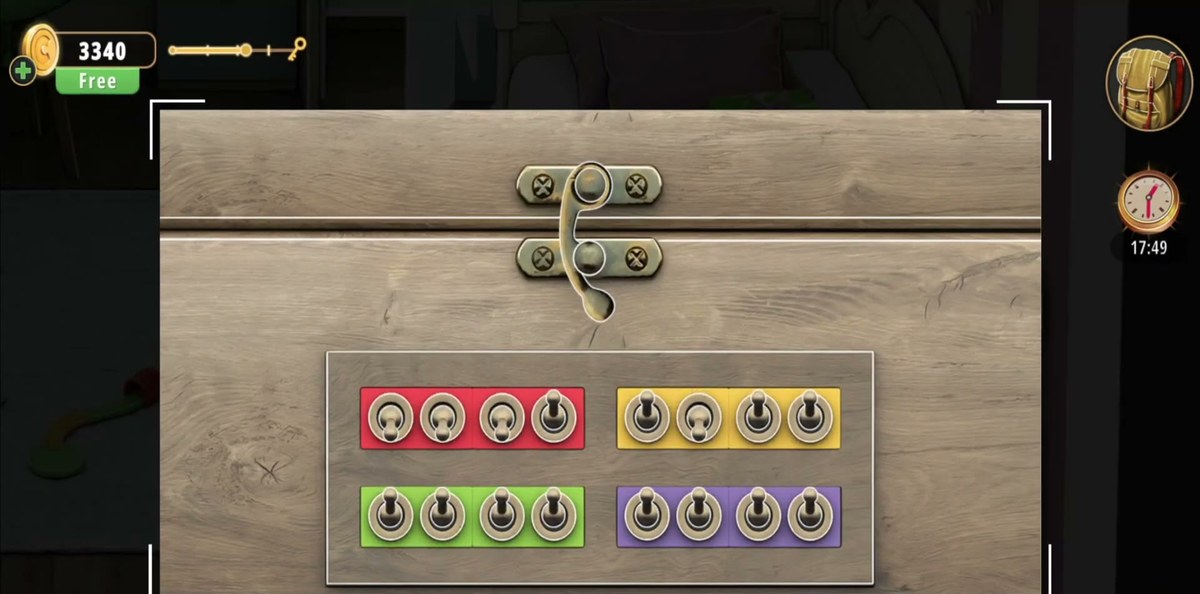
| Switch chest | Full-screen close-up | Four colour modules (red, yellow, green, purple) of four toggle switches each — sixteen switches. |
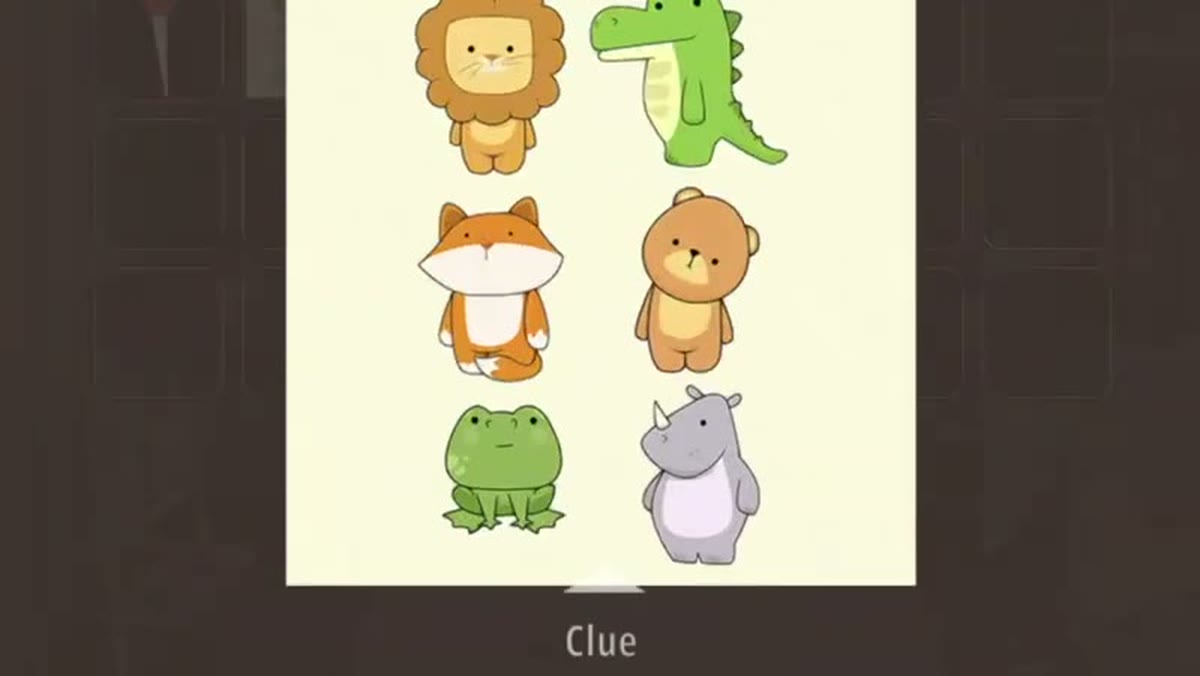
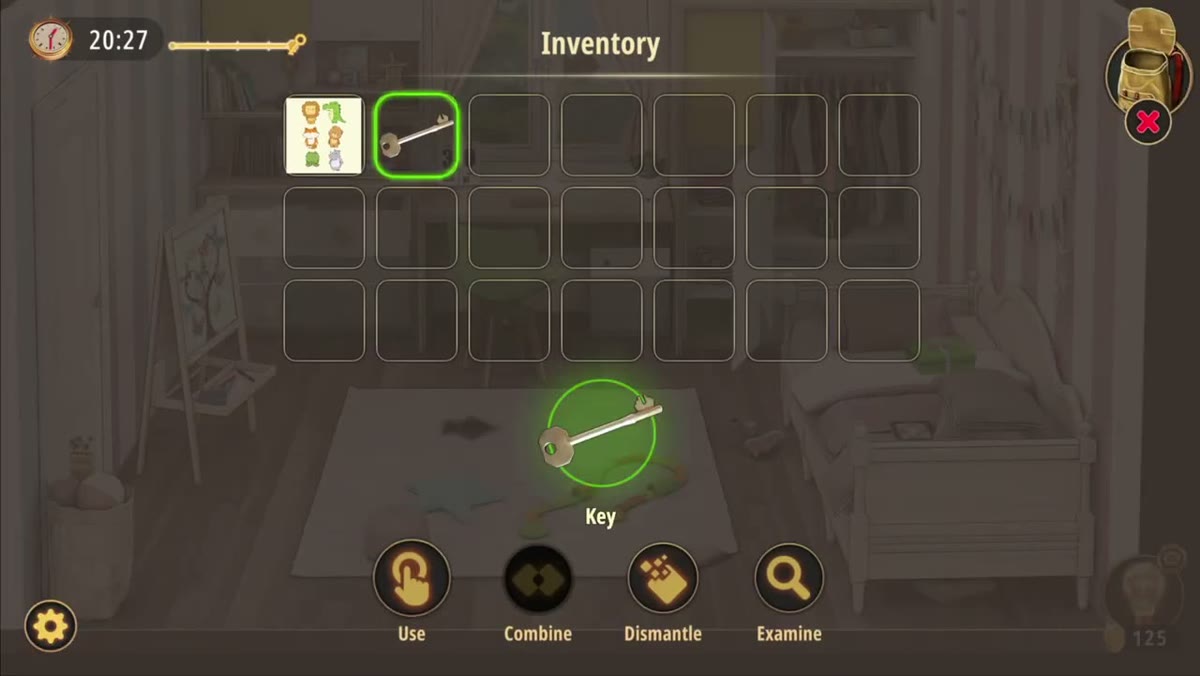
| Clue card | Inventory pickup, 7:51 | Six animal drawings in a two-column grid; the reference sheet for the animal-knob dresser. |
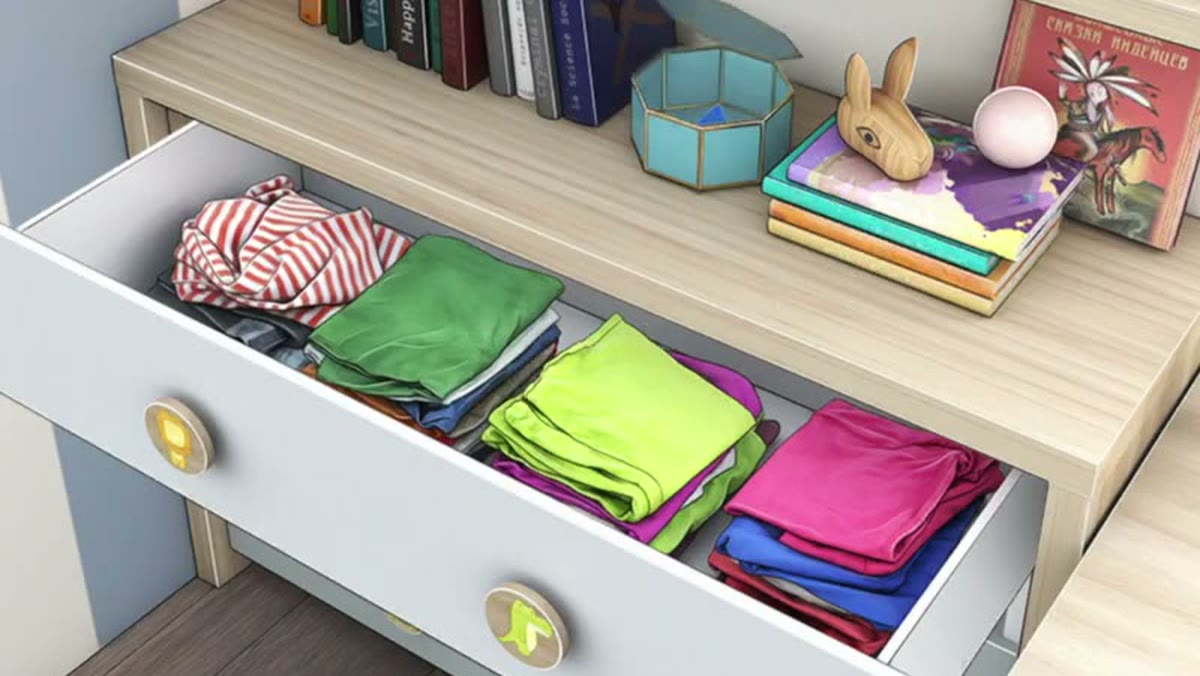
| Light-wood cabinet | Left of the desk, books and a rabbit figurine on top | Its wide drawer is already open at 8:21: folded clothes plus two puzzle pieces (green triangle 8:22, pale-blue 8:26). |
| Tangram key | On the tangram board | Small silver key that appears as the fish board fills; taken into the inventory at 8:40. |
| Exit arrow | Over the door on the left wall | Appears at 8:42. The video fades one second later, so the door never opens on camera. |
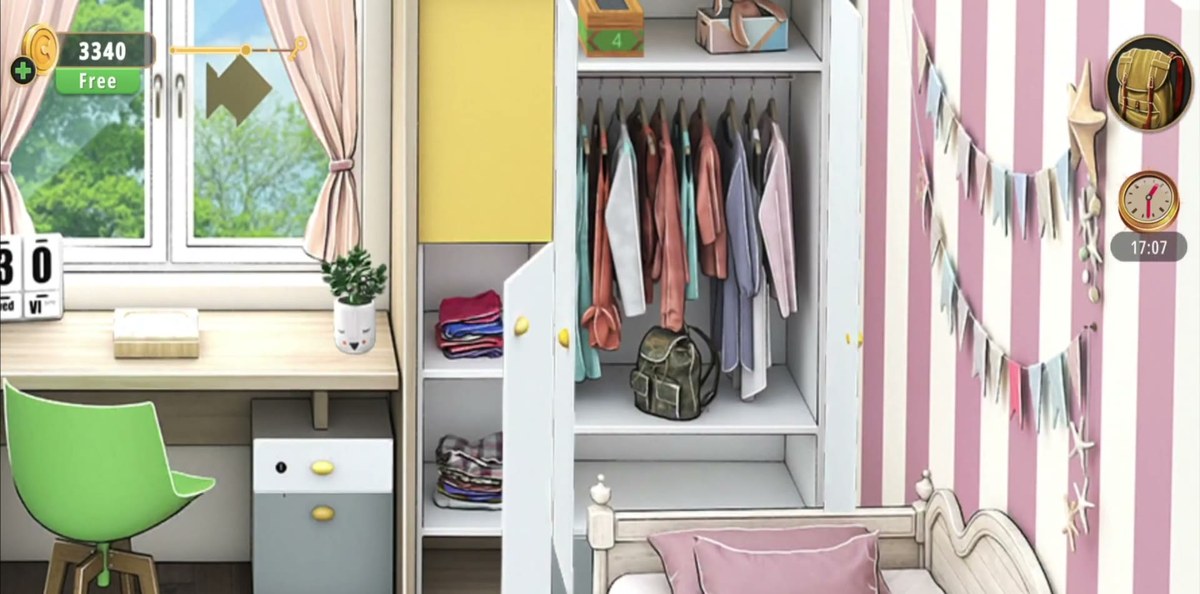
| Wardrobe | Right wall, beside the window | Opens to hanging clothes, folded stacks and a dark green backpack. |
| Green gift box | On the bed | Green box with a pink ribbon; sparkles when examined. |
Step by step.
The order below follows the recording. Timestamps are video time; the links jump to the matching second.
What opens at 8:21 is a different piece of furniture: a light-wood unit with books, a blue hexagonal box and a small rabbit figurine on top, and one wide drawer pulled out and packed with neatly folded clothes — red-and-white stripes, green, lime, magenta. The game hands you two puzzle pieces out of it: a bright green triangle at 8:22 and a small pale-blue piece at 8:26. If you are hunting for the last tangram pieces, this cabinet is where they are, not the dresser.
Where people get stuck.
You keep looking for a keypad. There isn't one, and that is deliberate. Kids Bedroom 1 does its locking with objects — a box lid, a switch panel, a dresser of knobs — rather than with a number pad on a wall. The only digits the room actually asks you to produce come out of the calculator.
You read 74 and 4 as a single code. They are not a two-digit and a one-digit code sitting next to each other; they are two numbers on two different faces of the same box, and the level expects you to do something with them. The run we worked from multiplies: 48 × 5 first, then 240 × 74, ending on 17,760.
The box lid is dark and looks broken. It is supposed to be. The matchstick display is unlit when you first inspect the box at 1:24 and only fills in once you have the Matches from 5:18. If you found the box early and thought it was decoration, go back to it after the drawer.
You keep waiting for the matchsticks to move. They don't. From 7:00 to 7:26 not a single stick changes, so there is no pattern to "solve" by watching it — it is a still arrangement, and the diagonal match in the last position is the only stick out of its groove. Do not sit on it hoping for a change: the room's real endgame is the dresser and the tangram, and the lid is never touched again after 7:26.
The butterfly picture feels like a trick question. It is, but the wording is precise: count the number of butterfly patterns that have the same color. Counting the insects gets you a number that is too big and always wrong. Group by colour scheme first, then count the group.
The sliding-block board eats your time. Plan for it. It is the one puzzle in this room that the recording spends more than a minute on, and there is no hint that solves it for you. Leave it until the quick pickups are done so you are not losing progress elsewhere while you grind it.
Where Kids Bedroom 1 sits in Chapter 3.
Chapter 3 is Murder Dressed in White, and its fifteen rooms run from the Dining Room through the house and out into the garden: Dining Room, Living Room, Study Room, Guest Toilet, Workshop, Guest Bedroom, Master Bathroom, Kids Playroom, Backyard, Garden, Kitchen, Driveway, Kids Bedroom, Storage Room, Garage. Kids Bedroom is room 13 of 15 — the third-from-last room in the chapter, straight after the Driveway and before the Storage Room.
Mechanically it is a reset after Kitchen. Kitchen was a chain of dependencies in one big room; this is a small room where most puzzles stand alone, and the only chain is the one that ends at the box: numbers on the box, calculator on the desk, matches from the drawer, display in the lid. That makes it a good room to clear in one pass — grab the pickups first, then settle in for the sliding blocks.
The tail of the run confirms the shape of it: there is no final boss lock. After the lid at 7:00 the player just clears what is left around the room — the clue card, the dresser, the tangram — and the exit arrow appears at 8:42 with nothing left to type.
- 1 Dining Room guide
- 2 Living Room guide
- 3 Study Room guide
- 4 Guest Toilet guide
- 5 Workshop guide
- 6 Guest Bedroom guide
- 7 Master Bathroom guide
- 8 Kids Playroom guide
- 9 Backyard guide
- 10 Garden guide
- 11 Kitchen guide
- 12 Driveway guide
- 13 Kids Bedroom 1 you are here
- 14 Storage Room guide
- 15 Garage guide
- 16 Attic guide
- 17 Terrace guide
- 18 Basement guide
- 19 Garden Shed guide
- 20 Kids Bedroom 2 guide
- 21 Hobby Room guide
- 22 Master Bedroom guide
- 23 Entertainment Room guide
- 24 Hallway guide
Previous room: Chapter 3 Level 12 — Driveway
Next room: Chapter 3 Level 14 — Storage Room
Back to: All Rooms & Exits walkthroughs
Frequently asked questions.
What is the code in Rooms & Exits Chapter 3 Level 13 Kids Bedroom 1?
There is no single typed code that opens the room. The two numbers the level actually puts in front of you are printed on the wooden box: 74 on its front green panel and 4 on its right-hand green panel. The desk calculator is the level's arithmetic station, and the run we worked from uses it in two steps: 48 x 5 = 240, then 240 x 74 = 17,760. The 17,760 reading was taken twice from the calculator's LCD at two separate seconds, and 240 x 74 does equal 17,760.
How do I get 17,760 on the calculator?
The calculator on the desk is a real working calculator, not a static prop. In the recording the display shows 48*5 at 6:45, 240* at 6:46, and 17760 at 6:48 and again at 6:50. That is a two-step calculation, not a puzzle chain: 48 x 5 = 240, then 240 x 74 = 17,760, with the 74 coming off the wooden box's green panel. The result sits on the LCD as a plain five-digit number, no decimal point.
Where is the wooden box with 74 on it?
It is the same box twice: at 1:24 the game pulls it up as a full inspect view, and at 5:24 you can see it sitting on the top shelf of the wardrobe, next to the folded clothes and above the green backpack. It is light wood with bright green side panels, an X-shaped wooden brace on each panel, and the numbers 74 (front) and 4 (right side) printed in pale green. Its lid holds a dark matchstick segment display that is completely unlit the first time you see it.
What is the matchstick puzzle?
At 7:00 the box's lid becomes a full-screen close-up: a dark panel in a wooden frame, with digits laid out in matchsticks, burnt heads and all, and one match in the last position sitting diagonally instead of in a groove. That diagonal is the only obviously 'wrong' stick on the board. The board is static — we pulled every one-second frame from 7:00 to 7:26 and they are pixel-identical, so nothing moves and nothing is typed during those 27 seconds. Our crops agree on the first three positions reading 1, 2, 3; the fourth position reads as 4, 8 or 9 depending on the crop, so we do not print it as a code. Nothing is entered anywhere after the board either — the calculator's 17,760 is never transferred onto it on camera.
What does the tablet ask for?
The tablet lying on the rug opens a grid puzzle with the instruction FILL THE WHITE SQUARES. The board is a purple patterned grid scattered with white cells, and you place orange stud-topped blocks into the white cells. The recording clears it in about forty seconds, between 0:06 and 0:42. No digits or letters appear on the tablet, so it is a spatial puzzle rather than a code lock.
What is the butterfly puzzle rule?
A framed picture of a tree full of butterflies at 4:18 carries the level's most explicit instruction. It reads: DON'T COUNT HOW MANY BUTTERFLIES THERE ARE! COUNT THE NUMBER OF BUTTERFLY PATTERNS THAT HAVE THE SAME COLOR. So the answer is a count of matching wing patterns, not a count of butterflies. The picture on the easel on the left of the room is the same butterfly tree, which is how the level tells you the two are connected.
What are the six animal knobs?
The dresser under the desk has three drawers and six round knobs, each printed with an animal or object: a green frog and a green crocodile on the top drawer, a white hippo and a yellow lion on the middle drawer, a yellow duck and a yellow mushroom on the bottom drawer. The top pair is joined by a dark cord with a knot in the middle. The run works the dresser from about 7:56 to 8:20 but never shows it opening — the shot cuts away with all three drawers still shut, so this page prints no knob order.
Where do I find the key and the matches?
The key is already in the keyhole of the top desk drawer at 5:00 — the close-up shows a small silver key turned in a white drawer front with a gold handle. Turning it opens the drawer. The Matches are a separate pickup at 5:18, shown as a brown matchbox with two rows of gold-headed matches and labelled Matches in the inventory. The matches are what the box-lid matchstick puzzle runs on.
What is the chest with the coloured switches?
At 6:00 the game opens a wooden chest with a brass latch. Below the latch sits a panel divided into four coloured modules — red, yellow, green and purple — each holding four brass toggle switches, sixteen switches in total, all off. It is a state puzzle, not a keypad: you are setting a pattern of on/off switches rather than typing digits.
What is the sliding-block puzzle in this room?
A full-screen sliding-block board with coloured square blocks, each carrying a smiley face, runs from about 2:06 to 3:36. It is the longest single puzzle in the level — a minute and a half of real time in the recording, with the room clock ticking. We are not publishing a move list for it: the clip is cut and the block states change between sampled frames, so a guessed sequence would waste more of your time than solving it.
Is Kids Bedroom 1 room 13 of Chapter 3?
Yes. Chapter 3 is Murder Dressed in White and its fifteen rooms run: Dining Room, Living Room, Study Room, Guest Toilet, Workshop, Guest Bedroom, Master Bathroom, Kids Playroom, Backyard, Garden, Kitchen, Driveway, Kids Bedroom, Storage Room, Garage. Kids Bedroom is room 13 of 15, straight after the Driveway and before the Storage Room.
Does the recording show the level being completed?
No, and this time we can say that from the whole file rather than a truncated one. The run is 8:43 long and plays through to the last frame. It ends on the room with an orange exit arrow floating over the closed door, then fades to black at 8:43. There is no results card, no star rating and no reward payout on camera: the coin counter in the top-left reads 3,340 at 0:05 and still 3,340 at 8:42, so this page prints no reward figure for Kids Bedroom 1.
What this page could not verify.
1. The digit string on the matchstick lid. Still not printable, but for a different reason than before. The board is static: across the 26 one-second frames from 7:00 to 7:25 the mean pixel difference never exceeds 6/255 — slow camera drift, no stick moving — so the "cells change from second to second" line in the first version of this page was wrong. What we cannot settle is the reading. Separate crops of that one still agree on the first three positions as 1, 2, 3 and then split on the fourth — 4, 8 and 9 all came back at least once, and the cell count itself flips between four and five depending on where the crop edge falls. A pixel census of the panel finds 9 horizontal bars, 10 vertical sticks and the one diagonal, which is fewer sticks than a clean five-digit reading would need — some sticks are simply too dark against the panel to count. So the page prints no code for the lid. The calculator's 17760 is solid; it is just never entered onto this board on camera.
2. The ending and the reward. The file is complete now — 522 seconds, decoded to the last frame — and it still does not show a completion screen. The run ends at 8:43 on the room with the orange exit arrow over a closed door, then fades. No results card, no star rating, no payout animation, and the coin counter holds at 3,340 from 0:05 to 8:42. So the absence of a reward figure is now a fact about the video, not about a broken download.
3. The move order for the knob, track and tangram puzzles. The run never lets us see the animal-knob dresser open — the shot cuts from three shut drawers at 8:20 straight to a different cabinet at 8:21 — so there is no solved state to read a knob order off. The tangram does get finished on camera (key visible among the pieces at 8:37, taken at 8:40), but the run is sampled at one frame per second, so the placement order is not recoverable either. Those sections stay descriptive rather than prescriptive.
4. Four of the six animals on the clue card. The card is a two-column grid of six drawings. Lion and crocodile read the same in every crop. The bottom-right has come back as both a hippo and a rhino, and the middle pair as fox, monkey, bear and chick across different passes. We print the two we trust and leave the rest of the card unlabelled rather than pair the wrong creature to a knob.
5. The significance of the 4 on the box's side panel. The 74 is used: 240 × 74 = 17,760 is what the calculator lands on. The 4 on the right-hand panel is read just as reliably, but nothing in the full 8:43 run ever uses it — not the calculator, not the lid, not the exit. It may belong to a step outside this room. We are not going to invent a sum for it.