Rooms & Exits Chapter 1 Level 4 Walkthrough: High School
Unofficial fan-made guide. Not affiliated with Webelinx Games, the developer of Rooms & Exits: Escape Room Games.
Rebuilt frame by frame from a recorded playthrough of the current build. High School is the longest room in Chapter 1 at around six minutes and the first one with three separate areas, so this page is ordered by area rather than by the order a fast player happens to hit the puzzles.
Chapter 1 · Wicked Games11 of 11 with full written steps · 11 with a video
Quick answer
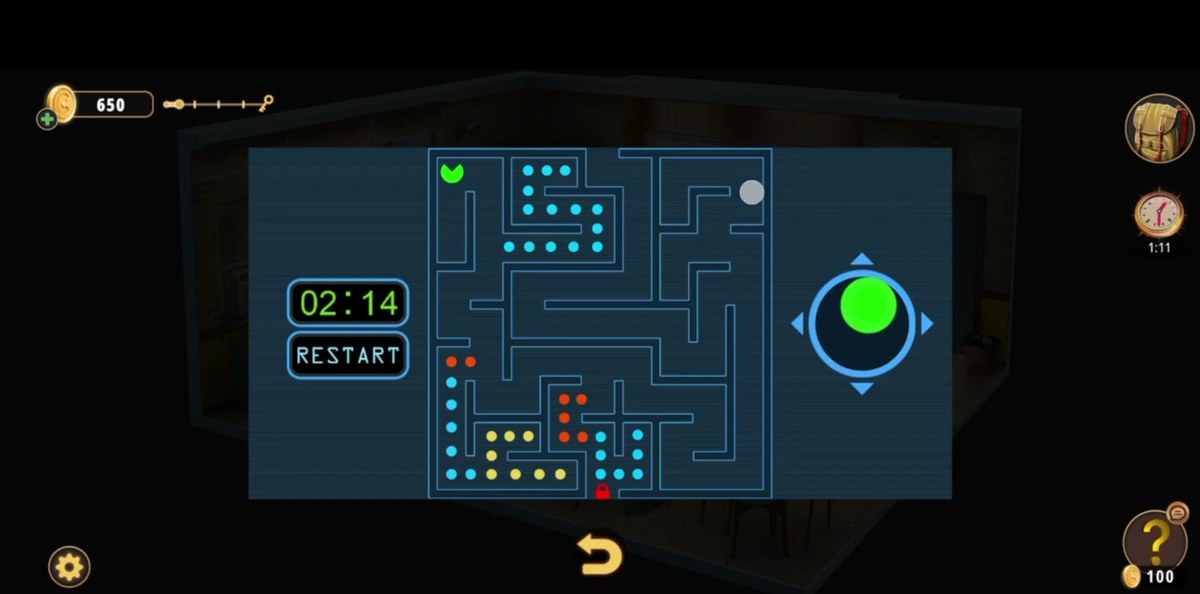
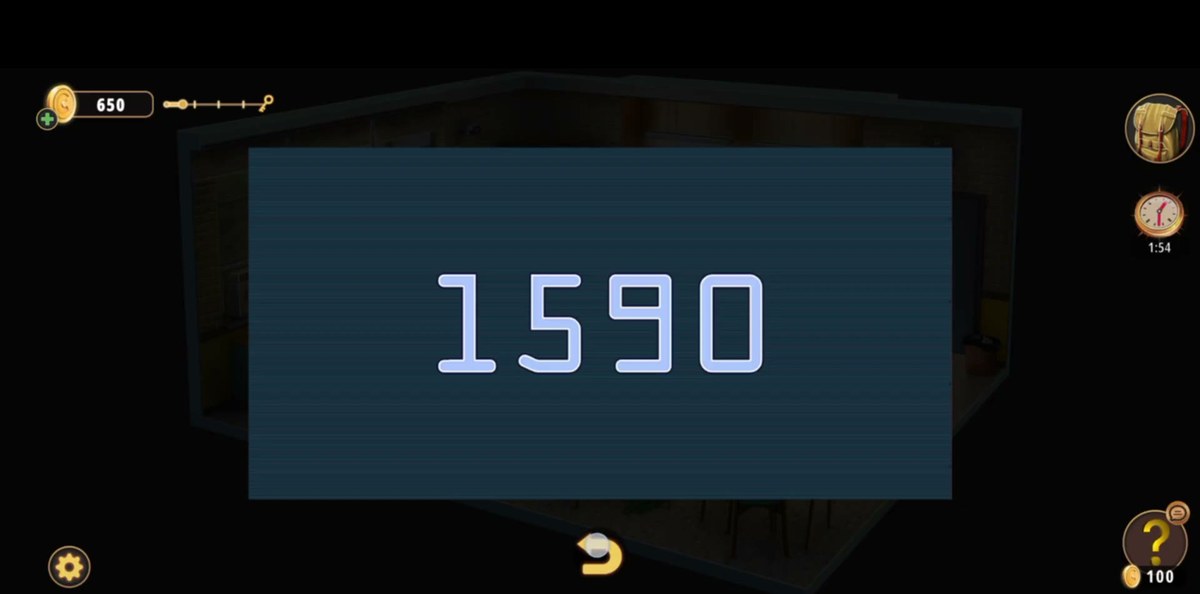
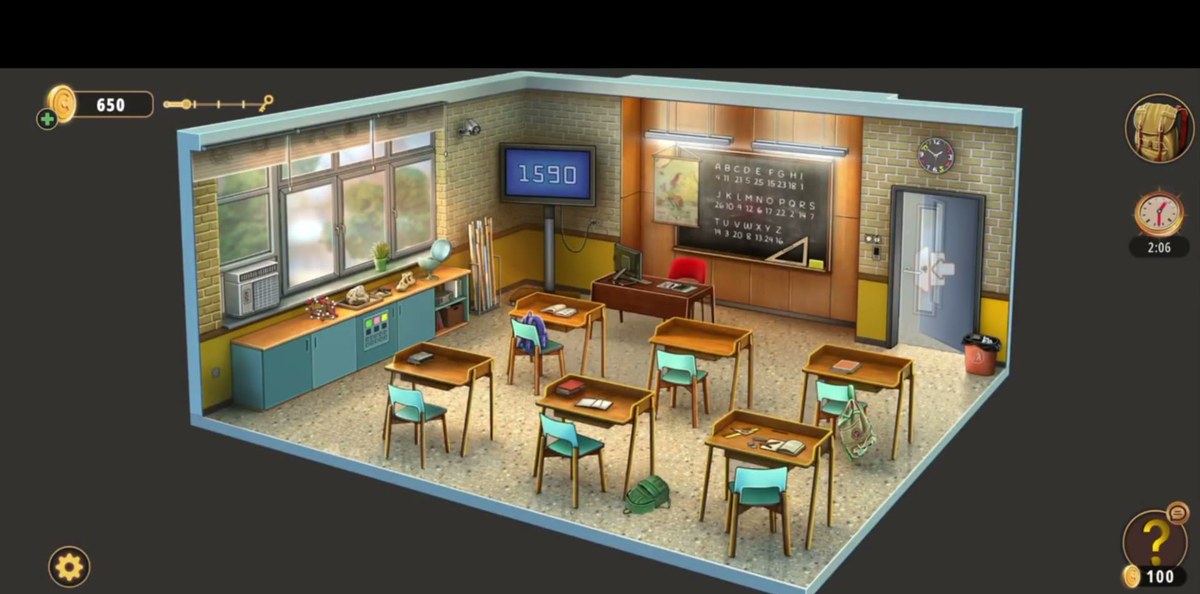
1590 is the number this level is built around: you get it by finishing the dot-maze on the classroom screen, and it opens the keypad in the same room.
Play the arcade maze on the wall screen → it shows 1590 → type 1590 on the classroom keypad.
Copy the blackboard cipher onto paper: the numbers are scrambled, and no other puzzle in the room makes sense without it.
The globe carries three numbers on coloured continents: 20 / 17 / 39: they feed the three coloured buttons.
Slide the block puzzle to free the U-shaped block; it opens the way to the wall safe.
The level ends in the locker corridor: open the display cabinet and take the trophy.
What this level actually is.
High School is three connected areas, and the game never tells you which one you are supposed to be in:
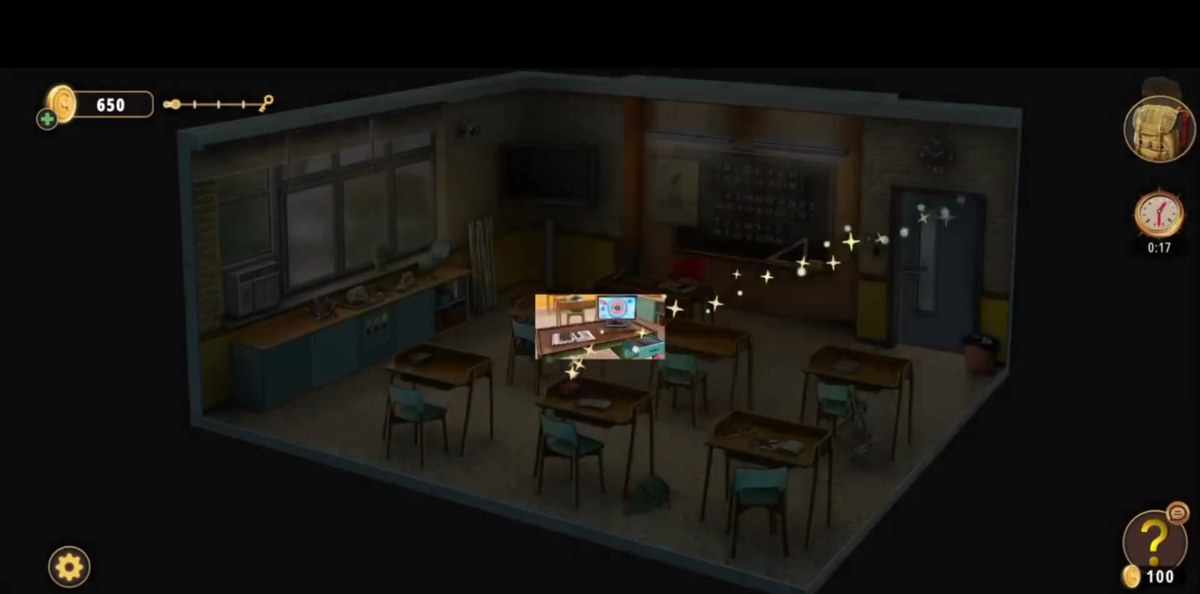
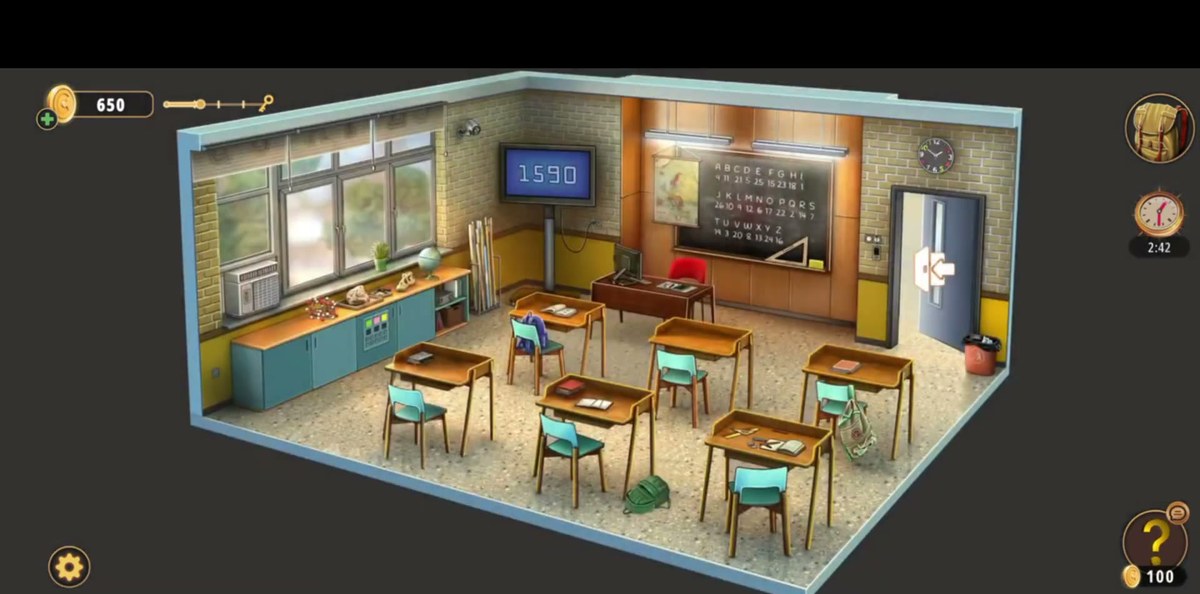
The classroom: desks, a blackboard, a globe, a wall screen and the arcade machine bolted to the wall. Most of the level's information lives here.
The corridor: a tiled hall with a red and orange sofa, an EXIT door, a bank of red and green lockers, a fuse panel and a display cabinet.
The utility corner: sink, lockers and a smoking air-conditioning unit, which is where the extinguisher finally earns its place.
Unlike Levels 1–3, nothing here is a single chain. High School is a hub: three or four puzzles run in parallel and each one hands you a piece of a different lock. That is why players get stuck for twenty minutes here and then finish the last four puzzles in six.
Step by step.
Step 1 · 0:24The rotating-ring lock on the classroom side
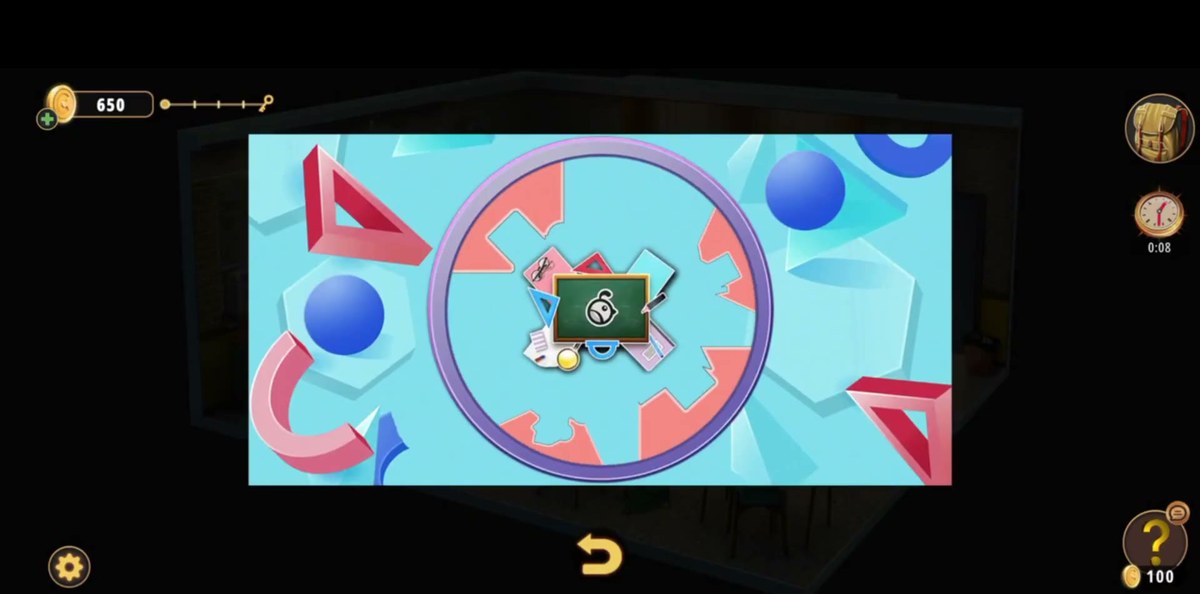
The first thing the game puts in front of you is a circular lock made of concentric rings with a keyhole in the middle. Turn the rings until the cut-outs line up into a single channel to the centre. It is a "rotate, do not push" lock: tapping a ring repeatedly does nothing, you have to drag it a quarter turn. There is no code on this one. It opens purely on the alignment.
Step 2 · 0:48The arcade maze on the wall screen
The classroom screen runs a small dot-collecting maze: a green circle, a grid of dots and a countdown that starts around 3:00. Steer the circle over every dot without touching the walls. This is the only timed thing in the room, and it is generous. The recording finishes it with over a minute to spare. If you bounce off a wall the clock keeps running; there is a RESTART button in the corner.
Step 3 · 2:141590. The number the maze hands you
Clear the board and the screen replaces the maze with a four-digit number: 1590. This is the answer to the keypad in the same room, and it is the only place in the level that number appears. Write it down before you tap away. The arcade screen does not show it again.
Step 4 · 2:26The classroom keypad: 1590
The keypad is on the classroom side, a standard 0–9 pad with a green confirm key. Type 1590. It releases the cabinet the puzzle part sits in, which is what unblocks the sliding puzzle in the corridor.
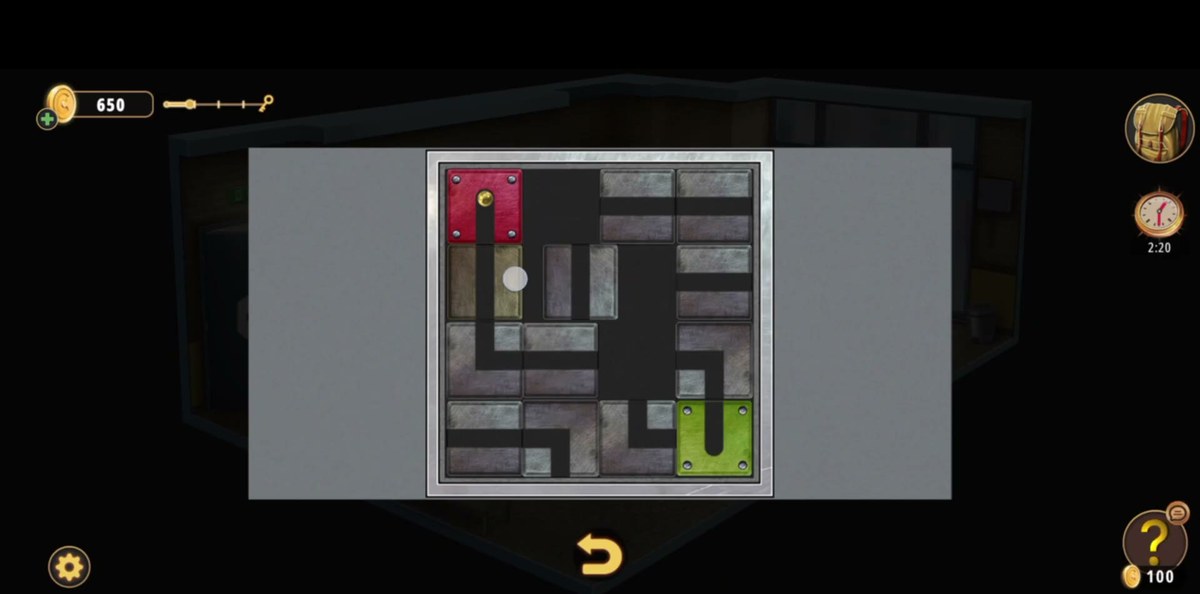
Step 5 · 2:36The sliding block puzzle
A sliding-block frame in which one wooden block is a green U. The job is to walk the U to the marked slot at the bottom without lifting anything out. Move the small square blocks around the outside first to open a lane down the middle, then bring the U through it. Solving it opens the way to the wall safe in the corridor.
Step 6 · 3:00The globe: 20 / 17 / 39
The classroom globe opens on a hinge and has a wire mechanism inside. That is the puzzle, not decoration. On the outside, three continents carry a number each: 20 on the green one, 17 on the second green one and 39 on the orange one. Those three numbers feed the three coloured buttons on the small keypad beside it. Match the colour of the button to the colour of the continent, not the order the numbers are written in.
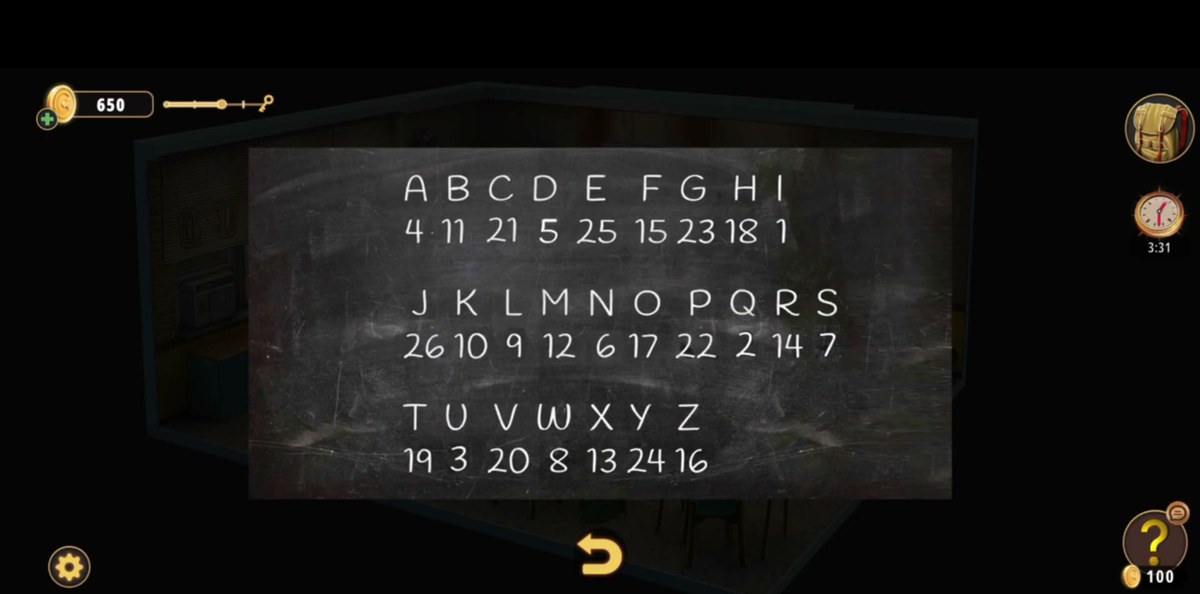
Step 7 · 3:50The blackboard cipher
The blackboard is the most important screen in the level and the easiest to walk past. It is a full letter-to-number cipher with the numbers deliberately scrambled: A is 4, B is 11, C is 21. Not A=1, B=2. Any code later in the level has to be read off this board, so photograph it or copy it before you leave the classroom.
Step 8 · 4:02The locker corridor
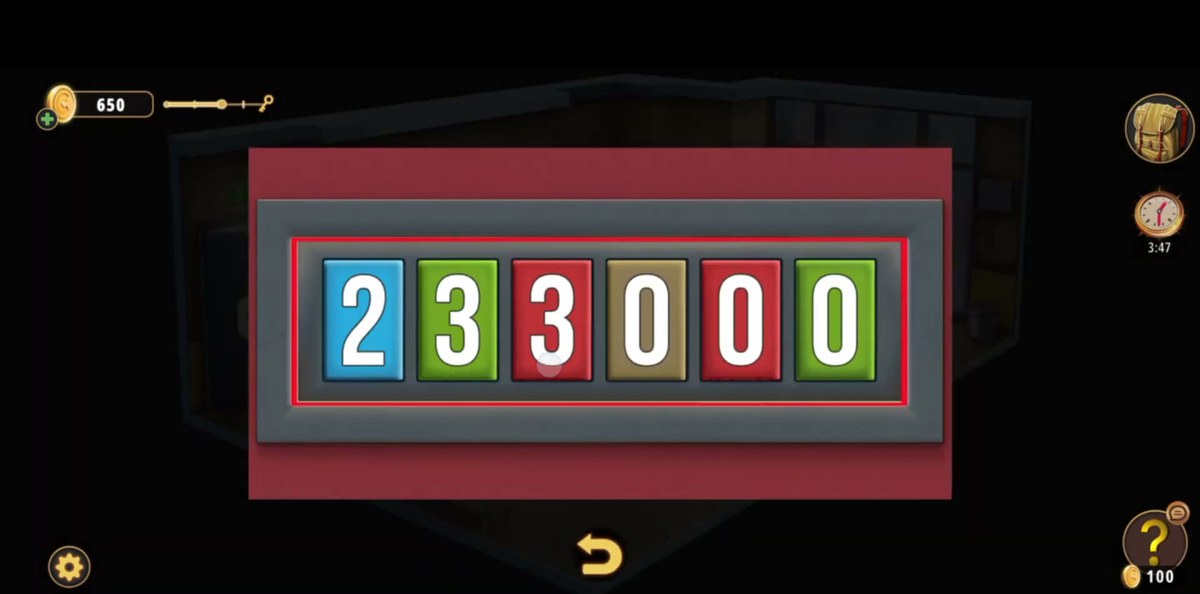
Out of the classroom you get the tiled corridor: EXIT door on the left, red and green lockers along the wall, a sofa, a plant, a sink and the display cabinet at the end. This is where the last third of the level happens. One of the lockers has a six-digit red panel on it. The panel takes the digits one at a time and each slot lights up when it accepts a digit.
We do not print the six-digit code. Our two recordings of this panel disagree on the last two digits and we would rather send you to the source than hand you a number that costs a minute of retyping. The digits come from the cipher board plus the numbers already in your inventory; the panel itself is the red locker face in this corridor.
Step 9 · 4:48The fuse panel and the smoking air conditioner
The fuse panel has eight switches; the correct configuration is the one that lights the green indicators on both sides at once. The air-conditioning unit above the sink starts smoking partway through the level. That is the game telling you the extinguisher you are carrying has a use. Discharge it on the unit and the corridor clears.
Step 10 · 5:16The hexagonal tile board
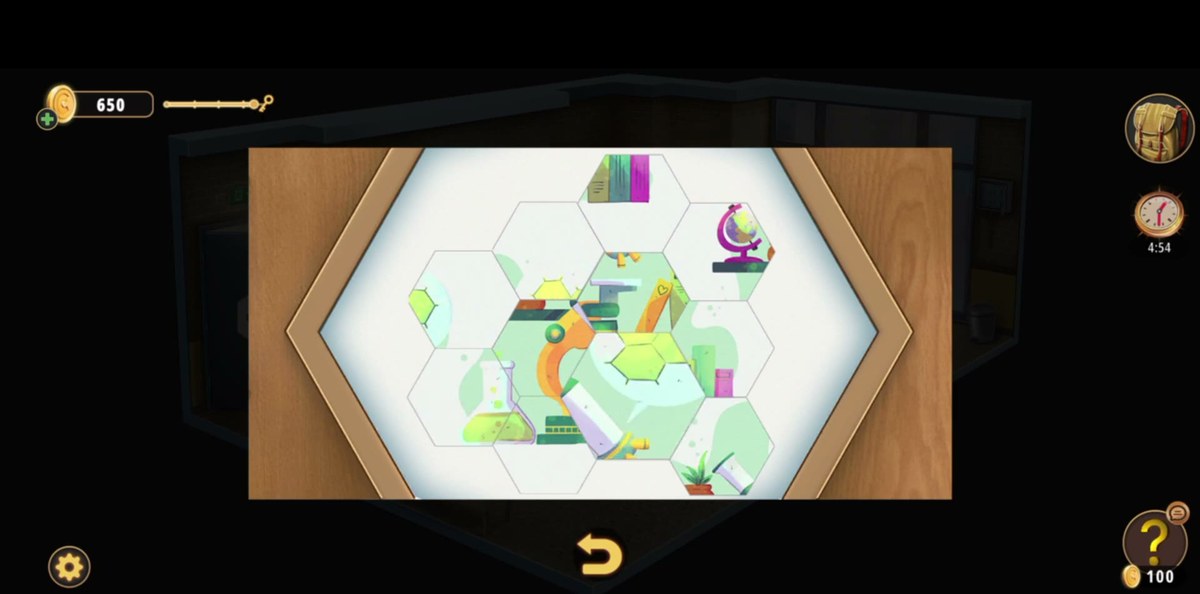
The last big puzzle is a honeycomb board of hexagonal tiles. You slot a hexagonal puzzle piece you picked up earlier into the empty socket, then rotate the surrounding tiles until every path links into one continuous run. There is exactly one empty socket, so there is no ambiguity about where the piece goes. The work is in the rotations, and the board snaps into place when the last tile lines up.
Step 11 · 5:36The trophy cabinet ends the level
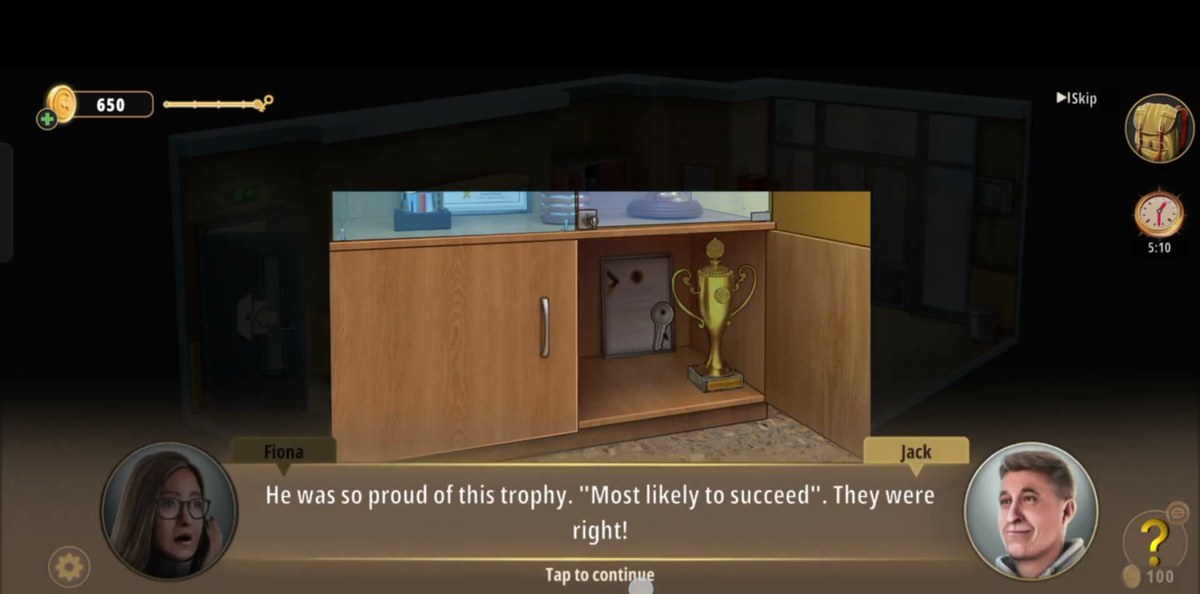
The display cabinet in the corridor holds a trophy, and opening it plays the closing beat of the chapter: the trophy is engraved "Most likely to succeed" and the dialogue lands the joke about who it belonged to. The level completes immediately after. There is no exit door to walk through in High School.
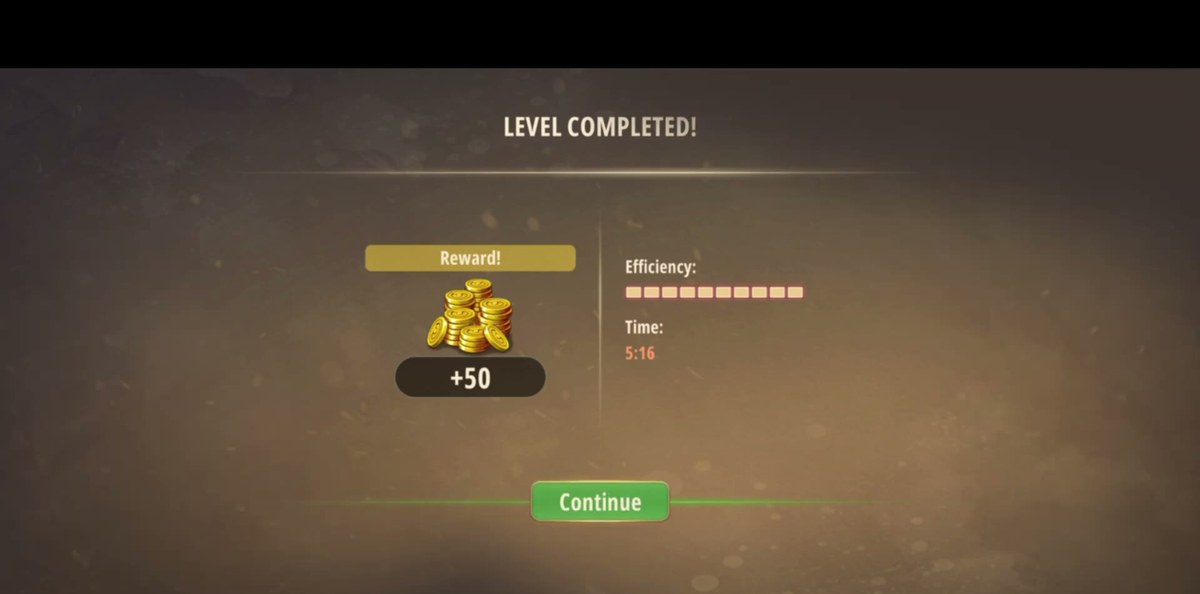
Step 12 · 5:50Level complete+50 coins, efficiency around 7/10 and an in-game time of 5:16. Level 5 (Yacht) needs stars to unlock, so if you have been finishing rooms fast this is the point where the star gate starts to matter.
Two things worth knowing before you use it. First, there is no zero on the board, so a code that needs a 0 is not coming from the cipher. Second, the board writes FAIL across itself once you get a puzzle wrong. That is the game mocking you, not a new clue.
Where people get stuck.
The arcade screen. It is easy to read as decoration. It is not: it is the only source of 1590, and the keypad in the same room is useless until you clear it.
The globe colours. Players read 20, 17 and 39 top to bottom and type them in that order. The keypad wants them by button colour, not by position on the globe.
The cipher. Assuming A=1 is the single most common mistake in this room. A is 4. Copy the board.
The corridor. The lockers look like the goal. They are not. The level ends at the display cabinet with the trophy.
Chapter 1 levels.
Chapter 1 · Wicked Games11 of 11 with full written steps · 11 with a video
1590. Finish the dot maze on the classroom screen and it shows the number, which is what the classroom keypad takes.
What does the blackboard cipher decode?
It maps each letter to a scrambled number: A=4, B=11, C=21, D=5, E=25, F=15, G=23, H=18, I=1, J=26, K=10, L=9, M=12, N=6, O=17, P=22, Q=2, R=14, S=7, T=19, U=3, V=20, W=8, X=13, Y=24, Z=16.
What are the numbers on the globe?
20, 17 and 39, one on each coloured continent. They go into the three coloured buttons on the small keypad, matched by colour.
Does High School have a timed puzzle?
Only the arcade maze, and it is generous. Around three minutes of clock for a board that takes well under two. Everything else in the level waits for you.
 GridPaw
 Shikaku
 Akari
 Kakuro
 Nonogram
 Nurikabe
 Pictomino
 KenKen
 Binary
 Star Battle
 Hashi
 Slitherlink
 Murder Sudoku
 Meowdoku
 Crazy Cleanup