 GridPaw
 Shikaku
 Akari
 Kakuro
 Nonogram
 Nurikabe
 Pictomino
 KenKen
 Binary
 Star Battle
 Hashi
 Slitherlink
 Murder Sudoku
 Meowdoku
 Crazy Cleanup
Rooms & Exits Chapter 3 Level 16 Walkthrough: Attic
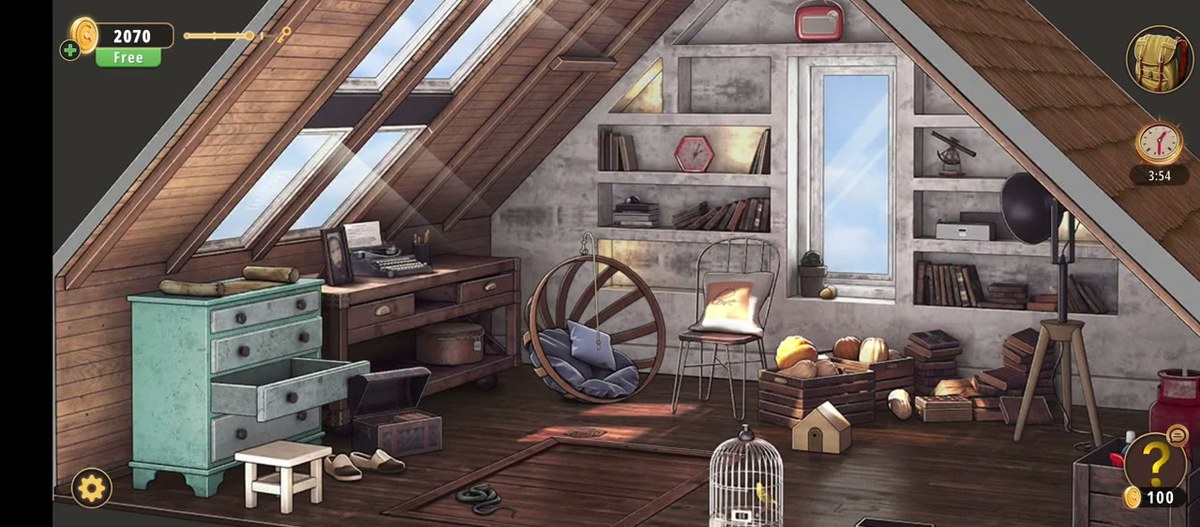
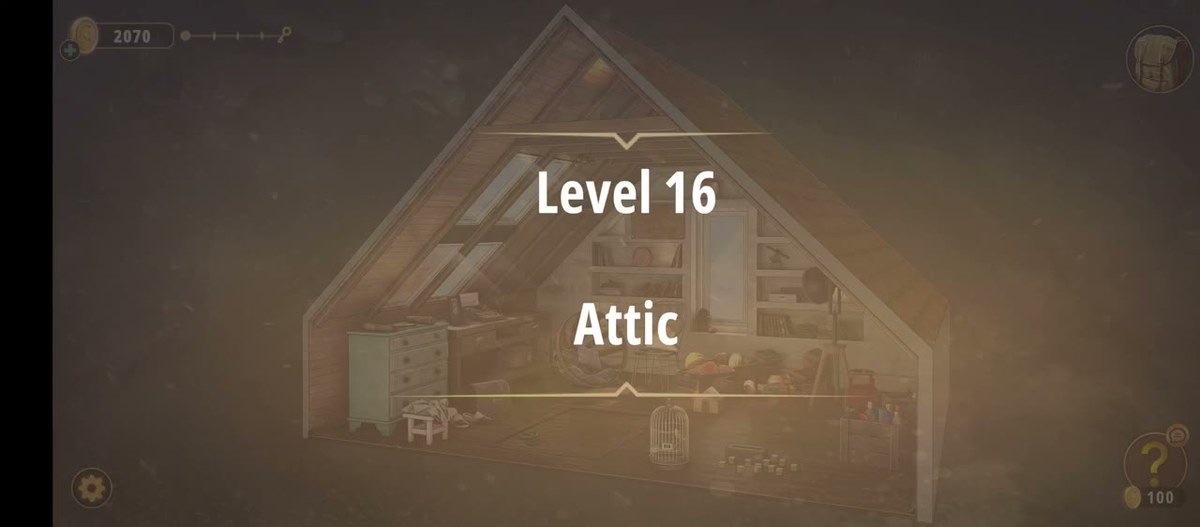
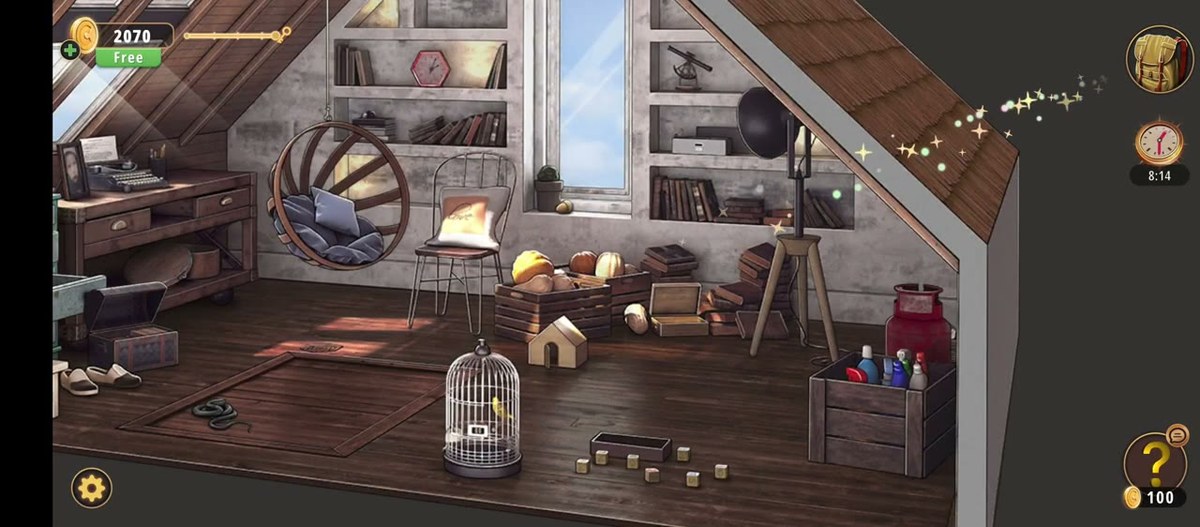
Attic is the sixteenth room of Chapter 3, Murder Dressed in White, and at eight minutes fifty-six it is the longest of the chapter's three utility rooms. It is also the prettiest: a sloped plank ceiling with skylights, a back wall of built-in shelves, a tall window, a mint-green dresser with a drawer left open, a desk with a typewriter, and a white birdcage on the floor with a yellow bird inside it. The level hides its logic in small objects — a clock missing a hand, a four-digit display under a pair of arrows, an octagon plate, a five-by-five shape grid — and then pays off with one of the few complete results cards in the chapter.
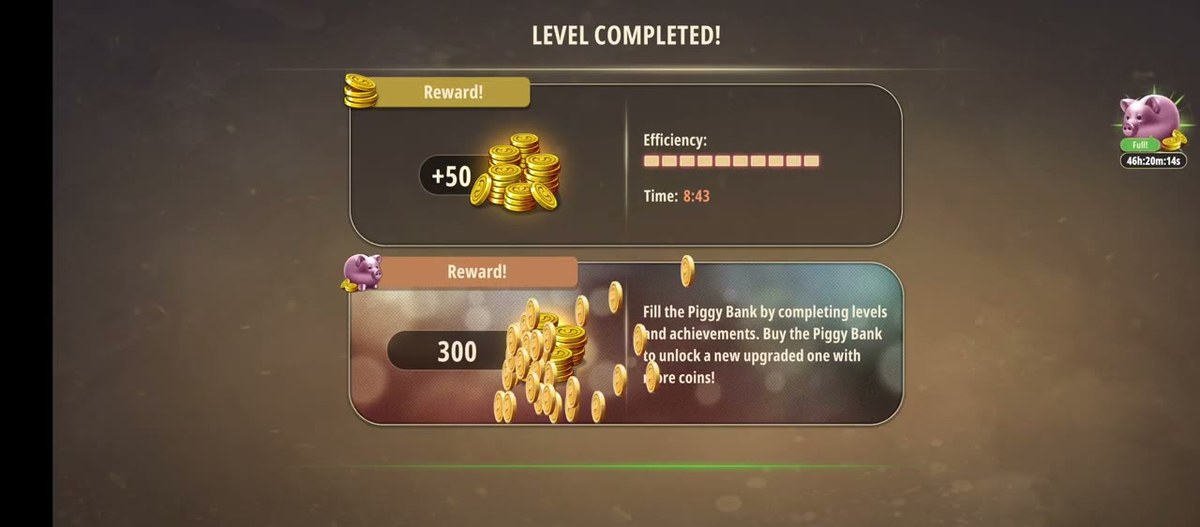
Attic is room 16 of 24 in Chapter 3. The number lock reads 3549 at 4:39. The room ends completely at 8:55: +50 coins, Time: 8:43, piggy bank 300.
- Read the room from the doorway before moving: sloped ceiling above, shelves along the back wall, dresser and desk to the right, birdcage on the floor.
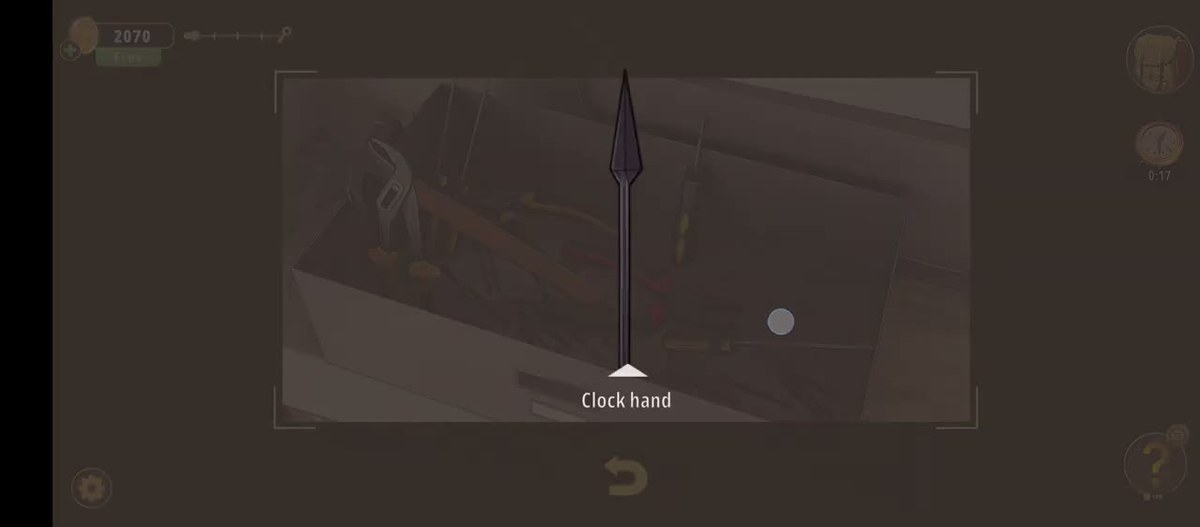
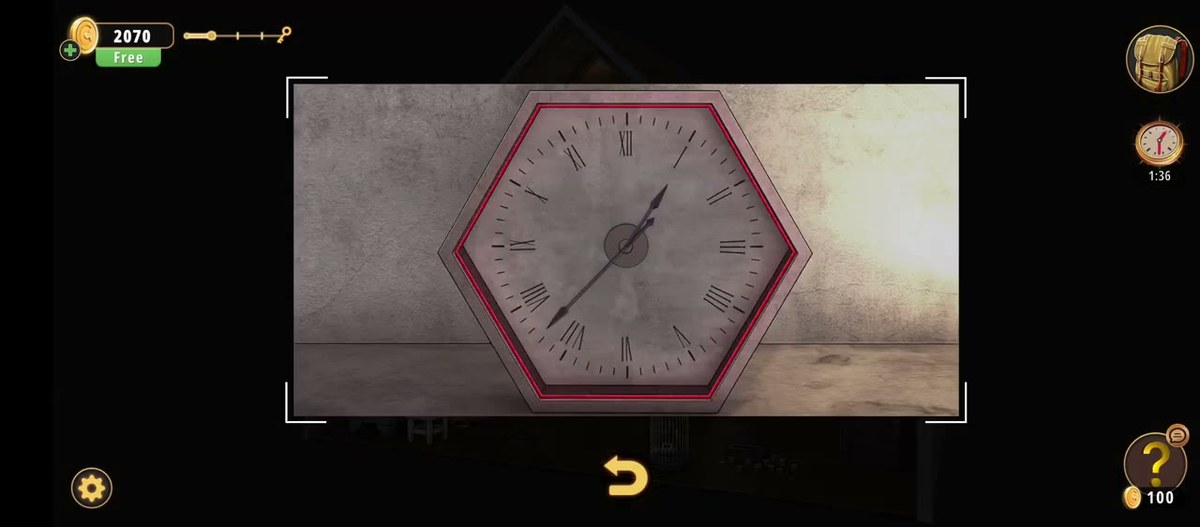
- Pick up the Clock hand at 0:19. The red hexagonal wall clock at 1:39 is where it belongs.
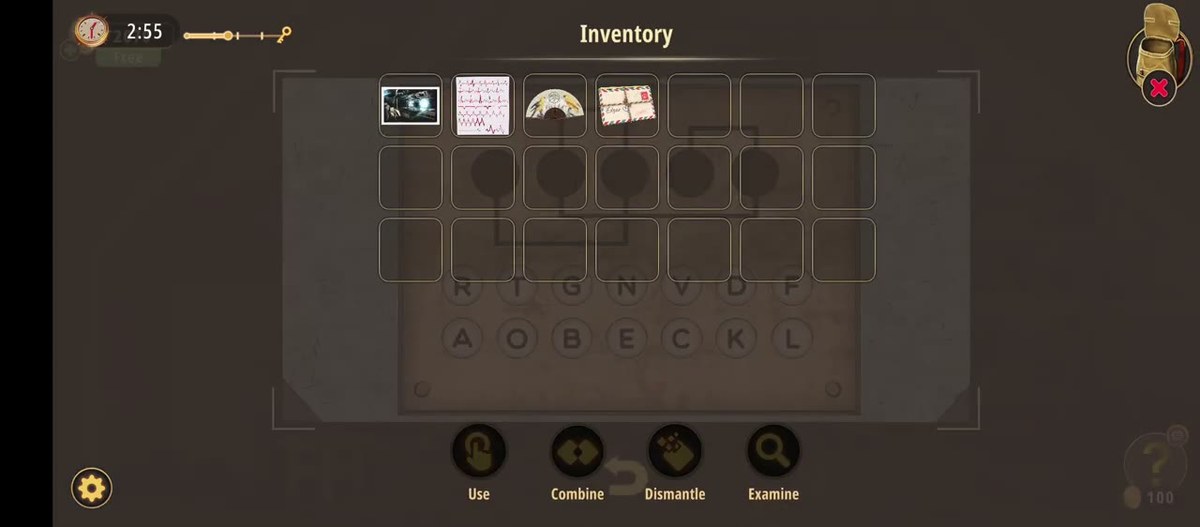
- Check the inventory strip at 2:59 — the letters R N G N D P A O B E C K L are laid over a tile grid below the action buttons.
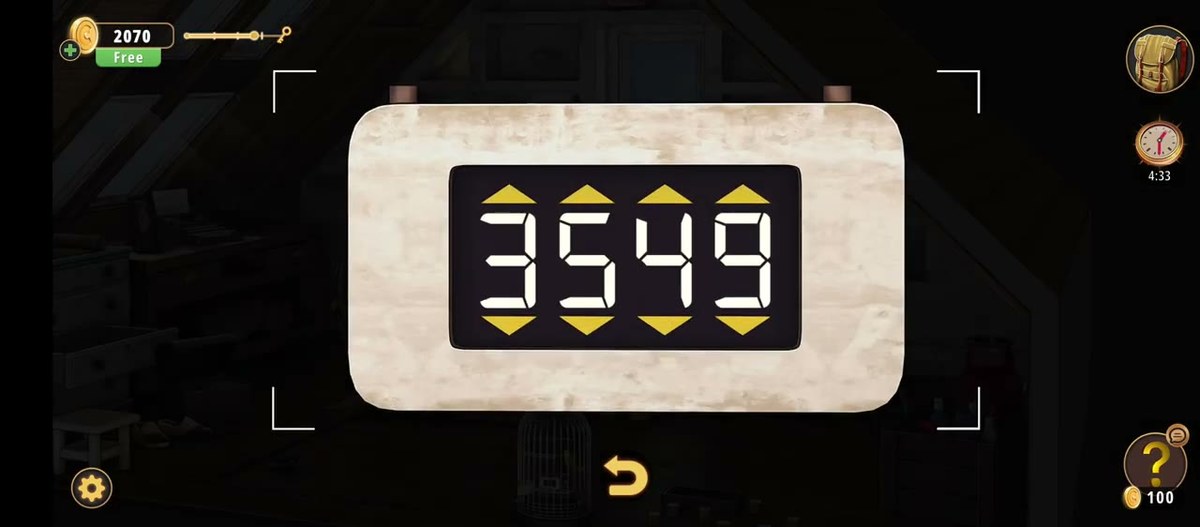
- Set the four-digit display to 3549 at 4:39; the up arrow sits above the digits and the down arrow below.
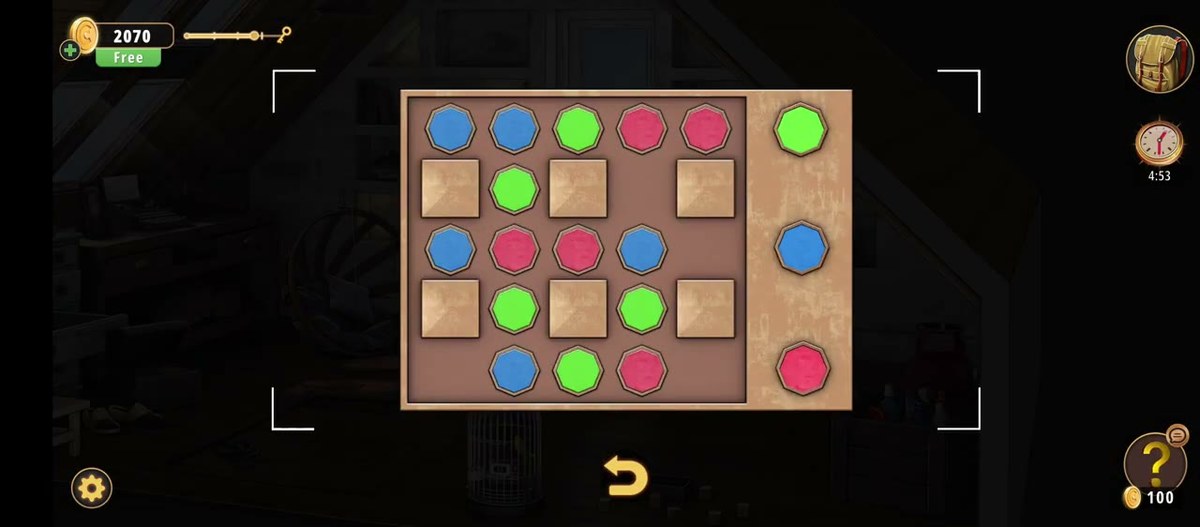
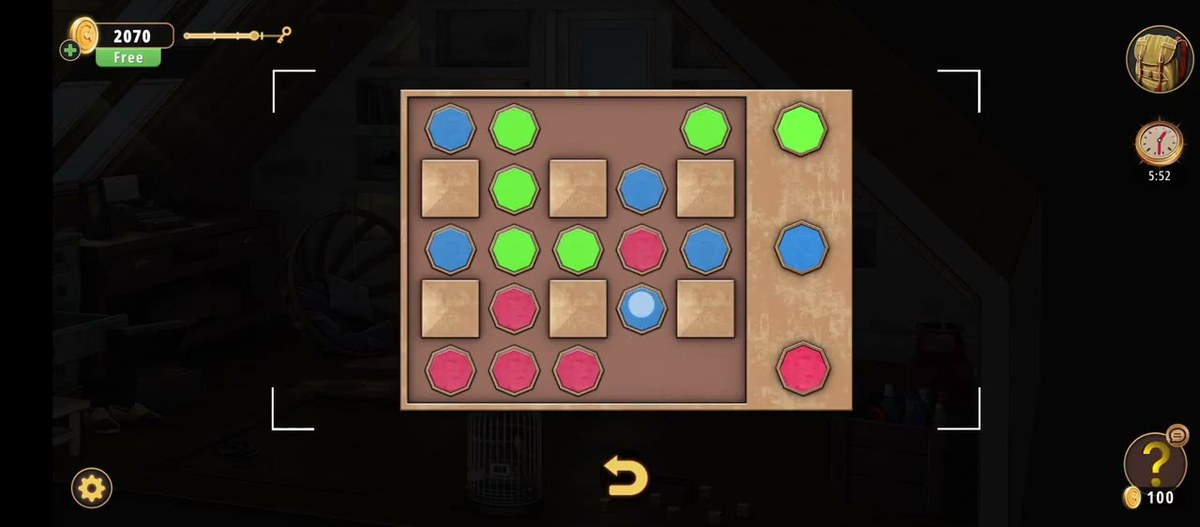
- Work the octagon plate at 4:59, then the five-by-five shape grid at 5:59.
- Finish at the birdcage. At 8:23 the attic is lit and the cage is the last object on screen.
- The results card lands at 8:55: +50, Time: 8:43, piggy 300, bank full.

The Attic run used for every frame on this page.
What this level actually is.
A finished attic rather than a junk store. The ceiling is planked and slopes down to both sides, broken by two skylights that throw hard light onto the floor. The back wall is a run of built-in shelves holding books, boxes, bottles and a red jug; a tall window stands at the right end of it. Along the right side sit a mint-green dresser with its top drawer pulled open, a stool, and a desk with a typewriter and a framed photograph on it. A circular hanging chair with a blue cushion hangs in the corner, and a metal-framed chair with a cushion reading Love sits beside the desk.
The floor props are what the level actually runs on. A tall tripod floor lamp stands centre-left. A white birdcage sits on the boards with a small yellow bird inside. Crates of striped gourds are stacked near the shelves, with a red jug and rolled papers on top. It is a dense room, and the camera revisits the same corners several times in different light, which is why the source file has more usable frames per puzzle than either the Storage Room or the Garage.
Structurally it is a mixed room: one genuine repair (the clock), one typed lock (the four-digit display), and two attribute boards (the octagon plate and the shape grid). The birdcage is the odd one out — it is not solved by entering anything, and it is the last thing you see before the results card.
The map: what is where.
Everything we could identify, and what it is for.
| Object | Where | What it does |
|---|---|---|
| Red hexagonal clock | Shelf on the back wall | White face, gold bezel, brass pendulum; one hand position empty. |
| Clock hand | Inventory pickup | Labelled Clock hand; the matching repair for the wall clock. |
| Four-digit display | Wall-mounted lock | Up arrow above, down arrow below; reads 3549. |
| Octagon plate | Full-screen close-up | Square plate of small coloured octagons in orange, red, green, yellow and dark tones. |
| Shape grid | Full-screen close-up | Five-by-five tiles, each holding a differently shaped, differently coloured piece. |
| White birdcage | Floor, centre | Yellow bird inside; the last object before the results card. |
| Mint-green dresser | Right wall | Top drawer pulled open; the drawer itself is lootable. |
| Desk and typewriter | Right wall, past the dresser | Typewriter and a framed photograph; the desk is a search surface. |
| Circular hanging chair | Corner, behind the desk | Wicker seat with a blue cushion. |
| Love chair | Metal frame, by the desk | Cushion printed with the word Love. |
| Tripod floor lamp | Floor, centre-left | Tall three-legged lamp; the room's main warm light before it brightens. |
| Skylights | Sloped ceiling, two | Hard daylight onto the boards; the room's only cool light. |
| Built-in shelves | Entire back wall | Books, boxes, bottles, a red jug, rolled papers on the top shelf. |
| Gourd crates | Floor by the shelves | Stacked wooden crates of striped green gourds. |
Step by step.
The order below follows the recording. Timestamps are video time; the links jump to the matching second.
Where people get stuck.
You treat the Clock hand as a key. It is a repair part, and the red hexagonal clock on the shelf is missing exactly that. If the clock is still showing one hand, you have not fitted it yet — and a room that hands you a time is a room that expects you to make the clock work first.
You read the letter strip as an answer. Thirteen letters is longer than any lock in this room. That strip is an inventory view — the action buttons are above it — so it is showing what you collected, not what you must enter. Copy it down, but do not try to type it anywhere.
You keep pressing the arrows on the four-digit lock one digit at a time. The arrows cycle the value, so holding or repeating moves faster than tapping. The digits to reach are 3 5 4 9; if you are stuck on the third digit, the answer is 4, not 5, which is the mistake the double read was there to catch.
You try to solve the birdcage. Nothing in the recording enters anything into the cage, and it is the last object on screen before the results card. If you are standing in front of it looking for an interaction, you are probably already done.
You hunt for a second number pad. The Attic has one typed lock. Everything else — the octagon plate, the five-by-five grid — is attribute matching. Counting pieces and colours is the right instinct; looking for digits is not.
Where the Attic sits in Chapter 3.
Chapter 3 is Murder Dressed in White, and it lists twenty-four rooms. Attic is room 16 of 24, straight after the Garage and immediately before the Terrace. It closes the chapter's run of three utility spaces — cellar, garage, attic — and it is the only one of the three that ends with a fully readable results card and a mid-length run.
Mechanically it is a step up in variety. The Storage Room was colours and bars, the Garage was colours and shapes, and the Attic combines a physical repair with a typed lock and two attribute boards. If you are working through Chapter 3 in order, this is the room where the game stops teaching one mechanic and starts mixing them.
- 1 Dining Room guide
- 2 Living Room guide
- 3 Study Room guide
- 4 Guest Toilet guide
- 5 Workshop guide
- 6 Guest Bedroom guide
- 7 Master Bathroom guide
- 8 Kids Playroom guide
- 9 Backyard guide
- 10 Garden guide
- 11 Kitchen guide
- 12 Driveway guide
- 13 Kids Bedroom 1 guide
- 14 Storage Room guide
- 15 Garage guide
- 16 Attic you are here
- 17 Terrace guide
- 18 Basement guide
- 19 Garden Shed guide
- 20 Kids Bedroom 2 guide
- 21 Hobby Room guide
- 22 Master Bedroom guide
- 23 Entertainment Room guide
- 24 Hallway guide
Previous room: Chapter 3 Level 15 — Garage
Next room: Chapter 3 Level 17 — Terrace
Back to: All Rooms & Exits walkthroughs
Frequently asked questions.
What is the code in Rooms & Exits Chapter 3 Level 16 Attic?
The room's number lock is a four-digit display with an up arrow above it and a down arrow below it. At 4:39 it reads 3549, left to right. That reading was taken twice — once from the whole frame and once from a crop — and both passes agreed. The Attic also carries a shape grid and an octagon plate, and those are state puzzles rather than typed codes.
What is the clock hand for?
The Clock hand is an inventory pickup shown at 0:19, and the room contains a red hexagonal wall clock on a shelf at 1:39. The name of the item and the shape of the clock match each other exactly, which is the strongest single hint in the level: a clock with a hand missing, and a hand sitting in your inventory. The recording never holds on the clock while a hand is being fitted, so the fitting itself is not on camera.
What does the red hexagonal wall clock look like?
A red hexagonal case with a white face, a gold bezel and a short brass pendulum hanging beneath it, sitting on a shelf between a stack of books and dark bottles. The face carries hour markers rather than numerals. In the sampled frame one hand is present and the other position is empty, which is what makes the Clock hand pickup relevant.
What is the row of letters in the inventory?
At 2:59 the inventory shows a strip with the letters R N G N D P A O B E C K L laid out over a tile grid, below the usual Use, Combine, Dismantle and Examine buttons. It is an inventory view rather than a lock you walk up to, which is unusual — the game is showing you the material you have collected rather than a panel to solve. Because the row is small in frame and reads as a loose sequence, this page lists it as observed but does not present it as an ordered answer.
What is the octagon plate puzzle?
At 4:59 the camera holds on a square plate carrying a grid of small coloured octagons — orange, red, green, yellow and dark ones in a repeating pattern. Like the shape grid later in the run, it is an attribute puzzle: the pieces differ by colour, not by number, and the plate is the board rather than a keypad.
What is the 5x5 shape grid?
At 5:59 a five-by-five grid of tiles appears full-screen. Each tile holds a flat shape in one of several colours; the shapes vary across the grid rather than repeating one motif. Nothing in the sampled frames shows the grid being solved, so this page describes the board and not a sequence.
Why does the attic suddenly light up?
At 8:23 the room is bright and the white birdcage in the middle of the floor is clearly visible with a yellow bird inside it. Earlier frames of the same room are dim and lamp-lit. The change coincides with the end of the level, and the birdcage is the last object the camera settles on before the results card — which is why it reads as the room's final action rather than a mid-level puzzle.
Does the recording show the Attic being completed?
Yes, and completely. The results card at 8:55 reads LEVEL COMPLETED! with a coin reward of +50, eight of ten efficiency segments filled, Time: 8:43, and a piggy-bank contribution of 300 with the bank flagged Full!. The +50, the 8:43 and the 300 were each read twice from separate passes and agreed both times.
How long is the Attic run?
The source file runs 8:56, which makes it the longest of the three Chapter 3 utility rooms — roughly three minutes longer than the Storage Room and three and a half longer than the Garage. It is also the least cut of the three: the room is revisited several times, so you get repeated looks at the same props in different light.
Where does the Attic sit in Chapter 3?
Chapter 3, Murder Dressed in White, lists twenty-four rooms. Attic is room 16 of 24, straight after the Garage and immediately before the Terrace. It closes the chapter's run of three utility spaces — cellar, garage, attic.
What this page could not verify.
1. What 3549 unlocks. The digits are solid — two independent passes, whole frame and crop, agreed on all four. What no frame shows is the lock accepting them: the camera reads the display and then cuts. Treat 3549 as the state on the lock at 4:39, and as the value to try if your own lock starts blank.
2. The order of the thirteen letters. The strip is legible as a set — R, N, G, N, D, P, A, O, B, E, C, K, L — but because it is an inventory view rather than a wall panel, the left-to-right order may be collection order. This page prints the letters and does not present them as a sequence, and it does not manufacture a word from them.
3. How the octagon plate and the shape grid resolve. Both boards are described from clean close-ups, including their colour families and the fact that the shape grid's tiles differ from one another. Neither board is shown in a solved state anywhere in the recording, so no arrangement or sequence is printed for them.
4. The clock's final time. The wall clock is clearly short one hand and the Clock hand is clearly in the inventory, but the recording never holds on the face long enough after the fitting to read a settled time. If the room is asking you to read a clock, that value is the one thing this page cannot give you.