 GridPaw
 Shikaku
 Akari
 Kakuro
 Nonogram
 Nurikabe
 Pictomino
 KenKen
 Binary
 Star Battle
 Hashi
 Slitherlink
 Murder Sudoku
 Meowdoku
 Crazy Cleanup
Rooms & Exits Chapter 1 Level 2 Walkthrough: Escape Room
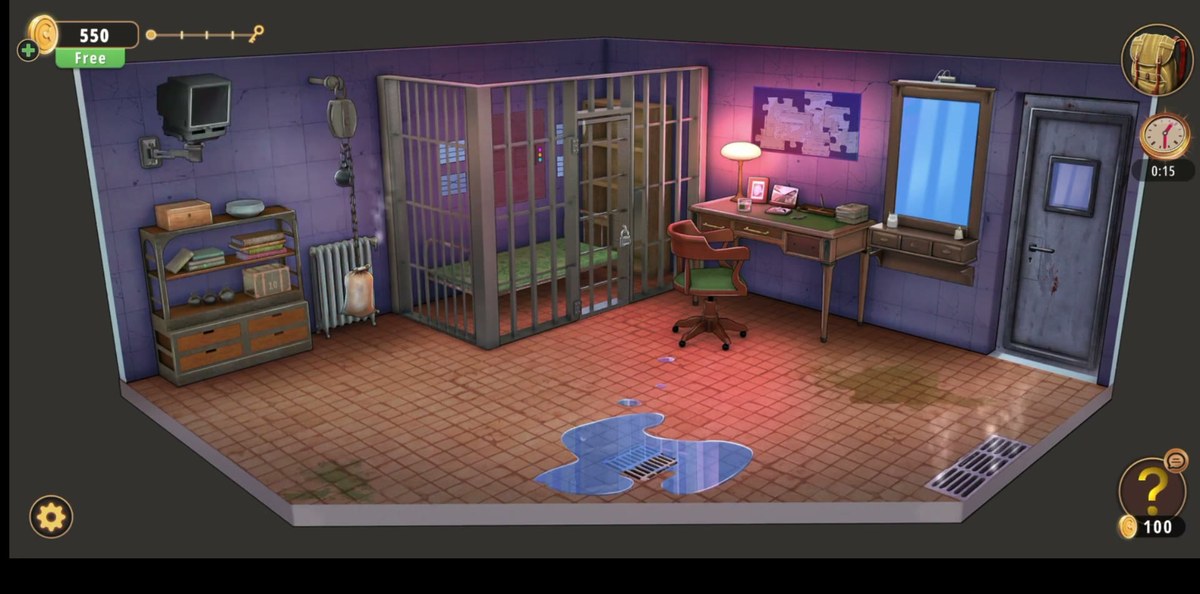
The item chain runs in one line: books → Handle → desk drawer → Knife → hanging sack → Crumpled paper → Puzzle piece → wall map → Neon light → mirror → code 514 → wall safe → colour panel → Key → exit door.
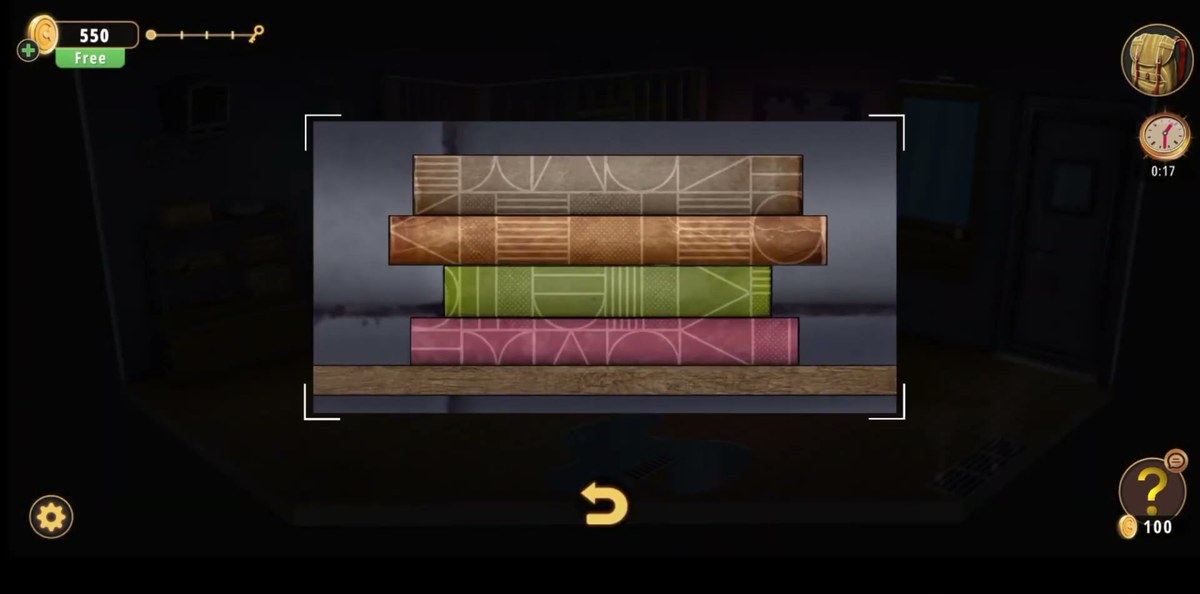
- Rotate the four book spines on the left shelf until the patterns line up. A compartment opens, take the Handle.
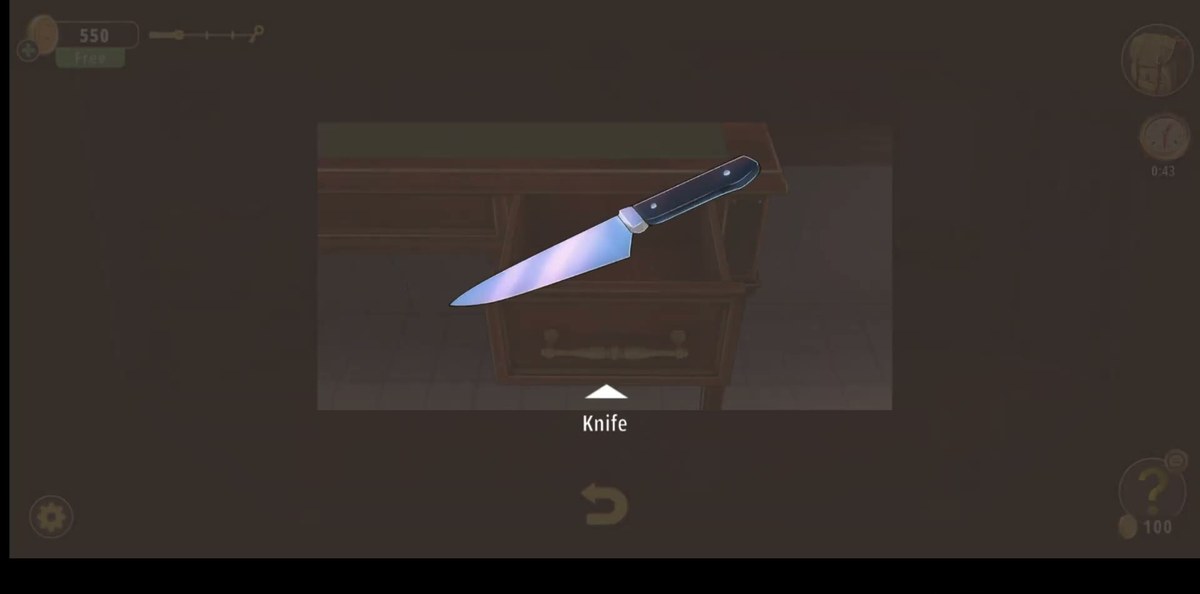
- Fit the Handle on the desk drawer that is missing one, open it, take the Knife.
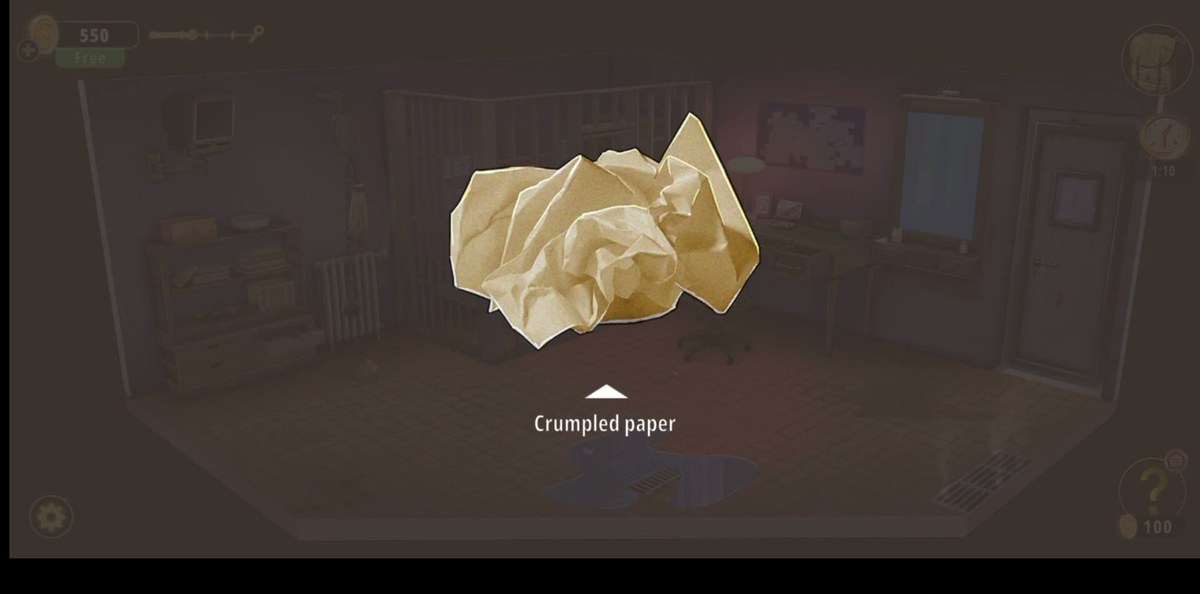
- Use the Knife on the hanging sack above the radiator. Collect the Crumpled paper.
- Dismantle the Crumpled paper in the inventory to get a Puzzle piece.
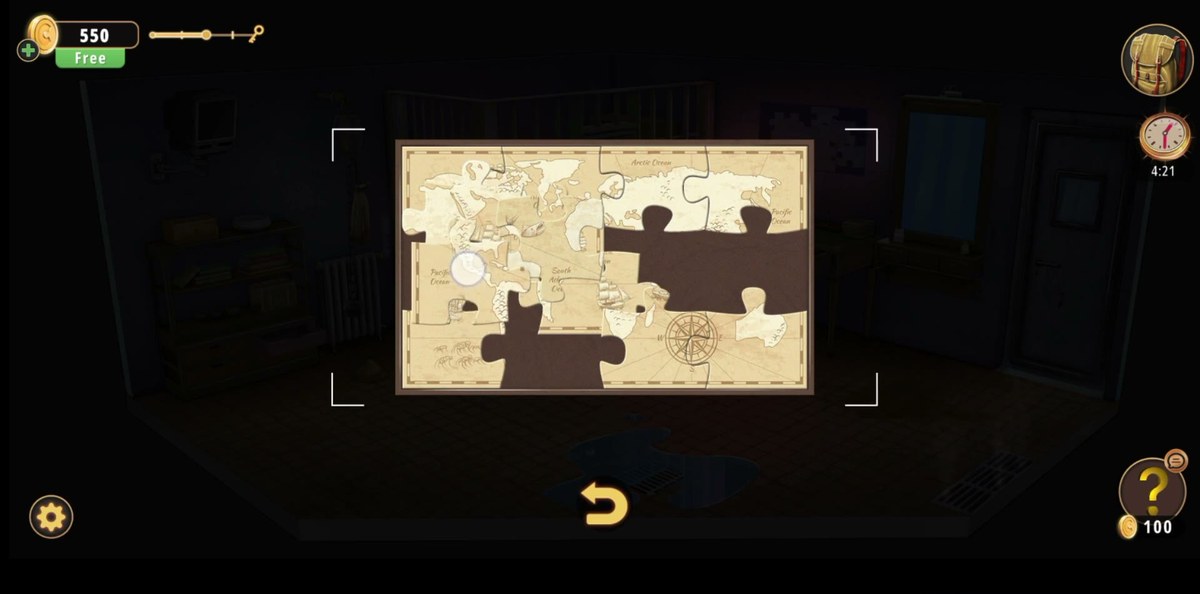
- Insert the piece in the framed jigsaw above the desk and finish the world map. Take the Neon light.
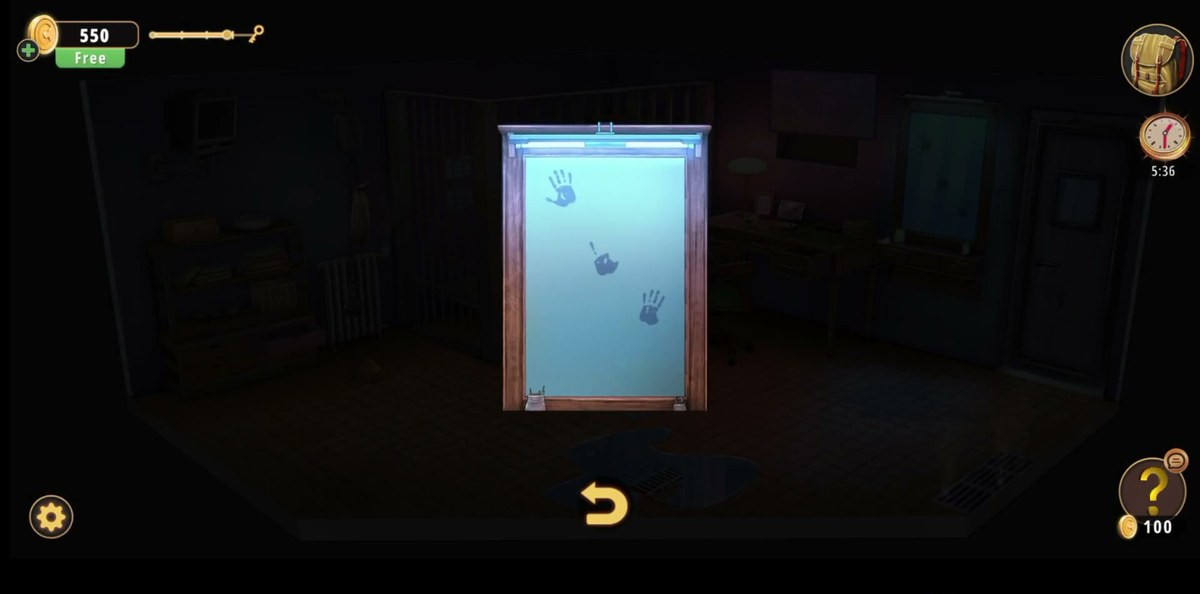
- Use the Neon light on the fixture above the mirror. Three handprints show 5, 1, 4 fingers.
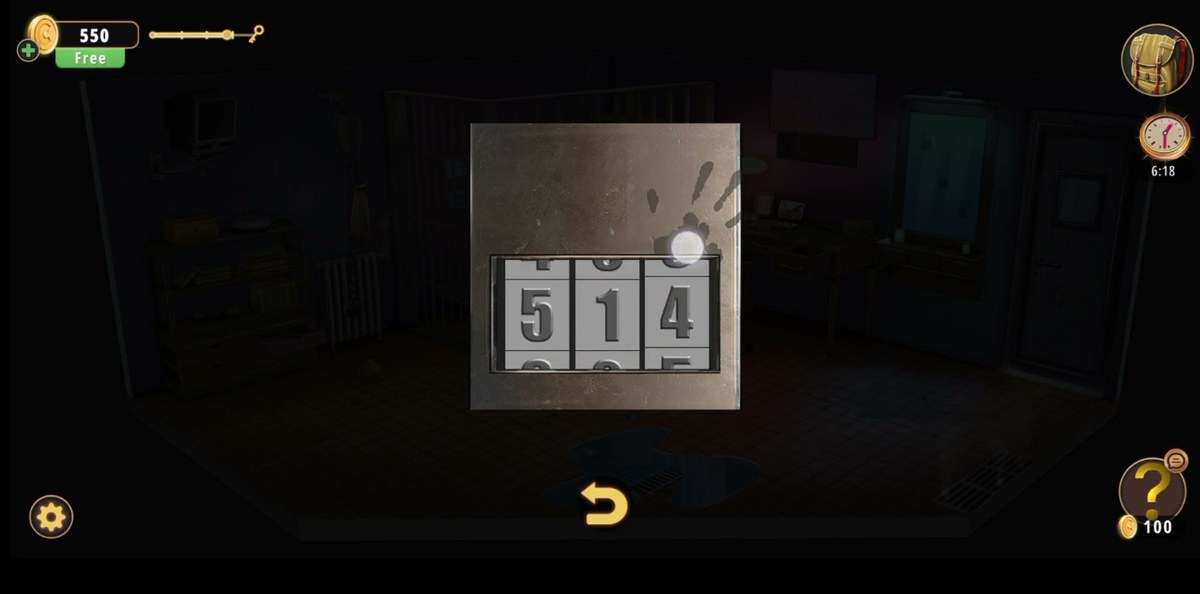
- Enter 514 on the metal lock beside the cell bars.
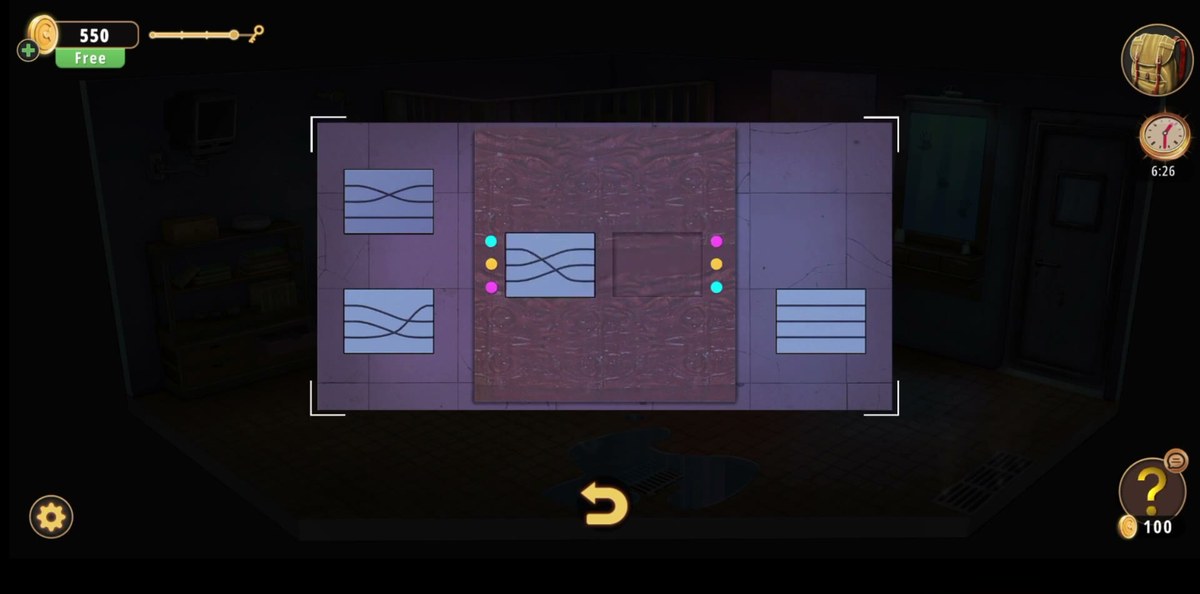
- Solve the colour panel on the cell's back wall. Take the Key.
- Use the Key on the exit door.
Watch the full solution.
The recording below clears the level in one pass. Every step card further down links to its exact timestamp, so you can jump straight to the move you are stuck on instead of watching all four minutes.

The room, and what each object is for.
Level 2 of Chapter 1 (Wicked Games) drops you in a jail cell room: a barred cell in the middle with a bunk inside, a metal shelf unit on the left wall, a hanging sack on a pulley chain above a white radiator, a wooden desk on the right with a green blotter and a wheeled chair, a framed jigsaw on the wall above that desk, a mirror on a vanity to the right of the desk, and the exit door on the far right. A puddle with a floor drain sits in the middle of the tiles, and an old television hangs on the wall top left. Nothing in this room is decoration: the shelf, the sack, the desk, the picture frame, the mirror and the wall safe are the only six things you will touch, and the safe turns out to hold a second puzzle in its door.
The level is a single chain rather than a set of parallel puzzles. Each item unlocks exactly one place, and the map puzzle is the gate in the middle. Until the jigsaw is finished you cannot reach the mirror clue, and until you have that clue the cell stays locked. If you are wandering the room with an item you have not used, that item is the answer to whatever is still sparkling.
Item chain in order.
| # | Item | Where it comes from | What it unlocks |
|---|---|---|---|
| 1 | Handle | Compartment behind the four book spines on the left shelf | The handle-less desk drawer |
| 2 | Knife | Inside that desk drawer | Cuts the hanging sack open |
| 3 | Crumpled paper | Inside the cut sack | Dismantle it for a puzzle piece |
| 4 | Puzzle piece | Dismantled Crumpled paper | The world map jigsaw above the desk |
| 5 | Neon light | Released when the world map is completed | The light fixture above the mirror |
| 6 | Key | Colour panel inside the wall safe, after 514 | The exit door |
Step by step.
Tap the shelf unit on the left wall. Four spines sit in a row, each printed with a different line pattern, and the pattern on each one rotates when you tap it. The books never leave the shelf and they are all the same thickness, so there is nothing to sort: rotate each spine until the line on it continues the line on the spine above. When all four patterns join into one design, a compartment pops open and the Handle comes out.
Open the inventory, select the Handle, hit Use, then tap the desk drawer on the right that has no handle. The drawer slides open on the first try and the Knife is the only thing inside. Note that the Handle is not consumed by this. But you will not need it again, so leave it in the bag.
This is the step most guides get wrong. The Knife does not go on the chair, the bunk or the desk. It goes on the sack hanging from the pulley chain on the left wall, directly above the white radiator. Select the Knife, use it on the sack, and the Crumpled paper falls out and is added to your inventory.
Video: 0:46
Open the inventory, select the Crumpled paper and press Dismantle rather than Use. The paper unfolds into a single Puzzle piece. If you only press Examine you will read the note and get nothing. Dismantle is the button that matters here.
Video: 0:58
Tap the framed picture above the desk: it is an antique world map broken into loose pieces. Place the Puzzle piece from your inventory into the frame first, then assemble the rest. The board is small and the pieces overlap, so the reliable order is to drag every loose piece out of the frame into the empty space around it, rebuild the four corners, then work inwards along the coastlines. Completing the map releases the Neon light tube from the frame.
Select the Neon light and use it on the fixture above the mirror to the right of the desk. The room dims, the tube glows, and three handprints light up on the glass. Count the extended fingers from the top print down: five, then one, then four. That is the whole clue. There is nothing else to find in this room for the code.
The safe is the metal box on the wall beside the bars of the cell, with three number slots. Set them to 5, 1 and 4 and tap the front to confirm. The door swings open. And it does not contain the key. Inside is a second, smaller puzzle: the colour panel.
Video: 3:12
With the safe open, the panel in its door becomes the active puzzle: four sections of wavy line with coloured dots on both sides of each one. Each section rotates, and the goal is to route every colour to the matching colour on the opposite side. Yellow to yellow, pink to pink, blue to blue. Rotate one section at a time and stop touching it once its two dots line up; when the last circuit closes, the Key appears inside the safe for you to collect.
Video: 3:18
Select the Key, use it on the door on the far right, and the level ends. The comparison screen comes up with your time, hint usage and the number of taps, and Chapter 1 Level 3 unlocks.
Where older walkthroughs send you wrong.
Rooms & Exits has been patched since the first wave of guides went up, and Level 2 is one of the rooms that changed. Two instructions in particular are still floating around and both will cost you ten minutes:
- "Cut open the armchair cushion with the knife." There is no armchair in this room, and the only soft container is the sack on the pulley chain above the radiator. This is the single most common dead end in the level: players keep tapping the chair and the bunk because a guide told them to.
- "The safe holds the key." Almost right, and the reason people think the level is broken. 514 opens the safe, but what is inside is another puzzle; the key only appears once the colour panel in the safe door is solved.
Both traps come from compressing a three-stage ending into one line. The safer habit is to read the ending of a guide as a list of objects rather than a list of outcomes: safe, panel, key, door. Four separate taps, not one.
Why the map puzzle is the hard gate.
Most people get stuck in Level 2 with a Puzzle piece in the bag and nothing sparkling, because the map frame is easy to read as wall decoration. It is not: it is the only interactive surface above the desk, and it stays inert until you physically insert the piece from the inventory rather than just tapping the frame. Once the piece is in, the remaining moves are pure jigsaw.
The jigsaw itself is where runs lose their time. The board is roughly seven by five, the pieces are unlabelled and a piece can sit a millimetre off and still refuse to snap. Pulling every piece out of the frame first is the single biggest time save in this level: inside the frame you are guessing, outside it you can see the four corner pieces and the two long coastlines at a glance. Corners, then edges, then the continents from west to east.
FAQ.
What is the code for the wall safe in Rooms & Exits Chapter 1 Level 2?
514. Light the mirror with the neon tube and count the fingers on the three handprints. Five, one, four, top to bottom. Then set that on the three number slots of the safe beside the cell bars. The code opens the safe; the key inside it needs the colour panel solved first.
Where is the knife in Rooms & Exits Level 2?
In the desk drawer that has no handle. Solve the four book spines on the left shelf to get the Handle, fit it on the drawer, pull it open and take the Knife.
How do I get the crumpled paper?
Select the Knife in your inventory and use it on the hanging sack above the radiator on the left wall. The sack tears and the Crumpled paper drops into the bag.
How long does Level 2 take?
A first clear runs seven to eight minutes, and the map jigsaw takes about half of that. With the item order known, the level is under four minutes.
Stuck on another level?.
Chapter 1 guides are being rebuilt room by room from frame-verified playthroughs. Level 2 is live; the rest of Wicked Games follows.