Unofficial fan-made guide. Not affiliated with Webelinx Games, the developer of Rooms & Exits: Escape Room Games.
Rebuilt frame by frame from a recorded playthrough of the current build — 3 minutes 31 seconds of footage, extracted at one frame per second and read at full resolution. The passcode was read twice, from separate frames, and agrees. The lock trace could only be confirmed as far as the centre dot, so this page publishes that part and points you at the in-game Pattern clue for the rest. Where the recording cannot settle a detail, this page says so instead of guessing.
Chapter 2 · No Honor Among Thieves26 of 26 with full written steps · 26 with a video
Quick answer
The only number in the Cell Phone Store is 792438, and the level hands it to you: the handset prints it once you have unlocked it. Finish worth +50 coins.
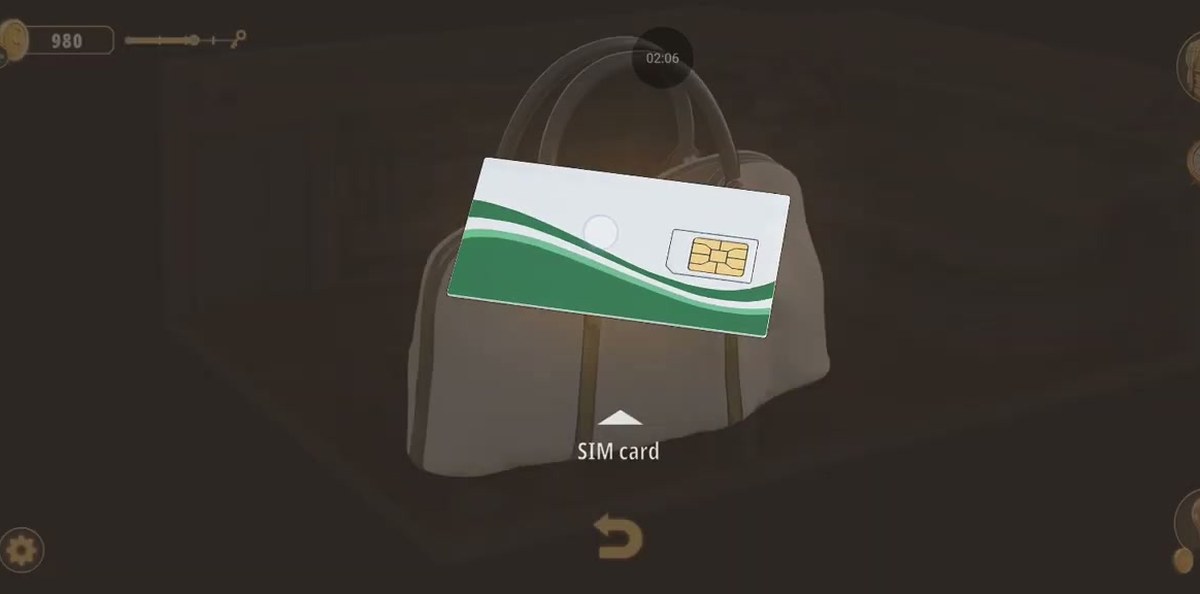
Tap the white handbag on the sofa → SIM card.
Use the SIM card on the phone that reads "No SIM Card Installed" → the lock screen appears.
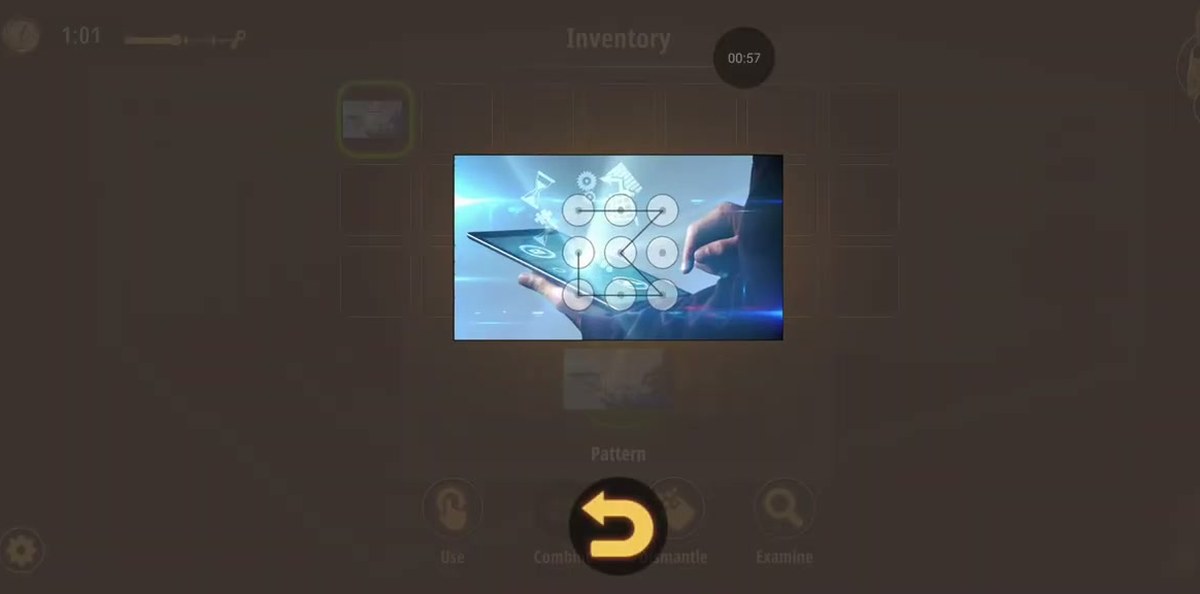
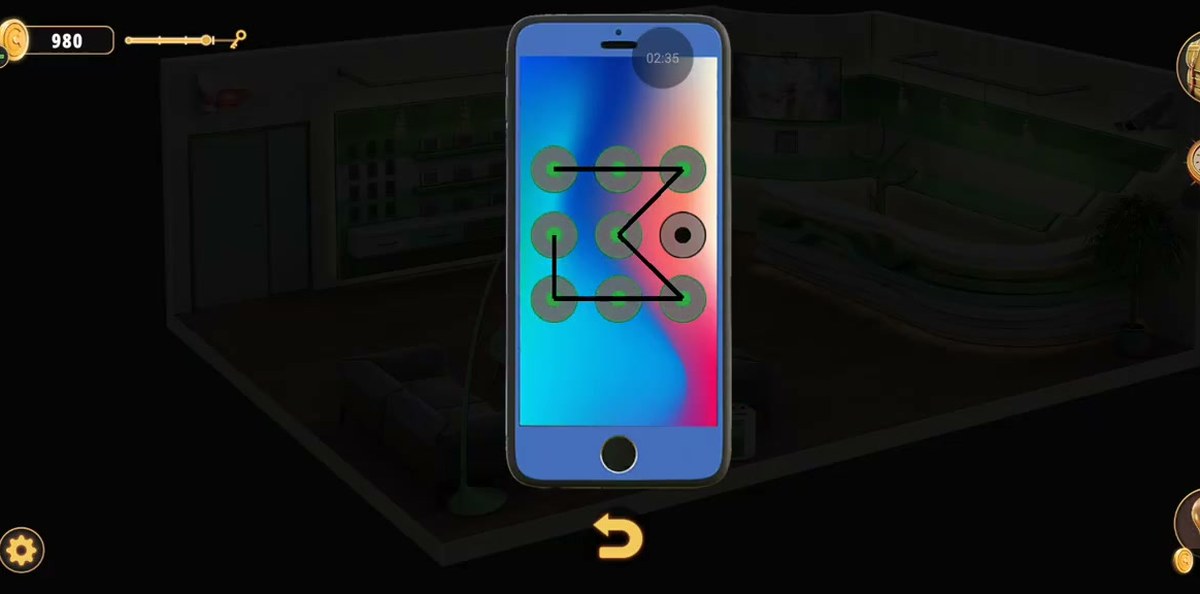
Draw the trace on the lock screen — our capture confirms top-left → top-middle → top-right → centre, then the line drops to the bottom row. Copy the whole trace from the Pattern item in your inventory (Examine); the lock accepts only that exact order.
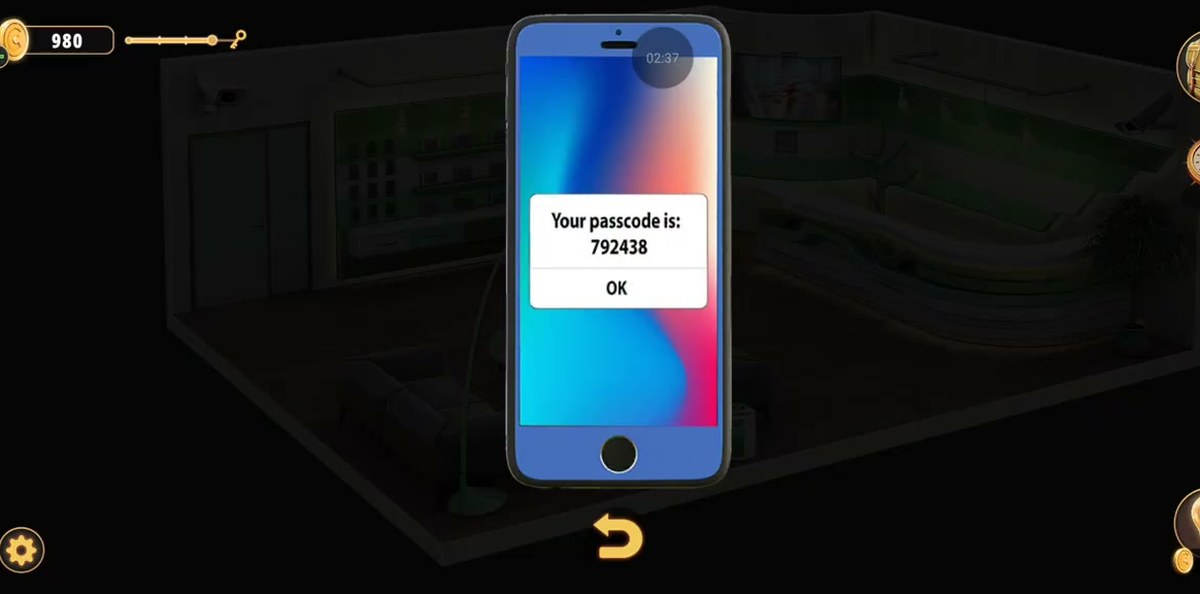
The phone prints "Your passcode is: 792438".
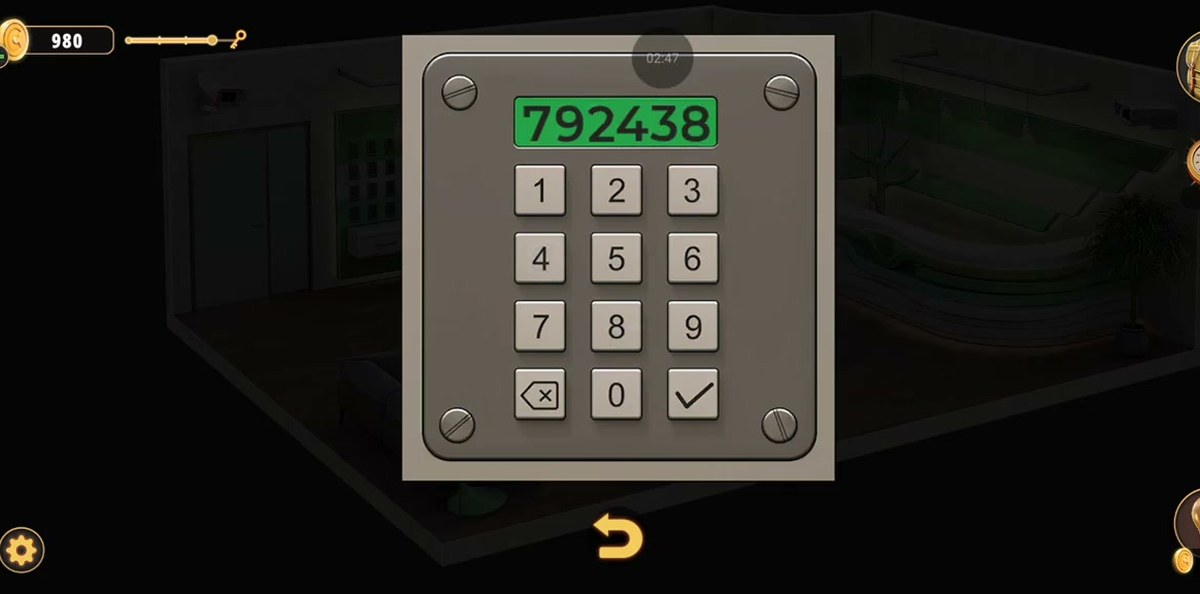
Type 792438 into the wall keypad → the unit releases.
Clear the fifteen-button panel (three rows of five) → the safe opens with a key on the back wall.
Use the key on the green double door → results screen, +50 coins.
What this level actually is.
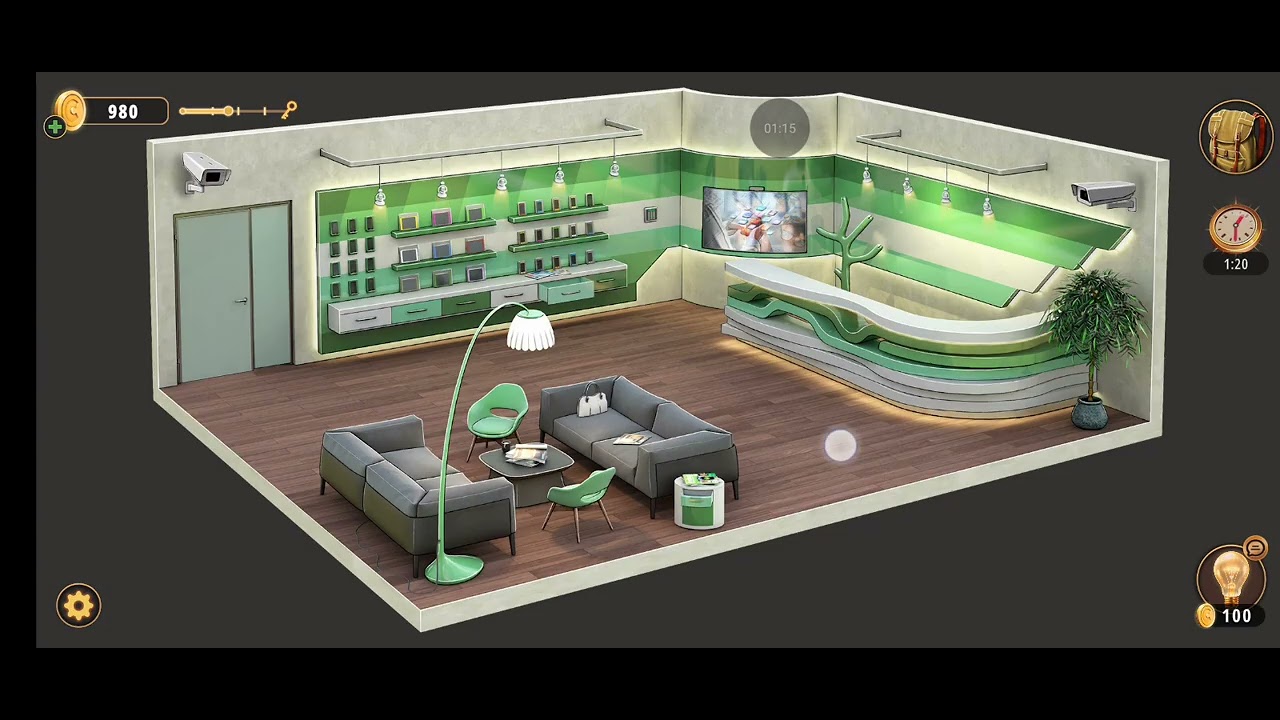
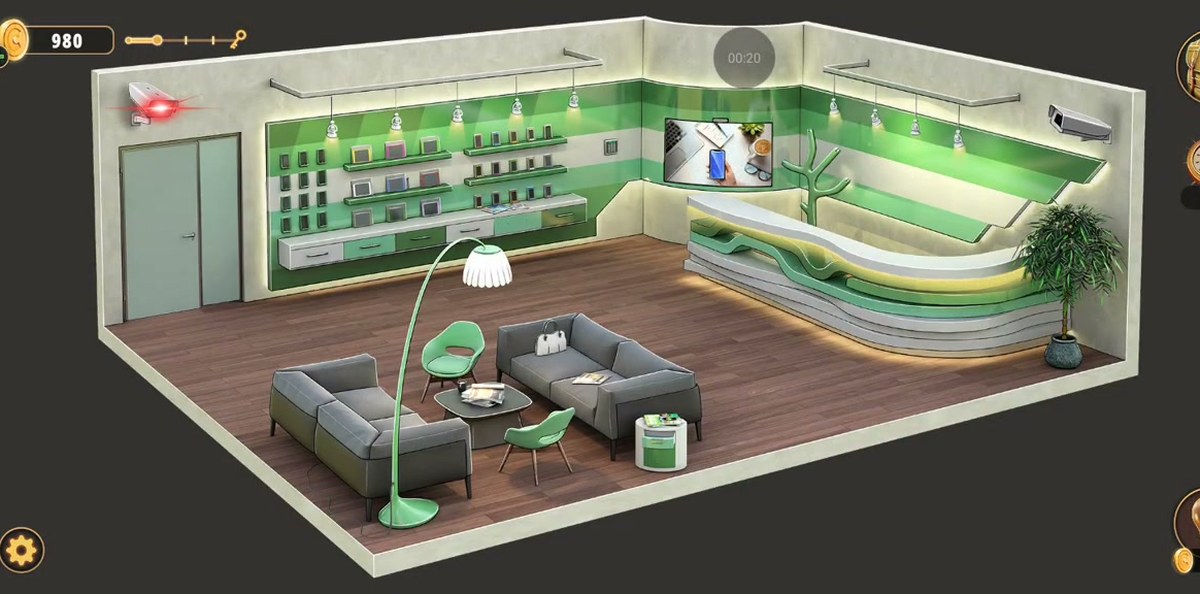
The Cell Phone Store is the first room of Chapter 2, and it is a shop rather than a puzzle box. The layout is one open floor: a display wall running down the left with three shelves of dummy handsets in coloured cases and a row of drawers below them, a curved reception desk on the right with a big wall screen above it playing a phone advert, and a lounge in the middle — two grey sofas, two pale green chairs, a dark coffee table, an arc lamp and a small round side table. A light green double door sits on the far left wall with a security camera over it, and a second camera watches the corner by the plant.
Everything that matters is in that one room, which is exactly why people stall here. There is no corridor, no second area, and no obvious order to do things in. You can tap the display wall, open every drawer, read every magazine and still not have moved, because the level is gated on two things and neither of them is signposted: a SIM card that is sitting in a handbag, and a trace pattern that only exists on an item in your inventory.
The doorway to the whole level is the phone. Until it has a SIM card it refuses to do anything except tell you that it has no SIM card, and the lock screen that carries the passcode never appears. That single dependency is what makes the Cell Phone Store feel longer than it is. The recording finishes the room in 3:38 of level time; players who never tap the handbag can wander the same shop for twenty minutes and never see the number.
Step by step.
Step 1 · 0:04Read the room before you touch anything
The first sweep is the only wide shot you get without a UI panel covering half the screen, so use it. Left wall: the retail display, three shelves, handset cradles, drawers underneath. Right: the curved desk, the wall screen, the tree-shaped ornament and the plant. Centre: sofas, chairs, coffee table, arc lamp, round side table. Far left: the green double door — that is the door you are leaving through, and it will not open until the very end of the level.
Step 2 · 0:08The round side table and its open drawer
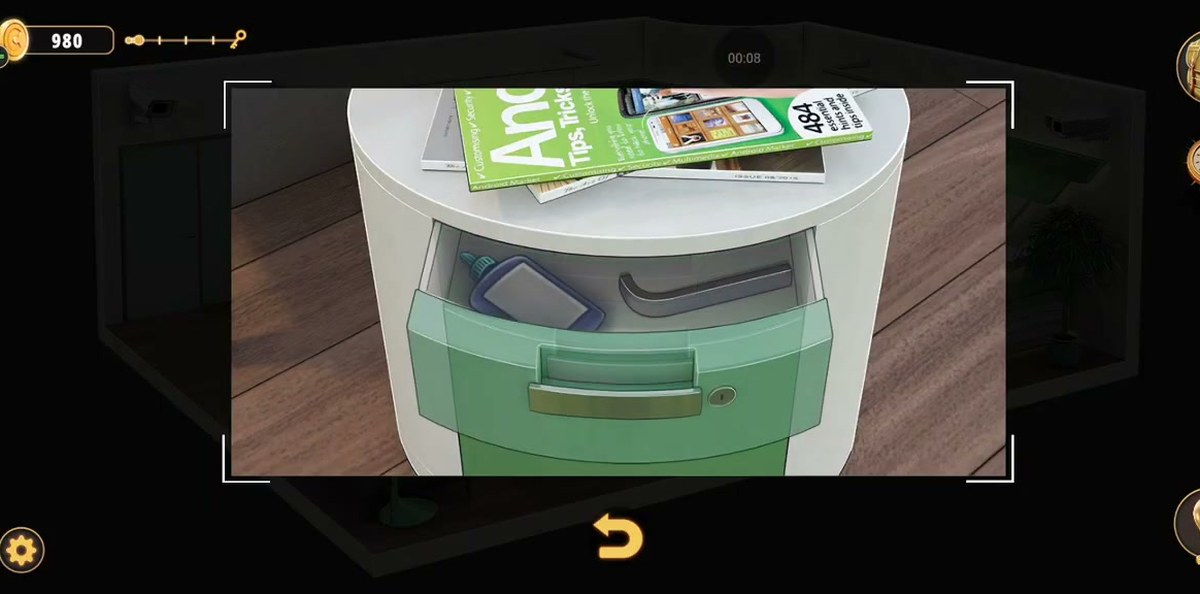
The first zoom of the level is the little round table beside the sofa. A drawer is already pulled out and there is a magazine on the top. Tap it: the drawer is a prop drawer with shop clutter in it, and the magazine is a prop magazine whose cover reads "Android Tips, Tricks". Nothing here is the answer. It is worth saying plainly because this is the screen most players spend their first minute on — the game opens with a readable magazine precisely to make you think the level is going to be about reading things.
Step 3 · 0:28Your first inventory screen: Handle parts, 2/2
The bag icon at the top right opens a grid of slots with four verbs under it — Use, Combine, Dismantle, Examine. At this point the selected item is labelled Handle parts and the slot shows 2/2, which means two pieces of the same thing, not one item used twice.
Read the verbs now rather than later: every puzzle in this room is solved by choosing the right verb on the right item, and "Examine" is the one that turns a vague picture in your bag into an actual answer.
Step 4 · 0:40The phone that says "No SIM Card Installed"
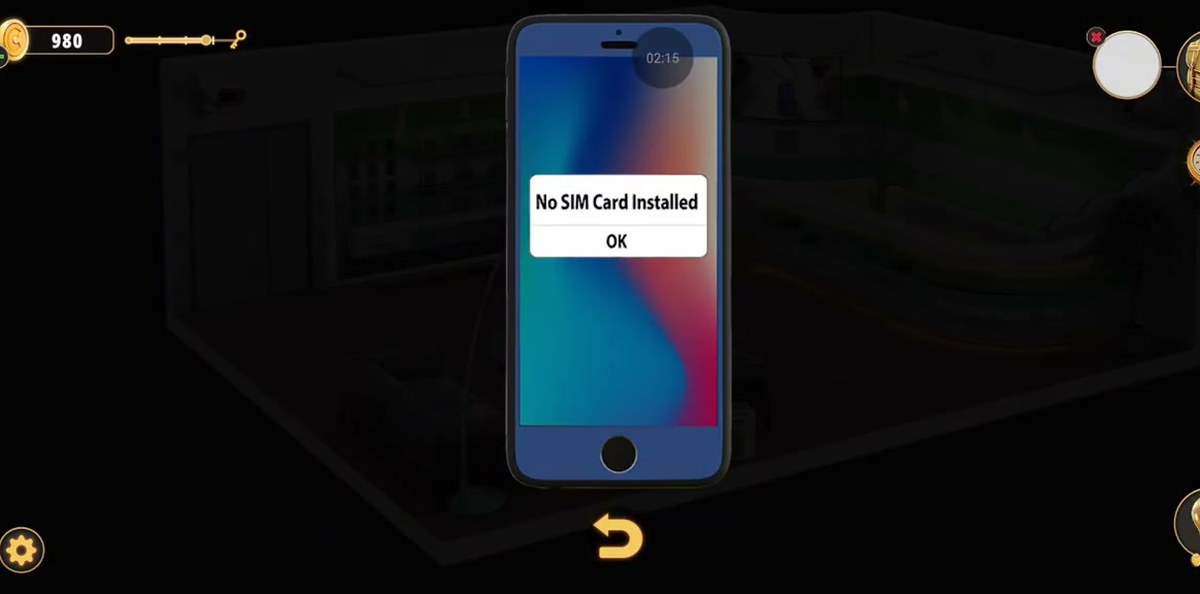
Tap the handset early and you get a white pop-up on a blue-and-teal wallpaper: "No SIM Card Installed", with a single OK button. That is the whole screen. It is not a hint that you should go and find a SIM card in the sense of a nice-to-have — it is the hard gate. The level does not open up until a SIM card goes into this phone, and the phone is not going to tell you where the card is.
Step 5 · 0:44The display counter, and why its drawers are a dead end
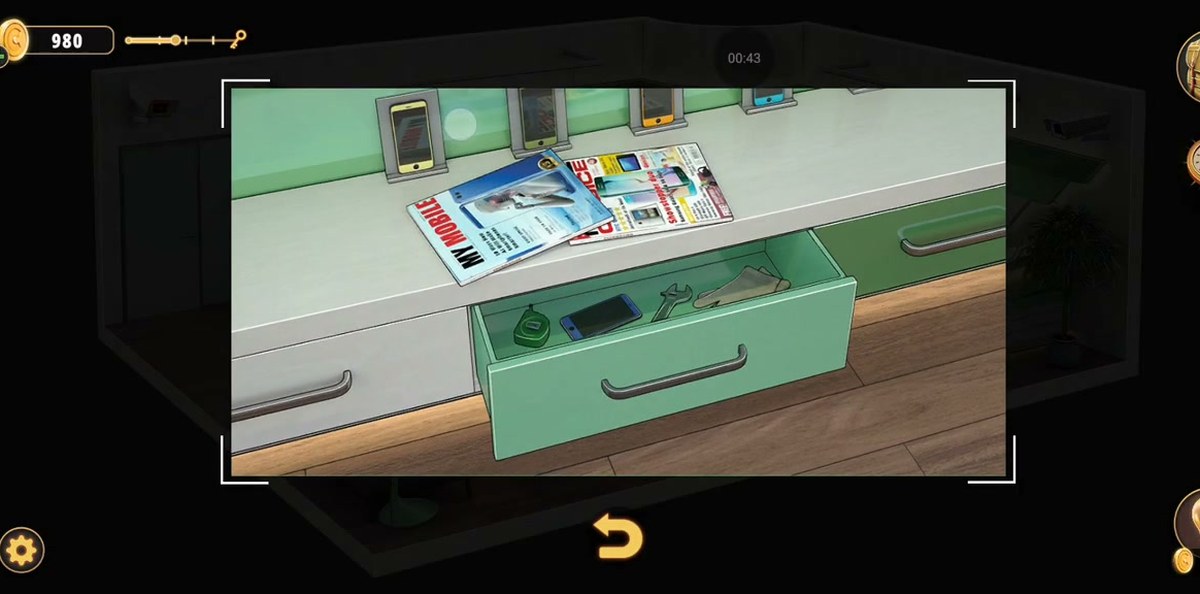
The shop counter under the shelves has a row of drawers in grey and green, one of which is already pulled out with a magazine lying open on the top. Tap it and you get the same class of prop you got at the side table — another magazine cover, "MY MOBILE", more shop clutter — plus a coffee table in the lounge holding a stack of magazines and a mug. None of it is a clue. The recording opens this drawer, reads the cover, and never returns. If you are following this guide in order, you can skip the whole surface.
Step 6 · 0:52The wall keypad, and why it is a dead end right now
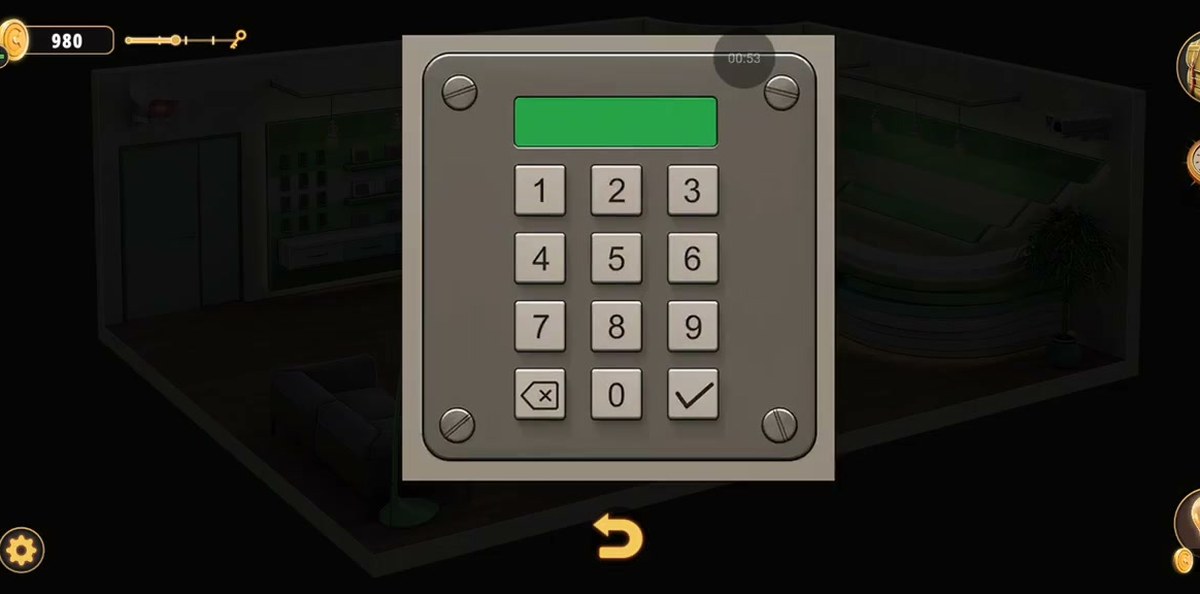
There is a metal keypad on the wall unit: digits 1 to 9, a zero, a backspace-and-x key and a tick, with a green LCD strip across the top. Tap it this early and the strip stays blank. The recording opens it three separate times between 0:52 and 1:04, checks the inventory in between, and leaves without pressing a digit — which is exactly what you should do too. There is no code in this room yet. Walking away from a lock you cannot open is a valid move.
Step 7 · 0:56The Pattern item is the phone's answer key
Open the inventory and press Examine on the item called Pattern. You get a full-screen picture of a hand drawing on a tablet: a 3×3 dot grid with a line running across it.
That picture is the trace you will draw on the phone later. It is easy to dismiss as a piece of set dressing from a magazine, which is why so many players get to the lock screen and have nothing to enter.
Step 8 · 1:41The display wall: three shelves of handsets
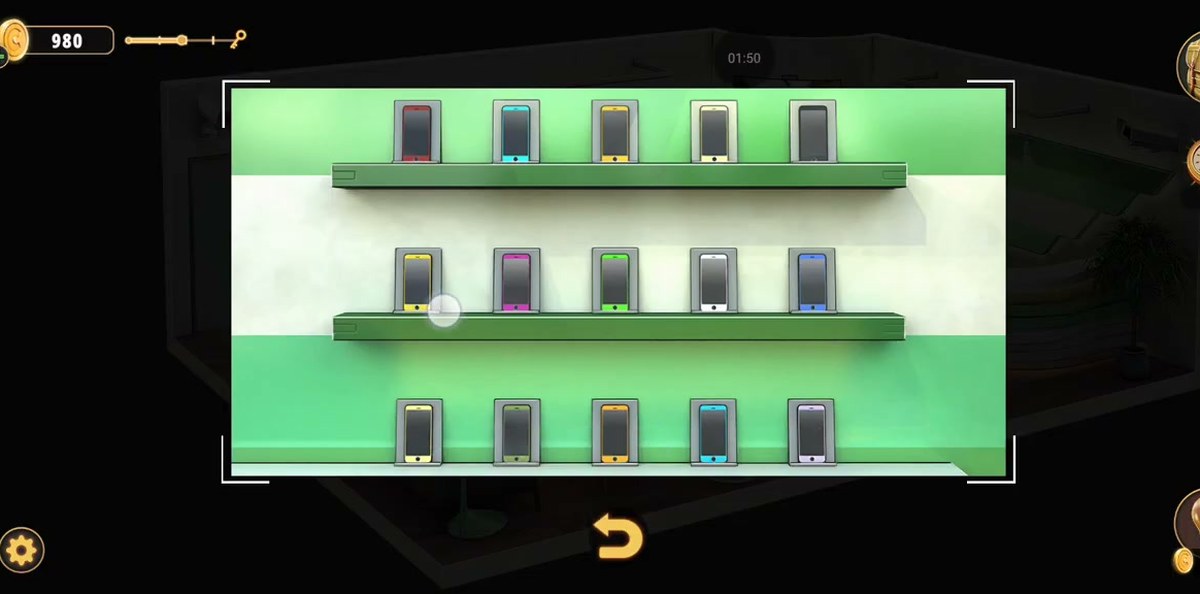
The retail wall is interactive. Three shelves of dummy phones sit in individual cradles, each in a different coloured case, and tapping them lights the screens. The recording spends a long, unhurried stretch here — it is the one part of the room that looks like a real puzzle rather than a lock. Treat it as scene-setting unless you are short of something to do: the clues you actually need come from the bag and the phone, not from this wall.
Step 9 · 2:04The handbag on the sofa: SIM card
This is the step the level is built around. The white bag with the dark trim is sitting on the sofa in the lounge. Tap it, and a SIM card rises out of the frame with the label SIM card under it. One tap. No puzzle, no lock, no cost — the single most important pickup in the room is behind the least dramatic interaction in it, which is precisely why people miss it.
Step 10 · 2:15Put the SIM card into the phone
Go back to the handset and use the SIM card on it. The tray slides out, the card goes in, and the "No SIM Card Installed" message stops being the whole story: the phone now boots to a lock screen with a live wallpaper and a 3×3 grid of dots. Nothing else in the level changes at this moment, but the run has just opened.
Step 11 · 2:26The lock screen: copy the trace from the Pattern item
The grid is the standard nine dots. What our recording confirms frame by frame is the opening: top-left (1) → top-middle (2) → top-right (3) → centre (5), and then the line turns down toward the bottom row. We could not double-confirm the last dots from the footage — the drawing animation runs faster than our read of the capture — so rather than print an order we could not verify twice, use the copy the game itself gives you: the Pattern item in the inventory, behind Examine, is a photo of that exact trace. Copy it dot for dot and draw slowly; the game follows your finger, so a fast swoosh will jump dots and fail.
Step 12 · 2:36The phone prints the passcode: 792438
The trace lands and a white pop-up appears over the wallpaper: "Your passcode is: 792438", with an OK button. Write it down or keep this page open, because the phone does not show it again by itself — you have to redo the trace to see it a second time. Six digits, in that order.
Step 13 · 2:43Type 792438 into the wall keypad
Back to the keypad you abandoned in step 6. The digits show in the green strip as you press them, left to right, so you can check the display against the code before you commit. When the strip reads 792438, press the tick. If you press a digit wrong, the backspace key clears one character at a time — you do not have to start the whole entry again.
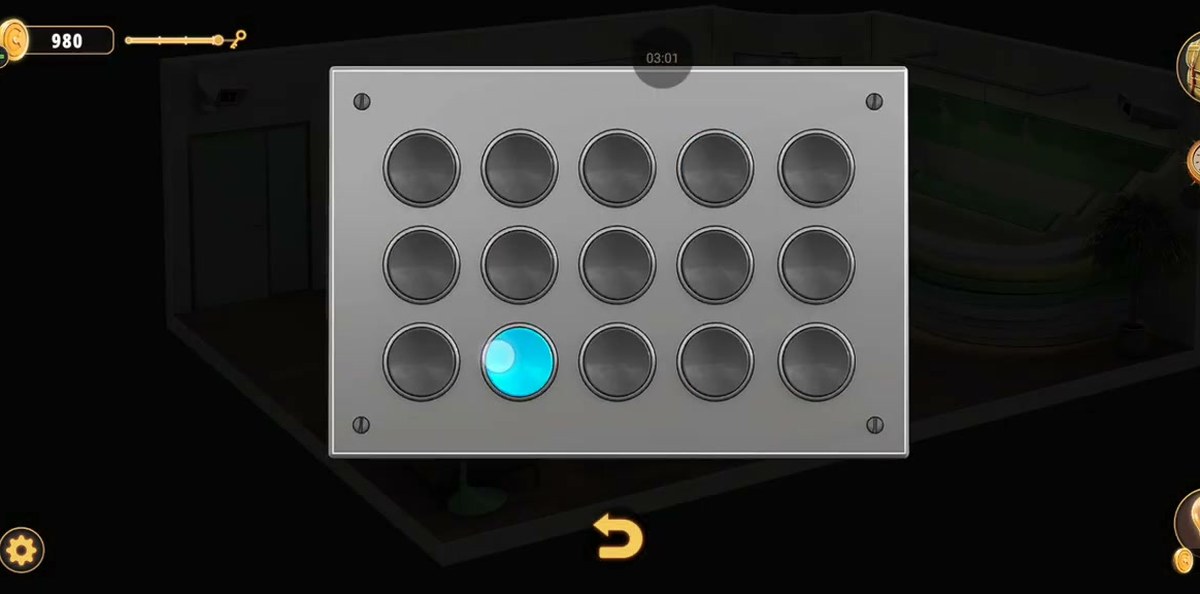
Step 14 · 3:00The fifteen-button panel, three rows of five
Clearing the keypad exposes a brushed metal face plate holding fifteen round buttons in three rows of five, with a screw at each corner. Pressing a button makes it light up cyan, and the panel shows you a whole row lit at certain points. Work the grid until the panel accepts the arrangement; the recording clears it here and the plate then swings free.
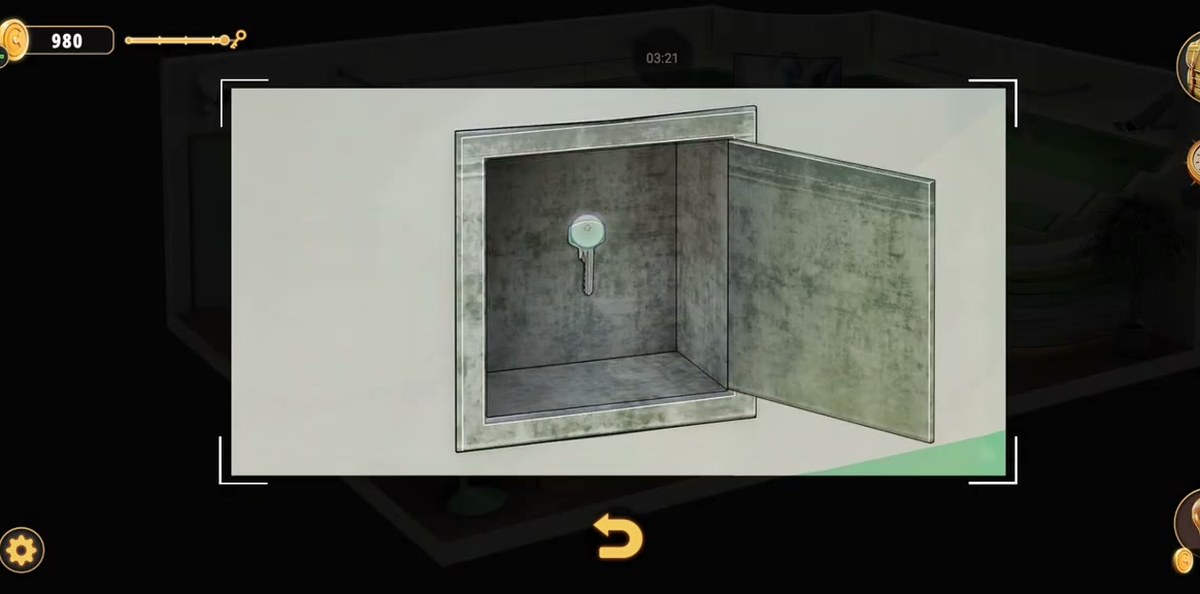
Step 15 · 3:20The safe opens: a key on the back wall
The compartment swings open on a grey interior and there is a single key hanging against the back plate, pale blue bow, silver blade. Tap it and it goes straight into the inventory — the recording does not even open the bag to confirm. From here there is nothing left to solve, only a door.
Step 16 · 3:30Use the key and leave: +50 coins
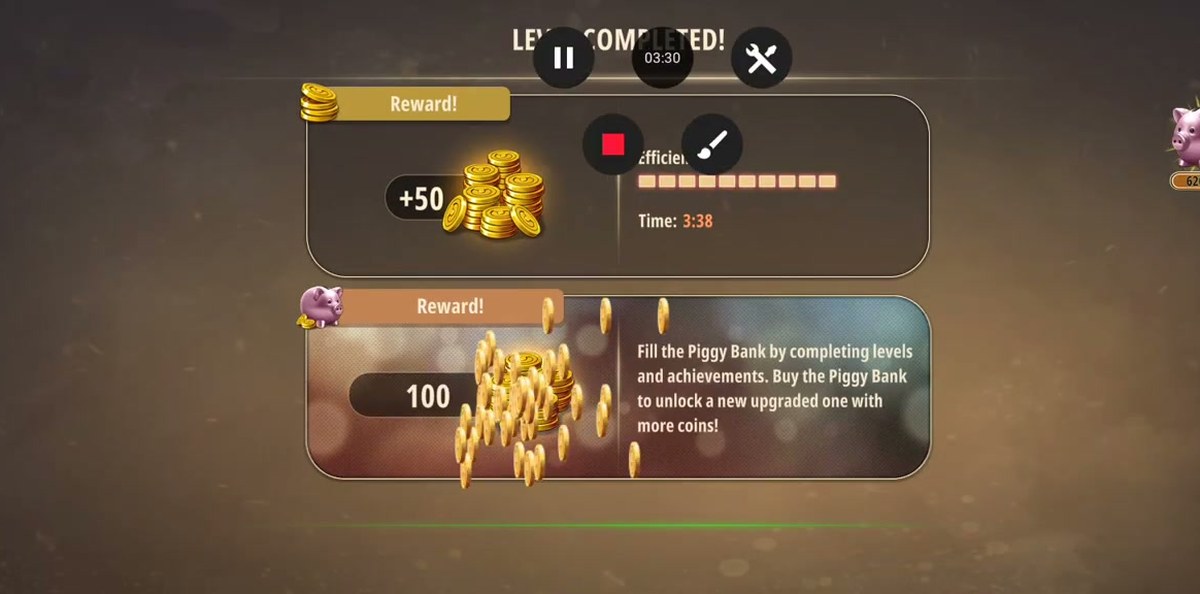
Open the inventory, select Key, press Use, then tap the green double door on the far left wall. An exit icon appears on the door, the camera pulls back to the wide room, and the level ends on the results panel: +50 coins and a completion time of 3:38. Nothing carries over except the coins.
People get lost in this room because they treat the keypad as the first lock and the phone as scenery. It is the other way round. The keypad cannot be opened at all until the phone has told you the number, and the phone cannot be unlocked until it has a SIM card, and the SIM card is an item that only exists in a handbag nobody has any reason to tap.
Bag → phone. The SIM card from the white handbag activates the handset. Until then the phone is a one-message prop.
Pattern → passcode. The trace on the lock screen is the one printed on the Pattern item in your inventory. It pays out 792438.
Passcode → plate. 792438 clears the wall keypad and exposes the fifteen-button plate.
Plate → key. The plate is the last puzzle; behind it the safe holds the key.
Key → door. The green double door is the exit and it opens with nothing else.
Looked at that way the level has exactly one real puzzle — the trace — and three dependency checks. That is not a criticism, it is just what the room is: a chain where each link is a separate object on a separate wall, and the whole thing collapses if you miss the first one.
What we could not verify: the rule behind the fifteen-button panel. The recording presses single buttons that light up one at a time and at two separate moments shows an entire row lit, then the safe releases — but it never shows a wrong arrangement being rejected, so we cannot tell you what the panel is actually checking. Press buttons and watch what the plate shows you; we have deliberately not written a rule we could not read off the footage. The same goes for the display wall: the handsets light up when tapped, and we could not establish what, if anything, that feeds.
Where people get stuck.
The handbag. It looks like decoration on a sofa. It is the start of the level. If the phone still says "No SIM Card Installed" and you have searched the shelves twice, you have not tapped the bag.
The phone before the SIM. The lock screen does not exist until the card is in. Players who tap the phone, see the pop-up and walk away often conclude the lock screen is somewhere else in the room. It is not — it is the same phone, one step later.
The Pattern item. It is behind Examine, not behind Use. The picture is the only place the trace is written down, and it is a photo of a hand on a tablet rather than a diagram, so it reads as set dressing until you look at the dots.
The keypad at the start. Opening it before you have the code and pressing random digits wastes the most time of anything in this room. The green strip stays blank when you first find it, and that is the game telling you to come back later.
The trace itself. Dragging fast between the top-right dot and the centre will skip dots and reset the grid. Draw it dot by dot in the order above, and finish on the middle-left dot rather than lifting early on the bottom row.
The door. The exit is the green double door, not the phone, not the safe and not the shop front behind the counter. Use the key from the inventory first — tapping the door with the key still in the bag does nothing.
Chapter 2 levels.
Chapter 2 opens with the Cell Phone Store and runs twenty-six rooms; the list below reflects what is written up so far.
Chapter 2 · No Honor Among Thieves26 of 26 with full written steps · 26 with a video
What is the passcode in Rooms & Exits Chapter 2 Level 1?
792438. There is only one number in the Cell Phone Store and you do not find it written on a wall: the handset in the shop prints it after you unlock it. Put the SIM card into the phone, draw the trace on the 3×3 lock screen, and a white pop-up reads "Your passcode is: 792438". That same code goes into the keypad on the wall unit.
What is the pattern to unlock the phone?
Start on the top-left dot and run along the top row: 1 → 2 → 3 → 5 (top-left, top-middle, top-right, centre) is the part our capture confirms twice. After the centre the line turns down to the bottom row; we could not verify the last dots twice from our recording, so instead of printing an order we are not sure of, copy the trace from the Pattern item in the inventory with Examine — that photo is the exact trace the phone accepts.
Where do I get the SIM card?
From the white handbag sitting on the sofa in the lounge. Tap the bag and the game hands you the item with the label SIM card. Without it the phone only ever says "No SIM Card Installed" and the lock screen never appears.
What does the keypad code open?
The keypad is mounted on the wall unit near the reception desk. Entering 792438 releases the unit and exposes a metal panel with fifteen round buttons in three rows of five. Clearing that panel opens the inner compartment, which holds the key to the front door.
How do I finish the Cell Phone Store?
Take the key out of the open safe, open the inventory, select the key and press Use, then tap the green double door on the far left wall. An exit icon appears on the door, the camera pulls back and the level ends on the results screen with +50 coins.
How long does the Cell Phone Store take?
The recording finishes it in 3:38 of level time, which is roughly three and a half minutes of play. Nothing in the level is timed and there is no fail state, so the only thing that can slow you down is hunting for the passcode before you have put the SIM card in the phone.
 GridPaw
 Shikaku
 Akari
 Kakuro
 Nonogram
 Nurikabe
 Pictomino
 KenKen
 Binary
 Star Battle
 Hashi
 Slitherlink
 Murder Sudoku
 Meowdoku
 Crazy Cleanup