 GridPaw
 Shikaku
 Akari
 Kakuro
 Nonogram
 Nurikabe
 Pictomino
 KenKen
 Binary
 Star Battle
 Hashi
 Slitherlink
 Murder Sudoku
 Meowdoku
 Crazy Cleanup
Rooms & Exits Chapter 3 Level 2 Walkthrough: Living Room
The Living Room is room 2 of Chapter 3, Murder Dressed in White, and it is the odd one out in the chapter: there is no number code in it. No keypad, no dial, no drawer with four digits. Instead you get a 3x3 sliding-tile puzzle set into a box lid, a shelf of labelled bottles, a decoder ring, and a key that opens a door. This page walks the whole 5:58 run in order, marks every puzzle with its timestamp, and is explicit up front about the two things people waste the most time on: the code that does not exist, and the note that cannot be read.
Living Room is room 2 of 15 in Chapter 3, marked Hard. There is no numeric code in this level. Two things finish it:
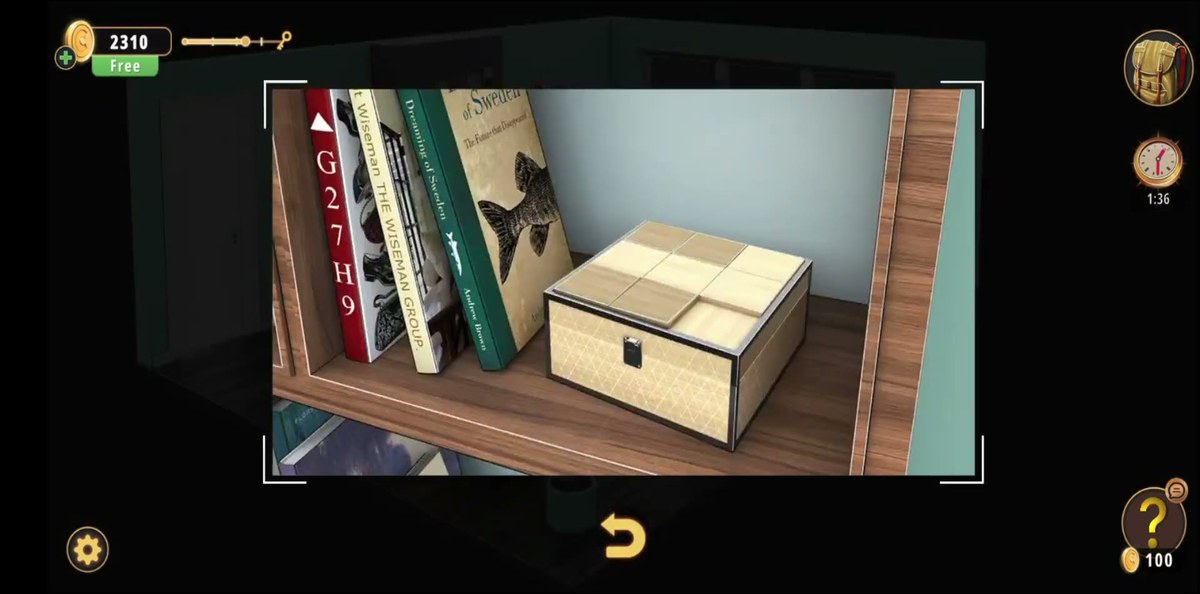
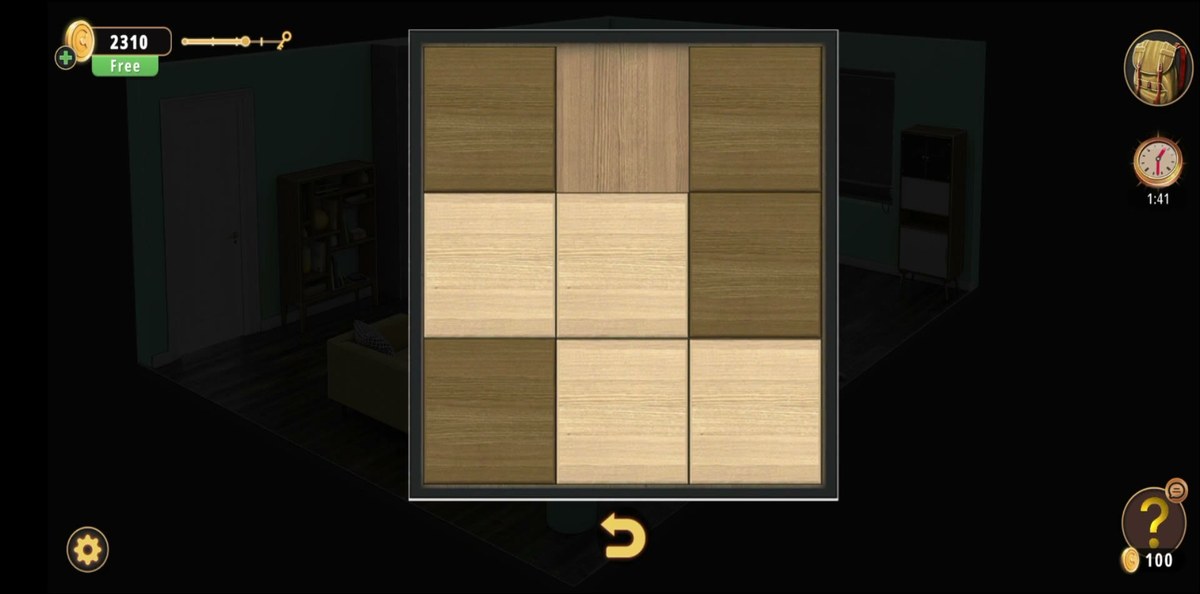
- The 3x3 tile lid on the wooden box on the tall bookshelf is a sliding-tile puzzle. Solve it (in the run: 1:50 to 2:03) and the box opens on a Key.
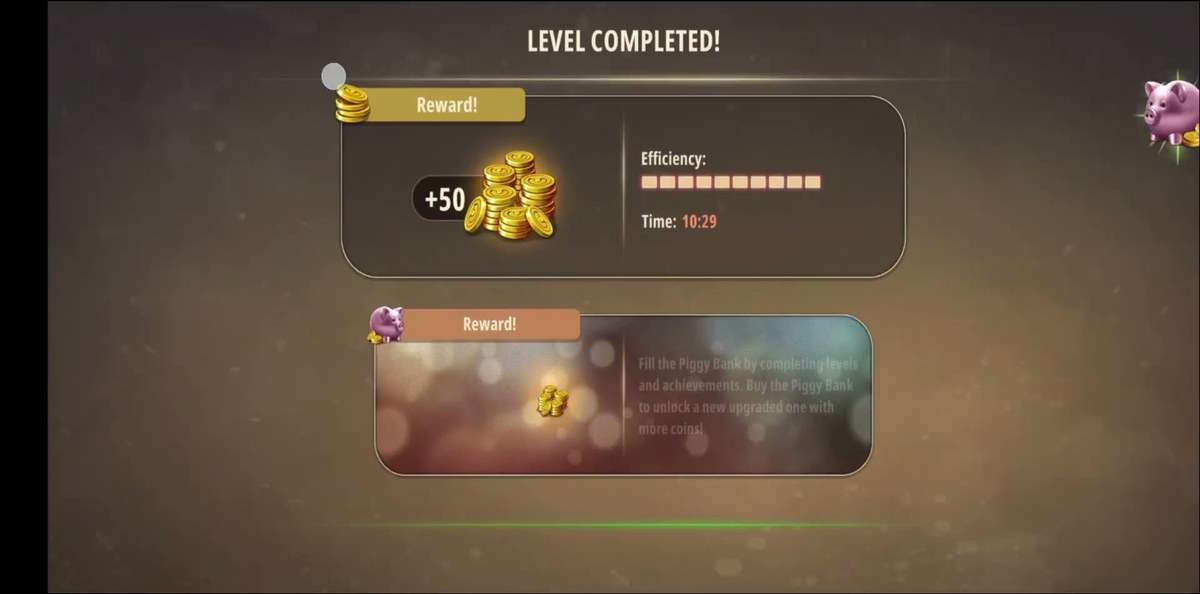
- Use that Key on the white door on the left wall at 5:53. The level completes at 5:57 with Reward +50 and Time: 10:29.
Nothing else in the room is a lock. The bottles, the ring, the blinds and the scribbled note are all either decoration or optional.
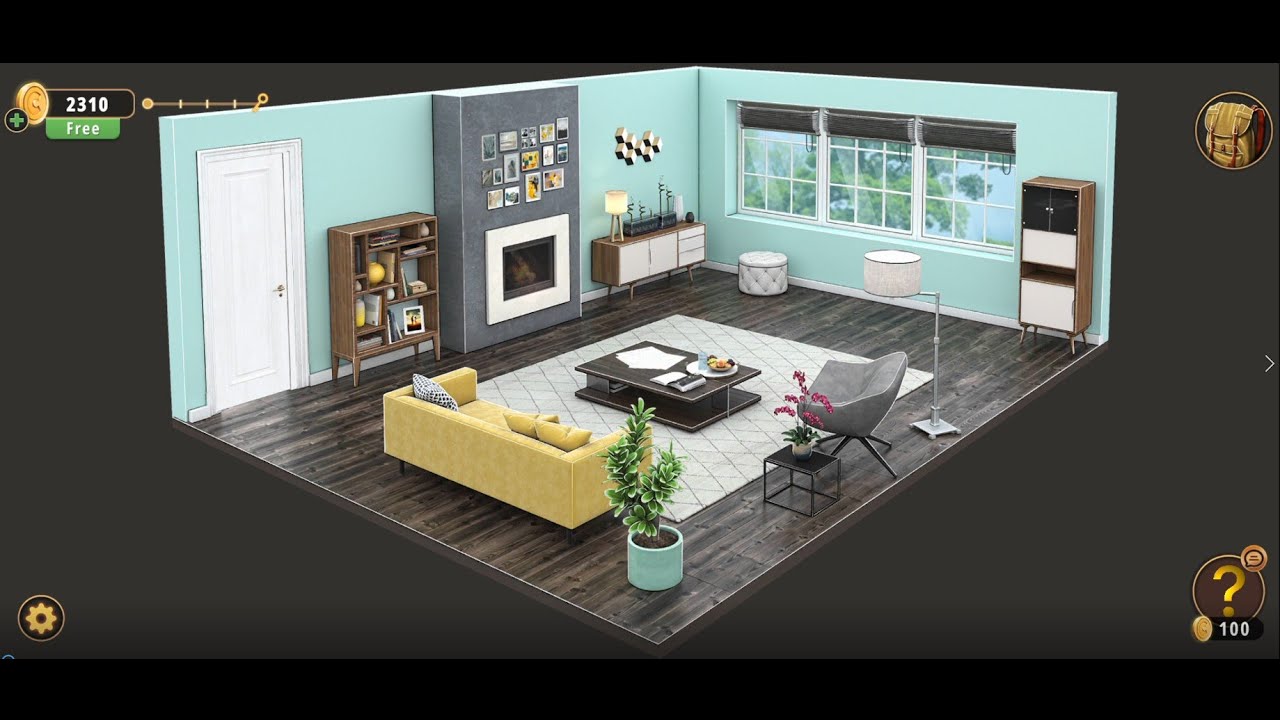
The 5:58 run used for every frame on this page.
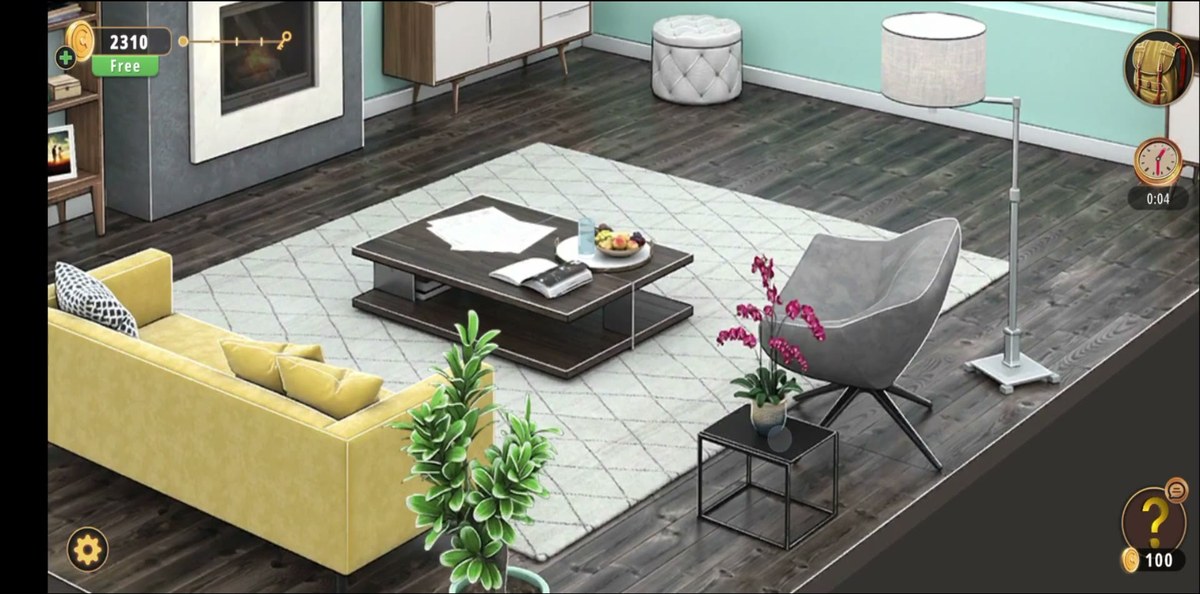
What this level actually is.
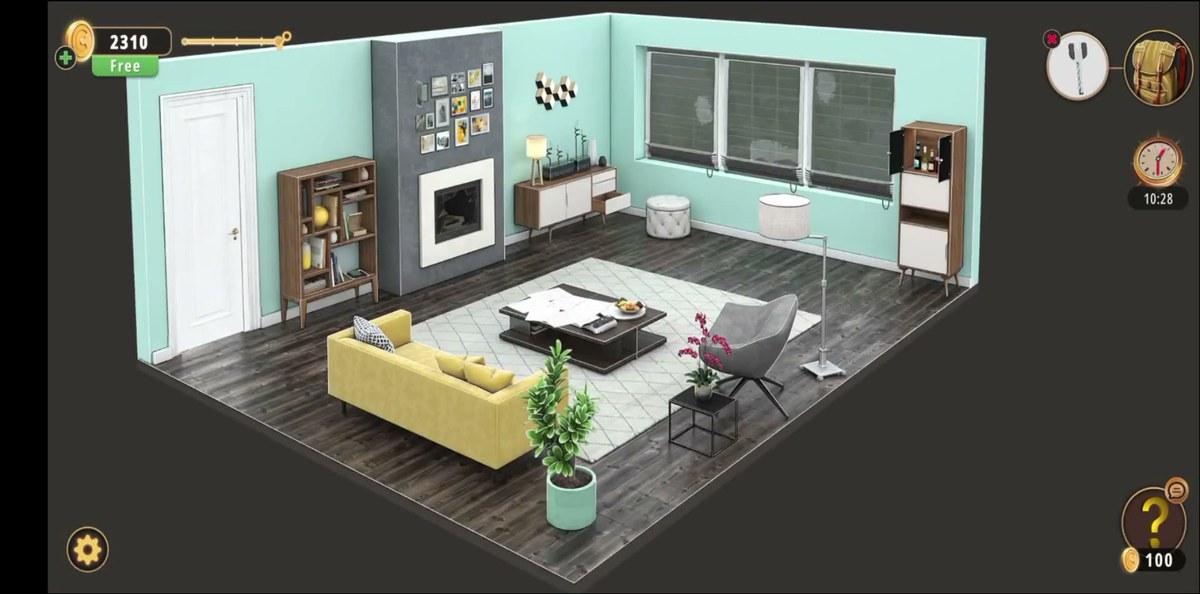
A modern living room, and a good-looking one: mint-green walls, a dark grey fireplace wall hung with a gallery of small framed prints, dark wood floor under a pale patterned rug, a long yellow sofa, a low dark coffee table, a grey swivel armchair, a tall floor lamp, two white ottomans under the window and a narrow shelf unit of bottles on the right. On the left wall, a plain white door with a tall dark-wood bookshelf beside it.
Structurally it is the loosest level in the chapter. The chain that actually finishes the room is short — solve the box on the bookshelf, take the key, open the door — and everything else is optional content: five labelled bottles to pick up and read, a ring with digits on it, a sheet of paper scribbled over so heavily that its message is buried, and a set of windows with blinds.
That is why the level feels longer than it is. The recording spends 13 seconds on the box lid and almost two minutes on the scribbled note, and the note is not required. If you only want out of the room, read steps 4, 5 and 9 below and skip the rest.
The map: what is where.
Every object the run interacts with or clearly identifies, and what it is for.
| Object | Where | What it does |
|---|---|---|
| White door | Left wall, beside the bookshelf | The exit. Lever handle, no keypad, no number. Opened with the Key at 5:53. |
| Tall bookshelf | Left wall, beside the door | Books with real printed titles; the wooden box with the tile lid sits on it. |
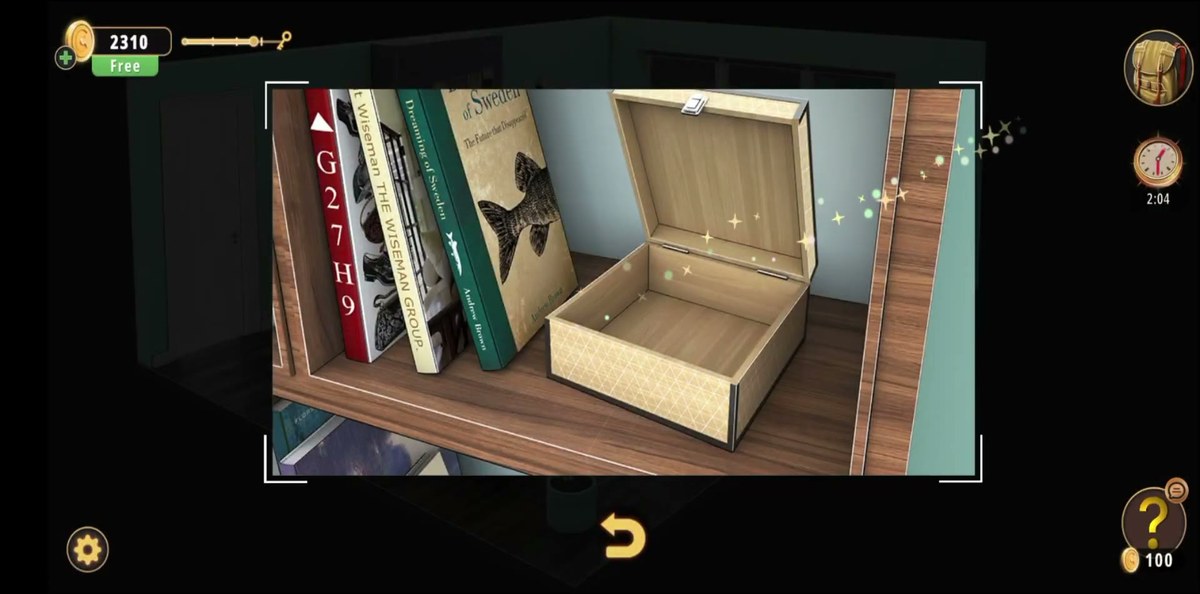
| Wooden box, tiled lid | On the bookshelf | 3x3 sliding-tile puzzle. Solving it opens the box and yields the Key. |
| Fireplace | Dark grey accent wall | White mantel, gallery wall above, shattered glass and logs inside. Nothing to solve. |
| Console with white drawers | Back wall, under the window | Drawers pull open; the run opens and closes them, nothing found. |
| Window with blinds | Back wall | Examined at 1:44. Blinds do not move; nothing behind them. |
| Yellow sofa / coffee table | Centre of the room | The scribbled note, a marble tray of biscuits and grapes, a newspaper. |
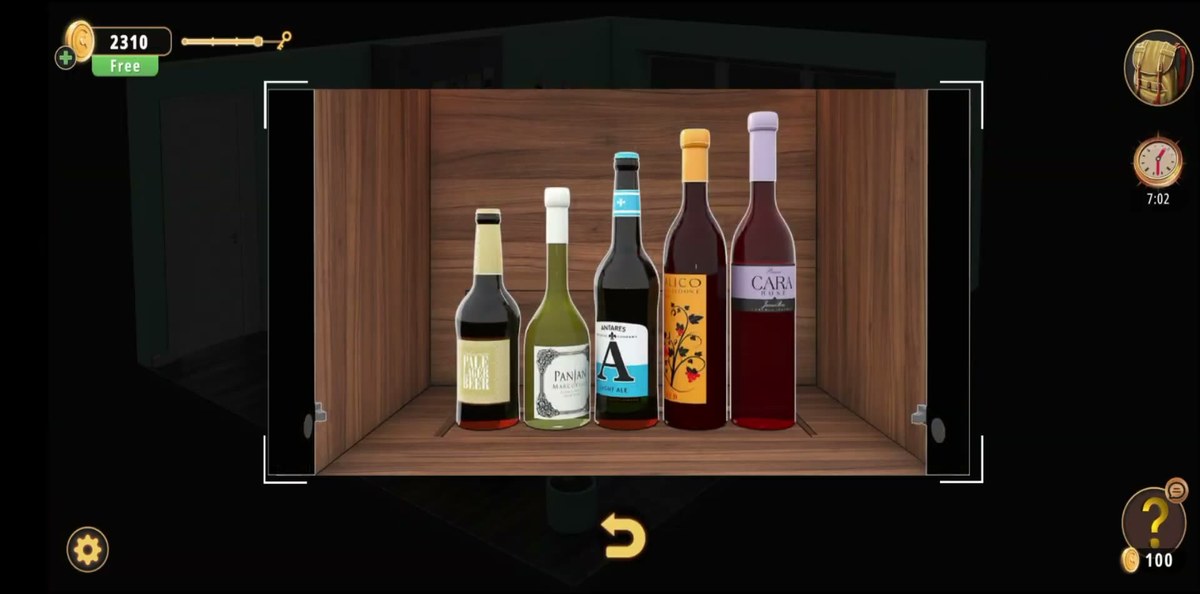
| Bottle shelf | Right wall | Five labelled bottles: CARA, ICO, ANTARES, PANIAN, plus one label we could not read. |
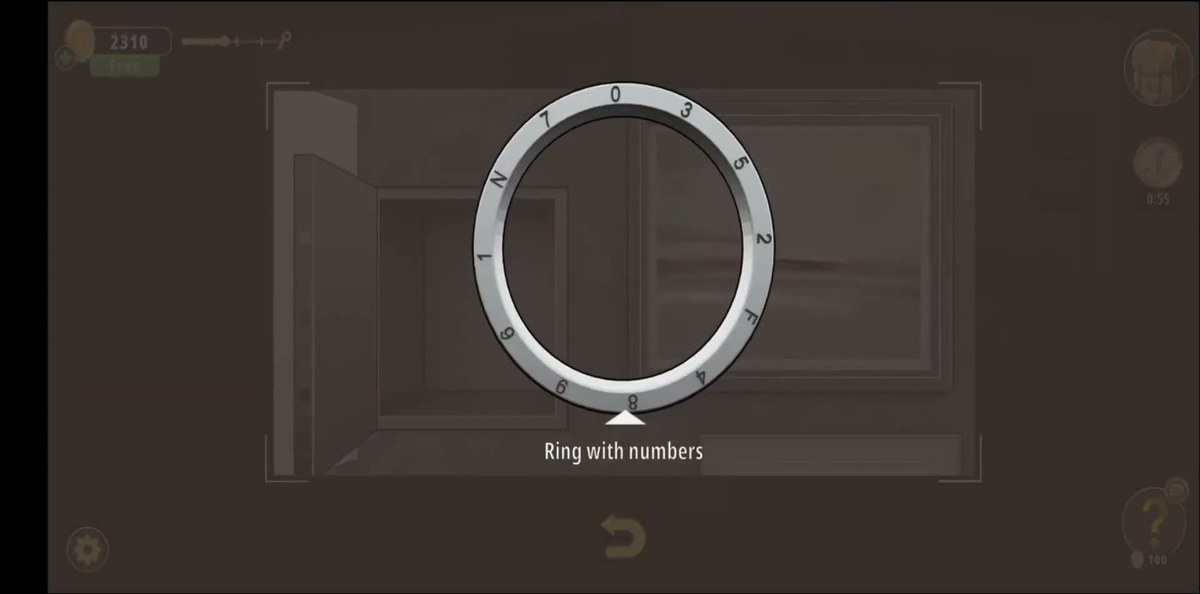
| Ring with numbers | Carried item, found ~1:08 | Digits around a ring — a decoder. Never used on anything in this run. |
| Glass of water | Carried item, seen 1:21 | In the bag with Use / Combine / Dismantle / Examine. No observed use. |
| Key | Inside the bookshelf box | Opens the white door. The only item that ends the level. |
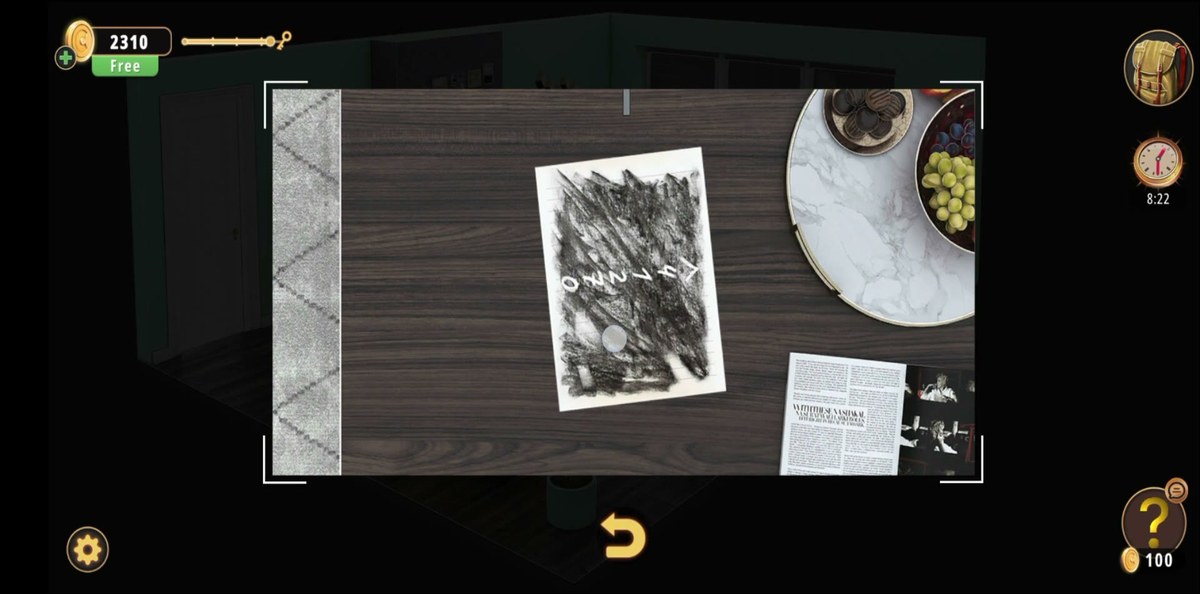
| Scribbled note | Coffee table | Paper covered in dense scribble. Characters show through but are not reliably readable. |
Step by step.
Order follows the recording. Timestamps are video time; the links jump to the matching second.
Where people get stuck.
"I cannot find the code." There is no code. This is the single most common dead end in the level: Chapter 3 opens with Dining Room, which does have numeric locks, so everyone arrives expecting a keypad. The Living Room finishes on a sliding-tile puzzle and a key. Stop looking for a number.
"The tile lid will not open." It is a sliding puzzle, so treat it as one: only the knobbed tile moves, one step at a time, into the empty slot. Do not tap the tiles expecting them to rotate. In the recording it takes 13 seconds of steady sliding — if you have been on it for five minutes, you are probably trying to make a picture that is not the target; the goal is the chequer pattern the lid already half-shows.
"The key does not fit anything." It fits the white door on the left wall and nothing else. Not the console drawers, not the fireplace, not the bottle shelf.
"The note is unreadable." It is meant to be read through the scribble, and the Ring with numbers is the tool for it. We could not recover the characters either, at 4x, from three different frames — so we are not going to sell you a guess.
"The bottles must be an order puzzle." Maybe, but nothing in this run opens after 27 seconds of handling them, and the level completes without them. If you want to try, the four legible labels are CARA, ICO, ANTARES and PANIAN.
"The blinds and the drawers are hiding something." Neither hides anything in this footage. The drawers open, are looked into, and are closed again.
Where Living Room sits in Chapter 3.
Chapter 3 is Murder Dressed in White. Living Room is room 2 of 15, after Dining Room and before Study Room, and it is labelled Hard on the chapter map. The map screen also shows Level 3 Study Room sitting behind an Unlock button while you are in Level 2.
Its shape is worth knowing before you go in: it is the chapter's item-hunting level. Where Level 1 is numeric locks and Level 4 is a single eight-digit safe, Level 2 makes you find and combine things — a tile lid, a decoder ring, a key — and punishes you for assuming every room in the chapter follows the same rule. If you are working through in order, take that as the hint: check whether a room has a keypad at all before you go hunting for digits.
- 1 Dining Room guide
- 2 Living Room you are here
- 3 Study Room guide
- 4 Guest Toilet guide
- 5 Workshop guide
- 6 Guest Bedroom guide
- 7 Master Bathroom guide
- 8 Kids Playroom guide
- 9 Backyard guide
- 10 Garden guide
- 11 Kitchen guide
- 12 Driveway guide
- 13 Kids Bedroom 1 guide
- 14 Storage Room guide
- 15 Garage guide
- 16 Attic guide
- 17 Terrace guide
- 18 Basement guide
- 19 Garden Shed guide
- 20 Kids Bedroom 2 guide
- 21 Hobby Room guide
- 22 Master Bedroom guide
- 23 Entertainment Room guide
- 24 Hallway guide
Previous room: Chapter 3 Level 1 — Dining Room
Next room: Chapter 3 Level 3 — Study Room
Frequently asked questions.
Does the Living Room have a number code or a keypad?
No. We checked all 358 frames of the run and there is no keypad, dial or numeric lock anywhere in the room. Chapter 3 Level 2 is a mechanical level: a 3x3 sliding-tile puzzle built into a wooden box lid, a shelf of labelled bottles, a decoder-style Ring with numbers item, and finally a Key used on the white door. If you are hunting for a four-digit code in this room, it does not exist — that is why nothing you type works.
How do I open the wooden box on the bookshelf?
The box sits on the tall dark-wood bookshelf next to the door, and its lid is a 3x3 grid of nine wooden tiles with one tile carrying a small knob. Treat it as a sliding-tile puzzle: slide the tiles with the knob until the pattern resolves, and the box opens. In the run the player starts on it at 1:50 and has it open by 2:03, which is 13 seconds of sliding — it is the quickest puzzle in the level.
What is inside the box?
The Key. At 2:03 the item name Key appears over the open box with the usual sparkle, and the box interior is empty afterwards. That key is the one that ends the level: it is used on the white door on the left wall at 5:53 and the level completes four seconds later.
What is the Ring with numbers for?
It is an inventory item you pick up at about 1:08, labelled Ring with numbers. It is a ring with digits printed around its circumference — the game's own label says so — and it functions as a decoder rather than a lock. The recording never uses it on anything, so we cannot tell you which prop it decodes. It is not needed to finish the level: the door opens with the Key alone.
What are the bottles on the shelf?
Five bottles on the narrow shelf unit on the right wall, each with a printed label. Four are legible in the footage: CARA, ICO, ANTARES and PANIAN. The fifth reads as something like CHT ALE and we could not settle it. The player handles them between 2:39 and 3:06 — around 27 seconds of picking up, reading and putting back — but nothing opens as a result within the run.
What is written on the books on the shelf?
Three spines are readable: Impressionism, NCE DE DAMPIERRE (the tail of a longer French title, read consistently in every frame from 0:33 to 0:52), and ci. Genius is made, not born. There are also books printed Wiseman / WISEMAN GROUP., Dreaming of Sweden and The Future that Disappeared. These are set dressing with real titles, not a cipher — nothing in the level refers back to them.
What is on the coffee table?
A scribbled note — a sheet of white paper covered in dense dark scribble — plus a marble tray with dark biscuits and green grapes and a folded newspaper. Examining the note at about 4:00 is where the run spends most of its second half, and the characters showing through the scribble are not reliably readable; we tried at 4x and got a different answer every frame.
How long is the level and what is the reward?
The recording runs 5:58. The LEVEL COMPLETED card appears at 5:57 with Reward +50 coins and Time: 10:29 on the in-game clock. The level is marked Hard on the chapter map. That 10:29 is the game's own timer, not the video length — the player had already been in the room before the capture started.
Where is the exit door?
On the left wall, next to the tall bookshelf — a plain white panelled door with a lever handle and no keypad, no dial and no number plate. It is opened with the Key from the bookshelf box and nothing else.
What do the window blinds do?
Nothing, as far as this run shows. The back wall has a wide window with horizontal blinds and the player examines it at 1:44, but the blinds do not move and nothing is hidden behind them. They are the one big piece of scenery in the room that is not interactive.
Do I need the glass of water?
A Glass of water is in the inventory at 1:21, and the inventory strip reads Use / Combine / Dismantle / Examine. We never see it used on anything in the footage — no plant, no fire, no powder. Treat it as a carried item, not a step.
What this page could not verify.
1. The scribbled note. This is the level's real puzzle and we could not read it. Characters are visible through the scribble, but three separate 4x crops from three different frames produced three different transcriptions, which means none of them is trustworthy. If you solve it with the Ring with numbers, you know something this page does not.
2. What the Ring with numbers decodes. The item exists and its label is confirmed at 1:08. It is never used in the recording, so we cannot tell you which prop it points at — we assume the note, and we have not printed that as fact.
3. The fifth bottle label. Four of the five labels read cleanly (CARA, ICO, ANTARES, PANIAN). The fifth OCRs as CHT ALE across frames and we could not settle whether that is a real name, so we have not put it in the guide as one.
4. The bottles and the glass of water. Both are handled in the run and neither produces anything visible. We do not know whether they are a puzzle that was abandoned mid-run or pure decoration, and we have not invented a purpose for them.