 GridPaw
 Shikaku
 Akari
 Kakuro
 Nonogram
 Nurikabe
 Pictomino
 KenKen
 Binary
 Star Battle
 Hashi
 Slitherlink
 Murder Sudoku
 Meowdoku
 Crazy Cleanup
Rooms & Exits Chapter 2 Level 16 Walkthrough: Art Supplies Store
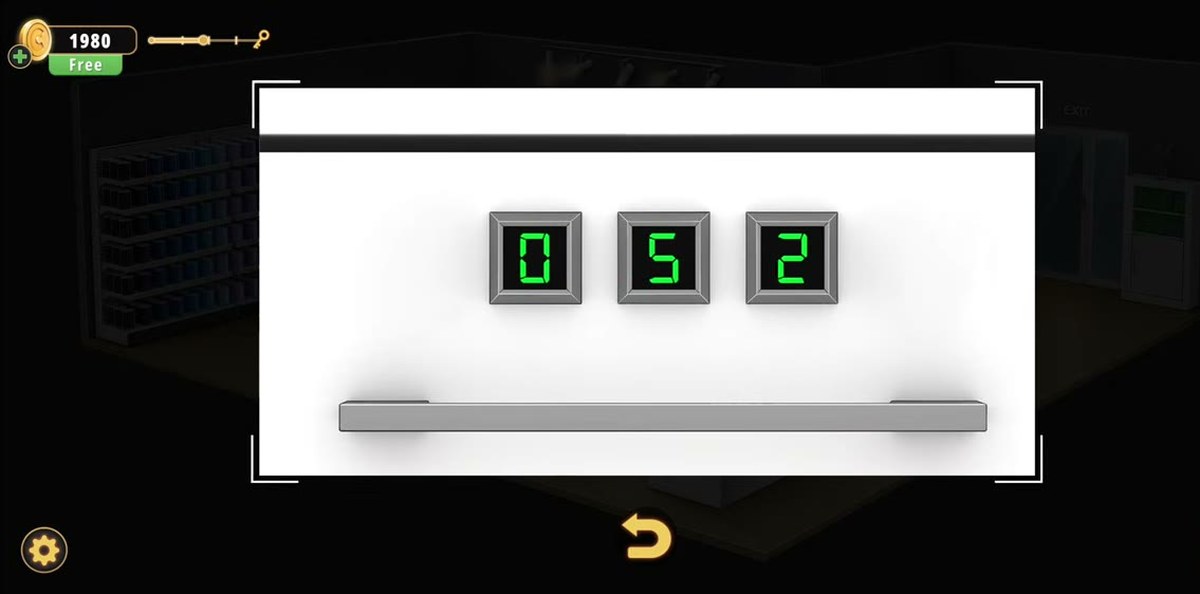
The only number in the Art Supplies Store is 052, and it goes into the three-window LCD panel on the white drawer face in the back of the shop. Finish worth +50 coins.
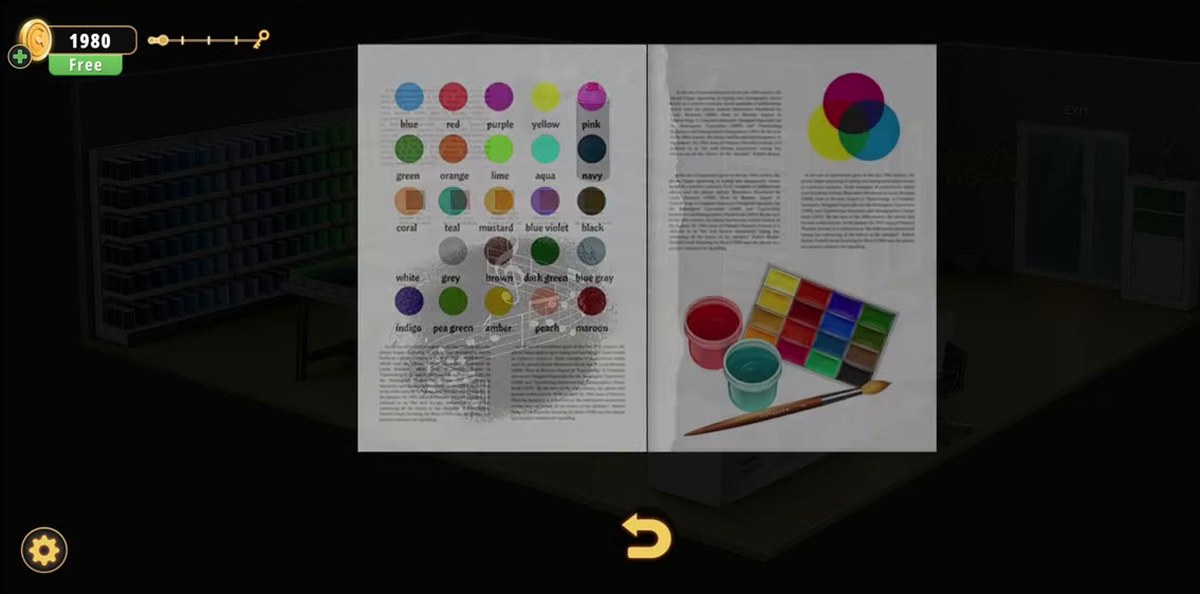
- Read the Art Book in the front of the shop for the colour chart and the colour wheel — it is the reference for both colour locks.
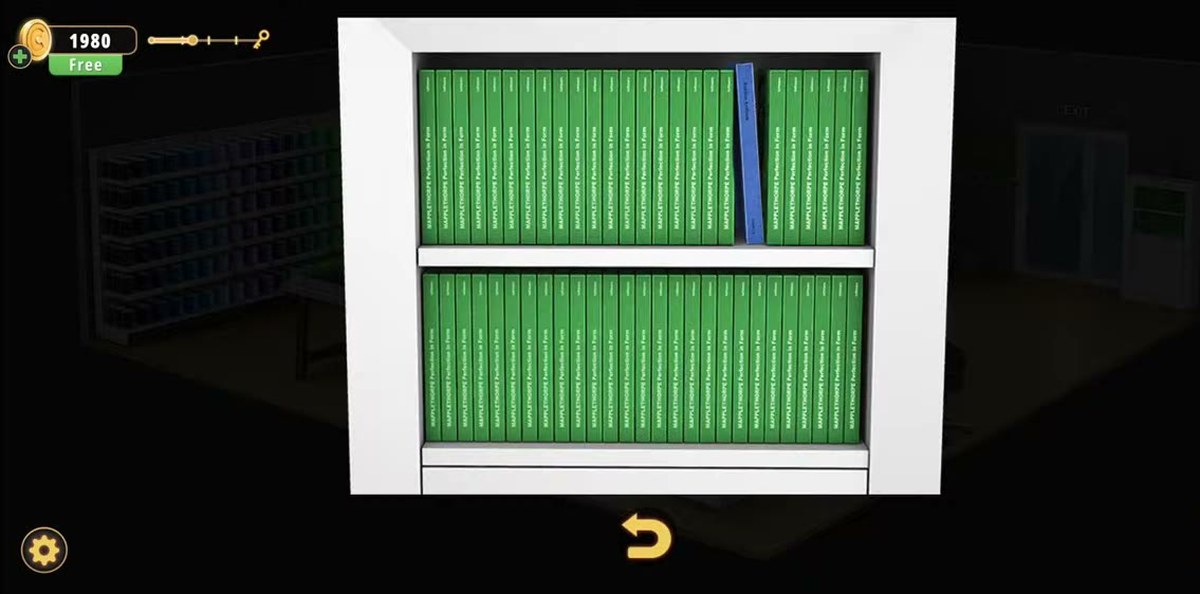
- Take the scissors and the brush from the red pencil cup, and the blue book out of the green bookshelf.
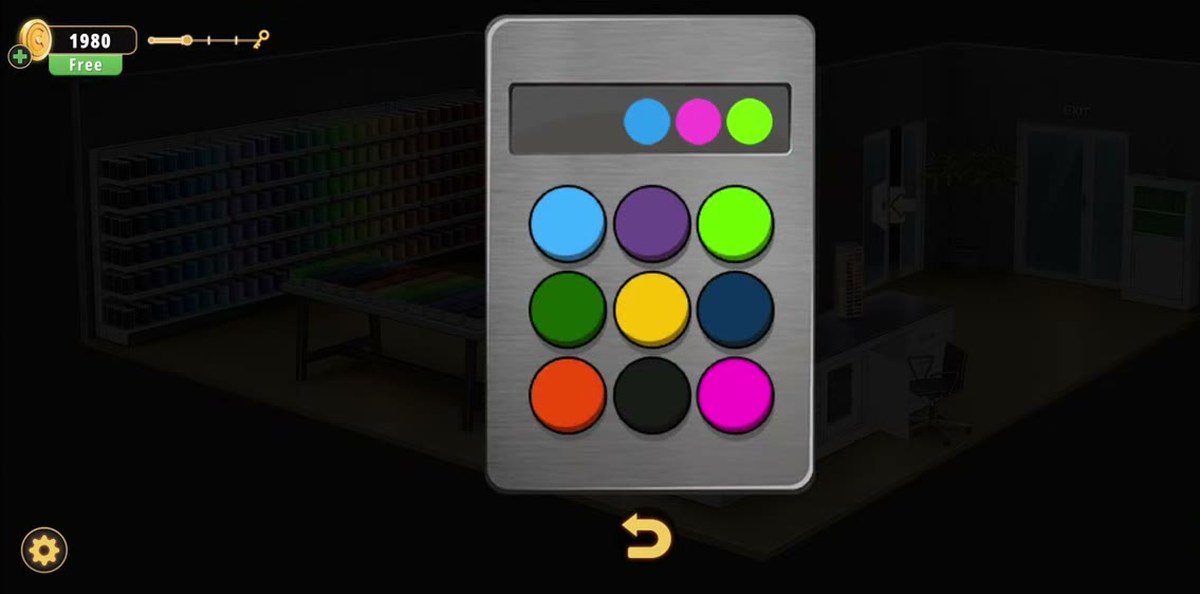
- Open the nine-colour safe by pressing its colour buttons in the order the clue gives you → a piece of paper.
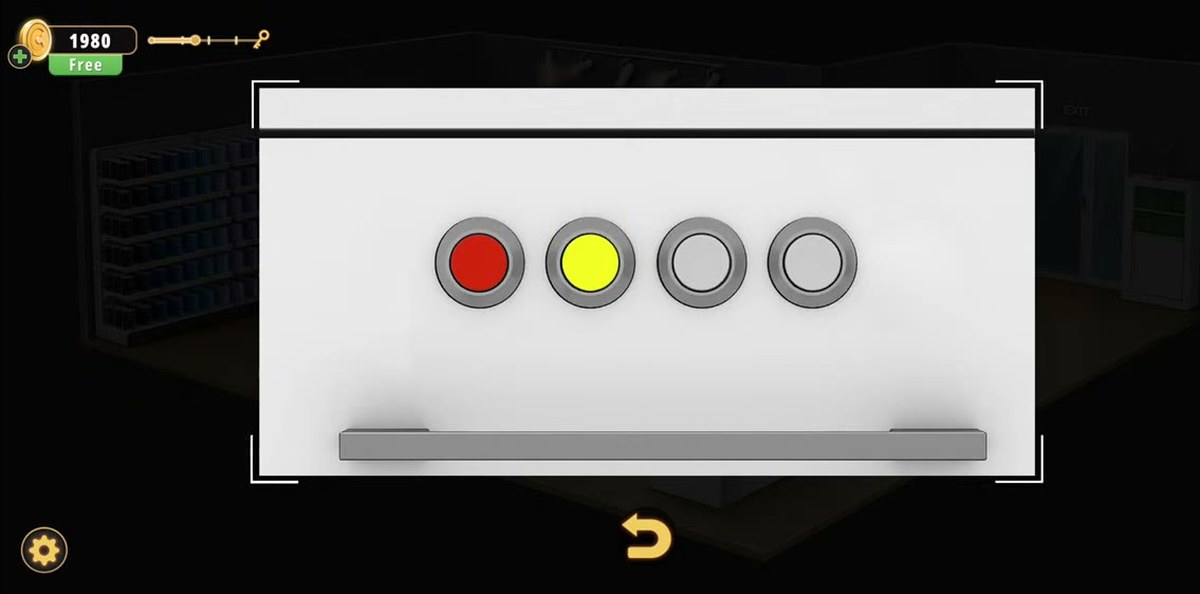
- Open the desk's four-button drawer the same way → tape and another piece of paper.
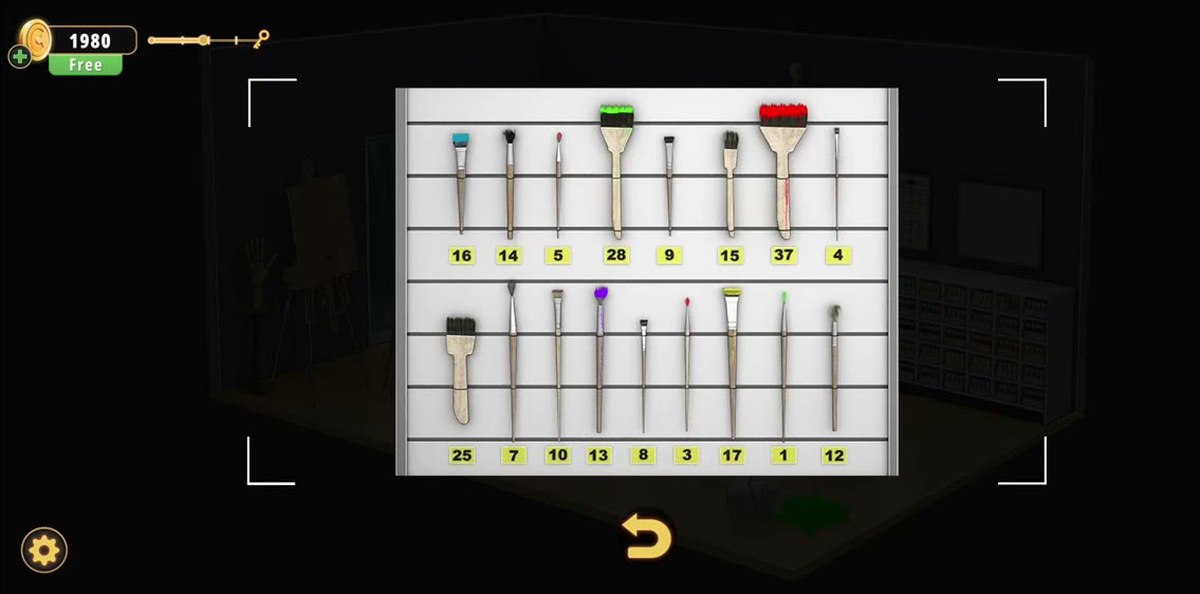
- Read the brush rack in the back corner: sixteen brushes, each on a numbered yellow label.
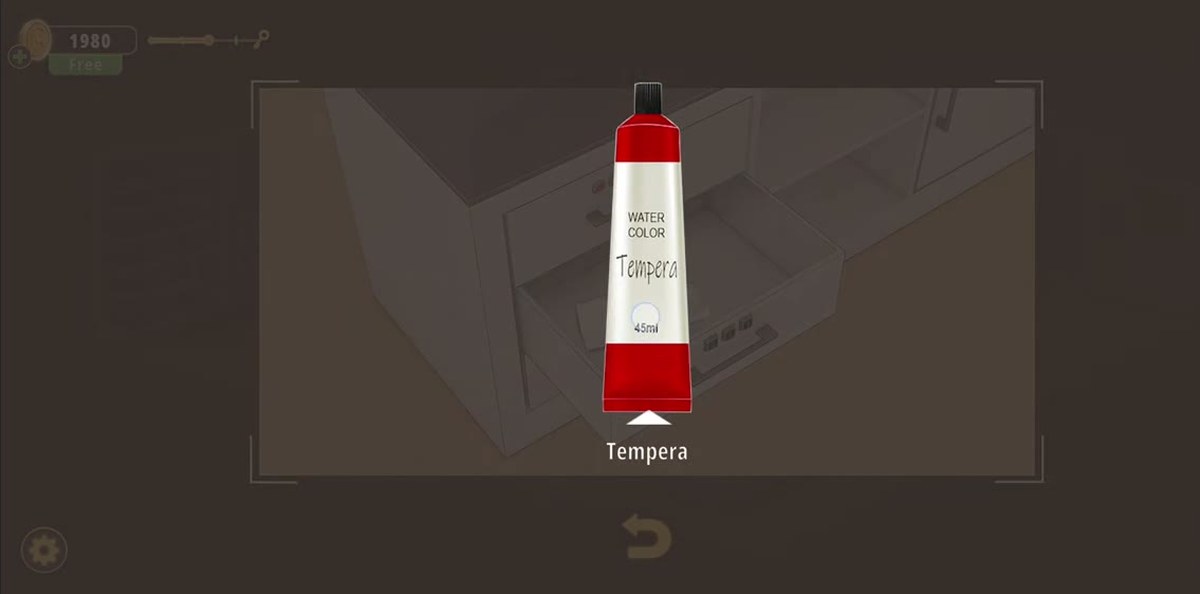
- Set the three-window panel to 0 · 5 · 2 → the drawer releases a tempera tube and a torn piece of paper.
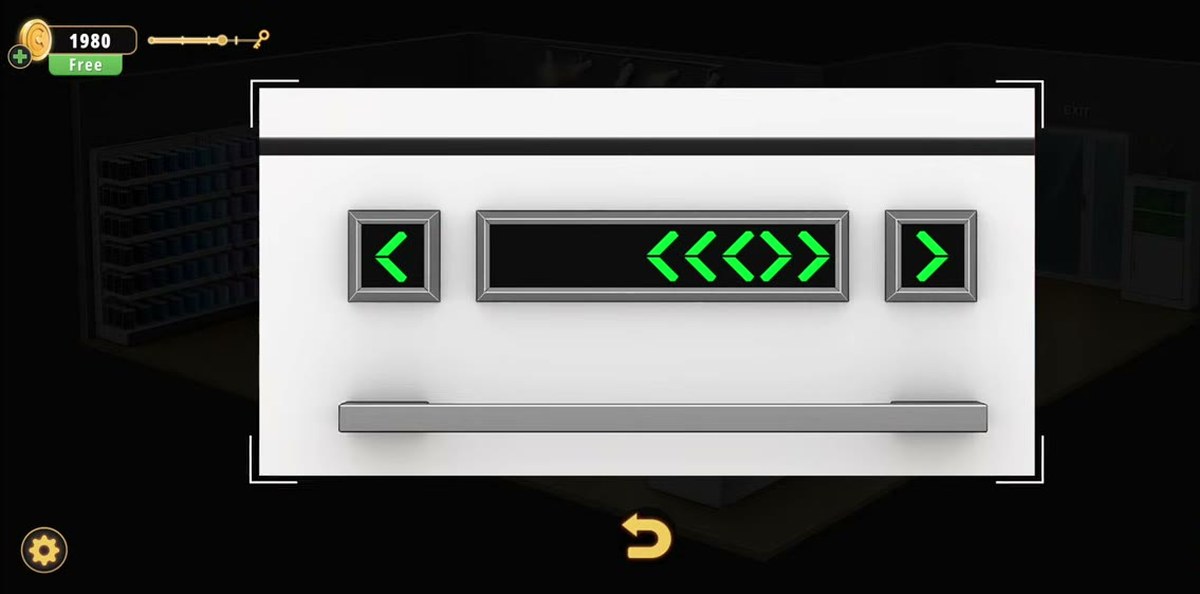
- Work the arrow panel on the next drawer until it releases the art palette and a paint tube.
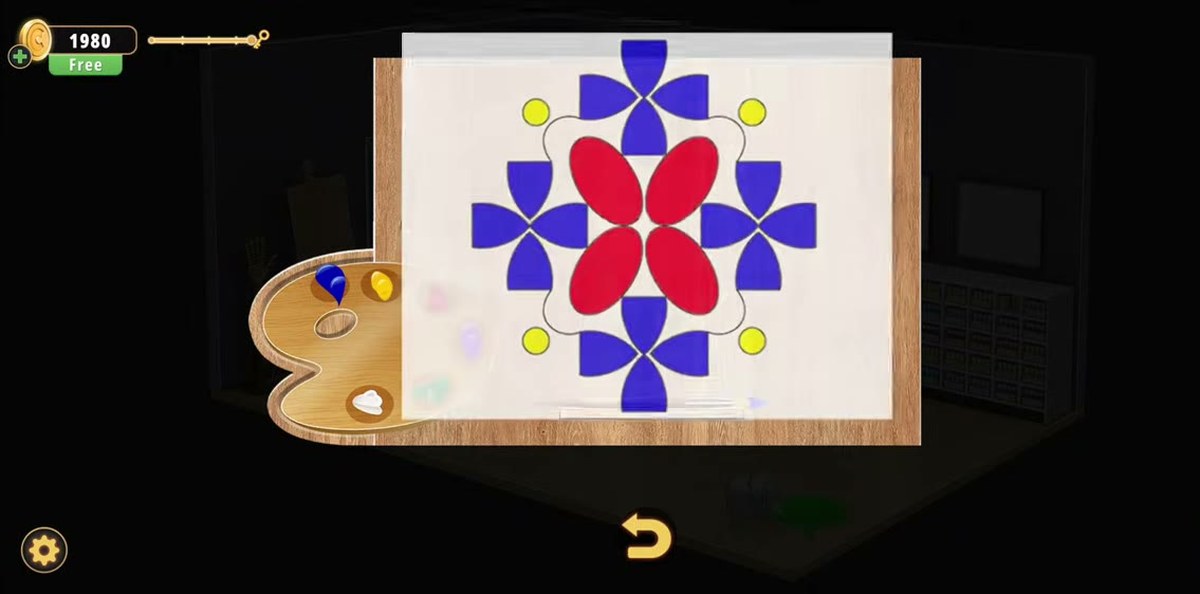
- Paint the mandala canvas on the easel: red centre, blue clovers, yellow dots, white lines.
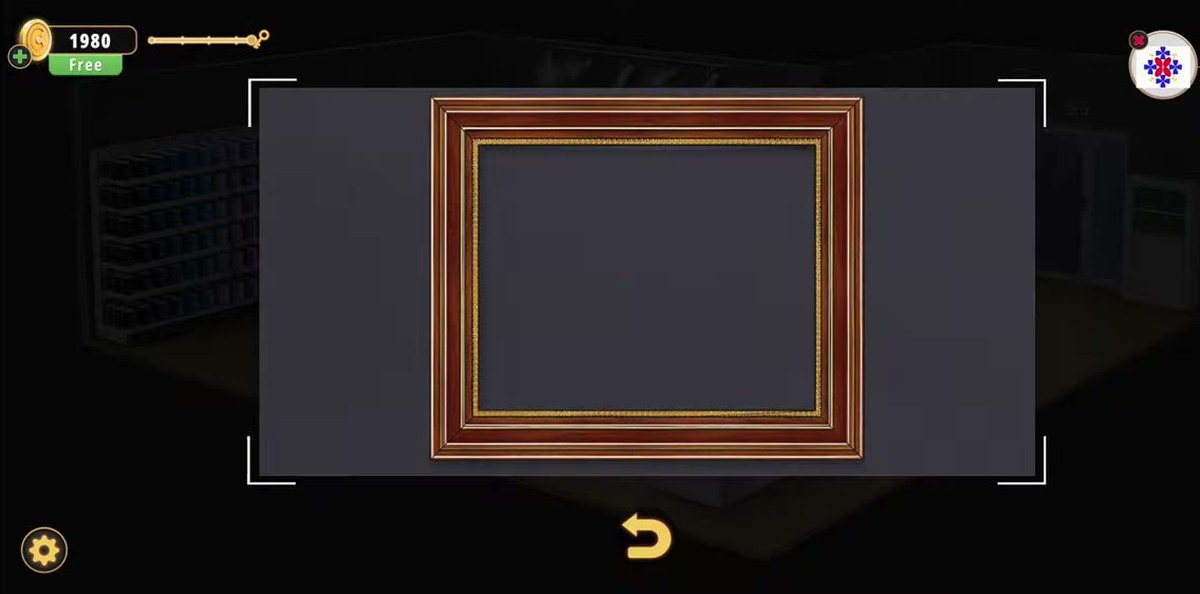
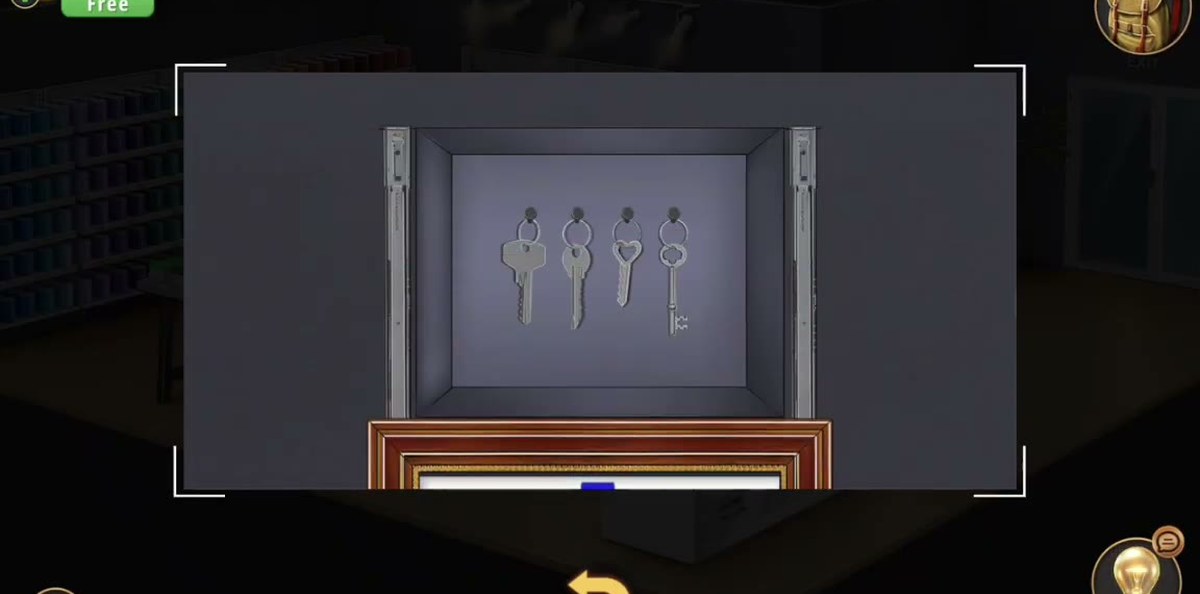
- Hang the finished painting in the picture frame → four keys on hooks.
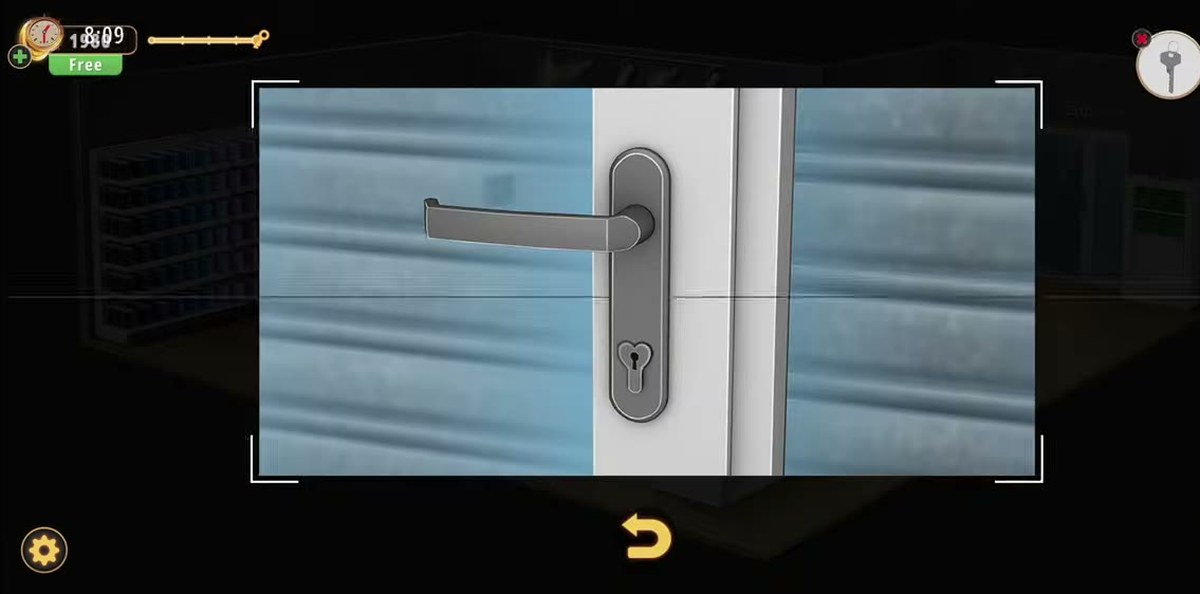
- Use the heart-bow key on the pale blue door → results screen, +50 coins.

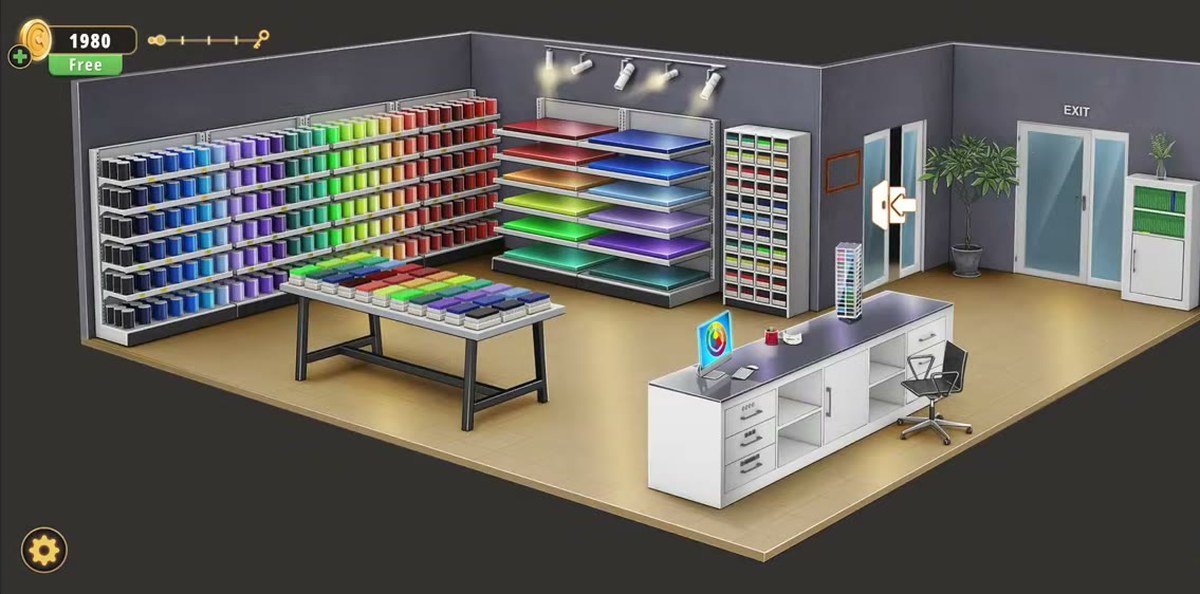
What this level actually is.
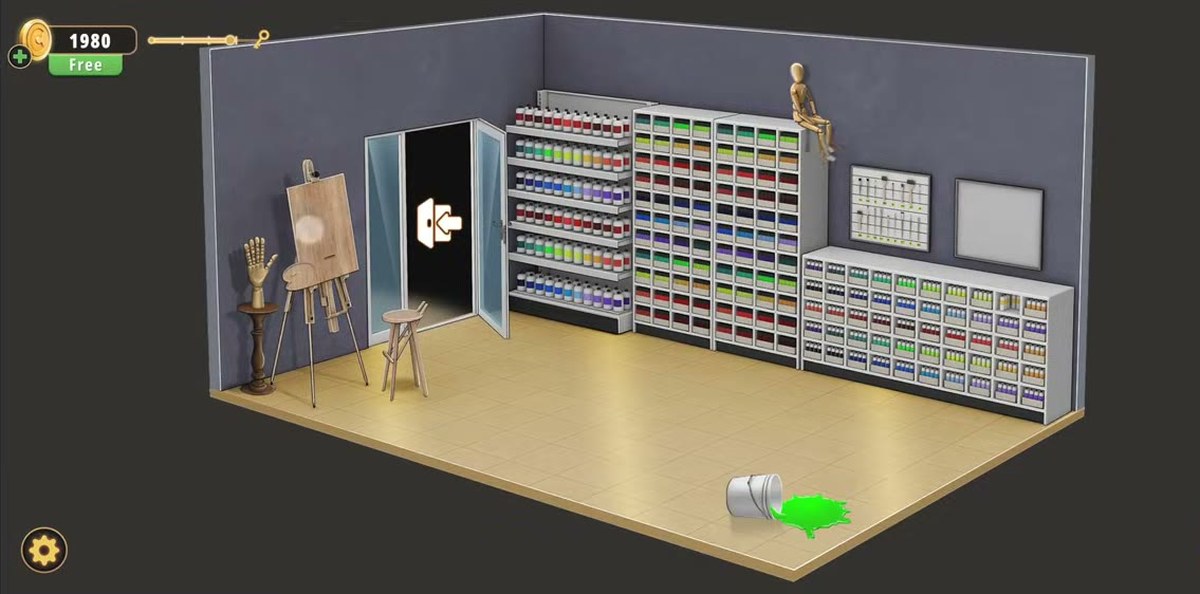
The Art Supplies Store is one of the biggest single rooms in Chapter 2, and it is a shop rather than a puzzle box. The floor is one open space with three distinct working areas. Down the left wall run two tall shelving units packed with paint tubes arranged as a rainbow gradient, blue and violet at one end, red at the other. In front of them sits a long display table covered in colour swatches laid out in the same spectrum. On the right is a white checkout counter with a computer showing a colour wheel, a keyboard, a mouse, a red pencil cup and a roll of tape, with a black office chair pushed under it. In the back corner stand an easel, an artist's mannequin hand, a brush rack and a couple of grey cabinets, and the back wall holds a glass double door marked EXIT with a potted plant beside it and a second, pale blue door further along.
That layout is the reason people stall here. Nothing is signposted. There are no arrows, no obvious first object, and no locked door that announces the shape of the level. Instead there are six separate locks scattered across three areas, and the order you open them in is decided by what each one hands you: a piece of paper leads to another piece of paper, a brush rack leads to a number, a number leads to a paint tube, and the paint is the only thing that finishes the painting that opens the wall. Players who start at the counter and work left to right in a straight line will pass three of the six locks without noticing them.
The door you leave through is the least dramatic object in the room. It is not the glass EXIT doors with the sparkles on the handle, and it is not the door behind the counter. It is the plain pale blue door on the back wall, the one with the lever handle and the keyhole, and it stays shut until you have a specific key out of a specific compartment. Everything in the room is upstream of that key.
The recording we rebuilt this page from finishes the level in 8:28 of level time while stopping to open every drawer and read every readable prop. A player who knows the chain can do it far faster. A player who does not can spend twenty minutes in the same shop and never find the three-digit panel, because it is on the *back* of a drawer unit in a corner, at knee height, and it does not look like a lock until you are standing in front of it.
Step by step.
| Region | Colour | Where it sits |
|---|---|---|
| Four oval petals | Red | Meeting at the centre of the pattern |
| Four clover shapes | Blue | Above, below, left and right of the red centre |
| Four small dots | Yellow | In the corners between the blue clovers |
| Connecting lines and background | White | Everywhere else on the canvas |
The chain, in order.
Six locks, one room, and no signposts. Written as a dependency map the level is much smaller than it feels:
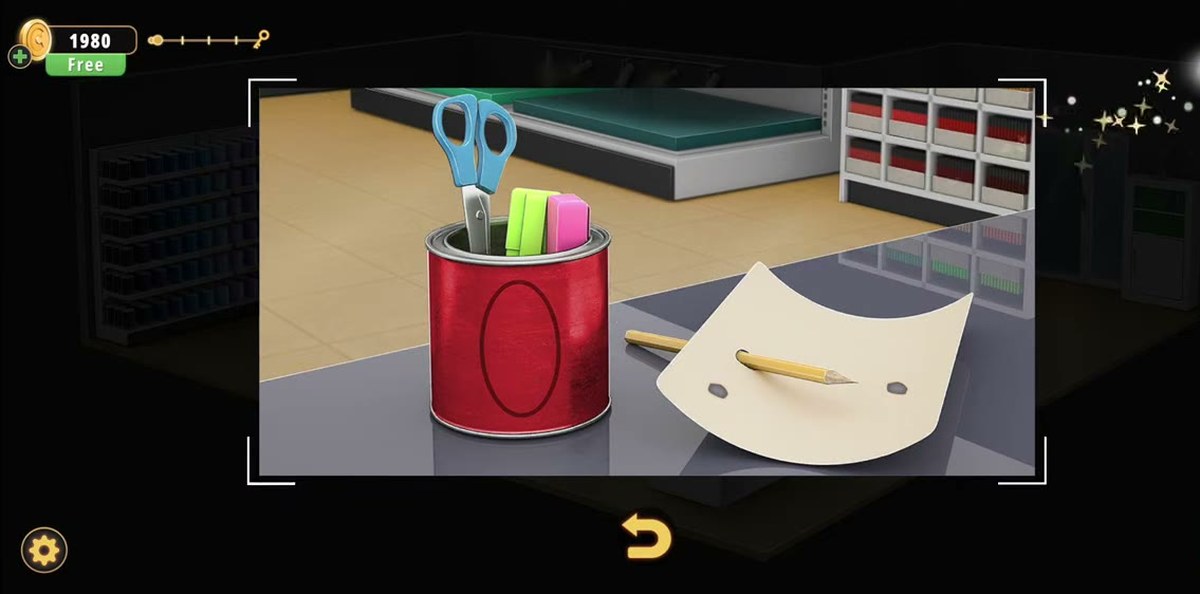
- Counter → tools. The red pencil cup gives the scissors and the brush. The Art Book gives the colour vocabulary. Neither is gated.
- Colour clue → nine-button safe. The safe's strip records your presses as coloured dots; match the order and it hands over a piece of paper.
- Colour clue → four-button drawer. Dial each of the four buttons to the right colour and the top desk drawer gives tape and a second paper.
- Brush rack → 052. The numbered labels under the brushes are the source of the three-digit code.
- 052 → paint. The drawer releases a tempera tube and a torn piece of paper. The arrow drawer next to it releases the art palette.
- Palette + brush → canvas. Red centre, blue clovers, yellow dots, white lines. The finished painting is a carry item.
- Painting → frame → keys. The frame slides aside and four keys appear. The heart-bow key is the one.
- Key → blue door → +50. Nothing else gates the exit.
Looked at that way, the Art Supplies Store has exactly two authored puzzles — the colour locks and the painting — plus one arithmetic gate (the code) and one shape-matching gate (the key). Everything else in the room is a container. That is why the level takes eight minutes on a first run and about three on a second: the containers are all in corners, and each one only opens once you have carried something from a different corner to it.
The trap is the order. If you open the two colour locks before reading the Art Book you will be pressing buttons with no reference and no way to tell a deliberate wrong answer from a bug. If you paint the canvas before finding the palette you will be looking at an outline with nothing to fill it. If you find the frame before the painting you will assume it is set dressing — which is exactly what it looks like.
Where people get stuck.
- The three-digit panel is not in the front of the shop. It is on the face of a drawer unit in the back corner, low down and half out of the default camera angle. Players who sweep the counter and the shelves and then leave conclude the level has no code at all.
- The digits cycle, they do not accept typing. There is no keypad and no confirm button. You tap a window to increment it. Overshoot and you have to go all the way round through 9 back to 0, which is what makes the panel feel broken the first time.
- 052 is a drawer code, not a door code. The most common assumption in this level is that the three-digit number opens the exit. It does not. It opens a drawer with a paint tube in it, and the exit is opened by a key.
- The EXIT doors are a decoy. The glass double doors with the sparkles on the handle are the shop's front doors. The door that ends the level is the plain pale blue one further along the same wall.
- The frame reads as decoration. An empty frame on a wall in an art shop looks like set dressing. It is the last puzzle in the level and it hides the keys.
- The four keys look interchangeable. Three of them are noise. The heart-shaped bow on the fourth matches the heart-shaped outline around the door's keyhole, and that is the only signal the game gives you.
- The canvas is coloured by shape, not by palette order. The palette holds more colours than the painting uses. Painting everything you can reach does not finish it; the pattern has four regions and four answers.
The painting, in detail.
The mandala is the only puzzle in the level that is judged on a picture rather than on a number, so it is worth describing precisely. The outline is a square-ish rosette built around a four-petal centre. Four elongated oval petals meet at the middle of the canvas and overlap slightly, forming a cross. Around that cross sit four large clover shapes — each one a four-lobed cluster — positioned at twelve, three, six and nine o'clock. Between the clovers, in the four diagonal corners of the design, are four small round dots. Thin curved lines run from the centre out through the clovers and round to the dots, closing the whole pattern into a loop.
The colours follow the structure exactly: red on the four centre petals, blue on the four clovers, yellow on the four corner dots, and nothing at all on the lines or the background, which stay white. That is why the painting is quick once you know it and slow when you do not: there are only four decisions to make, but the brush follows your finger, so a sloppy drag can spill one region into the next and leave the canvas unfinished without telling you which part is wrong.
The reference for the palette comes from the paper chain. The room gives you torn and rolled pieces of paper from three different containers — one out of the nine-colour safe, one out of the four-button drawer, one out of the 052 drawer — and the recordings show them being combined in the inventory and examined alongside the colour guide. If you are stuck on the painting rather than on a lock, open the inventory and examine the paper items and the colour guide before you start mixing colours on the canvas.
Chapter 2 levels.
Chapter 2 opens with the Cell Phone Store and runs twenty-six rooms; the list below reflects what is written up so far.
- 1 Cell Phone Store guide
- 2 Cinemas guide
- 3 Pharmacy guide
- 4 Optical Store guide
- 5 Gym guide
- 6 Candy Shop guide
- 7 Food Court guide
- 8 Pet Shop guide
- 9 Indoor Playground guide
- 10 Restaurant guide
- 11 DIY Shop guide
- 12 Jewelry Store guide
- 13 Grocery Store guide
- 14 Exchange Office guide
- 15 Fashion Store guide
- 16 Art Supplies Store you are here
- 17 Shoe Store guide
- 18 Sports Store guide
- 19 Bookstore guide
- 20 Furniture Store guide
- 21 Household Appliances guide
- 22 Print Shop guide
- 23 Bakery guide
- 24 Toy Store guide
- 25 Restroom guide
- 26 Parking guide
FAQ.
What is the 3-digit code in Rooms & Exits Chapter 2 Level 16?
052. The panel is the white drawer face with an LCD strip and a silver handle, in the back area of the shop near the shelves. Each of the three windows is a cycling digit: tap it and the number goes up by one, wrapping from 9 to 0. Set the windows left to right to 0, 5 and 2 and the drawer releases, holding a tube of tempera and a torn piece of paper.
What is the 3-digit code for in the Art Supplies Store?
It opens a drawer, not the exit door. The drawer contains a tube of tempera paint and a torn piece of paper. Nothing else in the room takes a three-digit number, so there is only one code to remember in this level.
How do I unlock the colour-button panels?
Both are colour-sequence locks. The nine-button panel is on a metal safe face and records each press as a coloured dot in the strip above the grid. The four-button panel sits on the top drawer of the white desk and each button cycles through colours as you tap it. Match the order the room's clues give you; a wrong order resets the strip. Our recording does not show the exact colour order clearly enough to print it twice, so we have not published one.
How do I paint the canvas?
The canvas is the mandala outline on the easel in the back corner. Four shapes get four colours: the four oval petals in the centre are red, the four large clover shapes around them are blue, the four small round dots at the corners between the clovers are yellow, and the curved connecting lines and the background stay white. Anything that does not match the pattern leaves the canvas unfinished.
Where do I get the key for the exit door?
From behind the picture frame on the back wall. Hang the finished painting in the frame and the frame slides aside, opening a recess with four keys on hooks. The one that fits the pale blue door is the silver key with the heart-shaped bow: the door's keyhole is outlined with the same heart shape.
How do I finish the Art Supplies Store?
Select the heart-bow Key in the inventory, press Use, and tap the pale blue door with the lever handle. The door opens, the camera pulls back to the shop floor and the level ends on the results panel: +50 coins.
How long does Chapter 2 Level 16 take?
Our full recording finishes the level in 8 minutes 28 seconds of level time, and that run stops to read every readable prop. There is no timer and no fail state, so the only thing that stretches the level is the hunt for the drawer code and the two colour locks.
Previous room: ← Chapter 2, Level 10: Restaurant