Unofficial fan-made guide. Not affiliated with Webelinx Games, the developer of Rooms & Exits: Escape Room Games.
Rebuilt frame by frame from a recorded playthrough of the current build. 4 minutes 56 seconds of footage, extracted at one frame per second and read at full resolution. Every number below was read twice from separate frames. Where the recording cannot settle a detail, this page says so instead of guessing.
Chapter 1 · Wicked Games11 of 11 with full written steps · 11 with a video
Quick answer
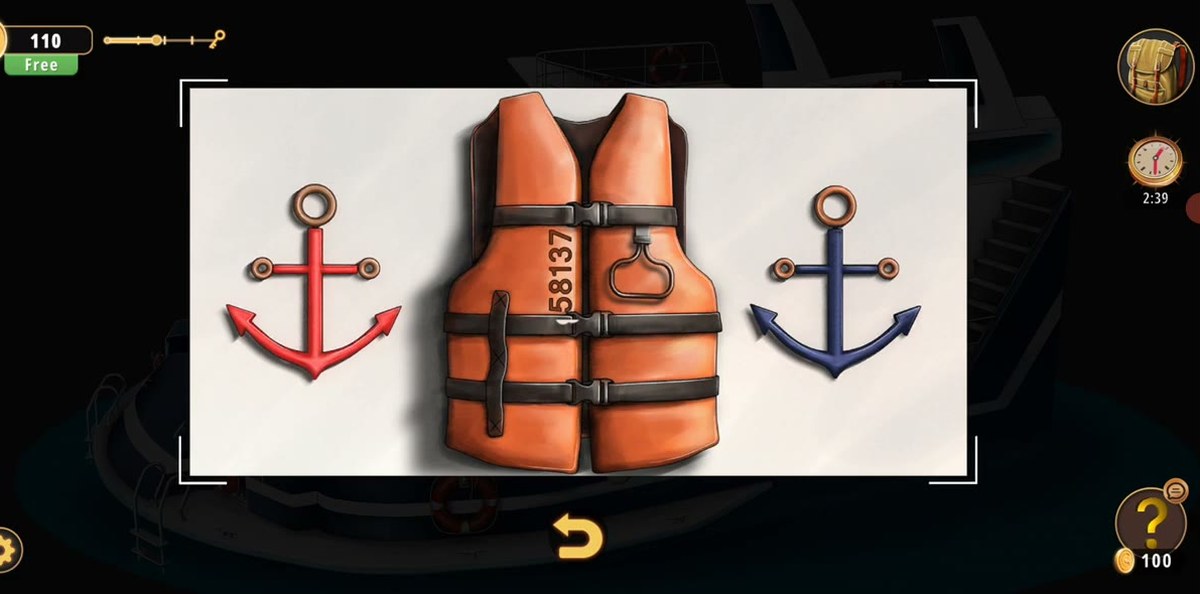
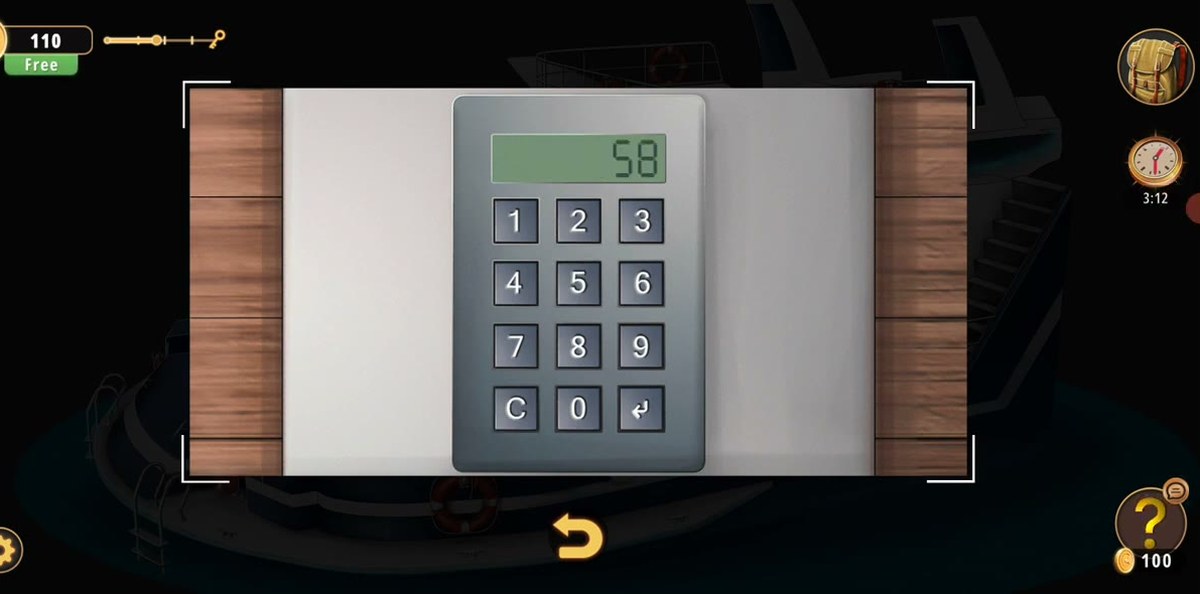
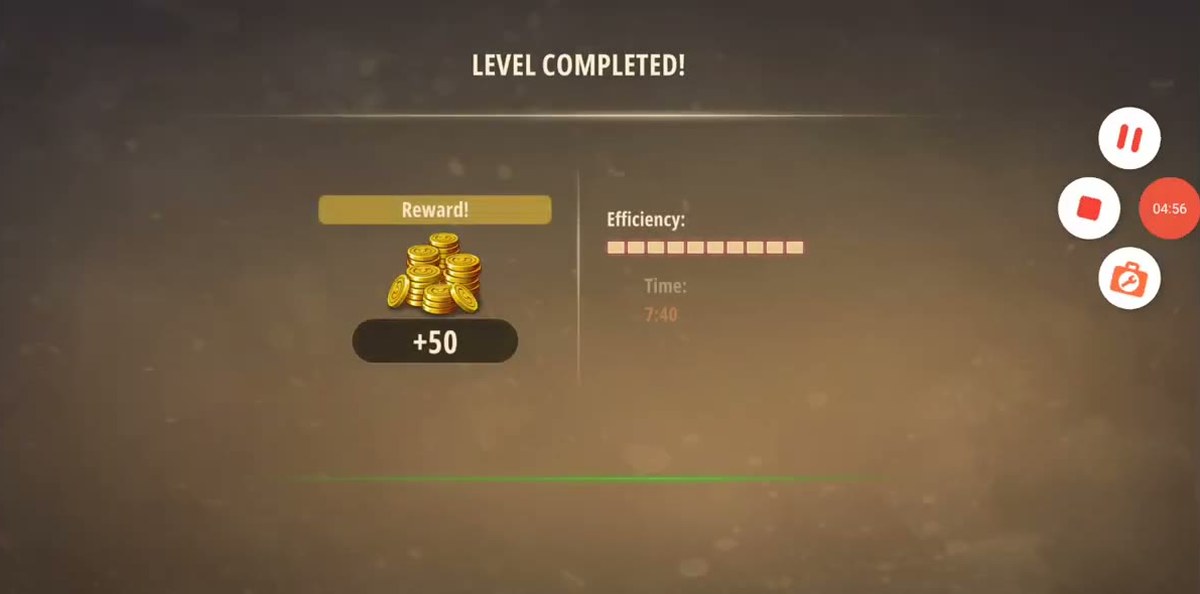
The only code in the Yacht is 58137, printed down the orange life vest, and it opens the steel keypad by the stairs. The level finishes worth +50 coins.
Work the five pump bottles on the wash counter until the cabinet under it unlatches → take the red sand.
Two green loungers by the hot tub: collect the handle and the claw toy.
Shelf wall: green sand, a key from the ship's bell, the big empty jar, then blue sand.
Examine the life vest → 58137 → type it into the keypad → a wall cabinet opens.
Use the claw in the round aquarium → white sand; pour all four sands into the jar.
Carved box on the shelf → key. Bar shelves: one colour per shelf. Piano beat ends the level.
What this level actually is.
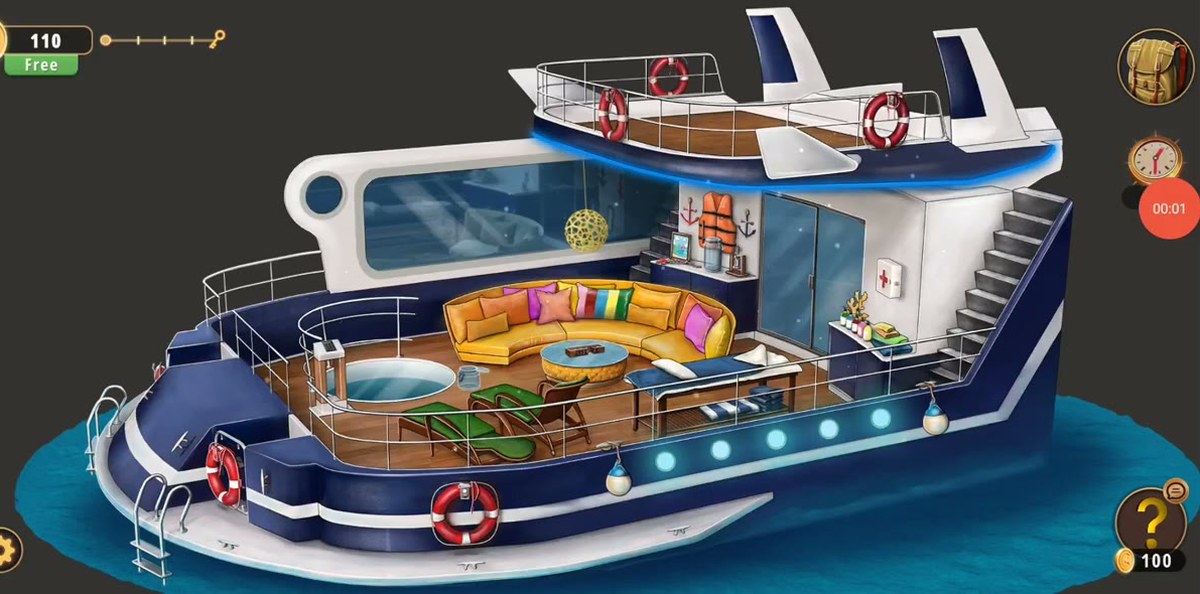
The Yacht is the first level in Chapter 1 that is a place rather than a room, and it is laid out like one. You get a sun deck with a hot tub, two green loungers and a yellow corner sofa; a wash corner with a row of pump bottles; a shelf wall with a sailboat picture, a ship's bell and a glass jar; a round aquarium built into the deck with a shark behind the glass; and an interior lounge with a white Seiler piano, a curved red sofa and a bar of bottle shelves.
That layout is the reason people stall here. Nothing tells you which end of the deck to start at, three of the puzzles only give up an item after you have already walked past them once, and the one number the level contains is printed on something most players never think to pick up. The footage runs under five minutes for a reason: once you know the order, there is no hard puzzle in the level, only a lot of ground to cover.
The inventory you end up holding is a handle, a claw toy, four jars of coloured sand, one big glass jar and at least one key. Almost every one of those items is used more than twenty seconds away from where you find it, which is exactly the kind of level design that produces the "I have eleven things and no idea what to do" feeling.
Step by step.
Step 1 · 0:04The wash corner and its five pump bottles
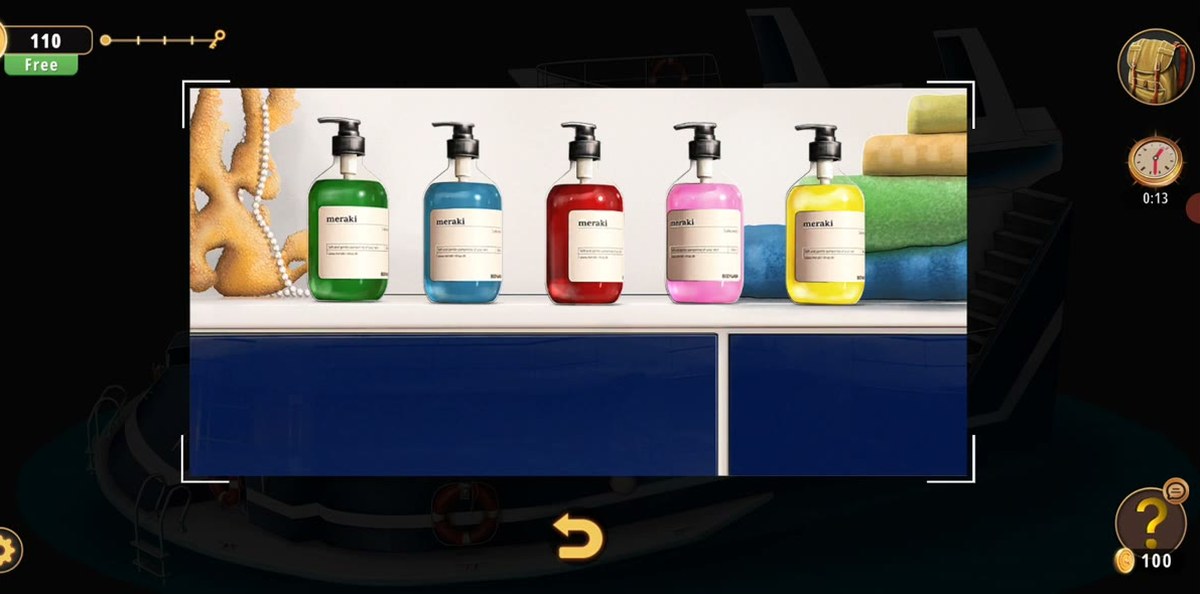
The first zoom-in of the level is a white counter with folded towels and five pump bottles in a row. Pale blue, green, red, pale blue and yellow at the start. The bottles are not decoration: you press them one at a time and the game answers every press. After roughly twenty-five seconds of working the row, the cabinet under the counter unlatches at 0:30.
Step 2 · 0:32Red sand, from the cabinet you just opened
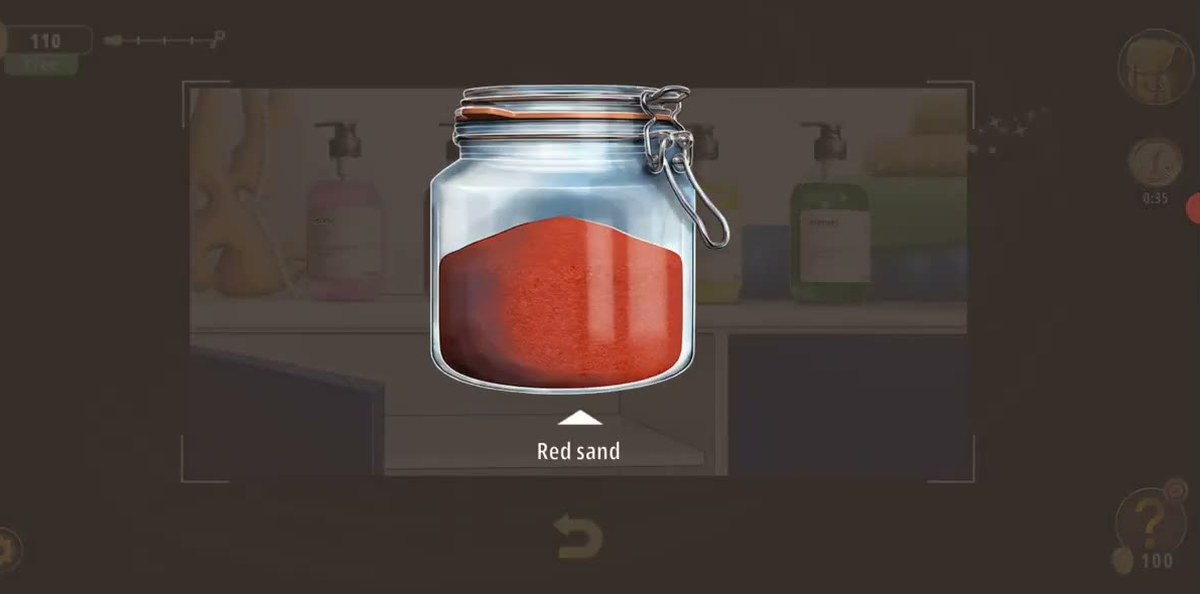
The drawer under the counter holds a small jar of red sand. Take it and the pickup screen names it Red sand. It is easy to read as set dressing, and that is the trap: this is one of four, and the game has quietly started a collection that will not pay off for another two minutes.
Step 3 · 0:44The lounger by the hot tub: a handle and a claw
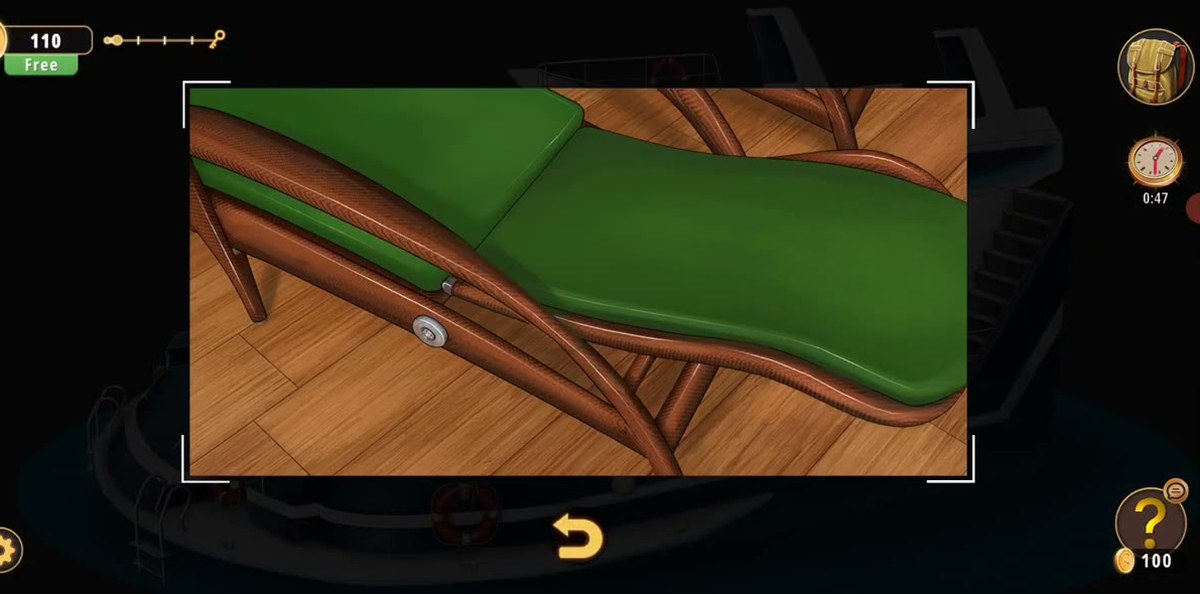
Behind the hot tub, on the wooden deck, sit two green sun loungers. The near one has a small chrome handle lying loose against its frame. Pick it up and the inventory logs Handle at 0:48. Sixteen seconds later the same piece of deck gives you a second item, a blue-and-green grabber claw labelled Toy (1:04). Neither one is used anywhere near the chair, so do not stand there trying to fit them into something.
Step 4 · 1:06Green sand
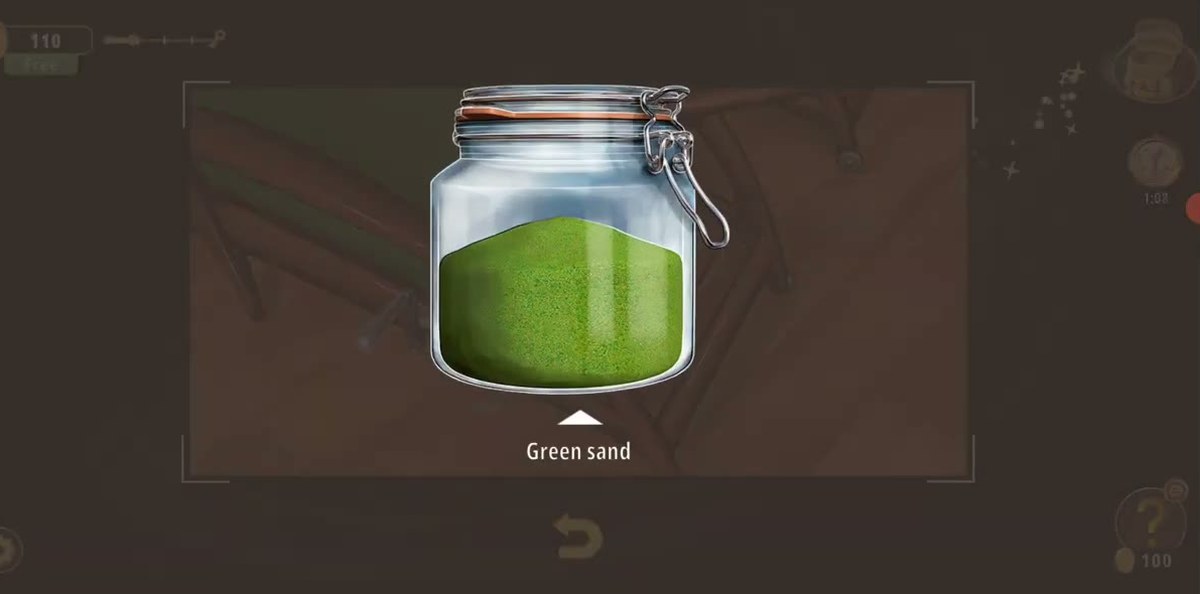
The next pickup is the second of the four sands: Green sand, collected on the way along the deck. There is no puzzle attached to it and no way to fail. If you have read this far and only have red, you have simply not walked the shelf wall yet.
Step 5 · 1:14The bell shelf: a key and the empty jar
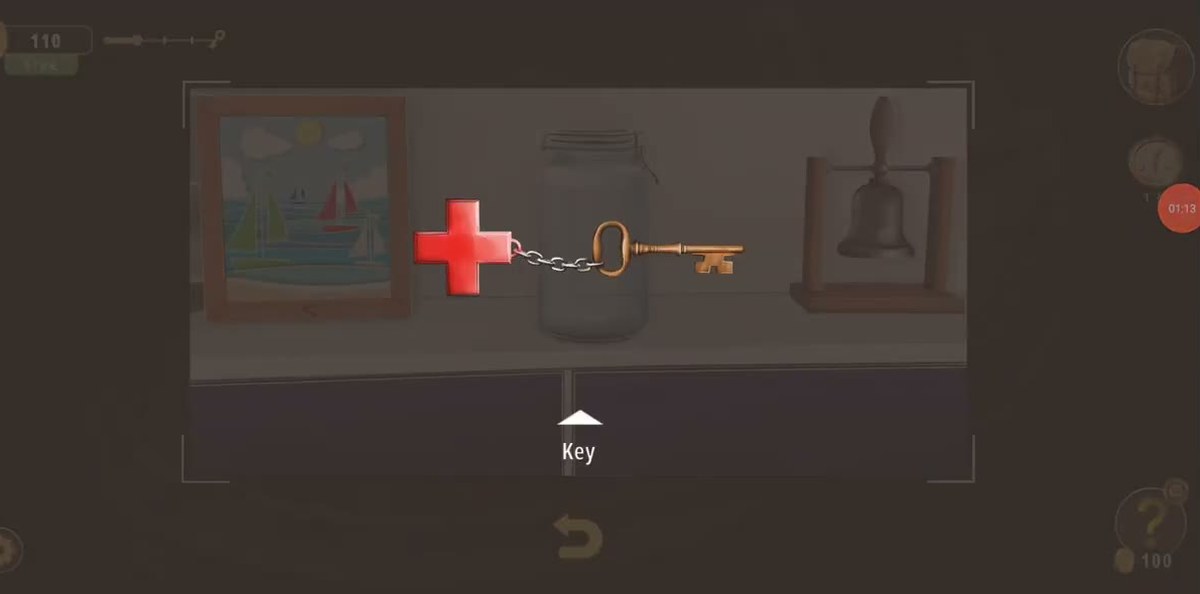
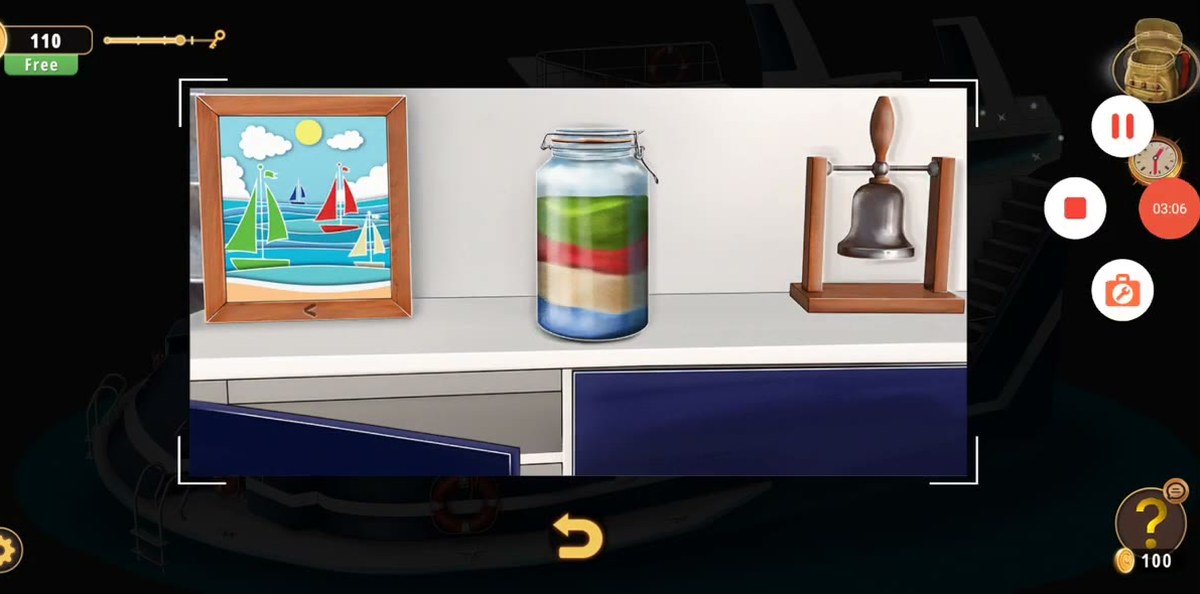
The shelf wall holds three things worth knowing: a framed picture of sailboats, a brass ship's bell on a wooden stand, and a large empty glass jar. The bell gives up a key (the label on the pickup screen reads "Key"), and the jar comes off the same shelf with it. That jar is the important one. It is the vessel for the sand puzzle later, and without it the four sands are dead weight in your inventory.
Step 6 · 1:24Blue sand
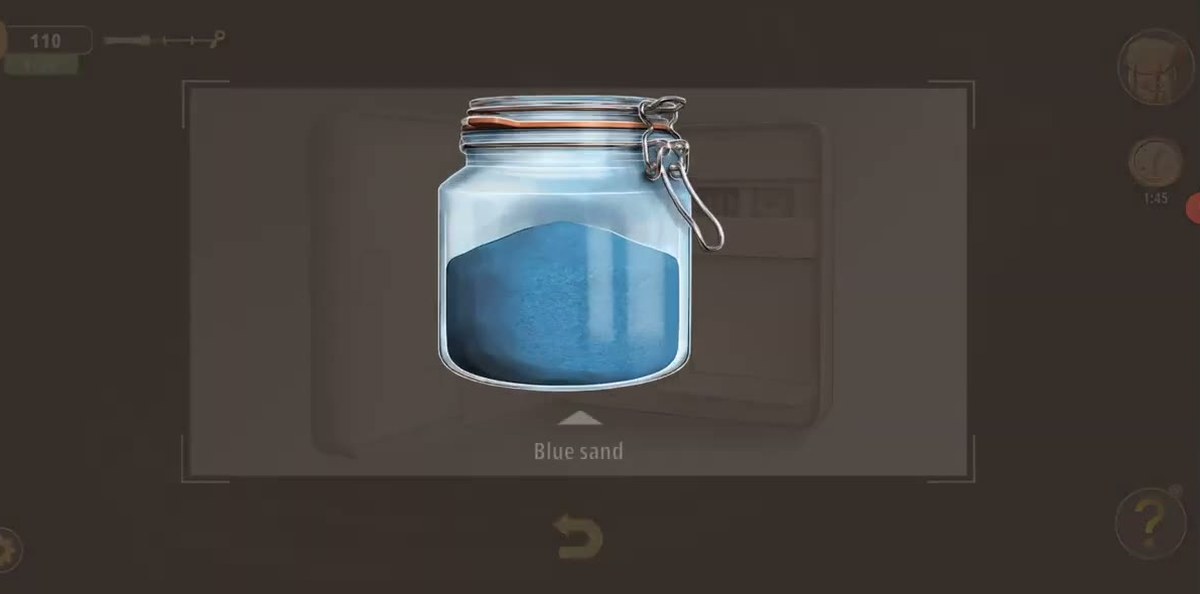
Third sand, same run: Blue sand. At this point the inventory stacks the jars together into one item rather than four separate slots, which is why some players think they only have one jar and go looking for three more somewhere else. You do not: the stack is the collection.
Step 7 · 1:34The life vest on the aft wall: 58137
On the wall by the stern, between a red anchor and a blue anchor, an orange life vest hangs on a hook. Tap it, put it in your inventory, and press Examine: the number is not readable while the vest is on the wall. In the inspection view the digits are printed in a black vertical column on the left panel, and reading the column from the top down gives 5 · 8 · 1 · 3 · 7.
Step 8 · 1:46The steel keypad: 58137
The keypad sits on the wall beside the stairs. A plain 1–9 grid, a zero, a C to clear and a curved enter key. Type 58137 and confirm. The pad takes the digits one at a time and shows them as you go, so if the display does not read 58137 before you confirm, clear it and start again rather than pressing enter on a partial entry.
Step 9 · 2:05The wall cabinet the code opens
A small white cabinet on the wall swings open. It is easy to miss because it opens off to the side of the deck and the camera does not linger. The recording steps back to the wide view almost immediately. Everything in that cabinet is a step towards the lounge at the end of the level, so open it before you go hunting for the aquarium.
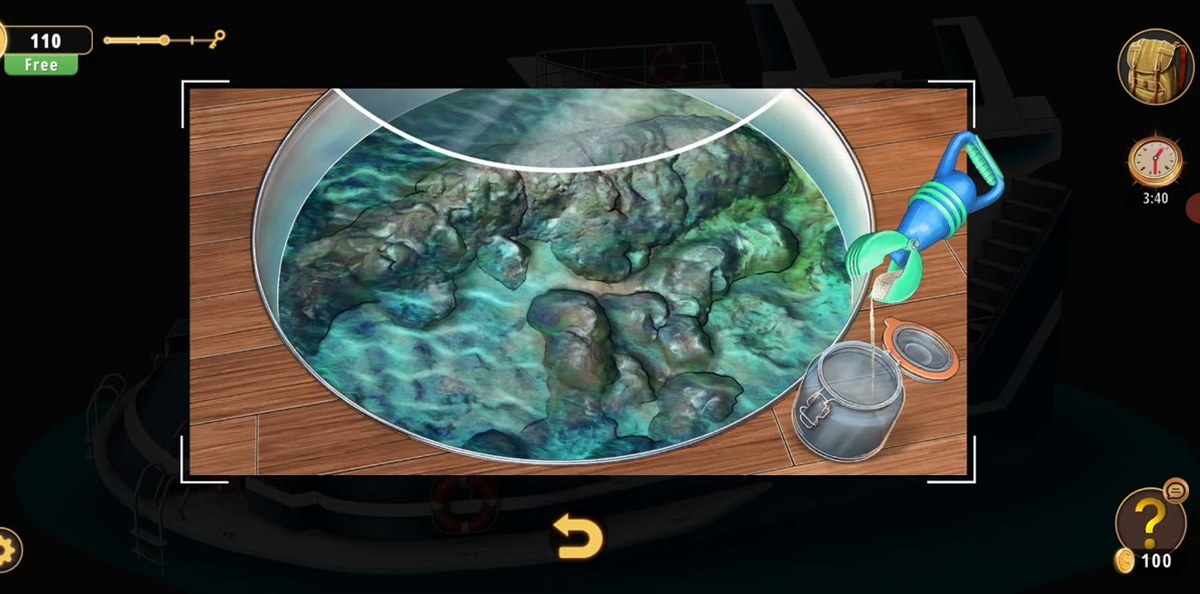
Step 10 · 2:08The round aquarium and the claw toy
The aquarium is built into the deck: a round glass tank with rocks on the bottom and a shark circling behind it. Use the claw toy on the tank. This is what the toy was for. The game does not tell you that, and the claw is the item most players never connect to this screen. Working the tank pays out white sand at 2:28, the fourth and last jar.
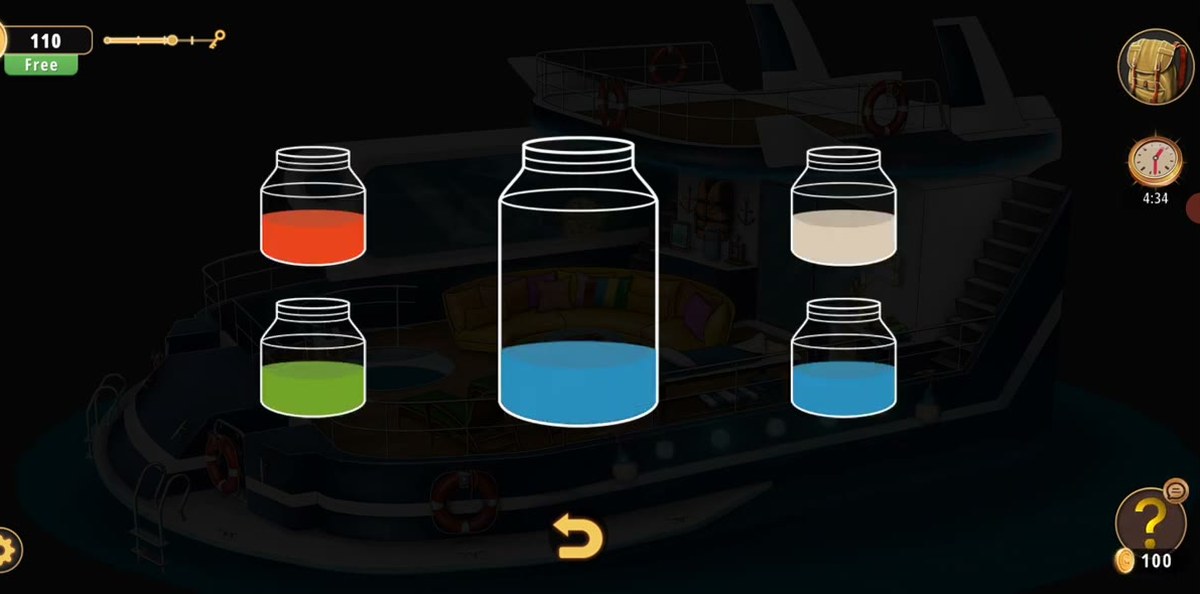
Step 11 · 2:51The pour: four sands into the empty jar
With all four sands and the jar in hand, the game opens a pouring screen: one tall empty jar in the middle, the four coloured jars around it. Pour each one in and the sand settles into stripes. Our recording pours blue first, then the cream layer, then red, then green on top, and the puzzle accepts it. Bottom to top the finished jar reads blue, cream, red, green.
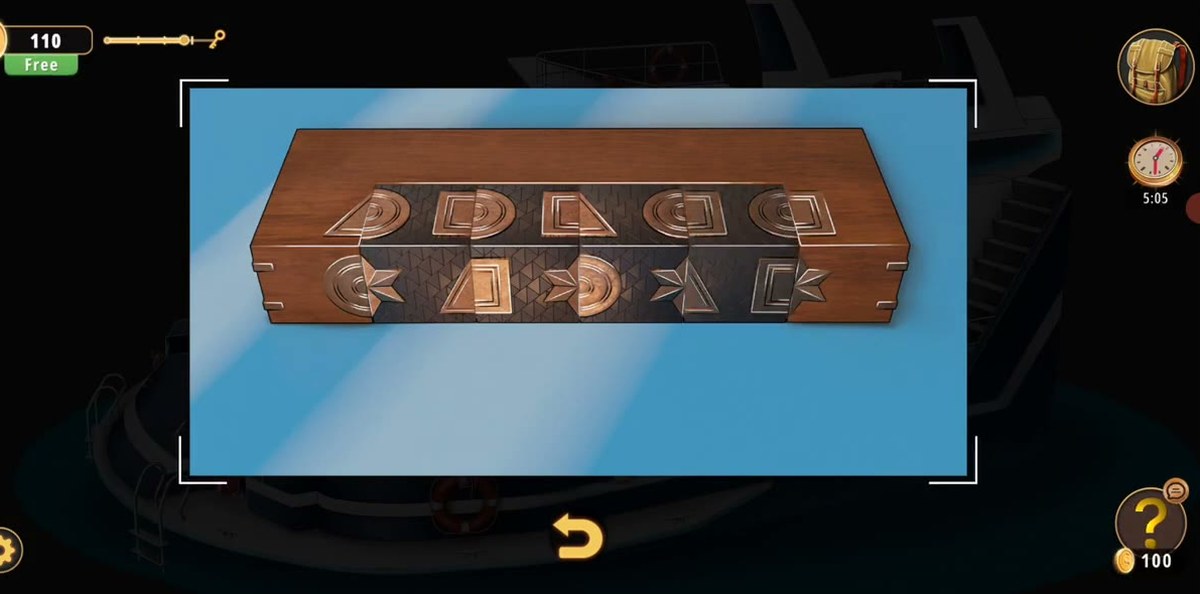
Step 12 · 3:09The carved box on the shelf
Back at the shelf wall, a carved wooden box takes tiles across its face. You shift them one at a time until the row closes up into one continuous band with no gaps; the box then opens and hands over a key. There is no number to read here and nothing to copy off another screen. It is a pure manipulation puzzle, and the recording clears it in about twenty seconds of tile moves.
Step 13 · 3:52The bar shelves: sort the bottles by colour
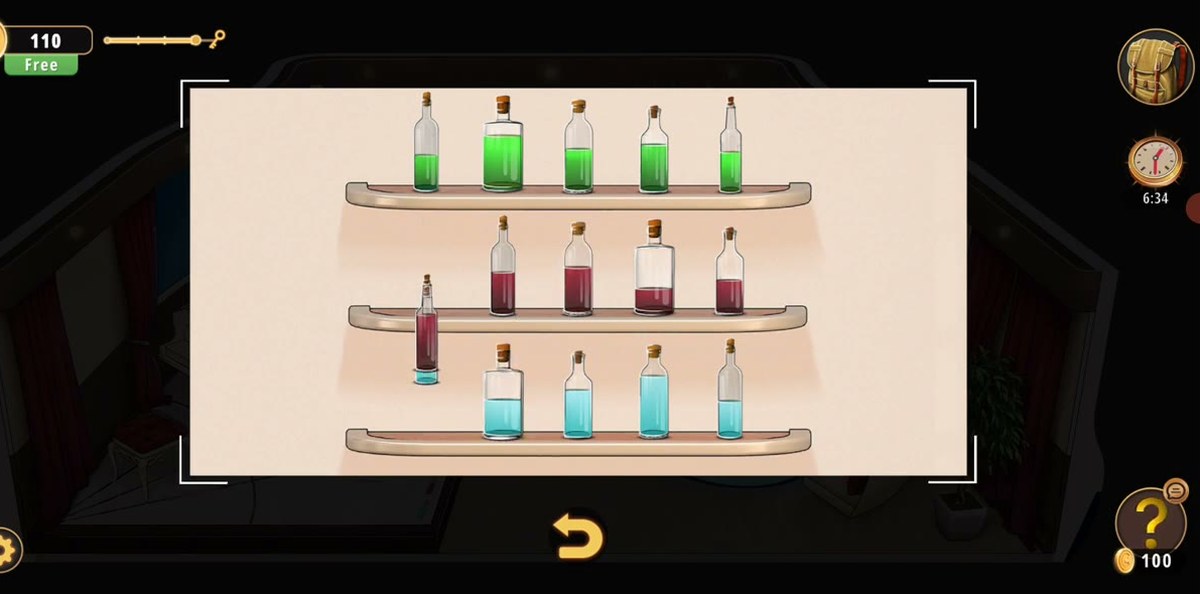
The lounge bar is three shelves of bottles in green, red and pale blue, mixed on every shelf at the start. This is a sorting puzzle, not a code: move the bottles until each shelf holds a single colour. green on the top shelf, red on the middle, pale blue on the bottom. When the last bottle lands, the shelves release the next item.
Step 14 · 4:24The piano and the photographs
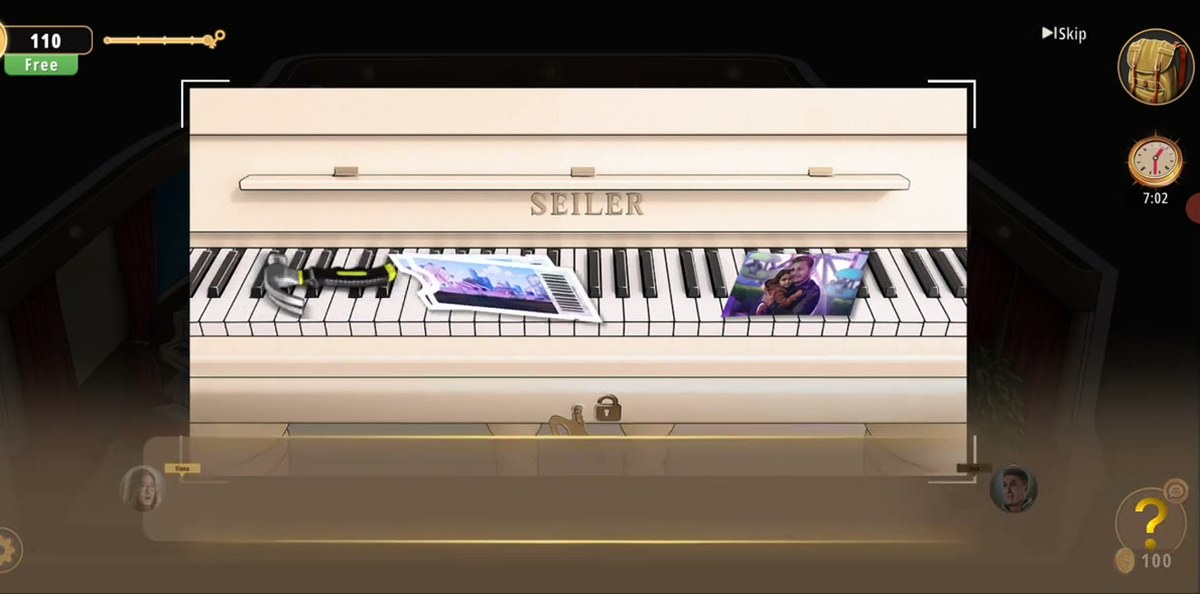
The last screen of the level is the white Seiler piano in the lounge. There are photograph cards lying on the keys, a small padlock plate under the keyboard, and a conversation between Fiona and Jack about the old amusement park. This is the closing beat rather than a puzzle you can lose: the dialogue runs out, the camera pulls back and the level ends. The amusement park the conversation refers to is the next room, which is named Amusement Park.
Step 15 · 4:56Level complete: +50 coins
The level closes on the reward screen with +50 coins and a mostly-full efficiency bar. Nothing carries over into Level 6 except the coins, and there is no exit door to walk through. The Yacht ends the moment the lounge conversation finishes.
The jar is the one thing in the Yacht that looks like it should have a code behind it and does not. Four coloured sands, one empty jar, and no other screen in the level tells you what to do with them. Here is what our footage actually shows, in the order the sand goes in:
Blue: poured first, ends up at the bottom of the jar.
Cream: the pale, almost white layer, poured second.
Red: poured third, sits above the cream.
Green: last, and it ends up as the top stripe.
Once the pour is done the jar returns to the shelf between the sailboat picture and the bell, and you can read the finished stripes off it any time you like. Bottom to top they are blue, cream, red, green. Which is just the pour order read backwards, so there is nothing to memorise.
What we could not verify: whether the pour order is enforced. Our recording pours blue, cream, red, green and the game accepts it on the first attempt, but the footage never shows a wrong pour being rejected, so we cannot tell you that a different order fails. If the game refuses a pour, match the four stripes exactly as listed above.
Where people get stuck.
The life vest. The number only exists in the examine view. Players tap the vest, see an orange rectangle, and walk away. The vest has to go into the inventory and then through Examine before 58137 is readable at all. This one step is the difference between finishing the level in five minutes and wandering the deck for twenty.
The claw toy. It is labelled "Toy", it comes off a sun lounger, and nothing hints that it belongs in the aquarium. If you are stuck with a finished sand stack and no white sand, this is why.
The empty jar. The sands are useless until you have the big jar from the bell shelf. Four sands and no jar reads as a bug to most players; it is not, you have simply not picked the jar up.
The bar. Three shelves of mixed bottles look like a colour-code puzzle with an order to memorise. They are not. Every shelf takes one colour and the game does not care about the sequence you move them in.
The pump bottles. This is the only genuinely unhelpful screen in the level: five bottles, no instruction, and the game only reacts when the row is worked correctly. We could not recover the exact order from the footage, so treat it as trial and error. The cabinet under the counter opens in under a minute of pressing, and nothing else in the level depends on the sequence you use.
Chapter 1 levels.
Chapter 1 · Wicked Games11 of 11 with full written steps · 11 with a video
58137. The digits are printed in a vertical column on the left panel of the orange life vest on the aft wall, next to a red anchor and a blue anchor. Take the vest into your inventory, press Examine, read the digits top to bottom and type them into the steel keypad beside the stairs.
Where do the four jars of coloured sand come from?
Red sand comes out of the cabinet under the wash-corner counter once the five pump bottles are worked in the right order. Green and blue sand are picked up in the same run along the shelf wall with the sailboat picture and the ship's bell. White sand comes out of the round aquarium on the deck after you use the claw toy in it. The game stacks all four into a single jar in your inventory.
In what order do you pour the sand into the empty jar?
Blue first, then the cream layer, then red, then green on top. That is the order our recording pours them and the game accepts it. Read from the bottom of the finished jar upwards, the stripes are blue, cream, red, green.
How do you solve the bar bottle shelves?
It is a sorting puzzle, not a code. The three shelves hold bottles in green, red and pale blue, and each shelf has to end up holding one colour: green on top, red in the middle, pale blue on the bottom. When the last bottle moves, the shelves release the next item.
What is the reward for finishing the Yacht?
+50 coins. The level ends in the lounge after the piano beat, with the photographs on the keys and the line about the old amusement park.
Does the Yacht have a timed puzzle?
No. The clock in the corner is the level clock counting up, not a countdown, and nothing in the level fails you for being slow. The only thing that can hold you up is the pump-bottle sequence on the wash counter.
 GridPaw
 Shikaku
 Akari
 Kakuro
 Nonogram
 Nurikabe
 Pictomino
 KenKen
 Binary
 Star Battle
 Hashi
 Slitherlink
 Murder Sudoku
 Meowdoku
 Crazy Cleanup