 GridPaw
 Shikaku
 Akari
 Kakuro
 Nonogram
 Nurikabe
 Pictomino
 KenKen
 Binary
 Star Battle
 Hashi
 Slitherlink
 Murder Sudoku
 Meowdoku
 Crazy Cleanup
Rooms & Exits Chapter 3 Level 15 Walkthrough: Garage
Garage is the fifteenth room of Chapter 3, Murder Dressed in White, and it is one of the largest interiors in the chapter. Three cars — a white saloon, a red saloon and a blue saloon — sit on yellow-marked concrete in front of a wall of shelving and two work desks with monitors. The room's information is split between a screen showing three sports cars, a four-letter lock on a yellow panel, and a shape board that changes colour while you watch it. There is no number pad anywhere; the only digits the room shows you are the battery count in your own inventory.
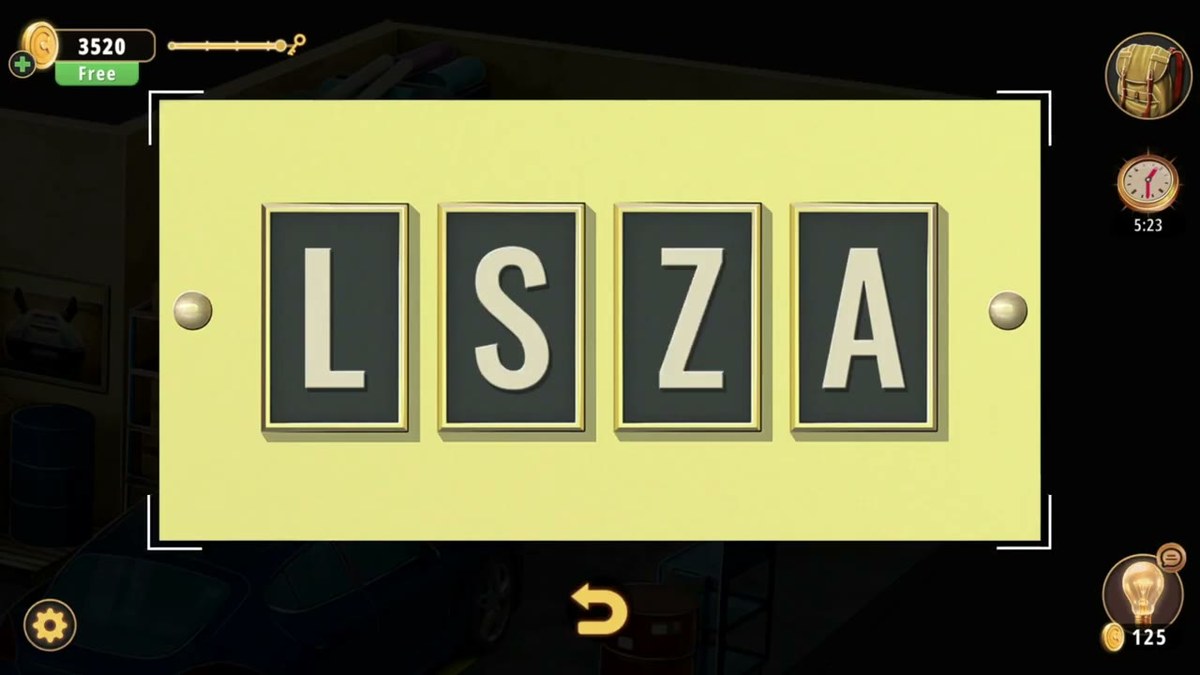
Garage is room 15 of 24 in Chapter 3. The only code-level read is the four-letter lock at 5:19: L S Z A. The completion banner appears at 5:31, but the clip ends before the reward numbers resolve.
- Sweep the room: white, red and blue saloons on yellow lines, shelving along the back wall, two desks with monitors.
- Take the cart at 0:29 — green TECHNOLOGY hardbacks and flat blue rings.
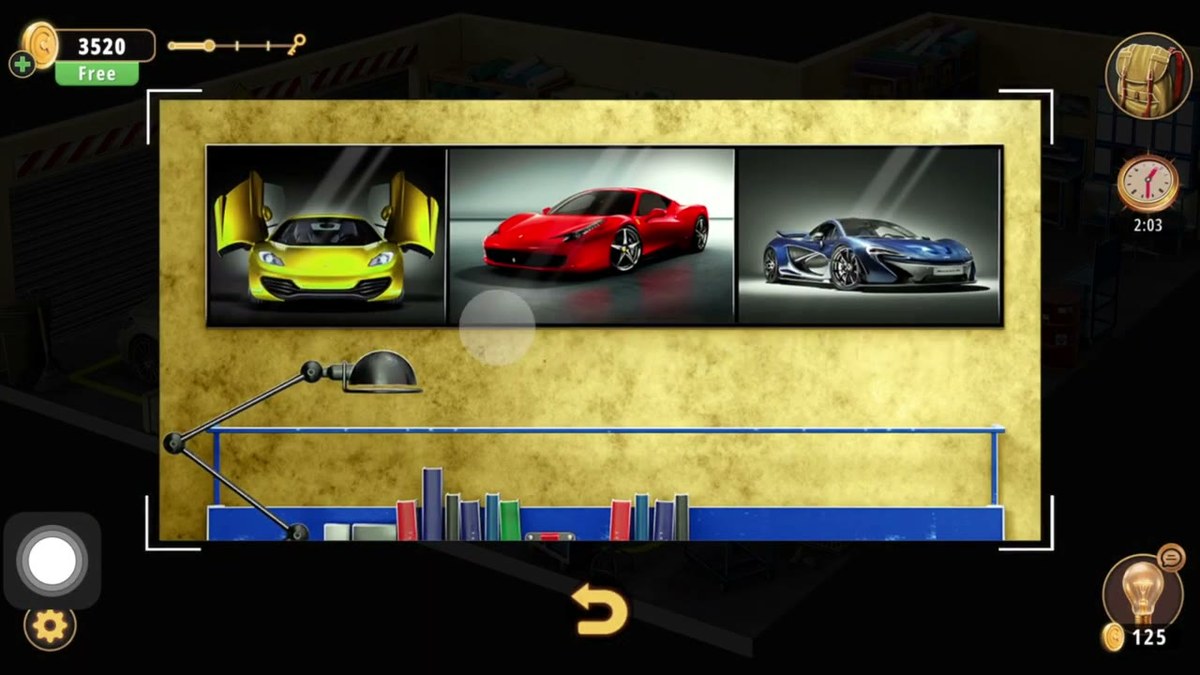
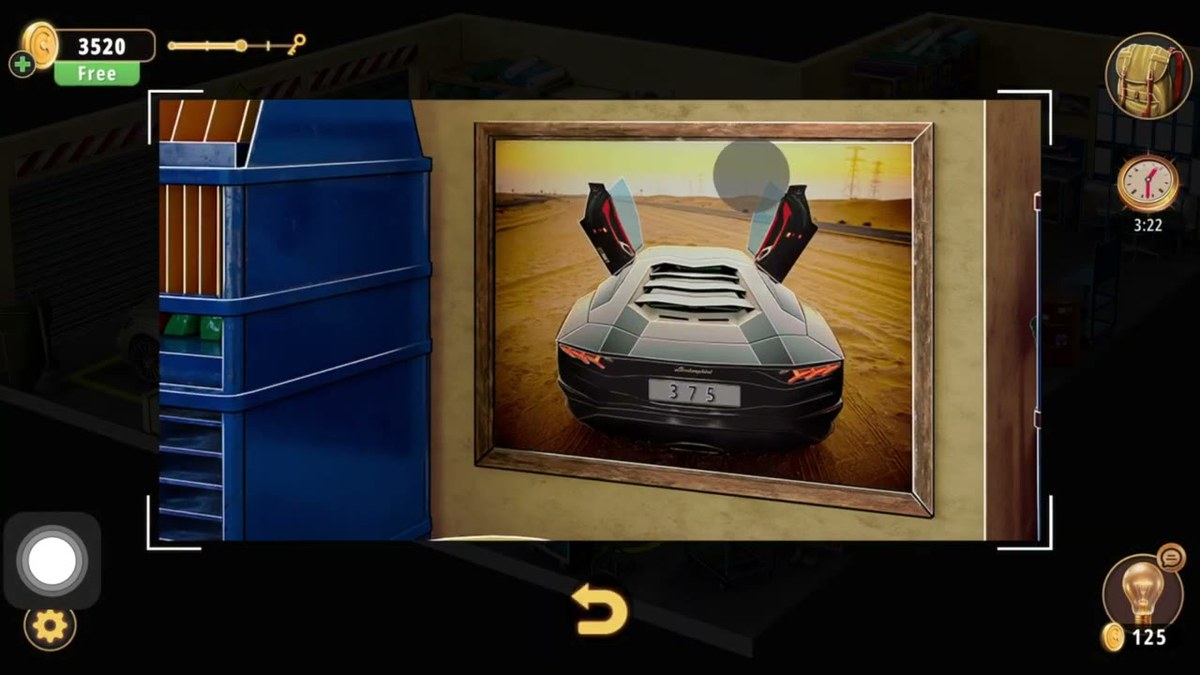
- Read the framed screen at 1:59: a yellow car with raised doors, a red car, a blue car. Those are the three cars in the room.
- Work the shape board at 2:59 and 3:19. Only the leftmost square cycles; the two green squares and the red and green bars do not.
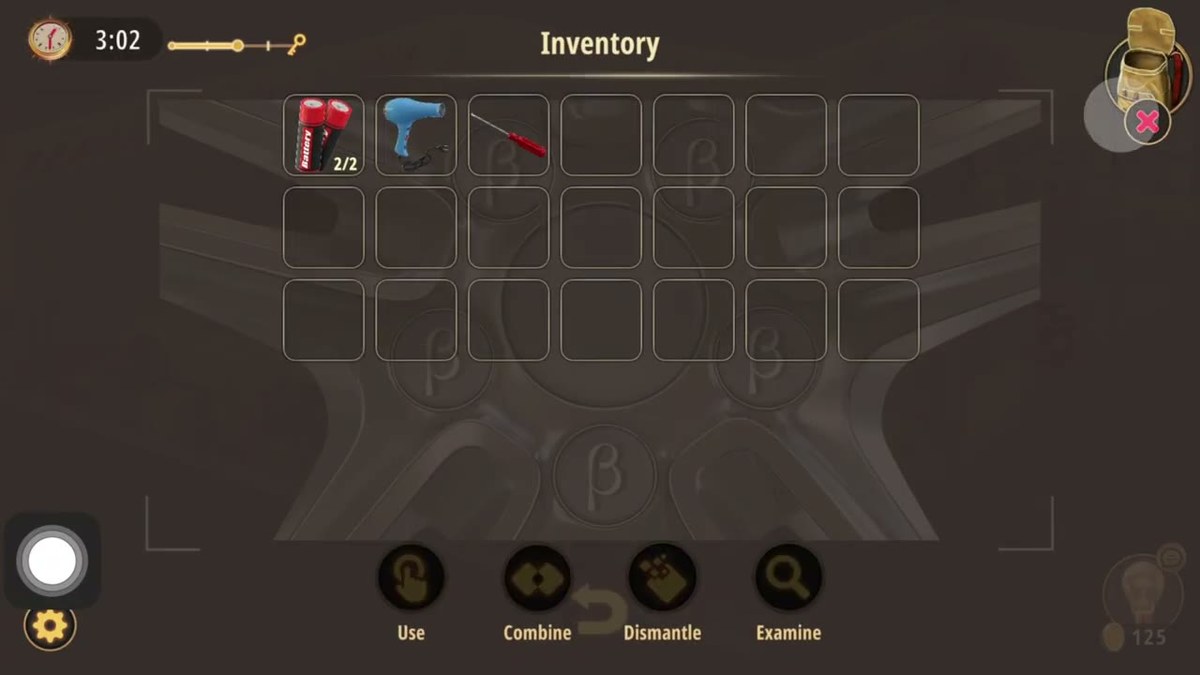
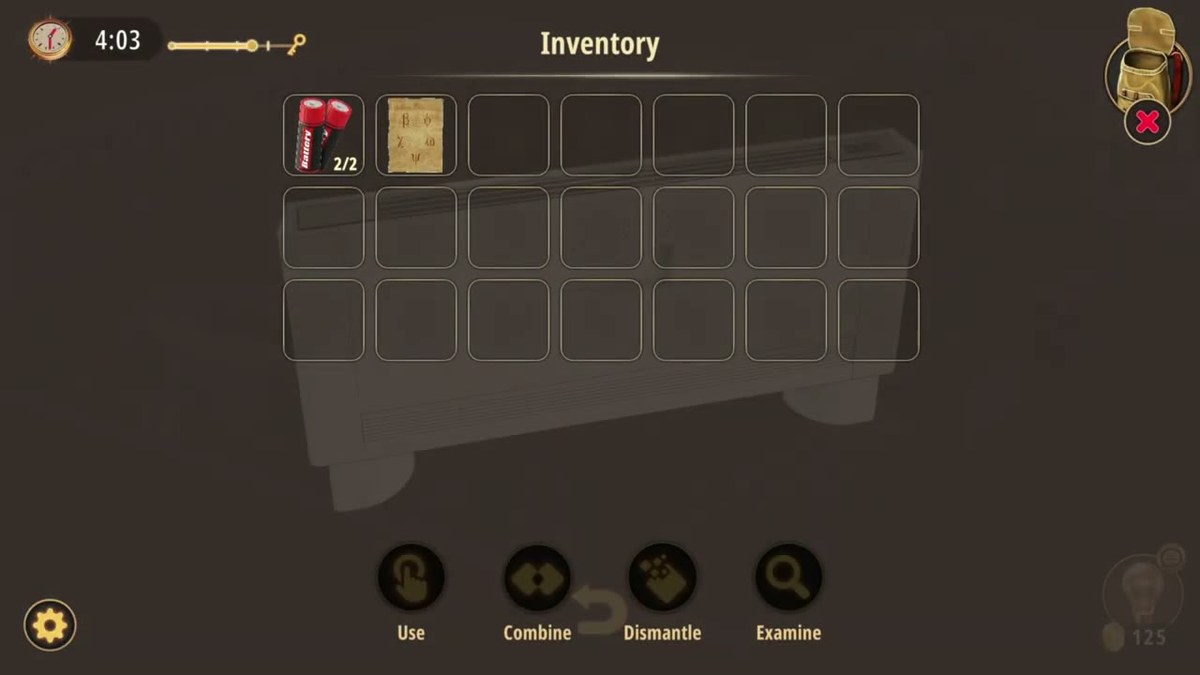
- Collect the batteries — the inventory reads 2/2 at 3:59.
- Set the four-letter lock: L S Z A at 5:19.
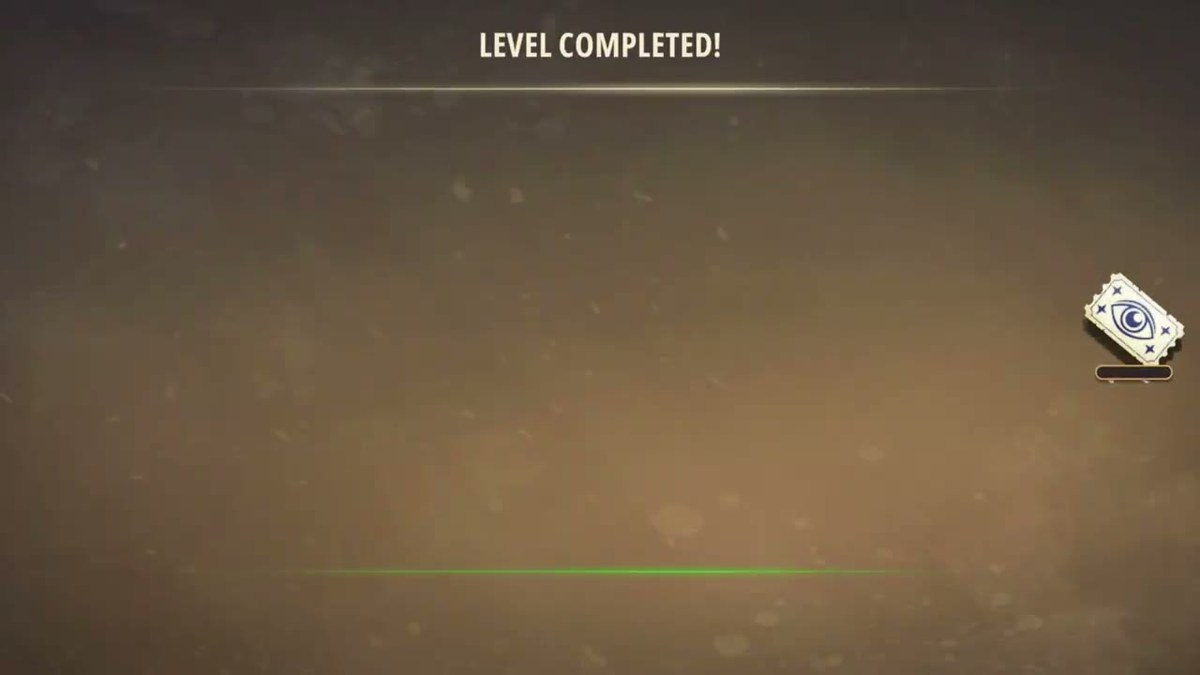
- The banner lands at 5:31 and the file ends at 5:32, so no reward figure is printed here.

The Garage run used for every frame on this page.
What this level actually is.
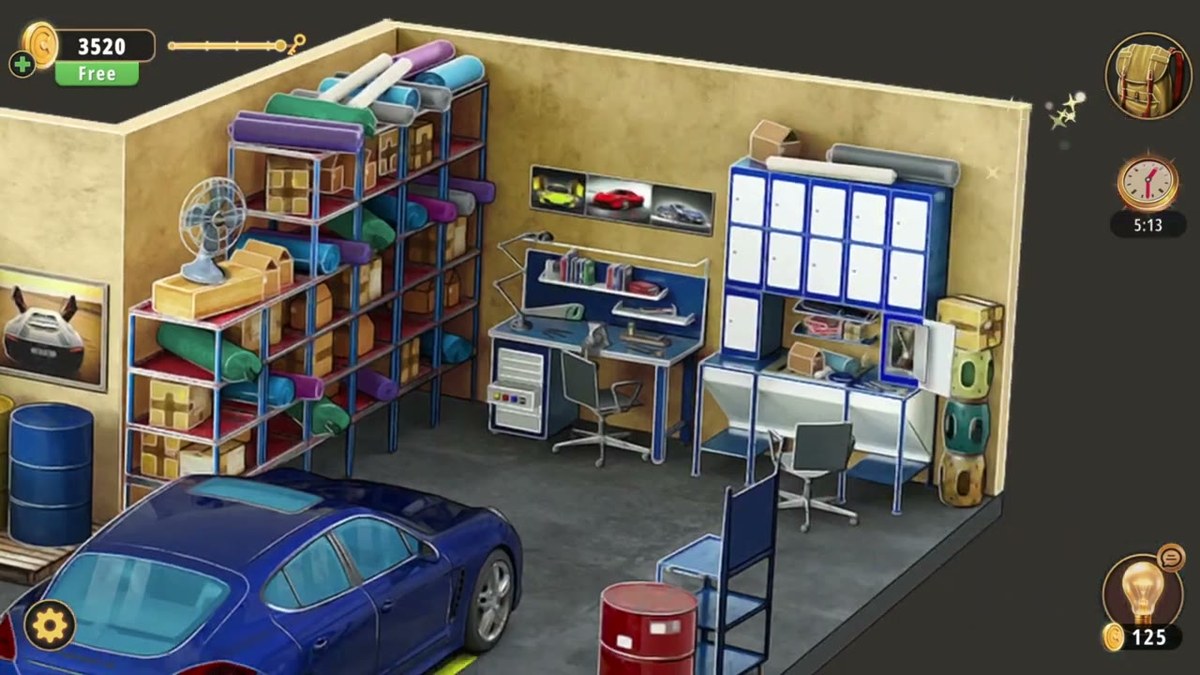
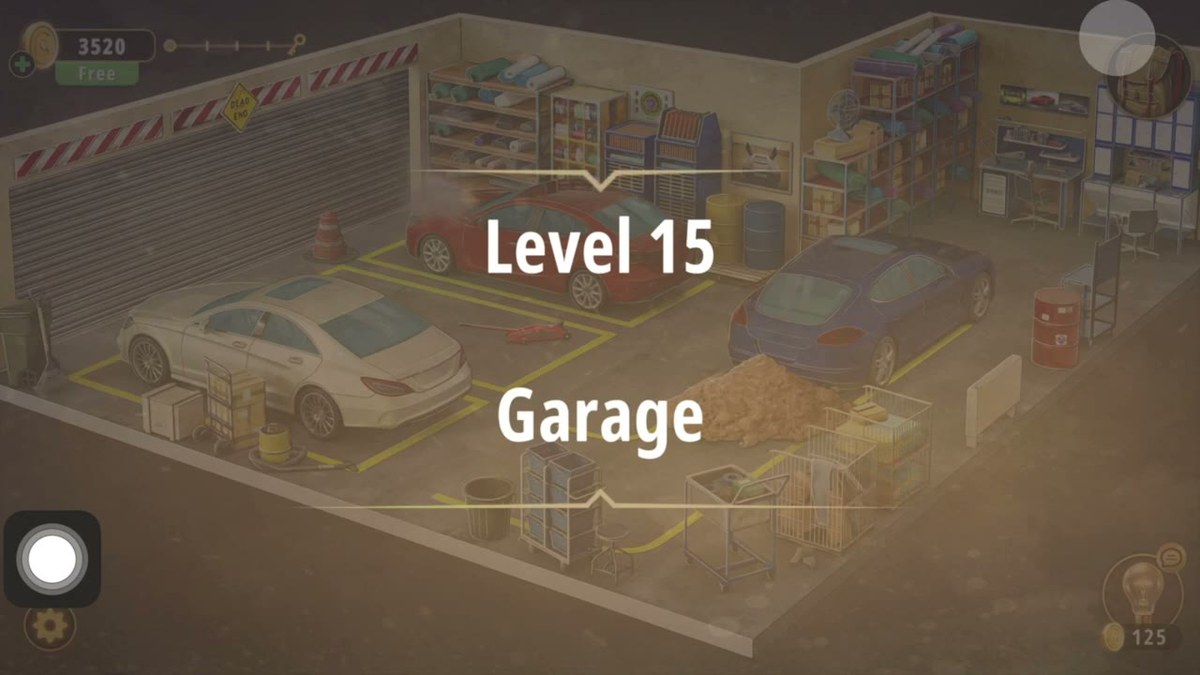
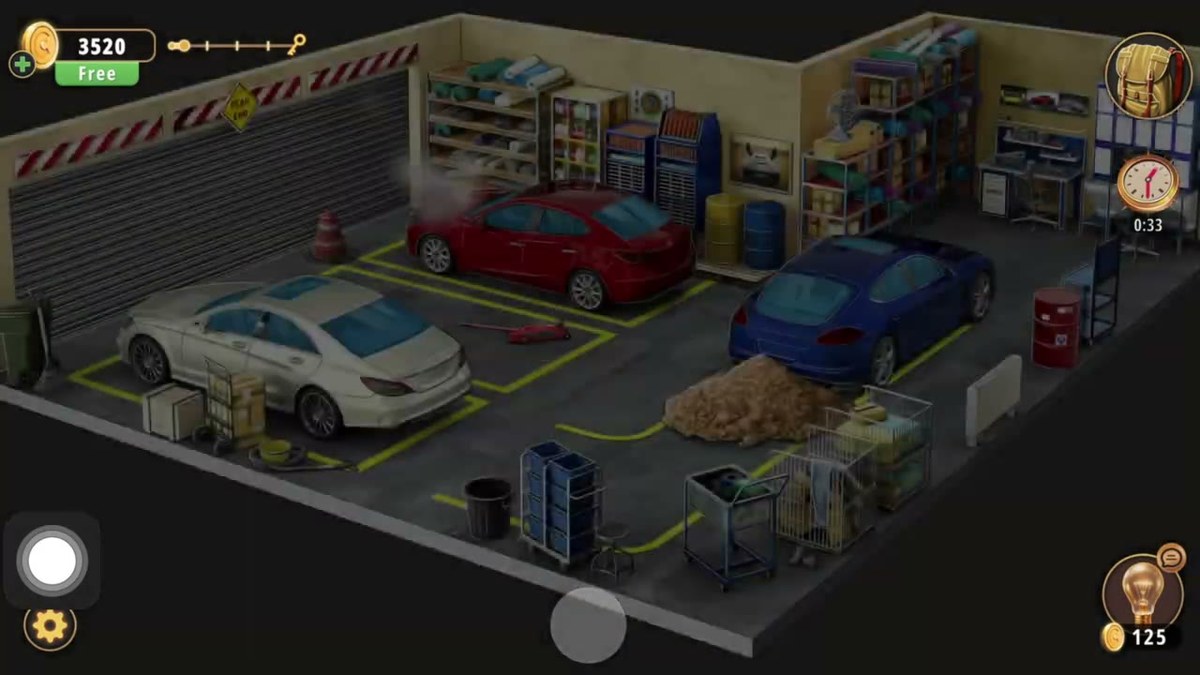
A working garage rather than a storage closet. The concrete is painted with yellow parking and service lines, a striped roll-up door takes up the left wall, and the back wall is a long run of metal shelving loaded with boxes, cans, blue bins and tools. Two desks with monitors sit against the shelving, which is what makes the room feel like an office bolted onto a workshop. A traffic cone, red gas cans, a rolling blue cart and a tyre stack fill the gaps.
The three cars are the level's organising idea. A white saloon parks on the left, a red saloon sits on a lift in the middle, and a blue saloon straddles a service pit on the right, with tyres stacked down in the pit and piles of dirt or sand at its edges. Every car close-up in the recording is framed on one of these three, and the framed screen on the back desk repeats the same three colours — which is as close as the room comes to writing an instruction down.
Structurally it is a hunt, not a chain. Unlike the Storage Room, the props here are spread over a wide floor plan, and the recording moves between the cart, the desk screen, the shape board and the lock without any visible dependency between them. That makes it a room you can clear in any order — but it also makes it the room where it is easiest to finish the visible puzzles and still be missing a pickup.
The map: what is where.
Everything we could identify, and what it is for.
| Object | Where | What it does |
|---|---|---|
| White saloon | Left bay, on yellow lines | Parked, not lifted. One of the three poster colours. |
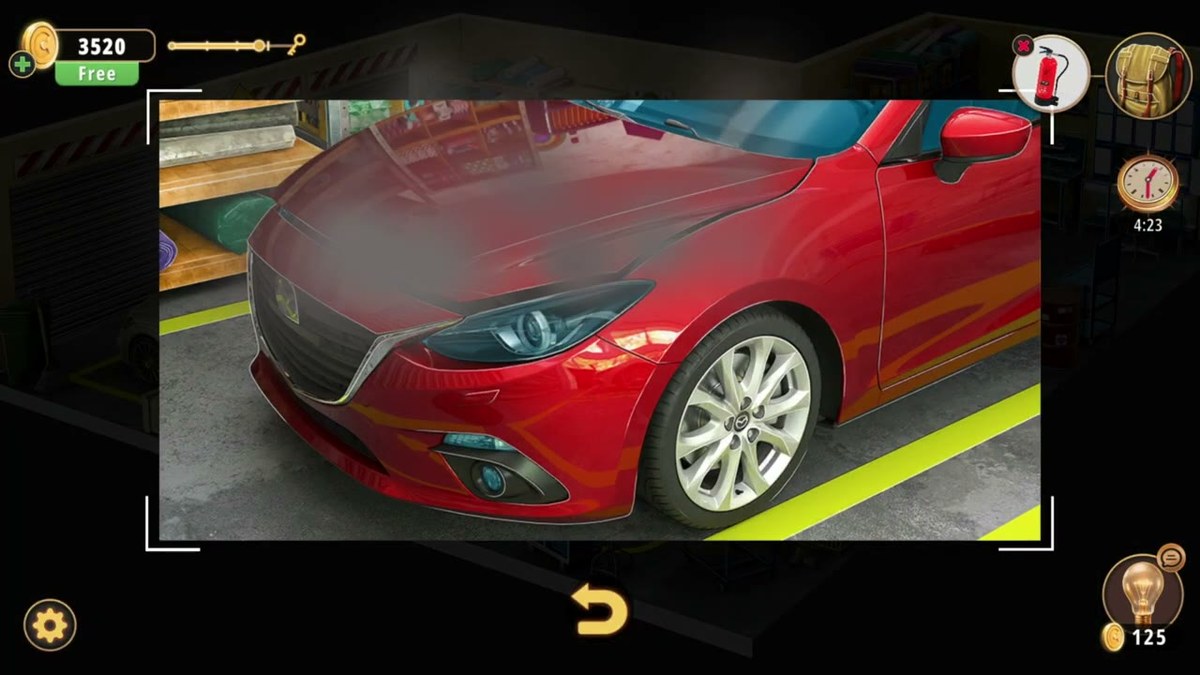
| Red saloon | Centre bay, on the lift | Raised on the lift; its nose is a close-up at 4:19. |
| Blue saloon | Right bay, over the service pit | Tyres stacked in the pit below, dirt piles at the rim. |
| Framed screen | Back desk, above a lamp and a shelf of books | Three sports cars: yellow with raised doors, red, blue. |
| Utility cart | Foreground, blue handles | Green TECHNOLOGY hardbacks and flat blue rings. |
| Shape board | Full-screen close-up | Five framed panels; only the leftmost square cycles colour. |
| Four-letter lock | Yellow panel, dark tiles in gold frames | Reads L S Z A left to right. |
| Batteries | Inventory pickup | Two red batteries, counted as 2/2. |
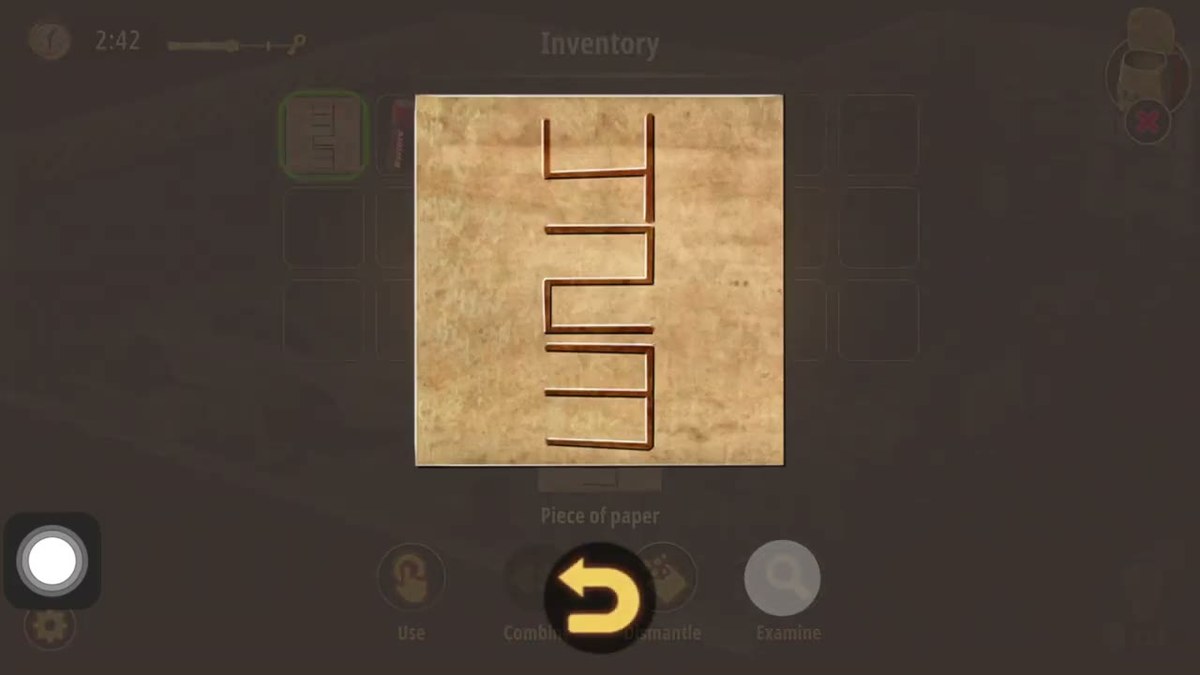
| Piece of paper | Inventory item | Ladder-like diagram on a brown ground; labelled Piece of paper. |
| Service pit | Under the blue saloon | Opening in the concrete with stacked tyres inside. |
| Roll-up door | Left wall | Yellow and black hazard stripes; opens late in the run. |
| Shelving run | Back wall, full width | Boxes, cans, blue bins, tools — the room's visual noise. |
Step by step.
The order below follows the recording. Timestamps are video time; the links jump to the matching second.
Where people get stuck.
You read the poster as a straight key and it does not work. The screen shows yellow, red, blue; the floor has white, red, blue. Two of the three match, one does not. If a puzzle in the Garage refuses the yellow-red-blue order, that is why — the poster is a mirror with one colour swapped, not a copy.
You keep pressing the whole shape board. Only the leftmost square changes across the sampled states. The two green squares and the red and green bars hold their values for the entire run, so time spent cycling the right-hand panels is time wasted.
You take one battery. The counter reads 2/2, which means the game hands you a matched pair. If a device in this room will not accept the batteries, the usual cause is that the counter has not reached full — check the fraction, not the icon.
You look for a keypad under the bonnet. The car close-ups are inspection views. There is no dial, no plate and no number on the red saloon's nose; the car's only job is to be one of three colours.
You wait for the reward screen. It never arrives. The clip ends one second after the banner. If you are comparing coin payouts across Chapter 3, the Garage is not a usable data point from this recording.
Where the Garage sits in Chapter 3.
Chapter 3 is Murder Dressed in White, and it lists twenty-four rooms. Garage is room 15 of 24, straight after the Storage Room and immediately before the Attic. It is the last of the chapter's three utility spaces — cellar, garage, attic — and the widest of the three, which is why it is also the one where a missed pickup is easiest to hide.
Mechanically it drops the Storage Room's colour bars and gives you a shape board instead. Same family of logic, different surface: instead of reading six bar heights you are watching one panel cycle through background colours and circle fills. If the Storage Room's switchboard made sense to you, this room will too.
- 1 Dining Room guide
- 2 Living Room guide
- 3 Study Room guide
- 4 Guest Toilet guide
- 5 Workshop guide
- 6 Guest Bedroom guide
- 7 Master Bathroom guide
- 8 Kids Playroom guide
- 9 Backyard guide
- 10 Garden guide
- 11 Kitchen guide
- 12 Driveway guide
- 13 Kids Bedroom 1 guide
- 14 Storage Room guide
- 15 Garage you are here
- 16 Attic guide
- 17 Terrace guide
- 18 Basement guide
- 19 Garden Shed guide
- 20 Kids Bedroom 2 guide
- 21 Hobby Room guide
- 22 Master Bedroom guide
- 23 Entertainment Room guide
- 24 Hallway guide
Previous room: Chapter 3 Level 14 — Storage Room
Next room: Chapter 3 Level 16 — Attic
Back to: All Rooms & Exits walkthroughs
Frequently asked questions.
What is the code in Rooms & Exits Chapter 3 Level 15 Garage?
The only code the recording lets us read cleanly is a four-letter lock, shown at 5:19 as four dark tiles in gold frames on a yellow panel. The letters are L, S, Z, A, left to right. That reading was taken twice — once from the whole frame and once from a crop of the panel — and both passes agreed with no ambiguous glyphs. There is no digit keypad in this room.
Are the four letters the answer or the current state?
That is the honest open question. The tiles are the lock's display, and in the frames sampled they hold L S Z A and do not change. Because the recording is cut, we cannot tell whether the player had already solved the lock, or whether L S Z A is a mid-attempt that never resolves on camera. If your lock starts blank, treat the sequence as the value to try, not as a demonstrated solution.
What is on the wall screen with the three cars?
At 1:59 the camera holds on a framed screen or poster over a desk lamp and a shelf of books. It shows three sports cars: a yellow car with its doors raised, a red car in the middle, and a blue car on the right. The garage itself contains a white saloon, a red saloon and a blue saloon, so the poster's colours map onto the three real cars — which is the kind of mirroring this game uses instead of writing instructions down.
What is the red-and-green shape board?
It is a close-up puzzle made of framed panels rather than digits: in the first state a purple square holding a dark circle, two solid green squares, a red horizontal bar and a green horizontal bar. At 3:19 the first square has changed to blue with a dark circle, and by the next sampled second it is red with a white circle. The other four elements stay put throughout, so the leftmost panel is the one being cycled.
Where do the batteries come from?
The inventory at 3:59 holds a stack labelled 2/2 — a pair of red batteries, counted as a set of two. They are the only item in that inventory view at that moment, which usually means the level has just handed them over for a device that needs both. This page does not name the device, because no frame in the recording shows the batteries being inserted.
What is under the blue car?
A service pit. The garage floor is marked with yellow lines, and the blue saloon sits over an opening in the concrete with stacked tyres down inside it and two piles of dirt or sand at the pit's edges. A red saloon is up on the lift beside it, and the camera visits the red car's nose at 4:19 as a close-up framed by white corner brackets.
What is the cart with the green books?
At 0:29 the camera settles on a blue-handled metal utility cart holding several green hardback books with TECHNOLOGY on the covers, plus a stack of flat blue rings. Behind it sit a metal crate of cardboard boxes, a piece of blue fabric and a pair of work boots on the floor, with a yellow line painted across the concrete. Books with titles are rare in this game, so the word is worth remembering.
Does the recording show the Garage being completed?
It shows the completion banner but not the numbers. At 5:31 the screen goes to LEVEL COMPLETED! with a shower of coins and a reward card icon in the lower right. The clip ends one second later at 5:32, before the reward panel resolves, so this page prints no coin figure and no time for the Garage. Any number you see elsewhere is not from this recording.
How long is the Garage run and is it edited?
The source file runs 5:32. It is cut: the in-game clock does not advance monotonically between sampled frames, and some puzzle states change across a single second. That is why the timestamps here are video time and why a state can look like it solved itself between two cards.
Where does the Garage sit in Chapter 3?
Chapter 3, Murder Dressed in White, lists twenty-four rooms. Garage is room 15 of 24, straight after the Storage Room and immediately before the Attic.
What this page could not verify.
1. The reward and the time. The banner is real — LEVEL COMPLETED! is on screen at 5:31 and coins are already falling — but the file ends at 5:32, before the reward panel draws its coin figure and time. This page therefore prints no payout for the Garage. Any number quoted elsewhere is not from this recording.
2. Whether L S Z A is the solution or a mid-attempt. The letters themselves are solid: two passes, whole frame and crop, agreed on all four. What the footage cannot tell us is whether the player had already solved the lock or was still cycling it when the clip cut. Treat L S Z A as the value to try.
3. What the shape board is for. We can describe the two states precisely — purple with a dark circle, then blue with a dark circle, then red with a white circle — and we can say that only the leftmost panel moves. We cannot say what target the board is being driven toward, because no frame in the recording shows it locking or unlocking anything.
4. The batteries' destination. The 2/2 count is clear and the batteries are the only item in the inventory at that moment. What is not in the recording is a frame of them being fitted into a device, so the sentence "they go in X" cannot be written honestly. The same applies to the ladder-shaped Piece of paper, whose matching surface never appears on camera.