 GridPaw
 Shikaku
 Akari
 Kakuro
 Nonogram
 Nurikabe
 Pictomino
 KenKen
 Binary
 Star Battle
 Hashi
 Slitherlink
 Murder Sudoku
 Meowdoku
 Crazy Cleanup
Rooms & Exits Chapter 2 Level 24 Walkthrough: Toy Store
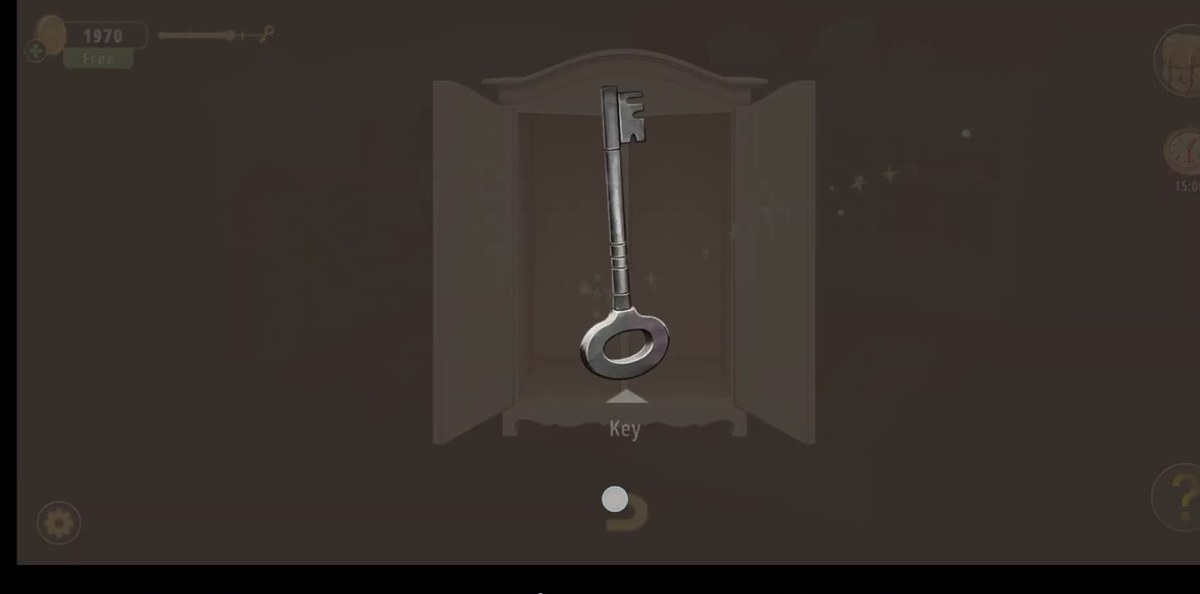
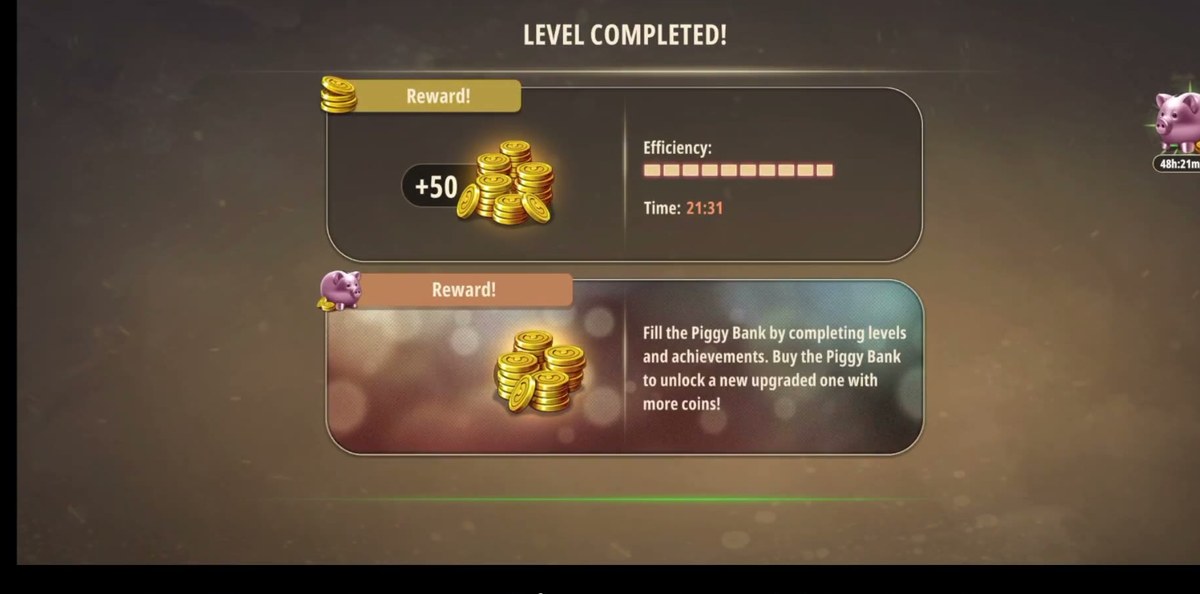
The Toy Store has no keypad and no door code. The exit is the double wooden door under the red EXIT banner, and it opens with a Key from the wardrobe in the dollhouse corner. Finish worth +50 coins.
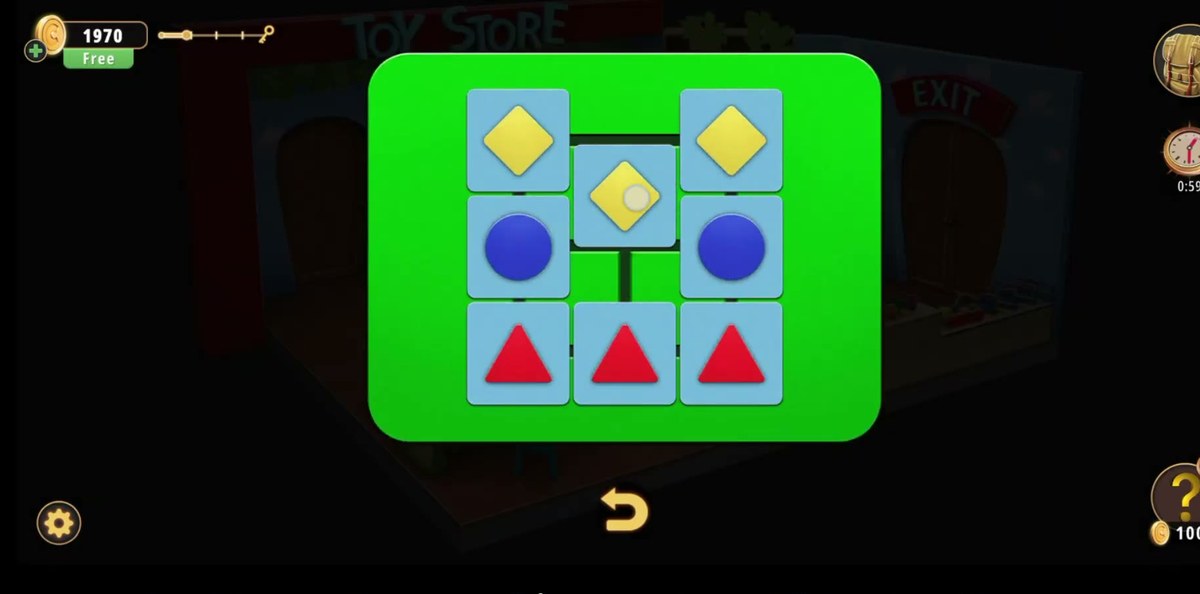
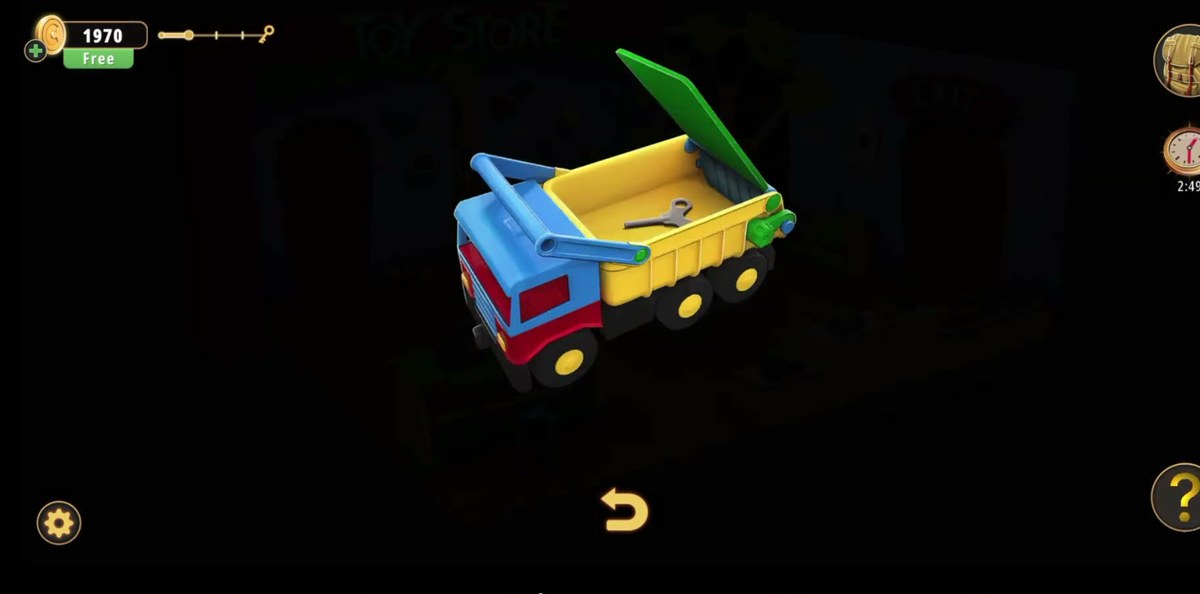
- Clear the 3x3 shape panel on the toy dump truck → the bed opens with a metal crank key inside.
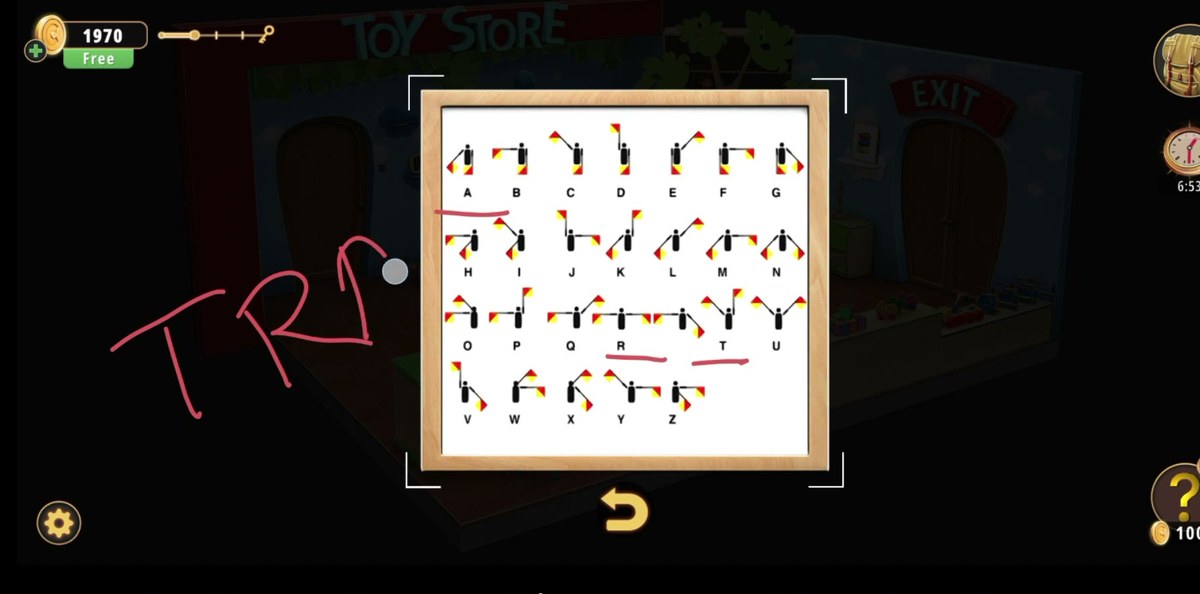
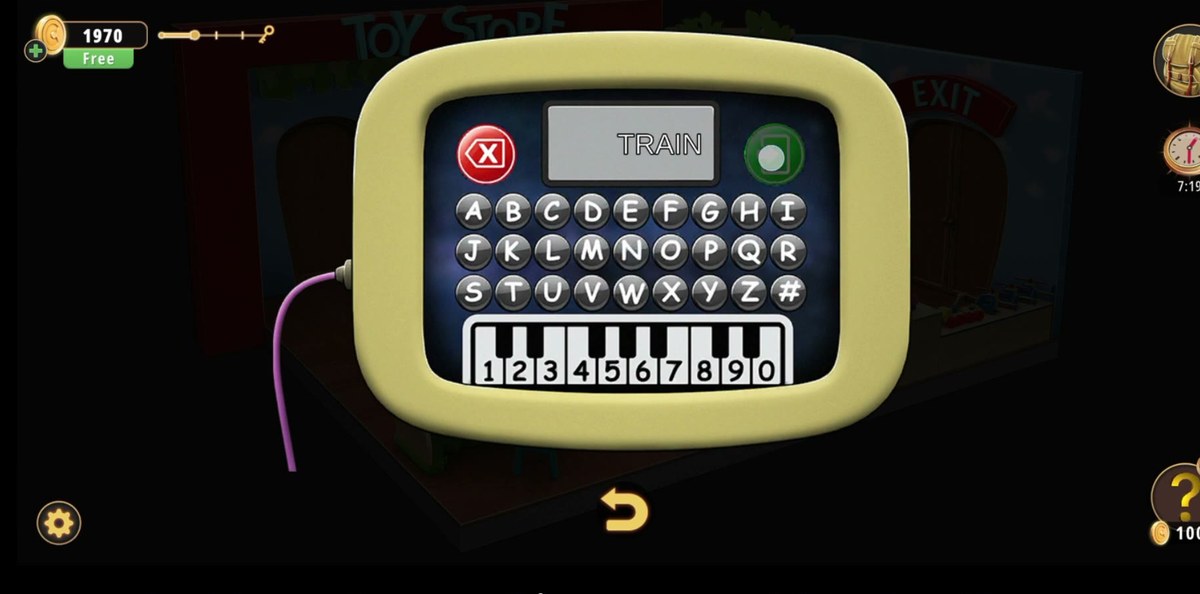
- Read the semaphore chart, then type TRAIN on the toy typewriter.
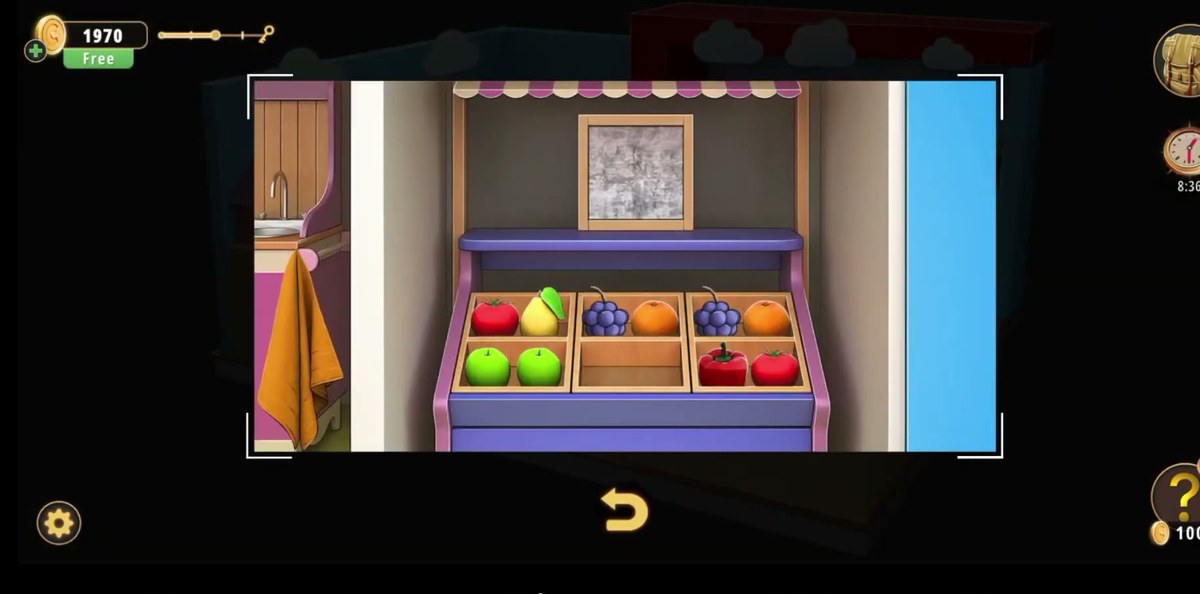
- Clear the corner pattern puzzles: the fruit stand matched to the dolls' dresses, the dollhouse lights and the picture board.
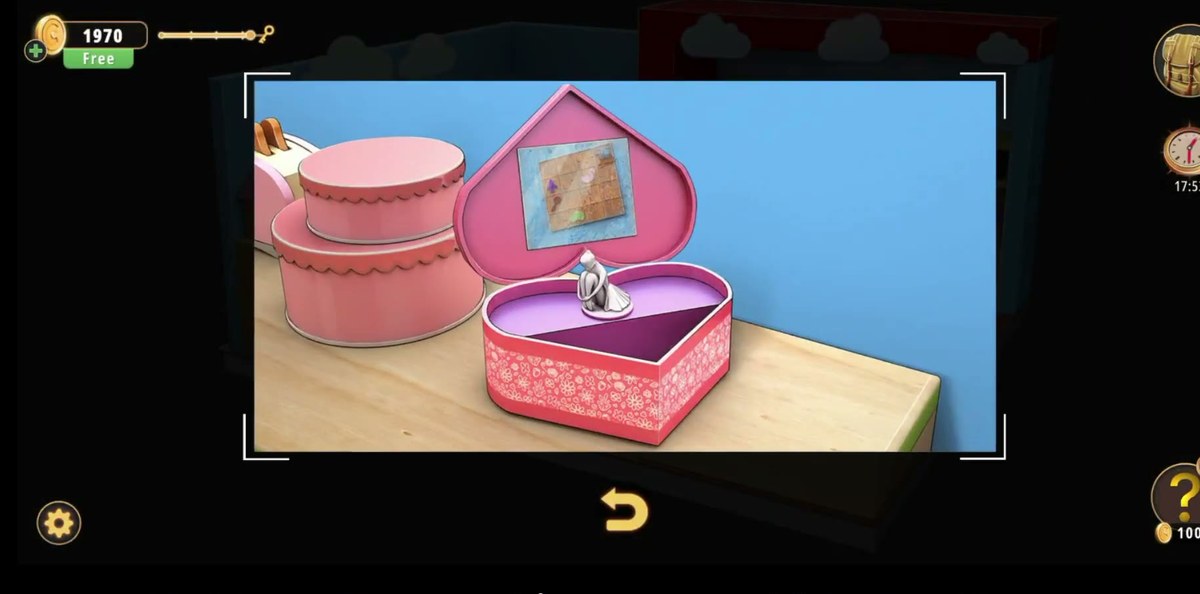
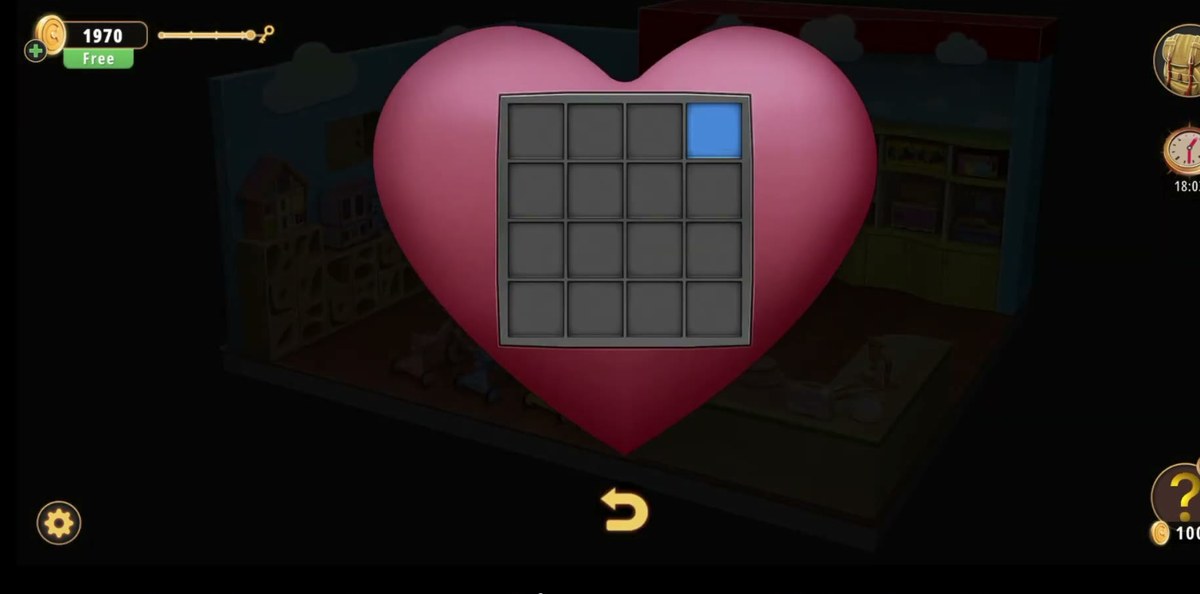
- Make a Wet towel (Towel + Cleaning spray), wipe the inside of the heart-shaped box lid, and copy the colour grid onto the 4x4 colour panel.
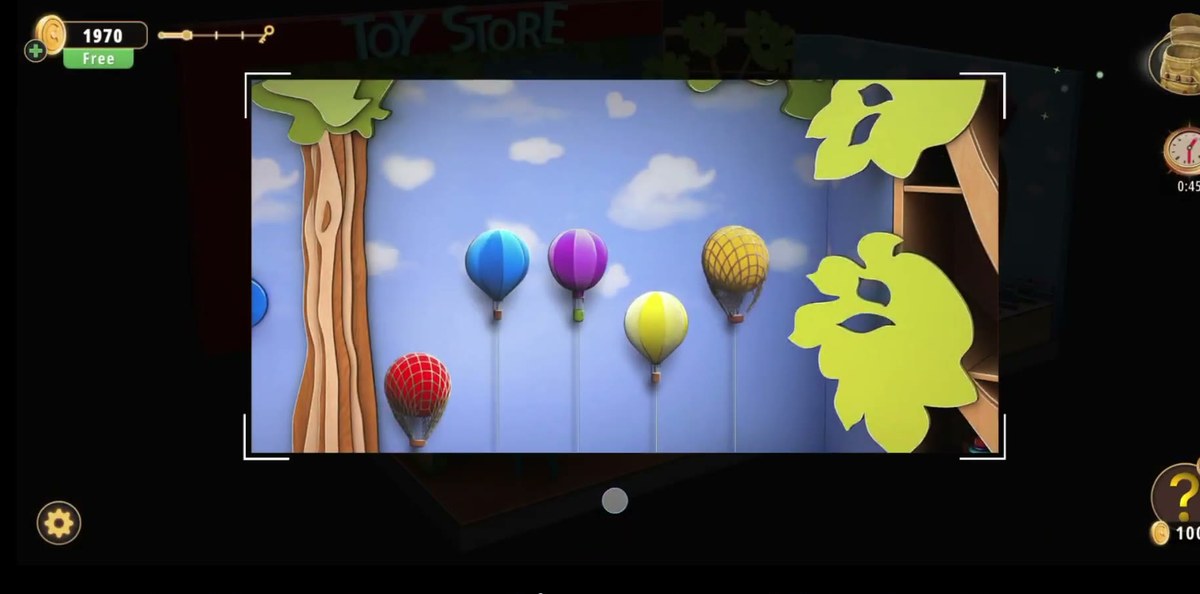
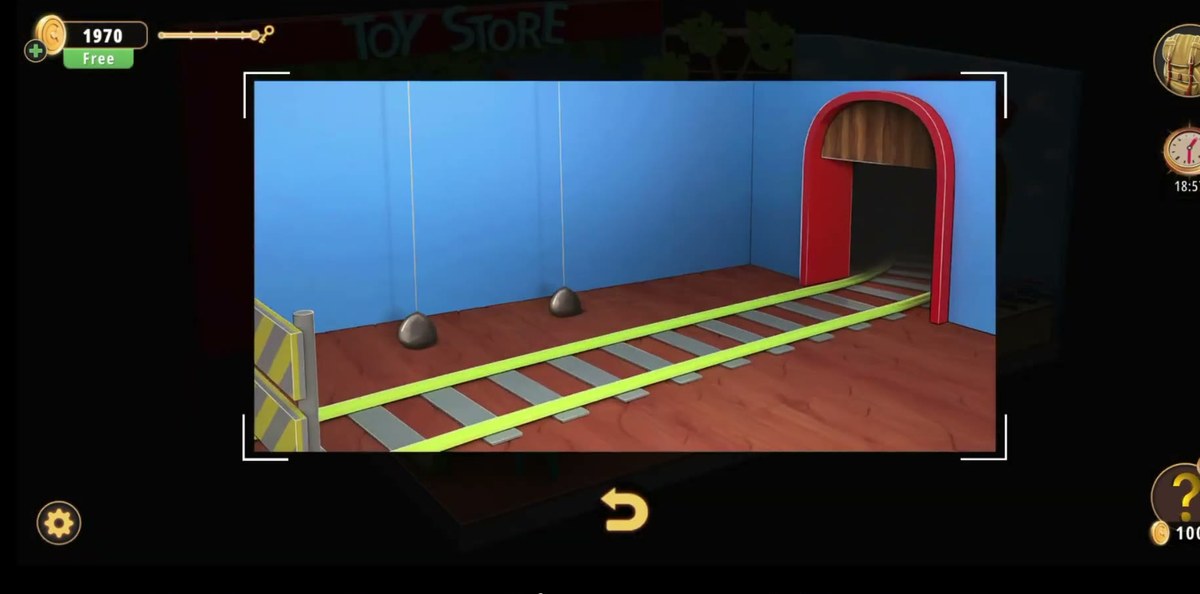
- Arrange the five balloons on the left wall → the tunnel gate opens.
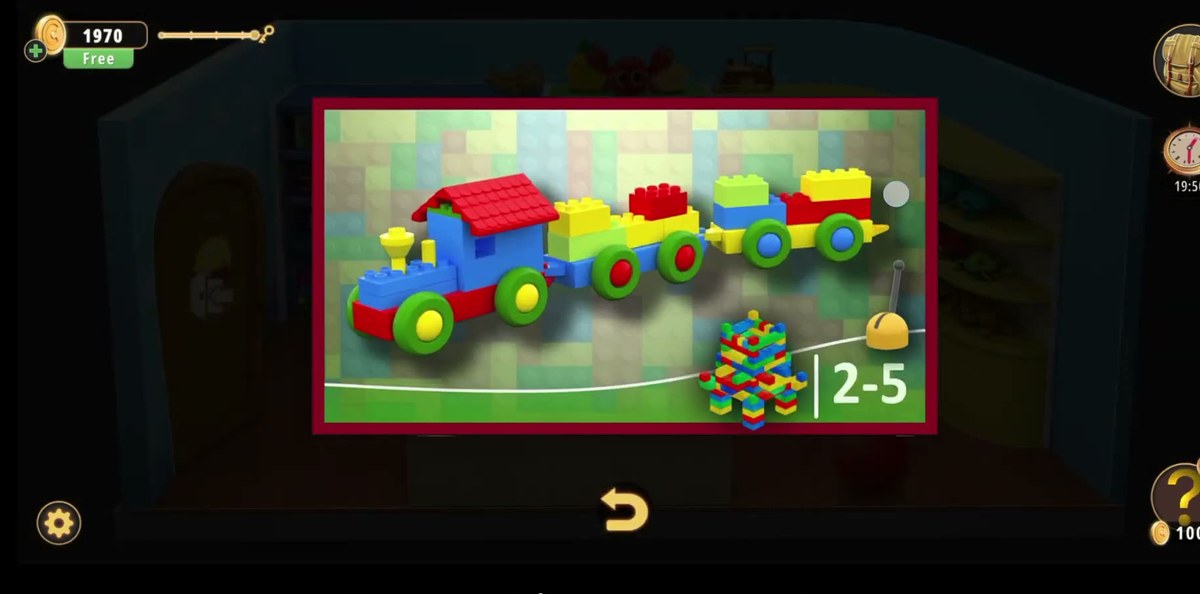
- Build the block train to the 2-5 reference card until the “won't run yet” message stops, then take the Key from the wardrobe and use it on the exit door.

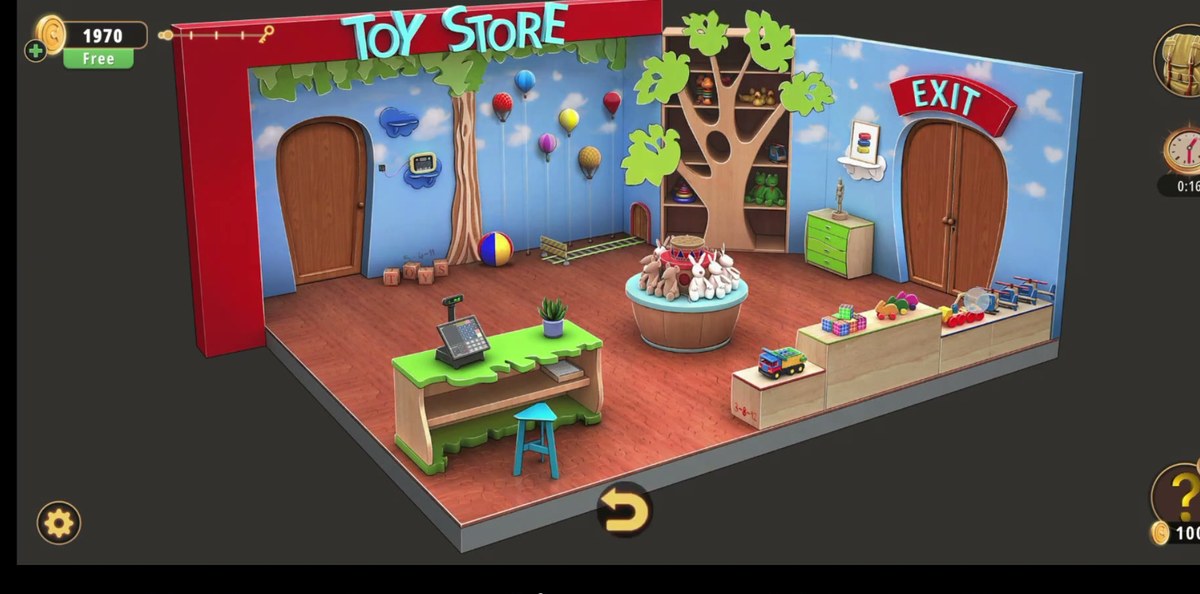
What this level actually is.
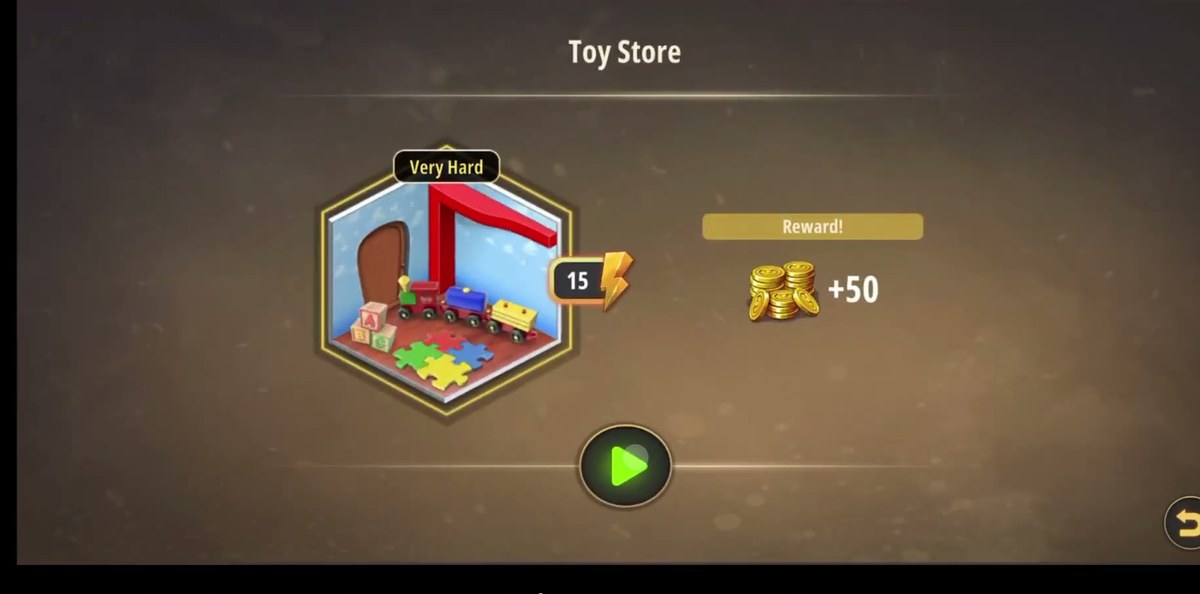
The Toy Store is the twenty-fourth room of Chapter 2, one door past the Bakery, and the game files it under Very Hard on the level card. The card's reward line reads +50, the same coin figure the results panel pays out at the end. What makes it Very Hard is not a single brutal puzzle: it is that the room contains roughly a dozen separate locks, they are all visible from the first second, and almost none of them tells you what it wants. There is no corridor, no sequence of doors, no chapter of the room that unlocks the next. You stand in the middle of a shop floor and everything is already there.
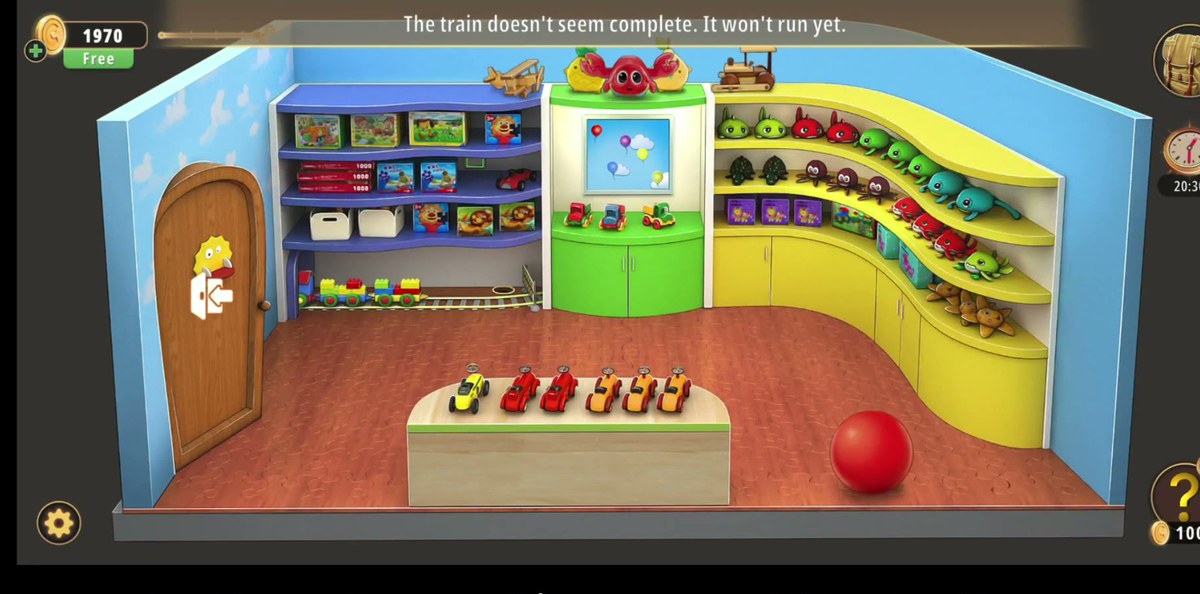
The shape of the room, from the opening wide shot. On the left: a tall rounded wooden door, a tree-trunk shelf with TOYS blocks at its foot, a beach ball, and a wall shelf holding an old telephone. Five hot-air balloons hang from the ceiling above that shelf. Along the back wall: a big bookshelf cut into the shape of a tree, packed with plush toys, and to its right a small three-drawer dresser with a gold statuette on top. In the middle of the floor: a round blue display table covered in teddy bears and rabbits, and a stepped wooden display holding blocks, cars and toy planes. Front left: a green, irregularly shaped counter with a black cash register and a potted plant — the till. Right: the double wooden door with the red EXIT banner above it, which is where you are trying to get to. And behind and beside all of that, the corners the camera only shows when you walk into them: the dollhouse shelves, the tricycles, the fruit stand, the toy kitchen on the low counter, the typewriter, the semaphore chart, the tunnel mouth with a train track running into it.
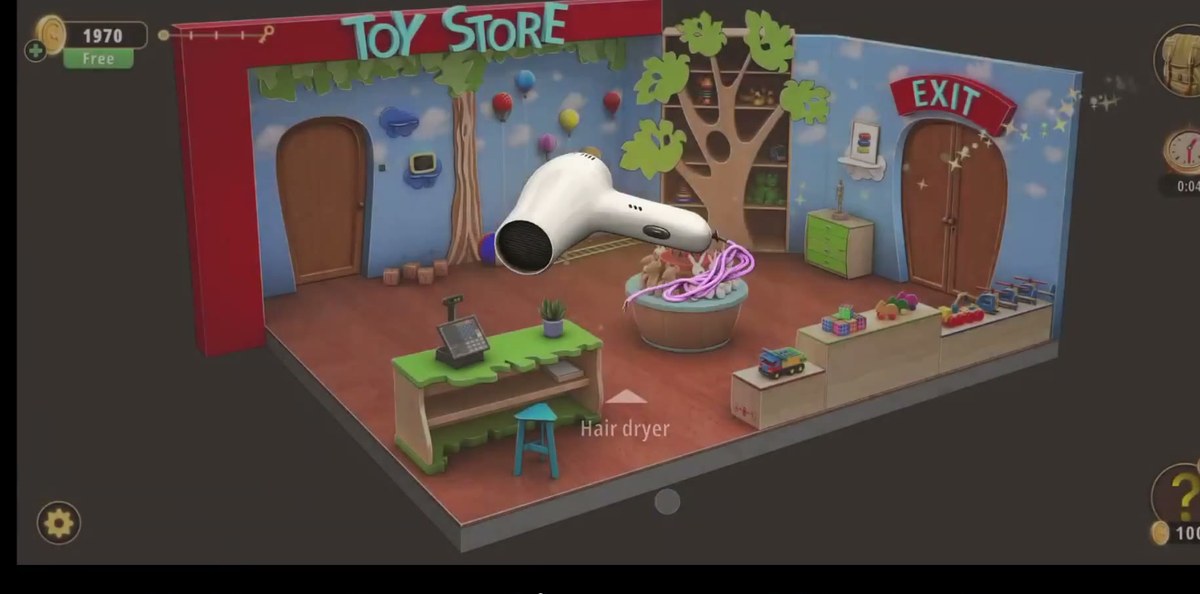
That is the thing to internalise before your first tap: this is a shop, not a puzzle box. The room is one continuous floor with several distinct corners, and the game will happily let you solve a corner you do not need yet. Our own recording does exactly that — it opens with twenty seconds of picking up a hair dryer, a pair of pliers and a cable, none of which it ever visibly uses. The walkthrough below follows the order our recording actually took, because that order works and the dependencies are real; but if you solve the train before the balloons, or the colour panel before the fruit, nothing breaks.
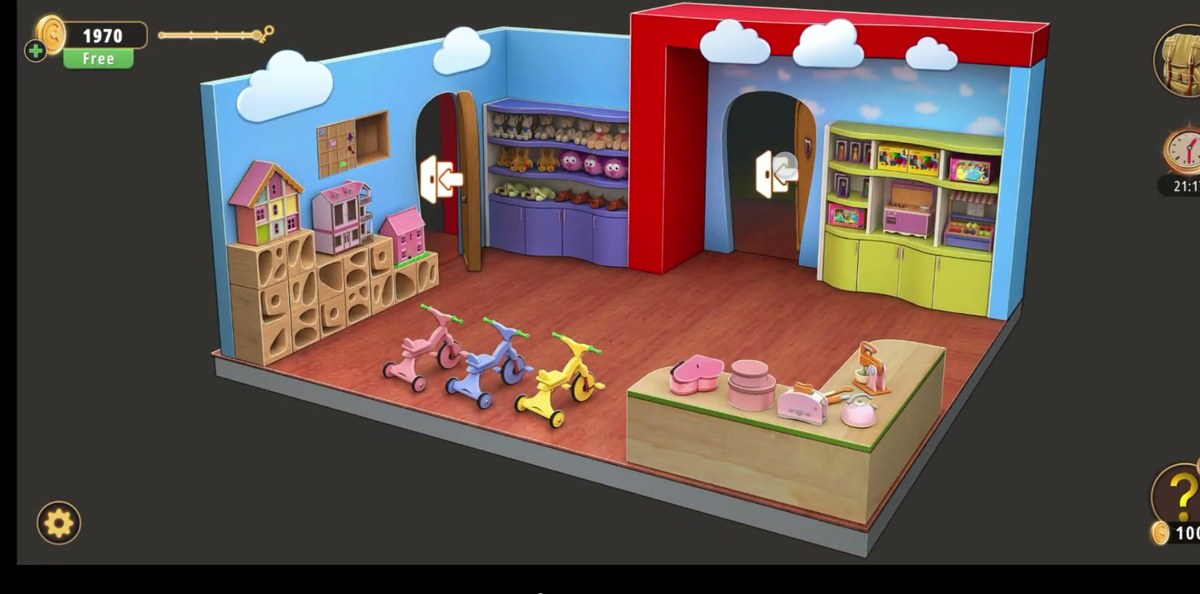
The corner that gives the level its second half is easy to miss on the way in: three dollhouses on a cubby shelf, three tricycles parked on the floor in a curve, an L-shaped counter of pink toy kitchen pieces, and the red-framed arch the tunnel runs through. The wardrobe with the key stands in this corner, and the dollhouse with the light puzzle sits on that shelf — so if you have been hunting the whole shop for the exit key, you have been hunting in the wrong half of it.
The map: what is where.
Every object in the Toy Store that takes an input or gives you something, and what it is for. If you only read one section of this page, read this one — nine tenths of the time lost in this room is spent tapping a container and expecting a lock.
| Object | Where | What it gives you |
|---|---|---|
| Cash register | Green counter, front left | A till screen. In our footage it never takes an input — it is the one code-shaped thing in the room that is scenery. |
| Toy dump truck | Stepped display, centre right | A 3x3 shape panel on its bed. Clearing the grid swings the tailgate up and reveals a metal crank key in the bed. |
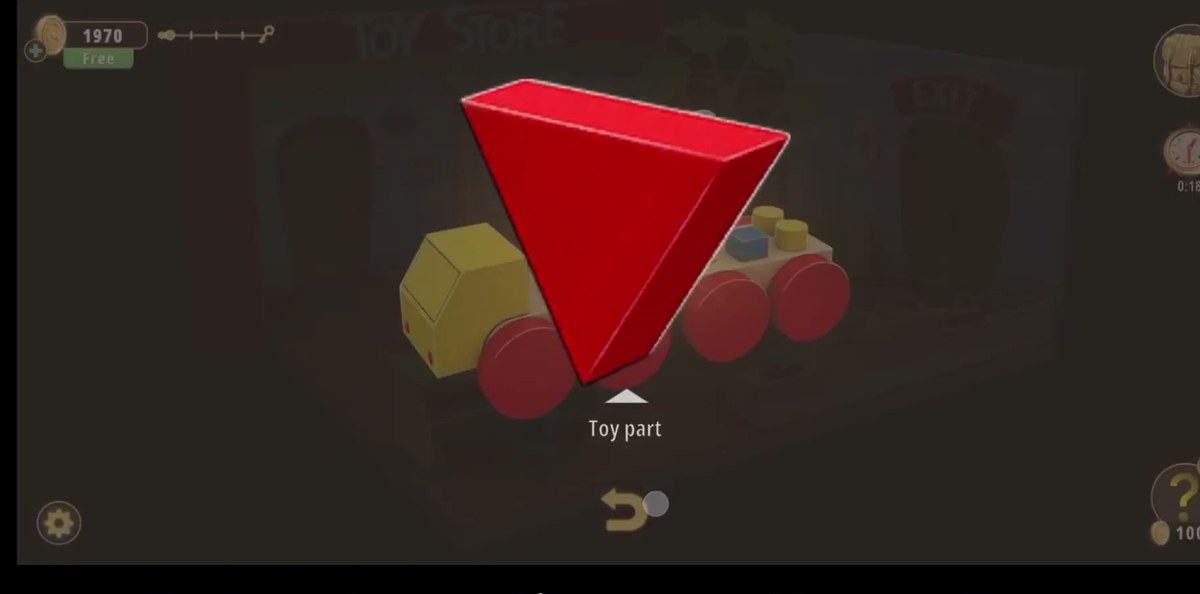
| Block shelves | Stepped display, front | Loose Toy part blocks — the red block our recording picks up at 0:22 is one of them. |
| Balloon wall | Left wall, above the tree shelf | Five hot-air balloons. Arranging them opens the tunnel gate. |
| Semaphore chart | Framed white board, centre | The alphabet in flag positions, A to Z, seven letters to a row. The source of the level's word. |
| Toy typewriter | Low table, right of centre | Full alphabet plus a piano-style number row. Takes the word TRAIN. |
| Fruit stand | Back corner, two shelves of four | Pear, blackberries, paprika and more, in compartments under a framed board. Matched to the dolls' dresses. |
| Doll shelf | Beside the fruit stand | Three dolls in coloured dresses — the reference for the fruit stand. |
| Heart-shaped box | Shelf on the right, beside two round pink boxes | A music box. Its lid hides a colour grid under grime: Wet towel on the lid, grid comes up. |
| 4x4 colour panel | Pink heart-framed panel, wall | Sixteen squares, a few already coloured. The colour lock the lid clue feeds. |
| Dollhouse | Dollhouse corner, left of the tricycles | A three-storey, six-room miniature with a lights puzzle; the Lever stands in front of it. |
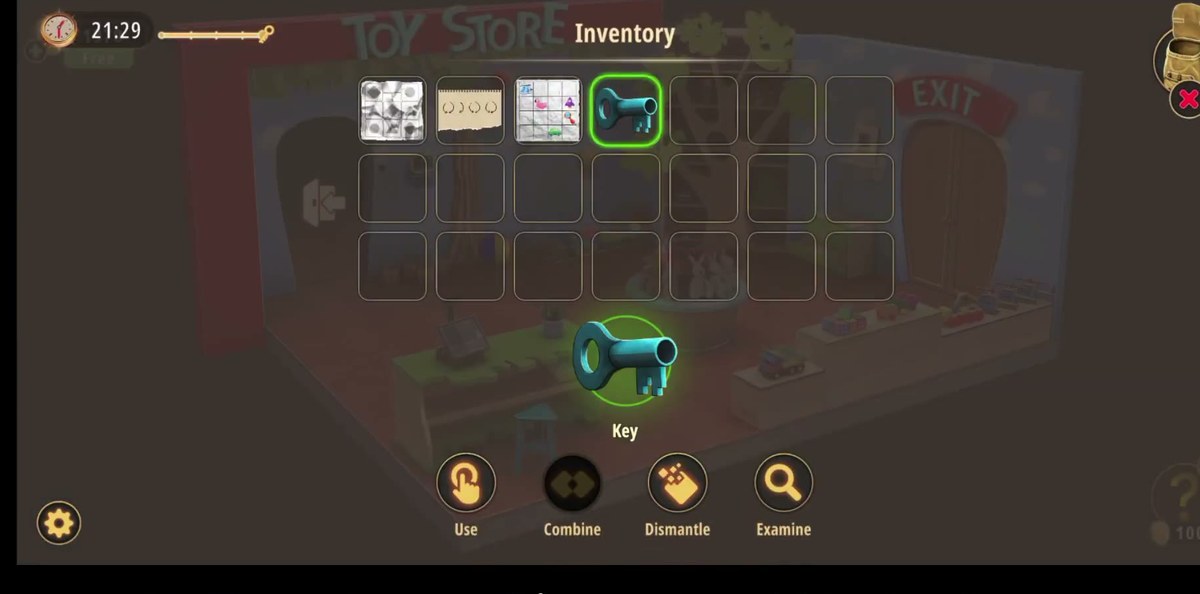
| Wardrobe | Dollhouse corner | An open wardrobe with the Key hanging inside — the exit key. |
| Tunnel gate | Back wall, red-framed arch | A train track runs into it. Closed until the balloons are arranged. |
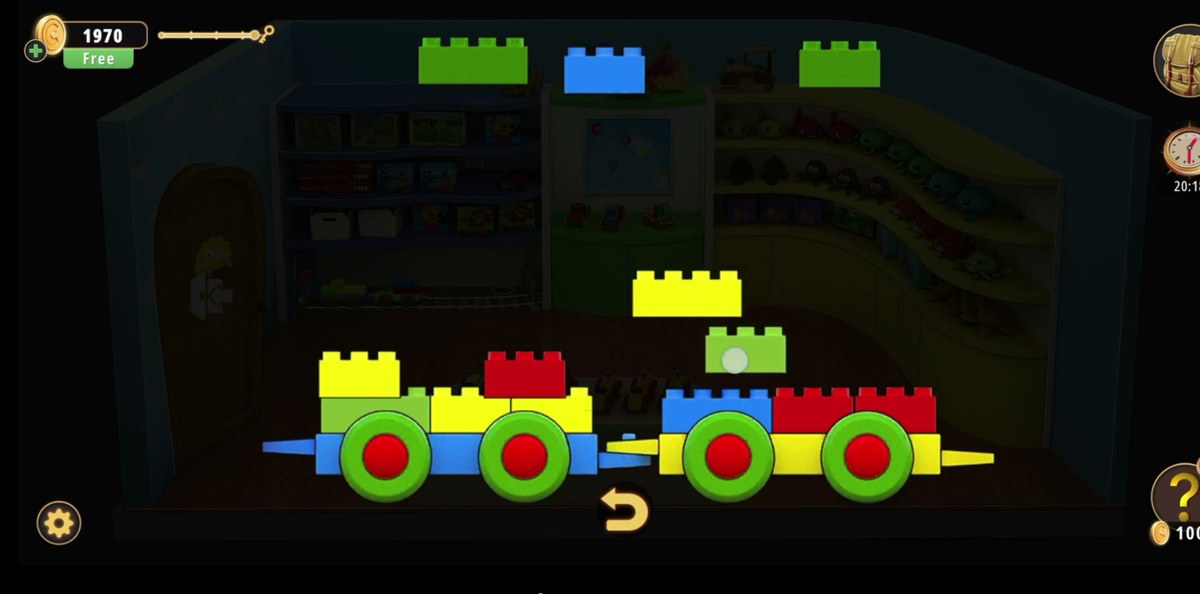
| Block train | Floor by the blue shelf, back | Two part-built cars plus loose blocks, and a 2-5 reference card. The train is the last lock before the door. |
| Exit door | Right wall, under the EXIT banner | Double wooden door with a key lock. No dials, no panes, no digits. |
Step by step.
Why the room feels impossible: four locks, one gate, no code.
Strip away the toys and the Toy Store is a short chain wearing a very long coat. There are four real locks, one gate, and a key — and none of the four locks produces a number you type into a door. That last point is the one that undoes most first runs. Rooms & Exits trains you, room after room, to expect a keypad, and this level has deliberately not given you one.
- The spatial lock — the 3x3 shape panel on the dump truck. You copy a target layout. The board answers by opening the truck's bed, which is a container, which holds a crank. Solve, open, take.
- The word lock — the semaphore chart and the toy typewriter. The hint asks you to remember a semaphore movement and arrange the words that come out of it; the typewriter is where the word goes, and the word both of our recordings type is TRAIN.
- The colour lock — the heart-shaped box and the 4x4 panel. The lid hides a grid, the Wet towel reveals it, and the panel takes it. Two surfaces, one answer, no digits anywhere.
- The train lock — the block train and its 2-5 card. Physical assembly, checked against a picture, with a spoken failure message.
- The gate — the balloons. Not a lock in the reward sense: arranging them opens the tunnel, and the tunnel is what the train is for.
Notice the shape of every one of those: a puzzle opens a container, and the container holds a tool. The shape panel opens the truck bed and hands you a crank. The heart box opens and hands you a colour grid. The wardrobe was never locked and hands you the key. Once you see that pattern, the room stops being a wall of mystery and becomes a list of containers to open, in any order you like, with one exception: the door needs the key, and the key is in the wardrobe, so the wardrobe is not optional.
There is one more habit worth forming for this level: read the game's own hint cards. They are the only place in the room where a puzzle states its rule in words, and they are unusually direct — Set the position like this, Arrange the words from the semaphore code, Arrange the position of the fruit to match the color of the clothes on the doll, The colors in the mirror are the keys to open the door, Set the train like this 2-5. Every quote in this paragraph is verbatim from the hint overlay in our recordings. If a puzzle in your run looks different from what this page describes, the hint card for it will still be accurate, because it is the game talking about itself.
Where people get stuck.
- Hunting for a door code that does not exist. The exit is a plain double door with a key lock. There are no dials, no coloured panes, no four-digit display. The only door code in this part of Chapter 2 belongs to the Jewelry Store, twelve rooms earlier. If you are counting digits, you are in the wrong room.
- Treating the balloons as decoration. Five balloons hanging above a shelf read as shop dressing, and they stay unread for the whole level unless you happen to tap one. Both of our recordings' hint cards connect them to the tunnel gate, so if the gate is shut and the train is built, the balloons are the missing move.
- Confusing the two trucks. The wooden block truck on the front display holds the red Toy part. The plastic dump truck on the stepped display holds the 3x3 shape panel and, once cleared, the crank key. They are different objects with different jobs, and the labels in this level do not distinguish them for you.
- Reading the semaphore chart as the puzzle. The chart is a dictionary, not a lock. Nothing in the room accepts letters typed off the chart directly. The chart exists so you can decode a pose and carry the word to the typewriter — and the word the game wants is TRAIN.
- Typing letters into the typewriter and walking away. The device shows you the word forming as you press: T, TR, TRA, TRAI, TRAIN. If your display is stuck on two letters, you have not finished the input — the level is waiting on the fifth key, not on a validation step.
- Building the train without the card. The loose blocks are enough to build something that looks like a train and is not the train. The game's failure message is explicit — The train doesn't seem complete. It won't run yet. — and it appears in two separate recordings, so it is the intended feedback, not a bug. Compare against the 2-5 card car by car.
- Expecting the train to give you the key. It does not. The key is hanging in an open wardrobe in the dollhouse corner, and it is there from the start of the level. Players who save the last five minutes for “the train reward” end up standing at an unlocked door with the wrong item in hand.
- Carrying the opening sweep in your head. The hair dryer, the pliers and the cable are picked up in the first twenty seconds and never visibly used. If you are stuck on a lock and convinced one of them is the answer, you are probably wrong — check the hint card for the lock instead, and treat those three as optional pickups.
What this page could not verify.
This level is unusually hard to document because it is large, the camera moves constantly, and several of its puzzles are copy-a-pattern tasks whose target is on screen for less than a second. Below is everything we could not read twice, listed rather than guessed. Nothing in this list is printed elsewhere on the page as a fact.
- The balloon order. We can prove the balloons open the tunnel gate — both recordings' hint cards say so — but neither recording holds the arranged balloons still long enough to read the final order off the wall. We are not printing a sequence for it.
- The dollhouse light pattern. The hint card reads Turn on the lights in the miniature house room like this, and the dollhouse is a three-storey, six-room miniature, but the exact set of lit windows is never held steady in our footage. No pattern is given here.
- The picture board. The card Arrange the pictures like this on the board refers to a board whose pictures are small and, in our crops, partly blurred. We could not read the arrangement twice, so no layout is printed.
- The solved 4x4 colour panel. We can read the panel's starting state — sixteen cells, several already coloured blue, purple, red and green — but the camera leaves before the finished grid is held still. The page tells you where the answer comes from (the cleaned lid) rather than inventing the layout.
- The fruit stand's correct arrangement. The rule is quotable; the finished stand is not. Our footage never holds a solved stand, so we cannot print which fruit goes in which compartment.
- What the hair dryer, the pliers and the cable unlock. They are picked up and they can be combined, but no recording shows a use, and the level completes without one. It is possible they feed a puzzle we never saw solved; it is also possible they are red herrings.
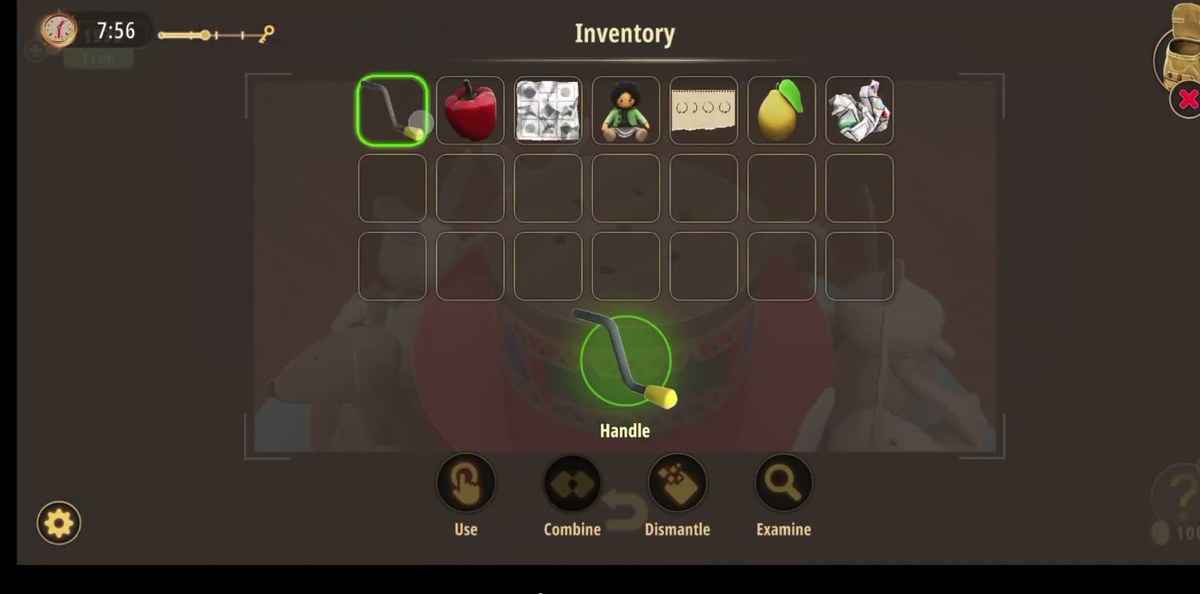
- The Handle's destination. The crank-shaped Handle is a real inventory item with a real label, but our footage never shows it used on a specific object, so we cannot say which lock it belongs to.
- Whether the typewriter prints anything. The display fills to TRAIN, and that is the last thing we can read on the device. Any physical output — a slip of paper, a drawer — is not visible in our frames.
- The exact number of train blocks. The loose blocks floating above the two chassis are countable in a single frame, but they change between frames as the build progresses, so we are not printing a count.
- The second recording's in-game time. The 11:04 run ends on LEVEL COMPLETED without the results panel, so we have no clock reading for it. Only the 21:31 on our main recording is verified.
Chapter 2 levels.
Chapter 2 runs twenty-six rooms through the mall; the list below reflects what is written up so far.
- 1 Cell Phone Store guide
- 2 Cinemas guide
- 3 Pharmacy guide
- 4 Optical Store guide
- 5 Gym guide
- 6 Candy Shop guide
- 7 Food Court guide
- 8 Pet Shop guide
- 9 Indoor Playground guide
- 10 Restaurant guide
- 11 DIY Shop guide
- 12 Jewelry Store guide
- 13 Grocery Store guide
- 14 Exchange Office guide
- 15 Fashion Store guide
- 16 Art Supplies Store guide
- 17 Shoe Store guide
- 18 Sports Store guide
- 19 Bookstore guide
- 20 Furniture Store guide
- 21 Household Appliances guide
- 22 Print Shop guide
- 23 Bakery guide
- 24 Toy Store you are here
- 25 Restroom guide
- 26 Parking guide
FAQ.
How do you complete Rooms & Exits Chapter 2 Level 24, the Toy Store?
There is no keypad and no door code. The exit is the double wooden door under the red EXIT banner, and it opens with a Key taken from a wardrobe in the dollhouse corner. Everything before that is feeding the room: the 3x3 shape panel on the toy dump truck, the semaphore chart and the toy typewriter that takes the word TRAIN, the fruit stand matched to the dolls' dresses, the heart-shaped box whose lid hides a colour grid, the four-by-four colour panel, the dollhouse lights, the balloon wall that opens the tunnel gate and the block train assembled from the 2-5 reference card.
What word do you type on the toy typewriter?
TRAIN. The typewriter has a full alphabet plus a piano-style number row, and its display fills in one letter at a time as you press keys. Our two independent recordings both end on TRAIN, read straight off the device's display, so this is the one word in the level we are willing to print as fixed.
What is the exit code for the Toy Store?
There isn't one. The exit door in this level has no dials, no panes and no digits — our recordings show the inventory opened with Key selected, the key used on the door, and the level completing immediately after. If you are hunting for a four-digit code, you are thinking of the Jewelry Store two chapters of rooms earlier.
How do I open the tunnel gate in the Toy Store?
With the hot-air balloons on the left wall. The game's own hint card says the balloons are an arrangement puzzle and that arranging them opens the tunnel gate, and a second recording's hint phrases it the same way. Five balloons hang above the tree-shaped shelf; tap them and put them in the order the hint shows.
What does the 3x3 panel on the dump truck do?
It releases the truck. The panel sits on the dump truck's bed and shows a three-by-three grid of shapes — diamonds, circles and triangles — with a white ball marking one cell. Clear the grid and the green tailgate swings up; inside the bed is a small metal crank key. The panel is the lock, the truck bed is the container.
What is the heart-shaped box for?
The heart box on the shelf is a clue container. Its lid holds a small grid picture that is too grubby to read until you wipe it: combine the Towel with the Cleaning spray to make a Wet towel, then use it on the inside of the lid and a grid of coloured squares comes up. That grid is what the four-by-four colour panel on the wall is asking you to reproduce.
What does '2-5' mean on the card next to the train?
It is the reference card for the block train. The card shows a finished train built from coloured blocks with the numbers 2 to 5 marking positions, and the loose blocks on the floor are the pieces. Build the train to match the card. If you leave a piece out, the game tells you plainly: The train doesn't seem complete. It won't run yet.
How long does the Toy Store take, and what is the reward?
The results panel on our main recording pays +50 coins and shows 21:31 on the in-game clock, with nine of ten efficiency segments lit. A second recording reaches the exit with 12:56 on the clock, so a clean second run is much faster — the level is long because of the number of separate locks, not because any one of them is slow.
Do I need the hair dryer, the pliers and the cable?
We could not prove that any of them is required. All three are picked up in the first twenty seconds of our main recording and all three can be combined or examined, but the footage never shows them used on a lock, and the level completes without a visible payoff for them. If you are stuck and short of inventory space, they are the first things to ignore.
Previous written guide: ← Chapter 2, Level 19 — Bookstore