 GridPaw
 Shikaku
 Akari
 Kakuro
 Nonogram
 Nurikabe
 Pictomino
 KenKen
 Binary
 Star Battle
 Hashi
 Slitherlink
 Murder Sudoku
 Meowdoku
 Crazy Cleanup
Rooms & Exits Chapter 3 Level 20 Walkthrough: Kids Bedroom 2
Kids Bedroom 2 is room 20 of 24 in Chapter 3, Murder Dressed in White, and it is a second pass at the child's-bedroom idea. Where Kids Bedroom 1 was a hub of ten loose toys, this one is a tighter chain: a dark space under the bed that needs light, a battery and a flashlight that make that light, and a stained-glass tile board on a wooden chest that only gives up its drawer once the board is finished. Everything after that is pickups feeding a single ornate jewel box on the desk.
The room runs on objects rather than typed digits. The chain is: Battery + Flashlight → light under the bed → stained-glass tile board on the chest → drawer opens → jewel box on the desk.
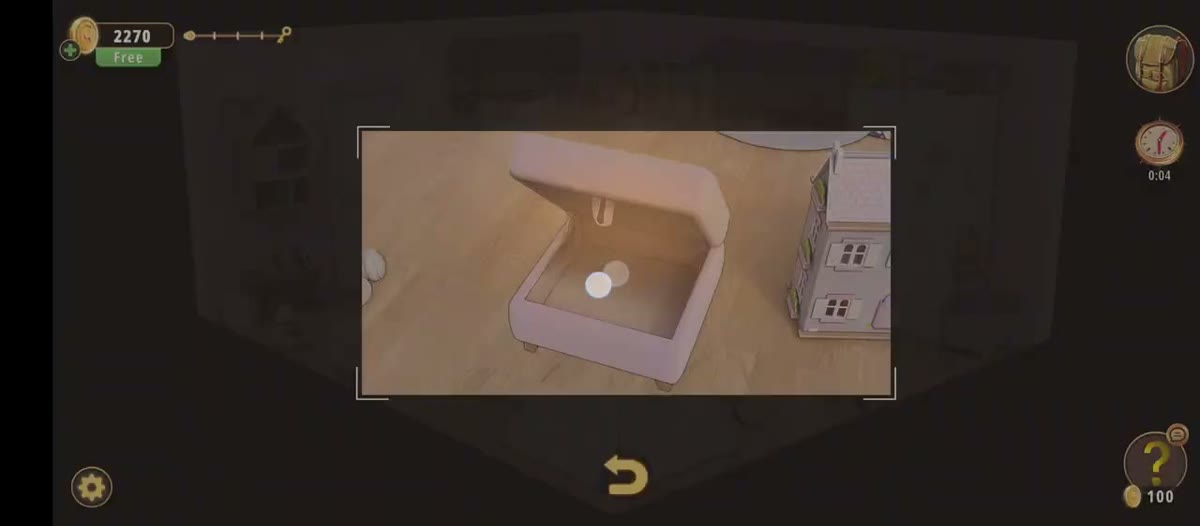
- Open the pink ottoman at 0:05, then check the cloud shelf for the Zipper (0:13) and the Battery (0:16).
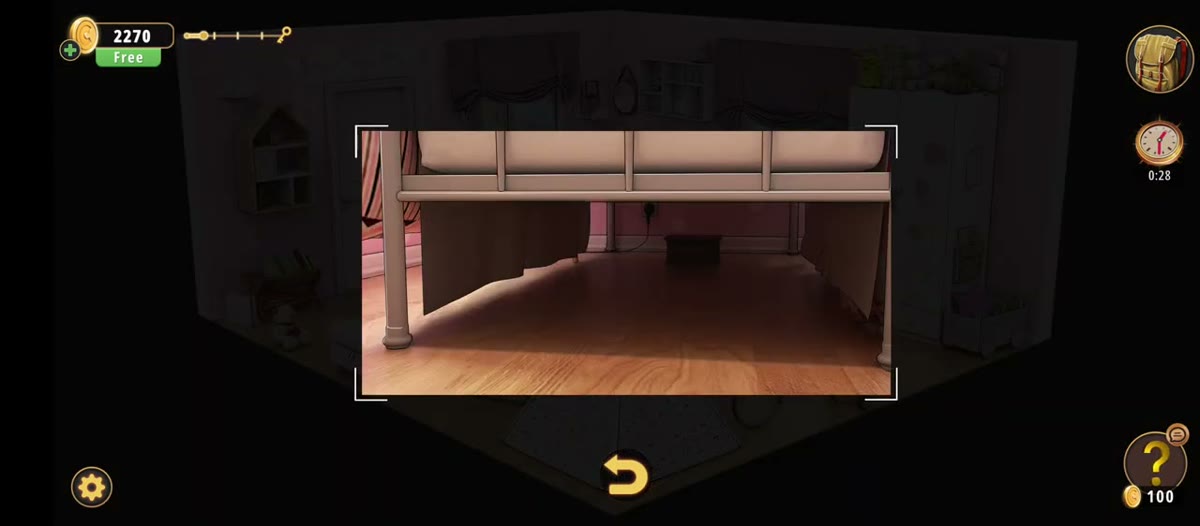
- At 0:26 the space under the bed is black. Combine the battery with the flashlight in the inventory, then use it: Turned on flashlight, 0:44.
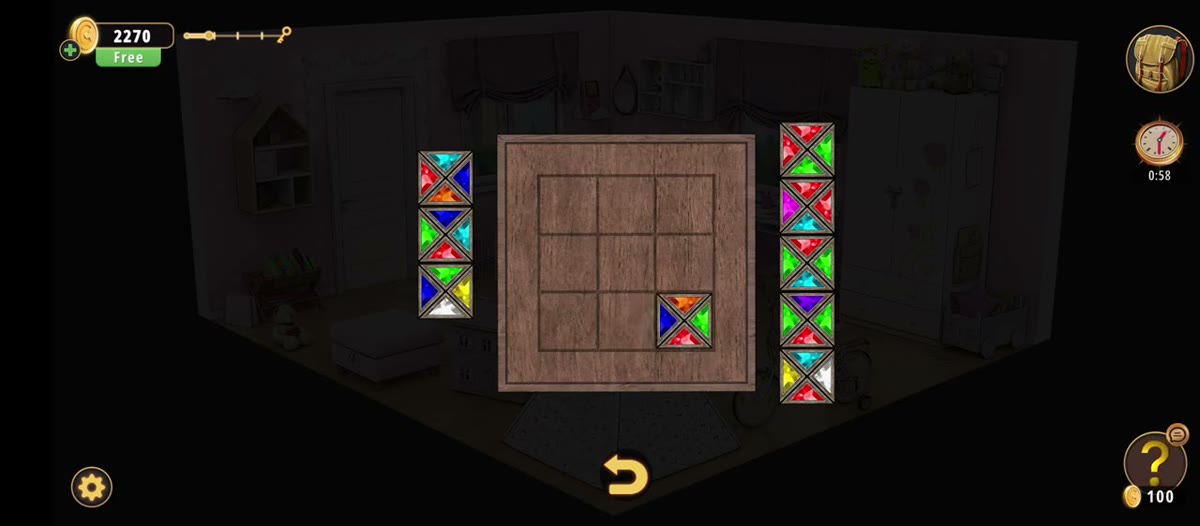
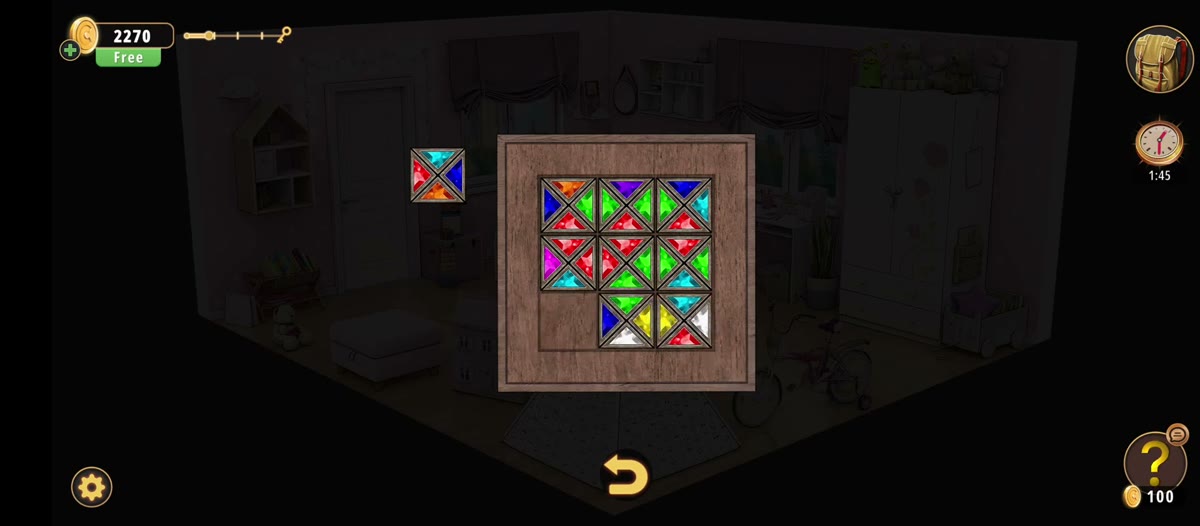
- Under the bed now shows a wooden chest. Its lid is the tile board: square tiles with four coloured triangular facets, stacks either side. Match colours edge to edge.
- The finished board opens the chest's drawer at about 1:49. Take what is inside and keep moving: the panda teepee holds the Screwdriver at 2:16.
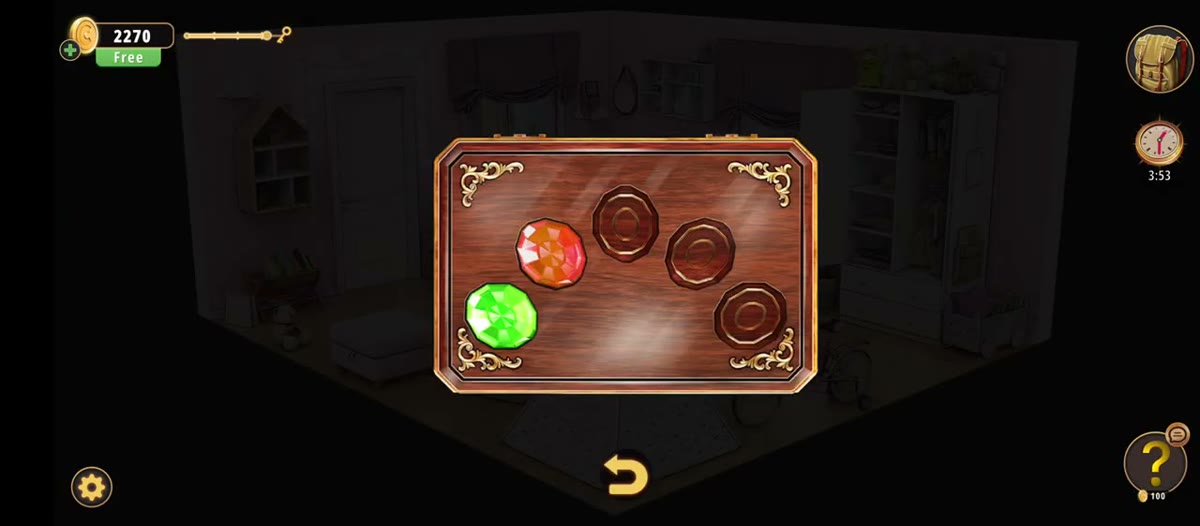
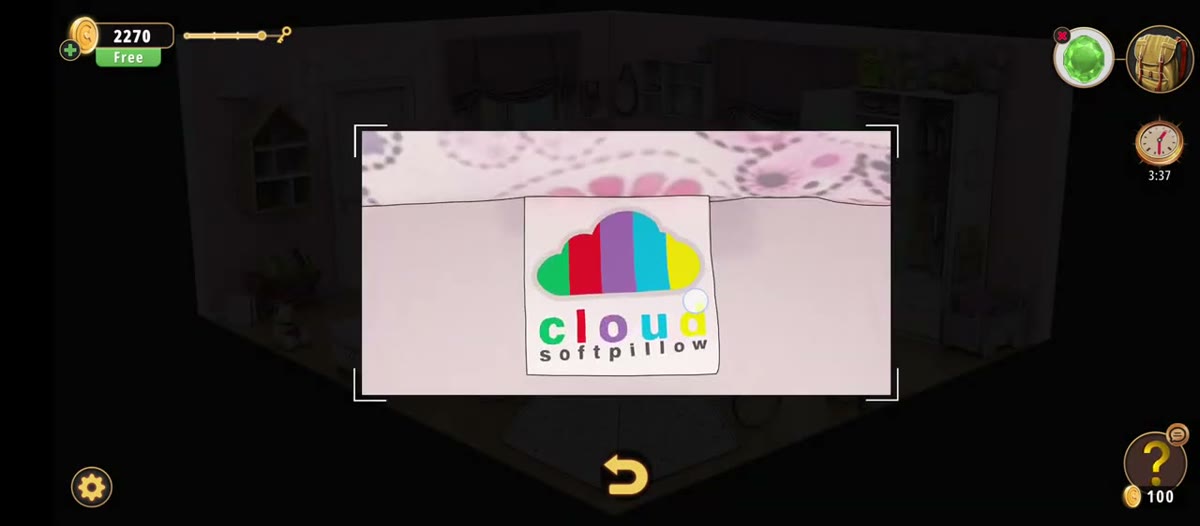
- Collect the jewels and the cloud softpillow colour tag, then fill the five sockets on the jewel box at the desk from about 3:30.
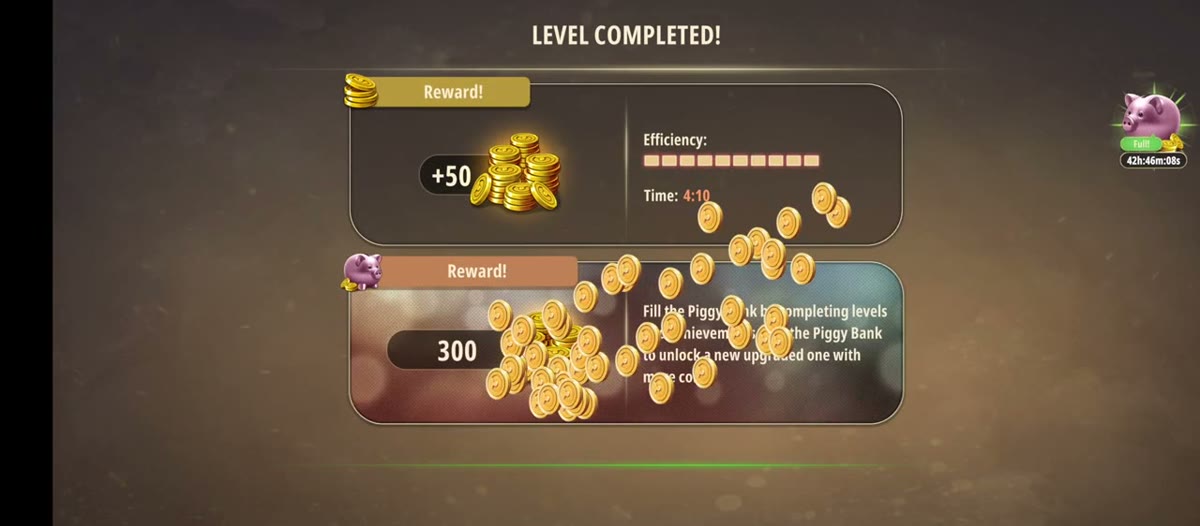
- The level ends at 4:18: +50 coins, Time 4:10.

The Kids Bedroom 2 run used for every frame on this page.
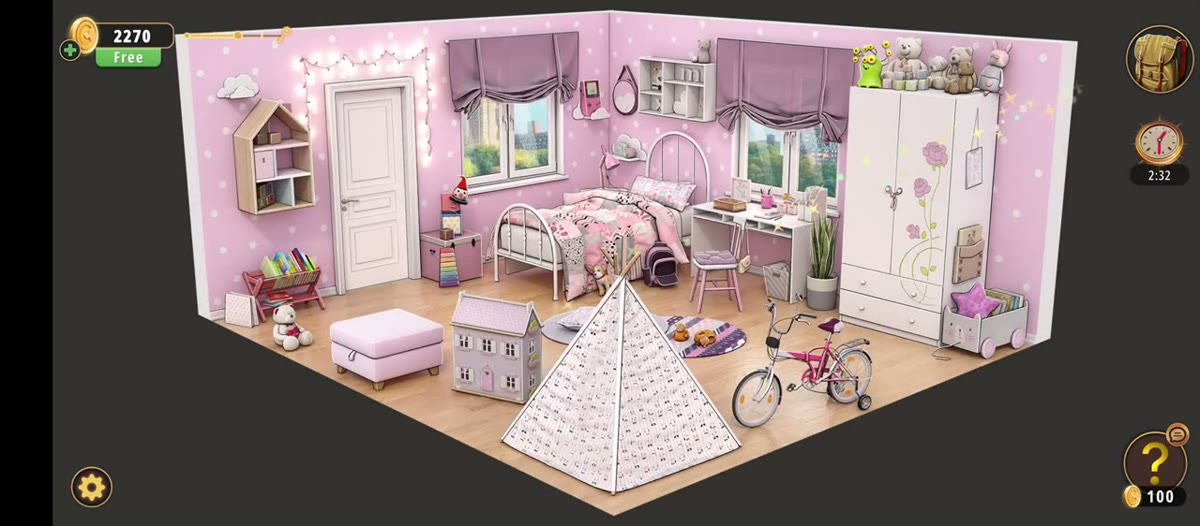
What this level actually is.
One pink bedroom, seen from a high isometric angle, with three walls in play. The walls are pink with white polka dots. The left wall carries the white door, a string of fairy lights, a house-shaped wall shelf and a pink book rack with a storage box and a teddy bear beside it. The back wall is a wide window with purple Roman blinds, the white metal bed with patterned bedding, and the white desk with a pink chair. The right wall holds the tall white wardrobe with pink rose decals and four stuffed animals lined up on top.
The floor is where the level happens. A purple dollhouse, a panda-print teepee, a patterned round rug, a pink ottoman and a pink bicycle with training wheels all sit on the parquet, and the wooden chest you need is hidden under the bed rather than displayed. That is the structural difference from Kids Bedroom 1: the first puzzle is behind a lighting gate, not in plain sight.
The chain is short and one-directional. Battery plus flashlight clears the dark, the dark reveals the chest, the chest's tile board opens its drawer, and the jewels plus the softpillow tag feed the box on the desk. You cannot brute-force the order, but you also cannot get permanently stuck — the battery and the flashlight are both reachable in the first forty seconds.
The map: what is where.
Everything we could identify in the recording, and what it is for.
| Object | Where | What it does |
|---|---|---|
| Pink ottoman | Floor, left side, by the dollhouse | Lid lifts at 0:05; small pale objects inside with a sparkle effect. No caption in our frames. |
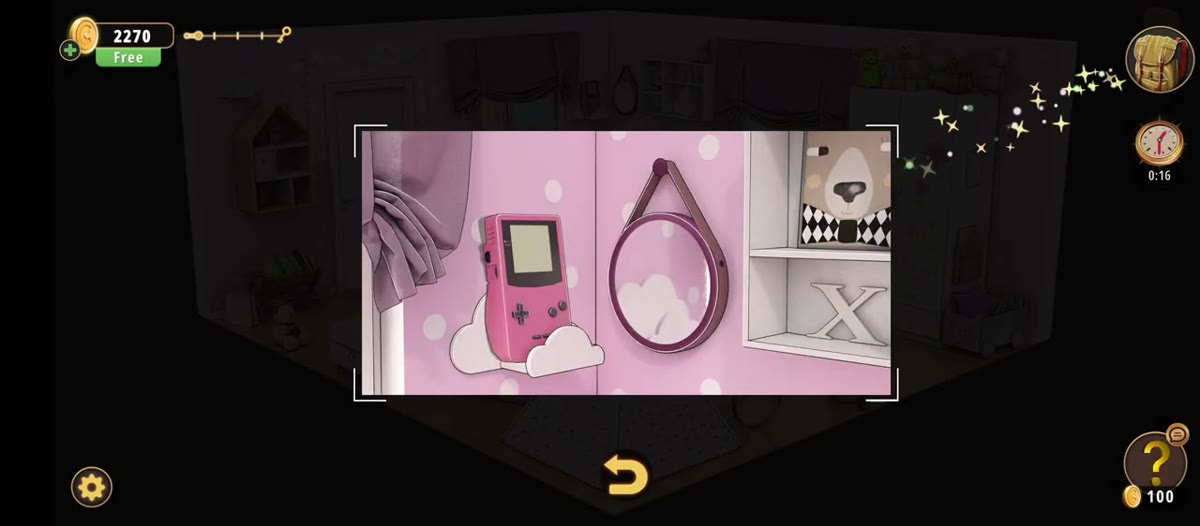
| Cloud-shaped wall shelf | Beside the oval mirror, above the bed | Holds the pink handheld console and the mirror; the Zipper comes from here at 0:13. |
| Battery | Cloud shelf pickup | Caption Battery at 0:16. Combines with the flashlight. |
| Flashlight | Already in inventory at 0:32 | Combine with the battery, then Use; caption becomes Turned on flashlight. |
| Space under the bed | Beneath the bed, centre of the room | Black until lit; hides the wooden chest. |
| Wooden chest | Under the bed | Lid is the stained-glass tile board; a drawer below opens when the board is done. |
| Tile board | Chest lid, full-screen | Grid of square cells plus stacked tiles; match the colour on every shared edge. |
| Panda teepee | Floor, centre | Quilted mat, cushion, doll, plush, blocks, ball — and the Screwdriver at 2:16. |
| Pink bicycle | Floor, right of the teepee | Training wheels; inspected around 2:20, no pickup. |
| Purple backpack | Floor by the bed frame | Opened around 2:59; a faceted jewel comes out of it. |
| Desk | Under the window | Pen pots, lamp, plant, and the ornate jewel box. |
| Jewel box | On the desk | Five gold-rimmed sockets on the lid; filled with coloured gems. |
| cloud softpillow tag | On the bedding, then held close-up | Five-segment colour cloud with colour-matched letters; the colour-order hint. |
| Wardrobe | Right wall | Opens at 2:55 to hanging clothes and folded stacks. |
Step by step.
The order below follows the recording. Timestamps are video time; the links jump to the matching second.
Where people get stuck.
You combined the battery but the room is still dark. Combining and using are two separate presses. The caption has to read Turned on flashlight before the under-bed view changes. If it still says Flashlight, you are holding a loaded torch that is switched off.
You cannot find the battery. It is on the cloud shelf with the pink handheld console, not in the ottoman and not under the bed. The ottoman pickup and the battery are two different things, ten seconds apart.
The tile board looks like a jigsaw. It is not — the tiles have no picture to assemble. Every tile is the same four-triangle design in different colours, so the only constraint is that the facet on one side of an edge matches the facet on the other side. Judge each placement edge by edge, from the outside in.
You try to repair the flashlight with the screwdriver. You cannot, and you do not need to. The screwdriver arrives 90 seconds after the flashlight is already working and comes from a different container.
You keep waiting for a keypad. There is none in the full 4:20 run. The locks are the chest board, the chest drawer and the jewel box. If a guide tells you to type a four-digit code at the door, it is describing a different level.
Where Kids Bedroom 2 sits in Chapter 3.
Chapter 3 is Murder Dressed in White and runs 24 rooms. Kids Bedroom 2 is room 20 of 24: straight after the Garden Shed (Level 19) and before the Hobby Room (Level 21). It is the second kids' bedroom in the chapter — Level 13 is Kids Bedroom 1 — and it reuses the same design language, down to the cloud shelf and the plush toys on the wardrobe.
Mechanically it is a reset after the Garden Shed's radio-and-padlock work. There is no numeric code anywhere in the level; the difficulty is a lighting gate and one long spatial puzzle. That makes it a good room to clear in a single pass: battery, flashlight, chest, then pickups, then the desk.
- 1 Dining Room guide
- 2 Living Room guide
- 3 Study Room guide
- 4 Guest Toilet guide
- 5 Workshop guide
- 6 Guest Bedroom guide
- 7 Master Bathroom guide
- 8 Kids Playroom guide
- 9 Backyard guide
- 10 Garden guide
- 11 Kitchen guide
- 12 Driveway guide
- 13 Kids Bedroom 1 guide
- 14 Storage Room guide
- 15 Garage guide
- 16 Attic guide
- 17 Terrace guide
- 18 Basement guide
- 19 Garden Shed guide
- 20 Kids Bedroom 2 you are here
- 21 Hobby Room guide
- 22 Master Bedroom guide
- 23 Entertainment Room guide
- 24 Hallway guide
Previous room: Chapter 3 Level 19 — Garden Shed
Next room: Chapter 3 Level 21 — Hobby Room
Back to: All Rooms & Exits walkthroughs
Frequently asked questions.
What is the code in Rooms & Exits Chapter 3 Level 20 Kids Bedroom 2?
There is no typed keypad code in Kids Bedroom 2. This is an object-puzzle room: a Battery and a Flashlight to combine, a stained-glass tile board on a wooden chest, a Screwdriver hidden in the panda teepee, and a jewel box whose lid carries five ornate sockets. The only code-like clue is the cloud softpillow tag, whose five-segment cloud reads green, red, blue, purple, yellow. Treat it as the socket order, but see the unverified note about the middle colour.
How do I see under the bed?
The space under the bed reads as a black rectangle the first time you look at it, at 0:26. Open the inventory, select the Battery, then the Flashlight, and press Combine. The combined torch appears with a green outline and the caption changes to Turned on flashlight at 0:44. Go back under the bed at 0:46 and the area is lit, with a dark wooden chest sitting on the floor.
Where is the battery and where is the flashlight?
The Battery comes off the white cloud shelf that holds the pink handheld console and the oval mirror — the camera pushes in at 0:11 and the battery is shown with the caption Battery at 0:16. The Flashlight is already in the inventory when you first open it at 0:32; the recording never shows where it was picked up, so we do not invent a location for it.
What is the rule of the stained-glass tile board?
Square tiles, each split into four triangular facets by an X-shaped metal frame, every facet a different glossy colour. Tiles sit in stacks to the left and right of a wooden board and you drop them into the grid. The completed frames show edge matching: the colour on one side of a tile repeats on the touching side of its neighbour. When the board is nearly full, the bottom facet of the upper row and the top facet of the row below are the same red across the seam.
How long does the tile board take?
In this run it starts at 0:50, when the chest is opened under the bed, and the last loose tile goes in at about 1:49. That is close to a minute of real time with no detours, which makes it the longest single interaction in the level. Plan for it rather than treating it as a quick lock.
How many cells does the tile board have?
We are not printing a count. Three passes over the board read it as three rows of three, as three rows of four, and as four rows of four with fourteen cells filled and two empty. The mechanic is clear and the completion is visible; the exact cell count is not, so it is listed under "What this page could not verify".
What is inside the pink ottoman?
The pink ottoman by the dollhouse opens at 0:05. The lid lifts and the inside shows small pale objects with a sparkle effect. The frame carries no white item caption, so this page does not name the pickup — the battery shown later comes off the cloud shelf, not from here.
What does the Zipper do?
At 0:13 the close-up on the pink handheld console produces the caption Zipper. In the rest of this run it is never used — no zip, bag or seam takes it. Treat it as a collected part and do not spend time hunting for a place to use it before the jewel box.
What is in the panda teepee?
The white teepee with the black-and-white panda print is opened at 2:04: a quilted pink mat, a large pink cushion, a doll, a white plush, stacked wooden blocks and a striped ball. At 2:16 a red-handled Screwdriver is picked up from the mat and the caption reads Screwdriver.
What is the jewel box on the desk?
An ornate wooden box with gold scrollwork at the corners, sitting on the desk under the window. Its lid carries five round sockets with gold rims, and the run fills them from the inventory as it goes — orange-red, green and magenta gems are visible in separate frames. The inventory at 3:37 holds six jewel colours: green, gold, purple, red, white and light blue.
What is the cloud softpillow tag?
A white label with a five-segment rainbow cloud and the words cloud softpillow. Each segment of the cloud is a solid colour and each letter of "cloud" is coloured to match one: c green, l red, o blue, u purple, d yellow. That gives a five-colour order — green, red, blue, purple, yellow — which is the only colour-order clue in the room and the natural key for the five jewel sockets. It appears on the bedding and again as a held close-up at 3:43.
Is there a keypad in Kids Bedroom 2?
No. Nothing in the 4:20 run shows a number pad, a dial lock or a letter lock. The locks are physical: the tile board on the chest, the chest's own drawer, the jewel box, and the items that feed them.
Where does Kids Bedroom 2 sit in Chapter 3?
It is room 20 of 24 in Chapter 3, Murder Dressed in White. It comes straight after the Garden Shed (Level 19) and before the Hobby Room (Level 21).
Does the recording show the level being completed?
Yes. This copy runs the full 4:20 and the results card appears at 4:18: LEVEL COMPLETED!, +50 coins, Time: 4:10, and a piggy-bank reward of 300 with a 42h 46m refill timer. No stars are shown on the card.
What this page could not verify.
1. The cell count of the tile board. Three passes read the board as three rows of three, as three rows of four, and as four rows of four with fourteen filled and two empty; the loose-tile stacks also change size between frames as tiles are taken. The mechanic (edge matching, four triangular facets per tile) and the completion (last tile at about 1:49, drawer opens) are both solid; the exact grid is not, so no count is printed.
2. The middle colour of the softpillow cloud. Two crops agree on the order green, red, then purple, yellow at the end, and on the letter mapping (c green, l red, u purple, d yellow). They disagree on the third segment, which read once as blue and once as cyan. The order above uses blue; swap it for cyan if the socket will not take a blue gem.
3. What the chest drawer contained. The drawer clearly slides out after the board is finished, and the frame we checked shows a bare wooden interior. An earlier pass thought it saw a small pale object inside, so we describe the drawer and the timing and do not name contents.
4. The purpose of the Zipper and the Screwdriver. Both are real pickups with real captions, and neither is visibly used before the level ends. They may belong to the jewel-box sequence in a way the camera skips, or to a later room. We are not going to invent a use for them.