 GridPaw
 Shikaku
 Akari
 Kakuro
 Nonogram
 Nurikabe
 Pictomino
 KenKen
 Binary
 Star Battle
 Hashi
 Slitherlink
 Murder Sudoku
 Meowdoku
 Crazy Cleanup
Rooms & Exits Chapter 3 Level 21 Walkthrough: Hobby Room
The Hobby Room is room 21 of 24 in Chapter 3, Murder Dressed in White, and it is the craft room of the house: an easel, a sewing machine, thread spools, paint tubes, and a workbench covered in half-finished projects. It is also the longest of the three bedroom-side rooms — 9:11 in this run — because it hides three separate locks instead of one. A hexagonal box on the green dresser, a carved wooden panel, and a three-segment dial, with a papercraft build as the finale.
Three locks, one build. No door keypad.
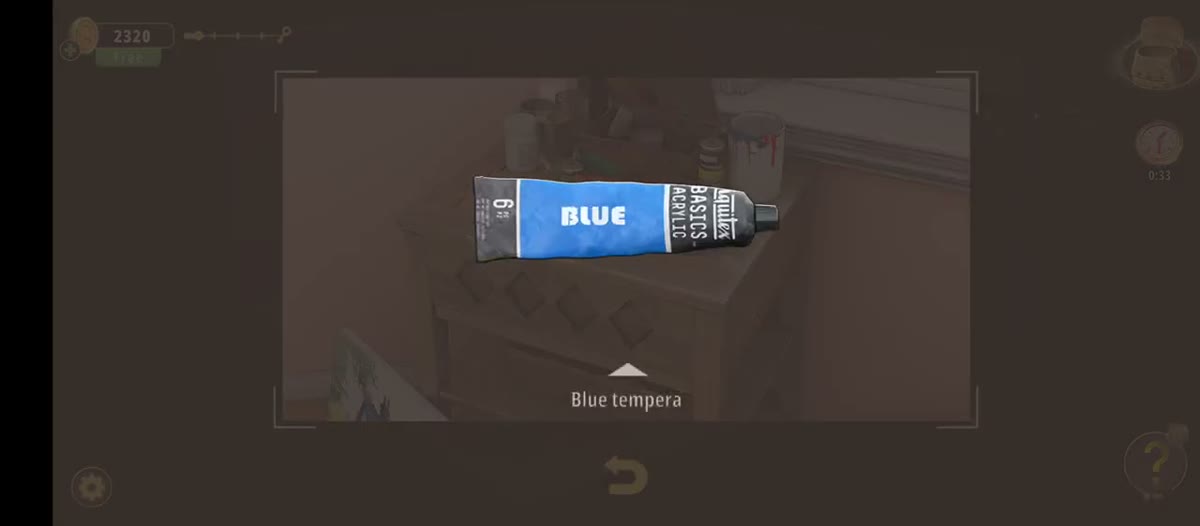
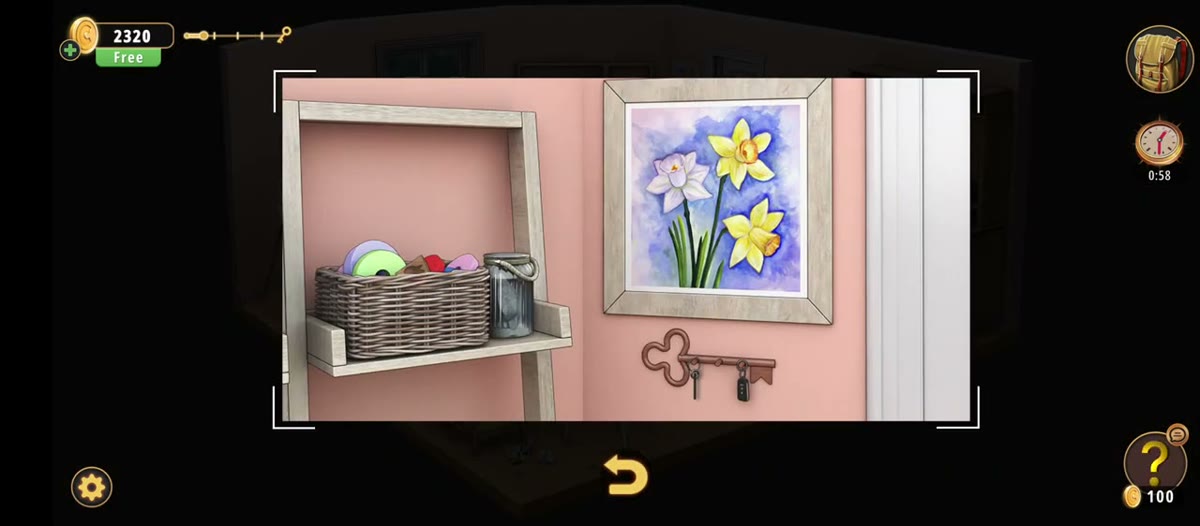
- Take the Blue tempera from the paint shelf (0:36) and the Key from the hook under the daffodil painting (1:02).
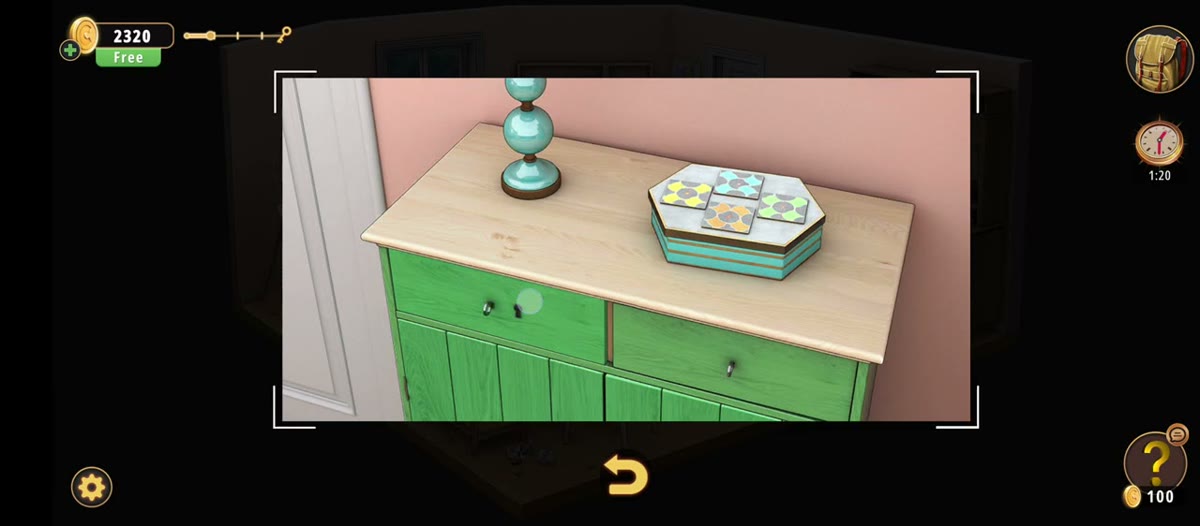
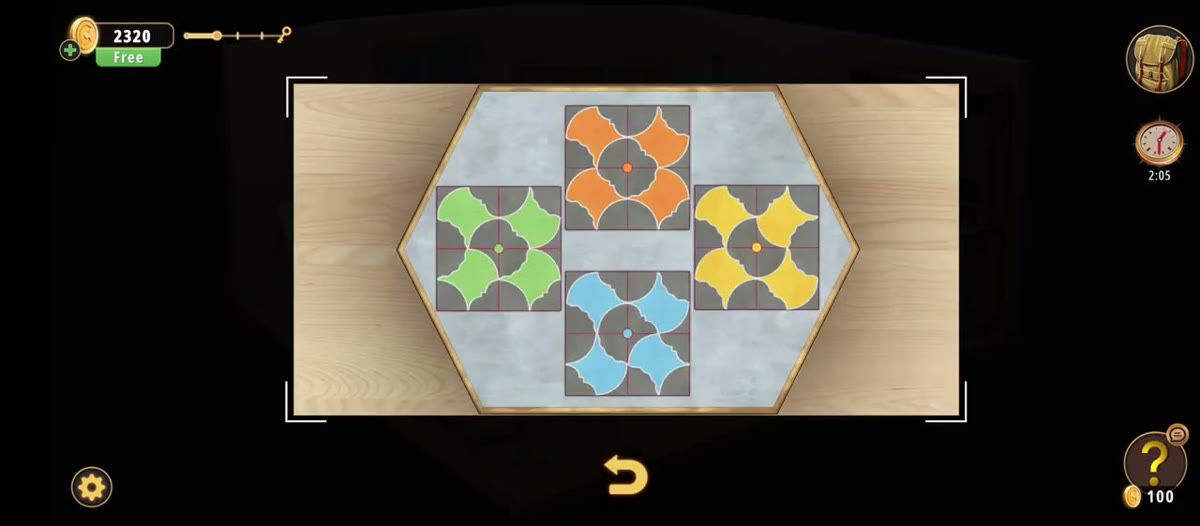
- Open the hexagonal box on the green dresser (1:24) and solve its four-tile rotation puzzle (1:40 to 2:25).
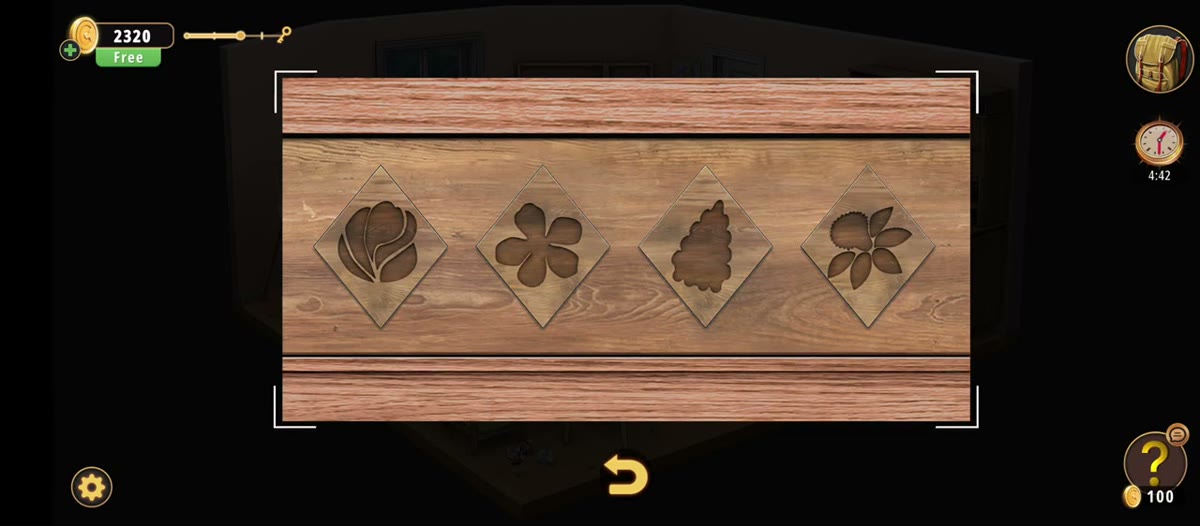
- Collect the four Wooden decoration tiles and fit them into the four carved diamond recesses on the wooden panel (4:05 to 4:30).
- Fit the Handle to the knob-less drawer (6:11) and take the cardboard box inside (7:02).
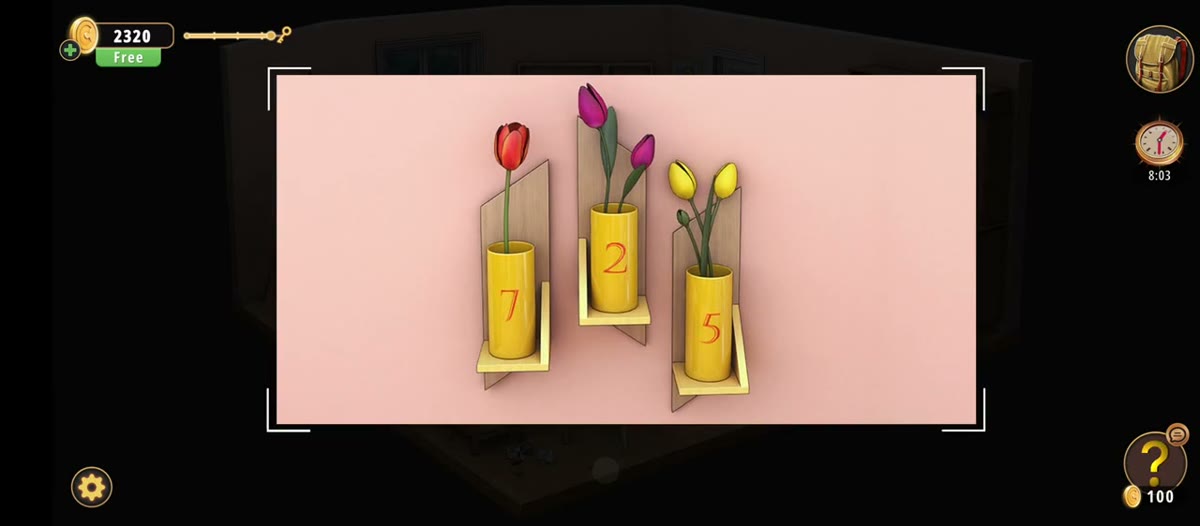
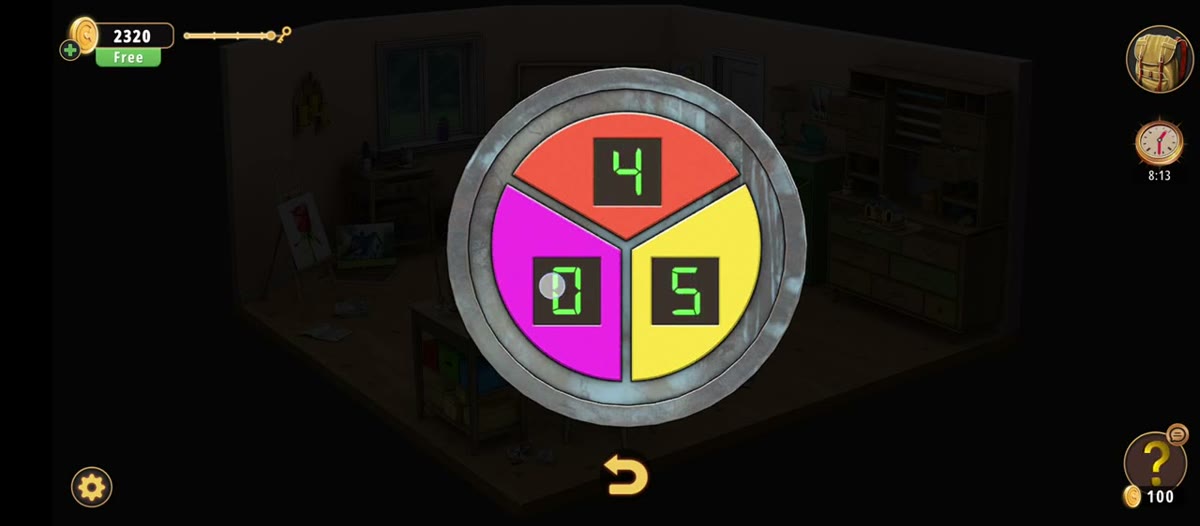
- Read the tulip planters — red 7, magenta 2, yellow 5 — and set the three-segment dial to match (8:10).
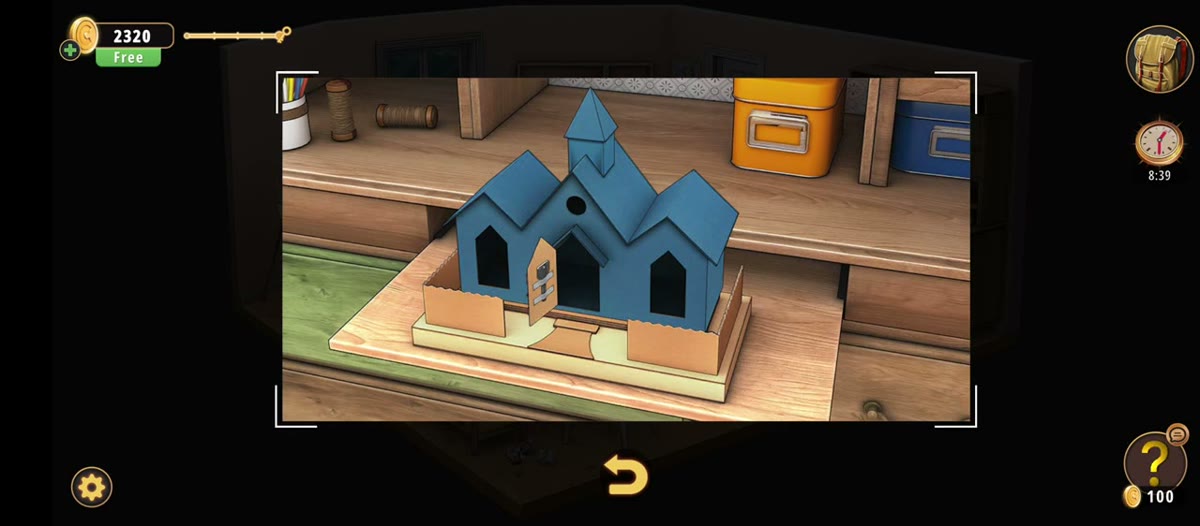
- Finish the blue papercraft model house on the workbench (8:38). The level ends at 9:11: +50 coins.
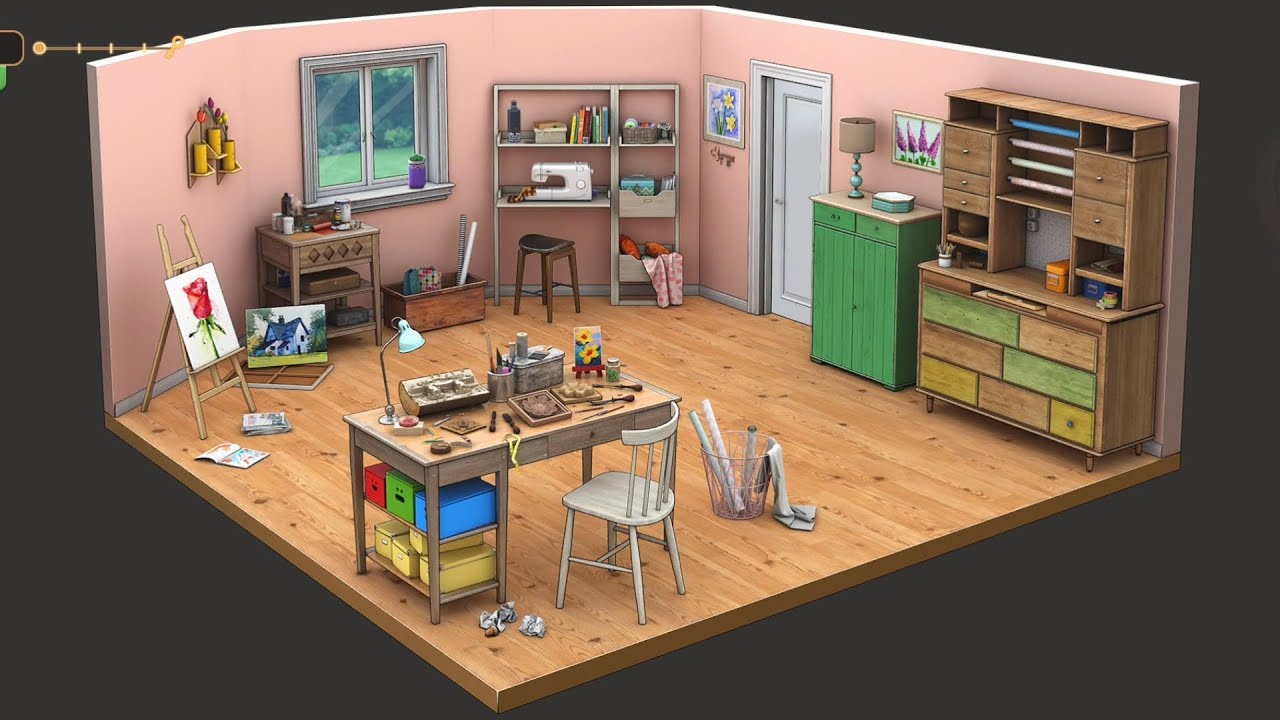
The Hobby Room run used for every frame on this page.
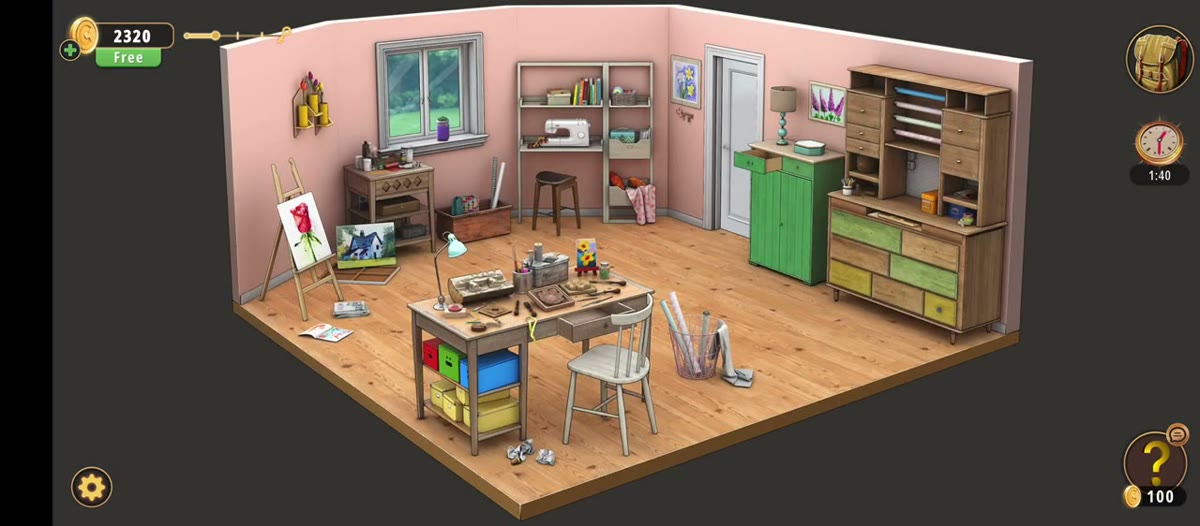
What this level actually is.
The room is pink-walled with a pale wooden floor and it is genuinely crowded — this is the one room in the chapter where the scenery is the puzzle board. Three walls, four work zones:
- Left wall: a green-framed window over a small table with a blue lamp, a shelf of paint tubes and brushes above it, an easel holding a painting of a red rose in a vase, and a second canvas — a lake-and-mountain landscape — leaning against the wall on the floor.
- Back wall: a tall wooden shelving unit with a sewing machine, thread spools, folded fabric, books and baskets; a wooden stool in front of it; a framed picture; and the white door with a blue frame.
- Right wall: a tall green cabinet with a light blue lamp on top, and the wide green-and-wood dresser with open shelves above and drawers below.
- Centre: the big workbench — palette, brushes, paints, scissors, rulers, papers, small boxes — with a white wooden chair pulled up to it.
The floor adds a pair of blue slippers, a metal wastebasket full of rolled paper, and a rolled mat. Almost none of that is interactive, but it matters for one reason: the room gives you no obvious "puzzle" silhouette, so the first minute is about finding the two things that are actually clickable — the paint shelf and the key.
The map: what is where.
Everything we could identify, and what it is for.
| Object | Where | What it does |
|---|---|---|
| Blue tempera | Paint shelf above the workbench table | Caption Blue tempera at 0:36. Paint for the model house. |
| Key | Hook under the daffodil painting | Antique key with a lock plate; opens the tall green cabinet. |
| Hexagonal box | On the green dresser, right wall | Four coasters on a grey lid; opens a four-tile rotation puzzle. |
| Six-tile board | Full-screen from the hex box | Six four-lobed coloured tiles around a grey hexagon; rotate to match lobes. |
| Carved wooden panel | Dresser, lower section | Four diamond recesses carved with flower, leaf, multi-lobed leaf and rose swirl; takes the Wooden decoration tiles. |
| Wooden decoration | Inventory pickup | Four-petal carved tile; four of them fill the panel. |
| Handle | Inventory item | Fits the dresser drawer with no knob; opens the drawer at about 7:02. |
| Cardboard box | Inside the handle drawer | The thing the drawer was hiding. |
| Gift bag | Wooden crate near the dresser | Patterned bag and a light blue box inside the crate. |
| Tulip planters | Right wall, three yellow pots | Red tulip 7, magenta tulip 2, yellow tulip 5. |
| Three-segment dial | Full-screen, about 8:10 | Red / magenta / yellow segments with cycleable digits. |
| Model house | Workbench, end of the run | Blue papercraft chapel with steeple and tan paper base. |
Step by step.
The order below follows the recording. Timestamps are video time; the in-game clock runs a few seconds behind, which is why the end card says 8:51 for a 9:07 file.
Where people get stuck.
You cannot find the puzzle after the key. It opens the tall green cabinet on the right wall, which holds craft stock; the next real puzzle is the hexagonal box sitting on the dresser beside it. Do not spend ten minutes looking for a keyhole in a door frame.
The hex board looks random. Every lobe has a colour and every touching pair must agree. Rotate one tile at a time and check its four edges, rather than trying to rotate the whole board into a picture.
The Wooden decoration tiles will not go in. They only fit the carved panel, and only one motif per diamond — flower, leaf, multi-lobed leaf, rose swirl. If a tile will not seat, you are holding it over the wrong carving.
The dresser drawer has no handle. The Handle is a separate inventory item; until you select it and press Use on that drawer, the cardboard box inside is unreachable.
You read the tulips as "725". Each pot labels its own colour: red is 7, magenta is 2, yellow is 5. The dial has the same three colours in fixed positions, so put each digit on its own colour rather than typing 7-2-5 in order.
Where the Hobby Room sits in Chapter 3.
Chapter 3 is Murder Dressed in White and runs 24 rooms. The Hobby Room is 21 of 24, between Kids Bedroom 2 (Level 20) and the Master Bedroom (Level 22). It is the chapter's craft room and the first room in this stretch that asks you to build something rather than just open something.
Length is the thing to plan for. At 9:11 it is roughly twice Kids Bedroom 2, and the time is spread across three locks that do not share a mechanic: rotation, shape matching, and a colour-to-digit dial. None of them is hard on its own; the cost is walking between the dresser, the wall planters and the workbench.
- 1 Dining Room guide
- 2 Living Room guide
- 3 Study Room guide
- 4 Guest Toilet guide
- 5 Workshop guide
- 6 Guest Bedroom guide
- 7 Master Bathroom guide
- 8 Kids Playroom guide
- 9 Backyard guide
- 10 Garden guide
- 11 Kitchen guide
- 12 Driveway guide
- 13 Kids Bedroom 1 guide
- 14 Storage Room guide
- 15 Garage guide
- 16 Attic guide
- 17 Terrace guide
- 18 Basement guide
- 19 Garden Shed guide
- 20 Kids Bedroom 2 guide
- 21 Hobby Room you are here
- 22 Master Bedroom guide
- 23 Entertainment Room guide
- 24 Hallway guide
Previous room: Chapter 3 Level 20 — Kids Bedroom 2
Next room: Chapter 3 Level 22 — Master Bedroom
Back to: All Rooms & Exits walkthroughs
Frequently asked questions.
What is the code in Rooms & Exits Chapter 3 Level 21 Hobby Room?
The only numbered clue in the room is the row of three yellow wall planters on the right: the red tulip planter is numbered 7, the magenta tulip planter 2 and the yellow tulip planter 5. Those three colours match the three segments of the circular dial that appears later — red, magenta, yellow — so the intended reading is 7 / 2 / 5. We could not confirm the dial's accepted digits from a clean frame; see "What this page could not verify".
How do I open the hexagonal box?
The hexagonal wooden box sits on the green dresser on the right wall, with a light grey lid. On top of it sit four square coasters in a 2x2 grid, each divided into four quadrants by a cross, on yellow, teal, peach and green backgrounds. Tapping the box opens a full-screen rotation puzzle on a hexagonal tray: four square tiles in a 2x2 — light green, orange, light blue and yellow — each carrying four curved shapes around a coloured centre dot. Tap a tile to rotate it until the shapes meet their neighbours. The puzzle is the box's lock, and it runs for roughly a minute in this recording.
Where is the key in the Hobby Room?
On a wall-mounted key holder below the framed daffodil painting, on the pink wall beside the ladder shelf with the thread basket. The holder has three hooks — a black car remote on the left, a small key in the middle and a larger key on the right — and the run takes the key. It opens the tall green cabinet on the right wall, which holds the upper shelves of craft stock.
What is Blue tempera for?
It is one of the paint tubes on the wall shelf above the workbench, picked up at 0:36 with the caption Blue tempera. It is the only paint the run collects, and the only blue object that needs painting is the papercraft model house that appears on the workbench near the end. If you are stuck holding it, you are not there yet.
What are the four carved diamond recesses for?
A wooden panel on the dresser has four diamond-shaped depressions, each carved with a different motif — a five-petal flower, a textured leaf, a multi-lobed leaf and a rose-like swirl. These take the four Wooden decoration tiles from the inventory, one motif per recess. The panel is a shape-matching lock, not a colour puzzle.
Where do I get a Handle?
The Handle is a separate inventory item, shown selected at 6:11 in-game with the standard Use / Combine / Dismantle / Examine row underneath. It goes on the dresser drawer that has no knob: with the handle fitted the drawer pulls open and the cardboard box inside is reachable at about 7:02.
What is the three-segment dial?
A circular metal dial with three pie-slice segments — red at the top, magenta bottom-left, yellow bottom-right — each showing a green digital digit that you can cycle. Its colours are the same three as the tulip planters, which is the whole clue. It appears at about 8:10 in-game, and the room brightens when it is accepted.
How do I finish the Hobby Room?
The last prop is the blue papercraft model house on the workbench: a chapel-like building with a steeple, arched window cut-outs and a tan paper base with a fence and path. Once the model is complete and the dial is set, the level ends. There is no door keypad in the Hobby Room — the exit is triggered by finishing the props.
How long is the Hobby Room?
This run takes 9:11 in-game across a 9:07 video file (547 seconds, one frame per second for this page). It is the longest of the three bedroom-side rooms in Chapter 3 and roughly twice the length of Kids Bedroom 2, because it has three separate locks — the hex box, the carved panel and the dial — plus a build.
Does the run show the results card?
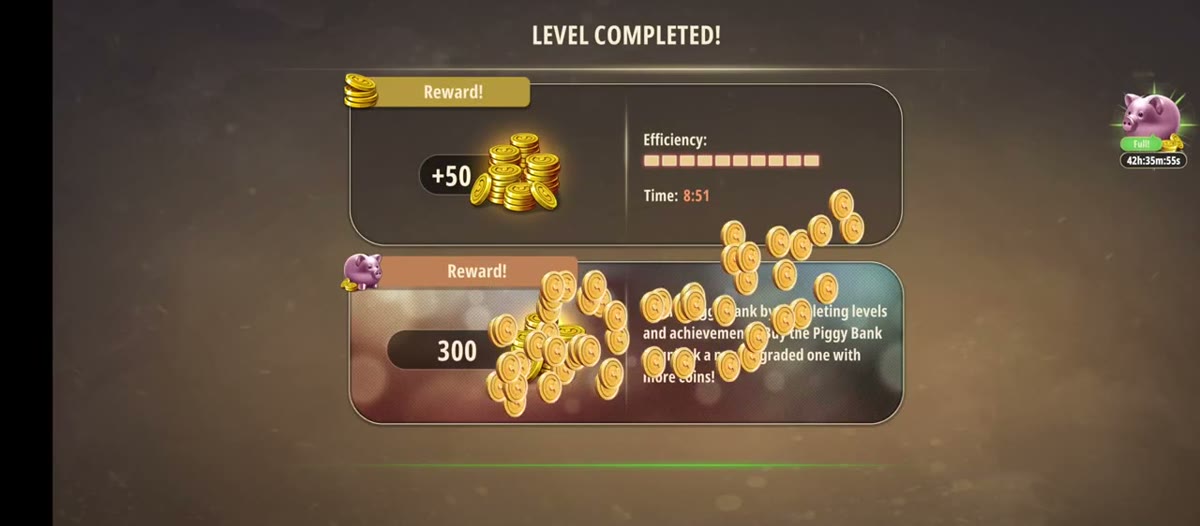
Yes. The final frame reads LEVEL COMPLETED! with +50 coins, Time: 8:51, and a piggy-bank panel showing 300 and a 42h 35m refill timer. No stars are shown.
Where does the Hobby Room sit in Chapter 3?
It is room 21 of 24 in Chapter 3, Murder Dressed in White: straight after Kids Bedroom 2 (Level 20) and before the Master Bedroom (Level 22).
Is the Hobby Room the same as the Art Studio?
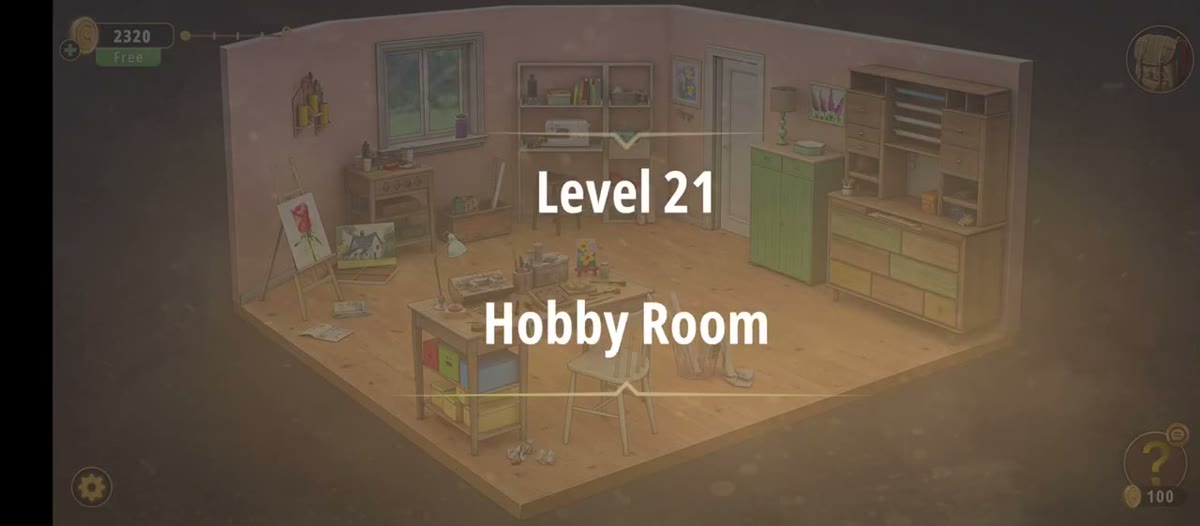
It is the chapter's craft room — easel, sewing machine, thread spools, paint tubes, workbench — and it is labelled Level 21 / Hobby Room on the title card. Some walkthroughs call it the Art Room or the Craft Room; the level number is what matters.
What this page could not verify.
1. The dial's accepted digits. Three crops of the dial at different seconds read it as 2 / 0 / 1, as 9 / 1 / 5 and as 4 / 0 / 5 — the digits are small green seven-segment numbers on coloured segments and they cycle as the player turns them, so no single frame is authoritative. The colour mapping from the tulip planters (red 7, magenta 2, yellow 5) is solid and was read twice; the dial's final state is not.
2. The exact hex-board solution. The rule (match every touching lobe) is clear from the frames, but the board's final orientation is never held still long enough to transcribe tile by tile. This page teaches the rule rather than printing a layout.
3. What the cardboard box contained. The drawer opens at about 7:02 and a cardboard box is visible inside, but the item is never shown in a labelled close-up. We do not name it.