 GridPaw
 Shikaku
 Akari
 Kakuro
 Nonogram
 Nurikabe
 Pictomino
 KenKen
 Binary
 Star Battle
 Hashi
 Slitherlink
 Murder Sudoku
 Meowdoku
 Crazy Cleanup
Rooms & Exits Chapter 2 Level 21 Walkthrough: Household Appliances
The Household Appliances showroom ends on the four-digit code 1286, printed on a television in the electronics corner and dialled into the pink four-tumbler lock in the laundry half. Finish worth +50 coins.
- Read the television in the TV wall: four digits, 1 2 8 6, each with a symbol underneath.
- Note the small symbol under each digit — the same pictograms are what you press on the remote in the same corner.
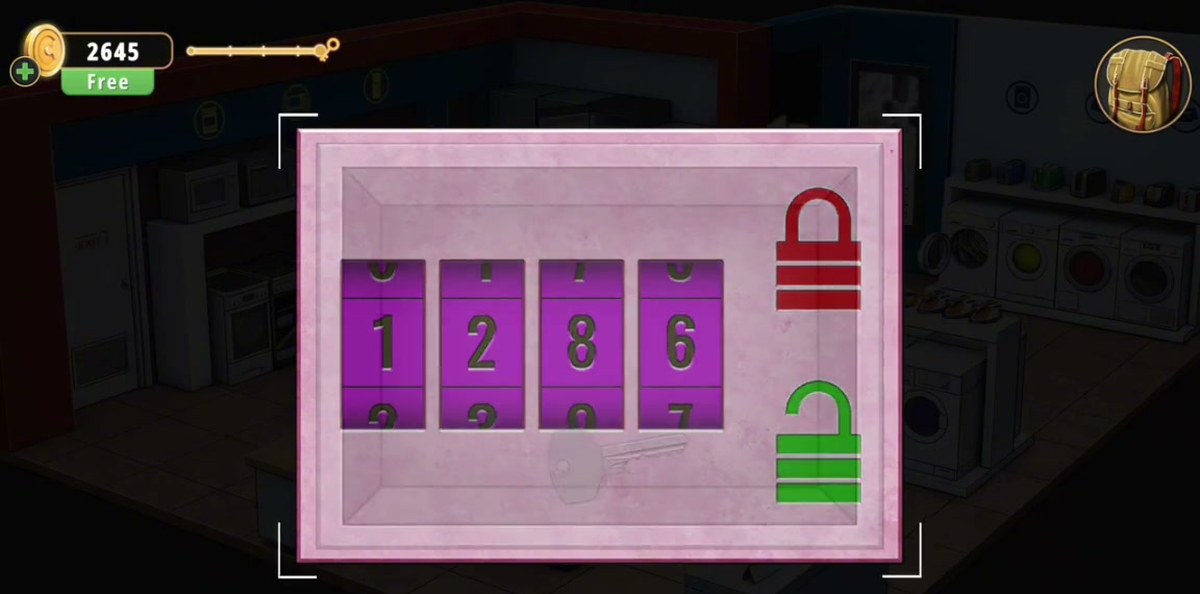
- Turn the four-dial lock to 1286; the red padlock flips green.
- Take the silver Key out of the compartment it opens.
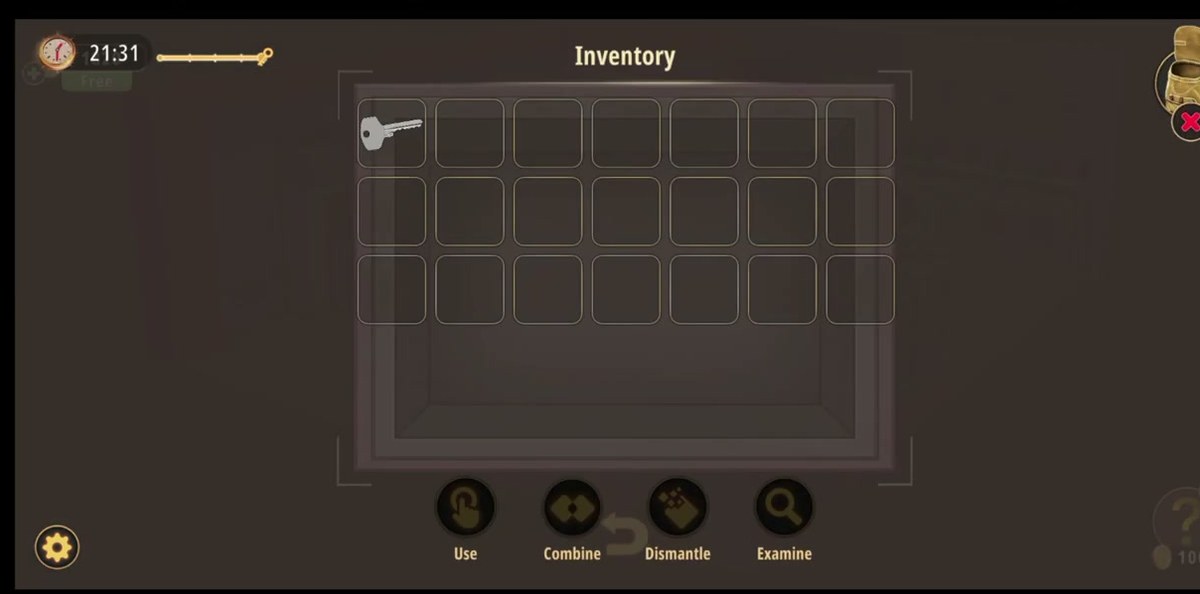
- Inventory → Key → Use → tap the white EXIT door on the far left wall.
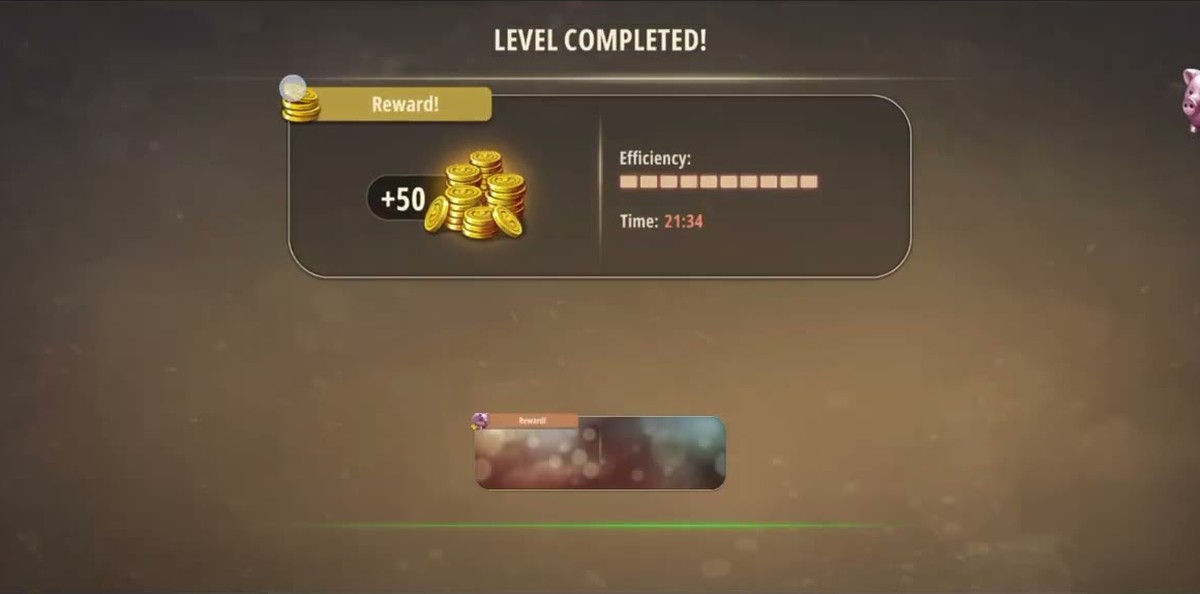
- Results panel: +50 coins.

What this level actually is.
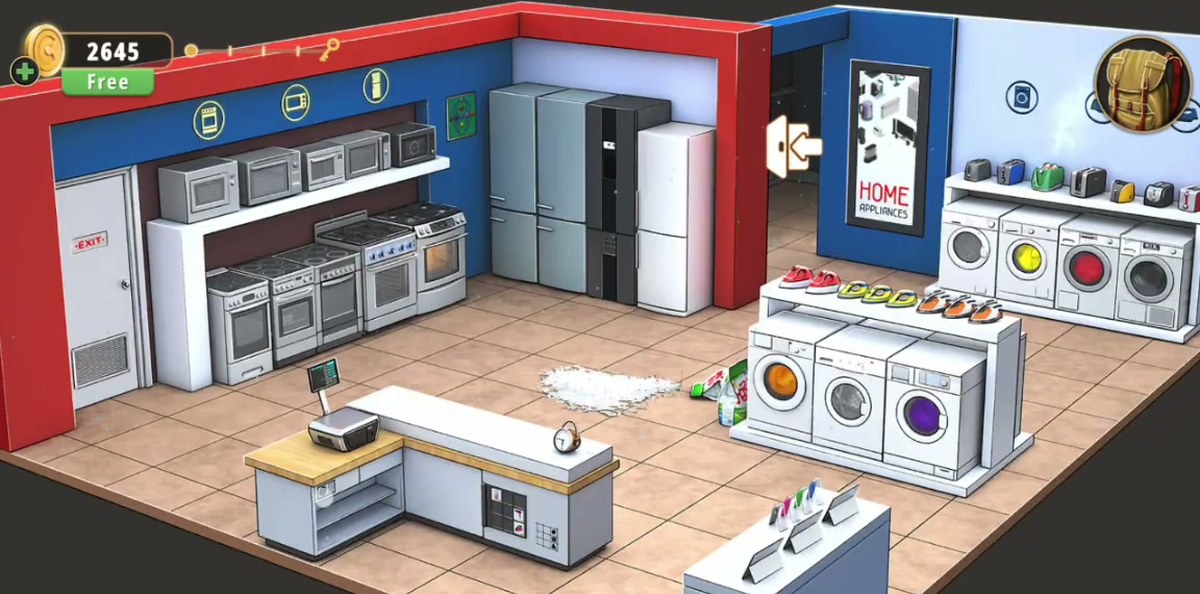
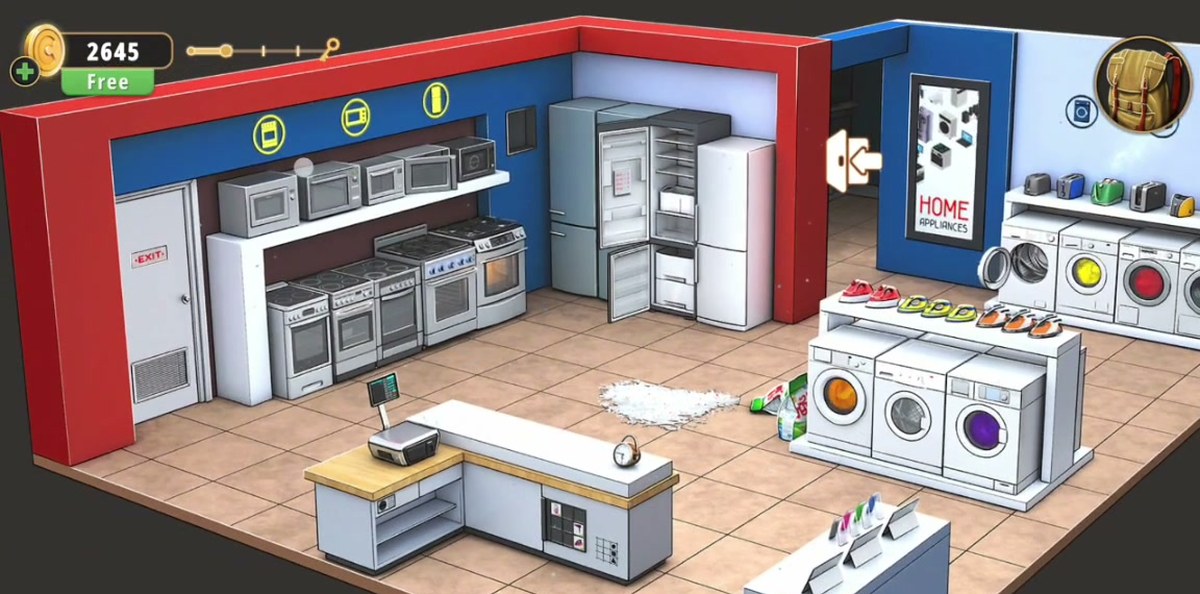
Household Appliances is the twenty-first room of Chapter 2, one door past the Furniture Store and one before the Print Shop. It is not a shop with a puzzle in it; it is a shop made almost entirely of puzzles. The room you land in is a white-goods showroom, brightly lit, with red structural columns and a blue back wall, and it is laid out like a real floor: five microwaves on a high shelf with five ranges standing underneath them, a row of five refrigerators on the back wall, a laundry wall with four washing machines over a toaster shelf, a low island carrying three more machines with slippers and toy irons on the shelf above them, and an L-shaped checkout counter jutting into the foreground with a cash register on one arm and a small alarm clock on the other.
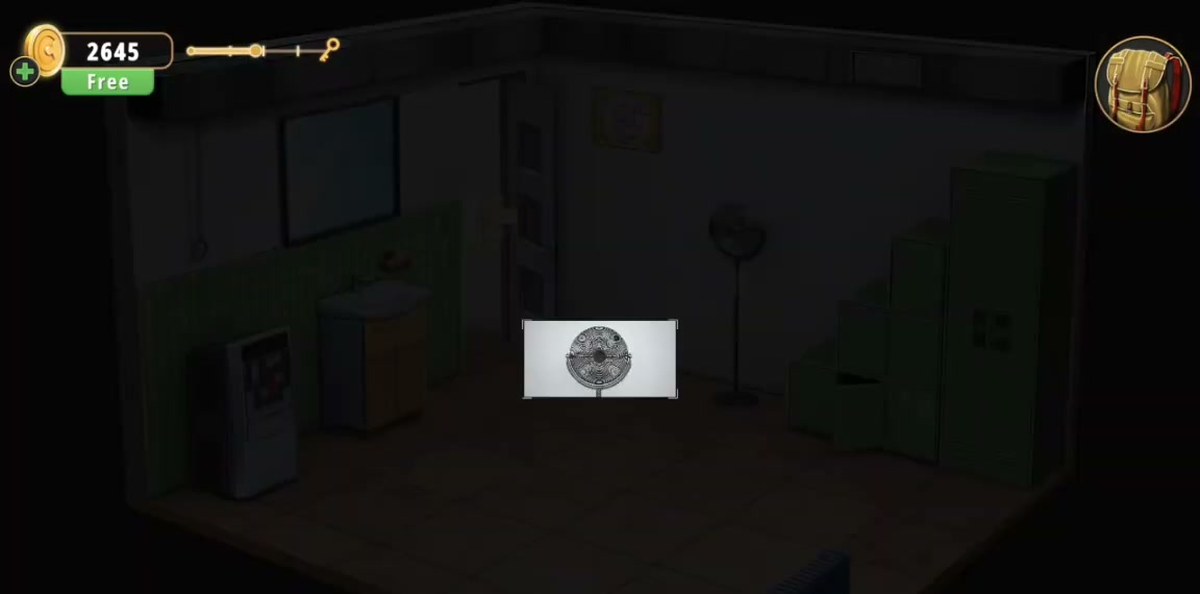
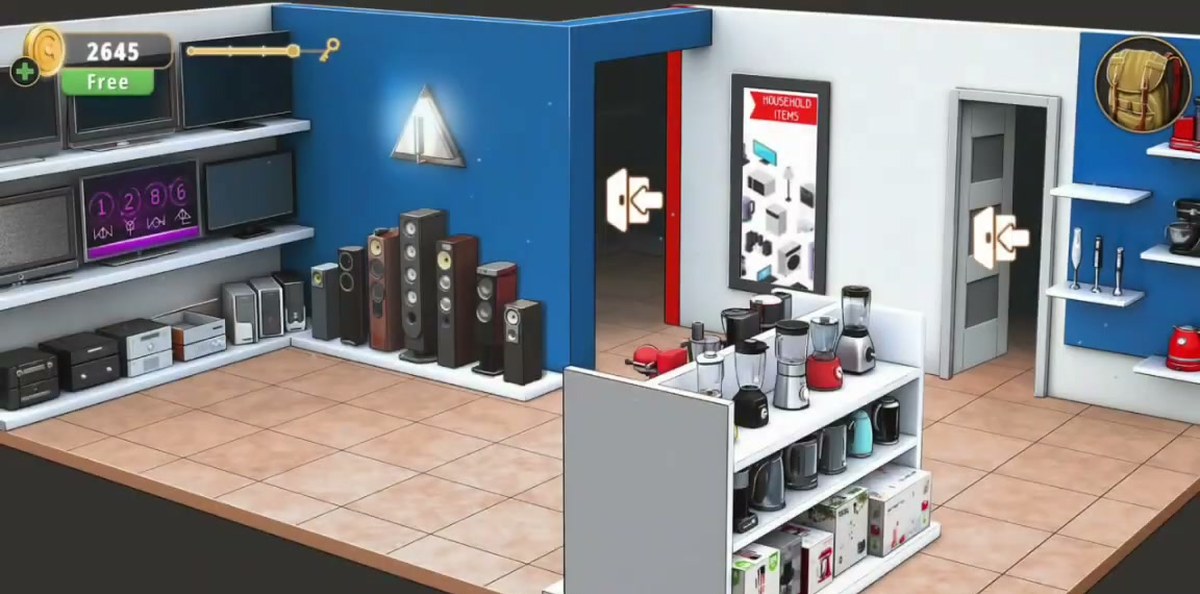
Then the room keeps going. Past the laundry wall the floor turns into the small-appliance and electronics half: a TV wall with two shelves of flat screens, a speaker display with seven cabinets of different heights, shelves of blenders, kettles and stand mixers, and a framed HOUSEHOLD ITEMS board covered in pictograms. There is a white door in the back wall of that half that opens into a second room the wide shot never shows — a staff room with a sink and mirror, a water cooler, a standing fan, a radiator and a bank of green lockers. Both halves are one level, and the exit is back where you started, on the far left wall.
That is why the level feels longer than its number suggests. There is no corridor and no enforced order: you can clear the ring maze before you have found the room it belongs to, or spend ten minutes on the price catalogue before you have looked at a single television. The recording above finishes in about nine minutes of real time; the longest run we captured took 21:34. The difference is entirely how long you spend tapping locks that are not on the critical path.
The critical path is short. One television carries the number, one lock takes it, and one key ends the level. Everything else in the showroom — the hexagon rosette, the mixer, the blenders, the speakers, the circuit board, the ring maze, the lockers, the catalogue — is either a clue for those three objects or a container holding an item you will not need. Knowing which is which is the whole guide.
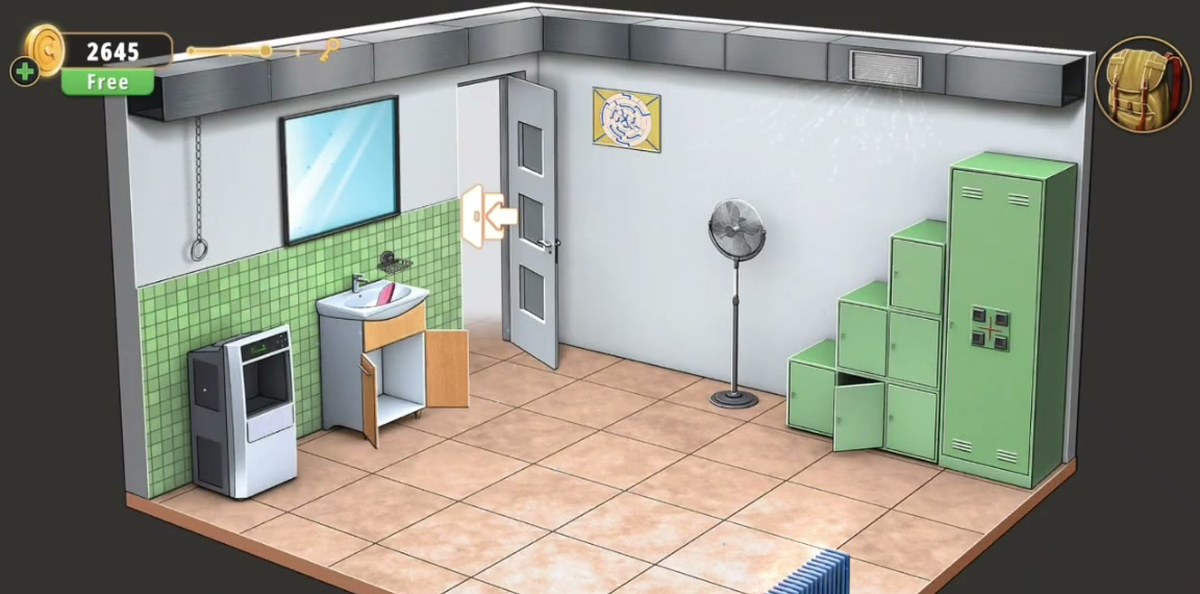
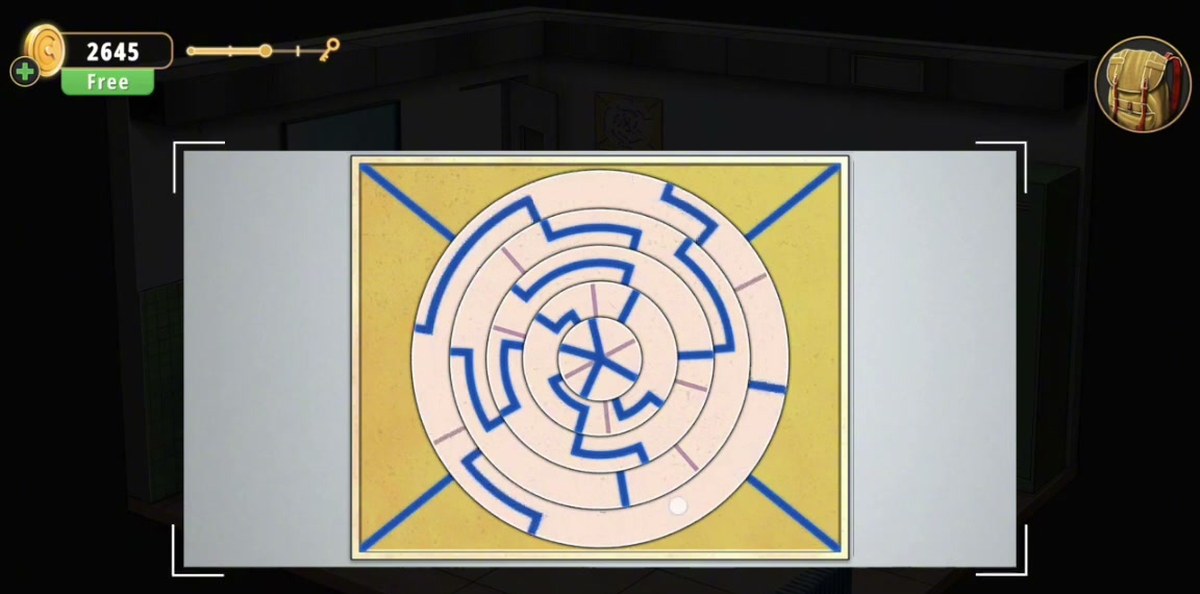
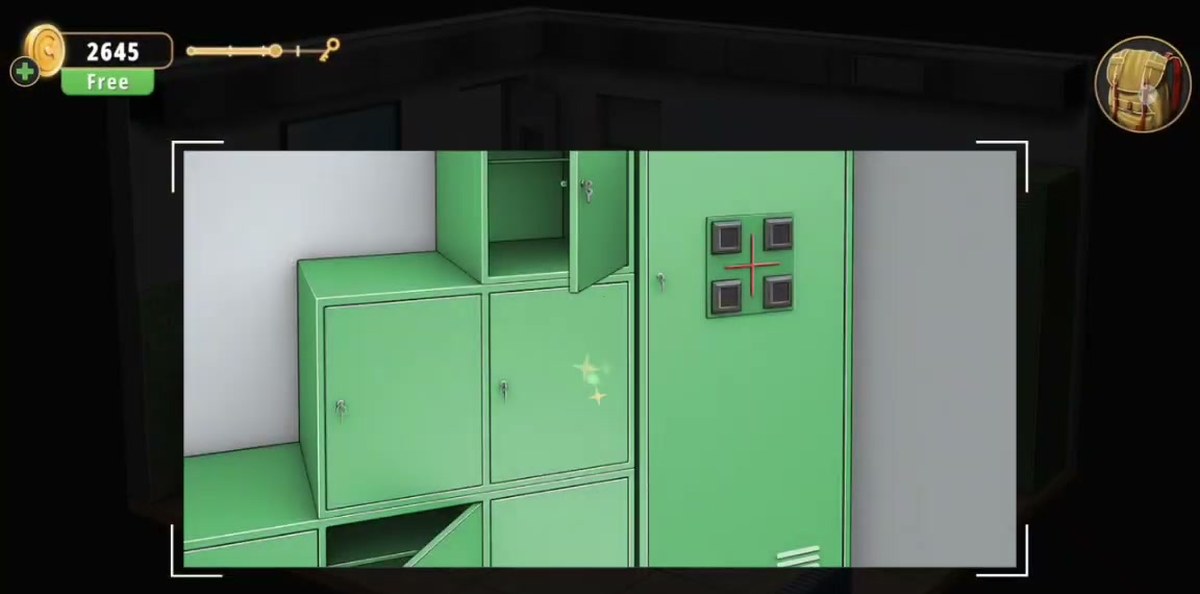
The second room is the part people miss. It is reached through the plain white door in the back wall of the small-appliance half, it comes up dark the first time you open it, and it contains a completely separate set of locks — the ring maze, the lockers with the red-cross panel, and the sink vanity. None of them is on the critical path, which is why a player who never opens that door can still finish the level and a player who opens it first can lose half an hour.
The map: what is where.
Every object in Household Appliances that takes an input or hands you something, in one table. If you read only one section of this page, read this one — the level is large enough that most of the lost time is spent tapping a container and expecting a lock.
| Object | Where | What it gives you |
|---|---|---|
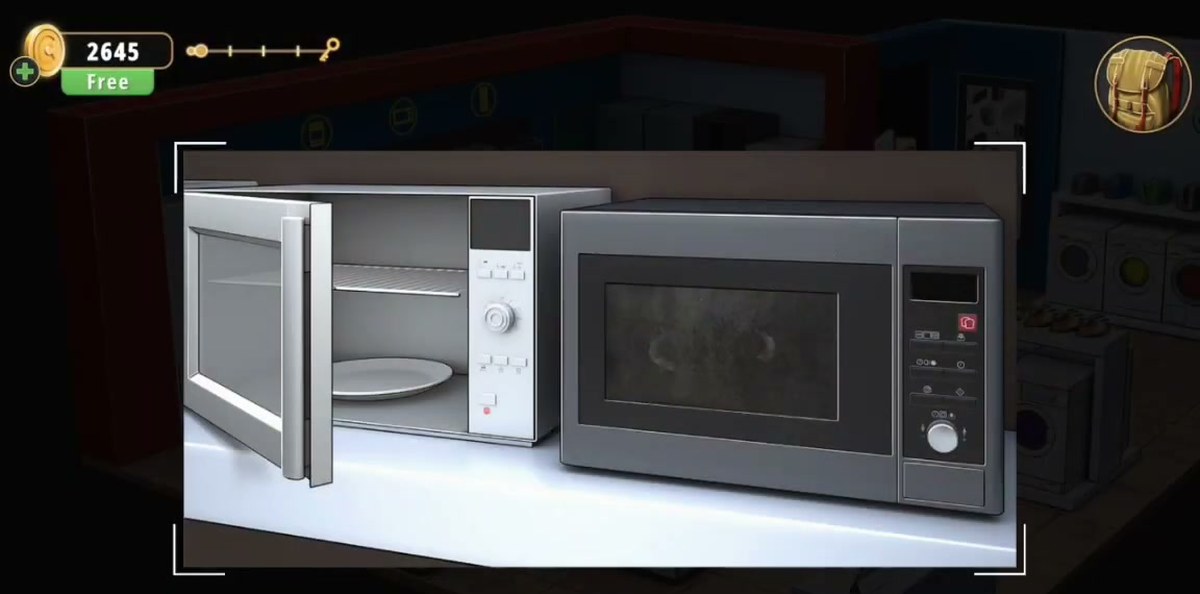
| Microwaves | High shelf, left wall (five units) | One door is already open with a white plate on the turntable and a metal rack above it. The control panels carry dials and a digital display but no code we could read twice. |
| Ranges and ovens | Floor, left wall (five units) | Oven doors open on empty interiors. The knobs are the only interactive part; no lock follows from them in any run we captured. |
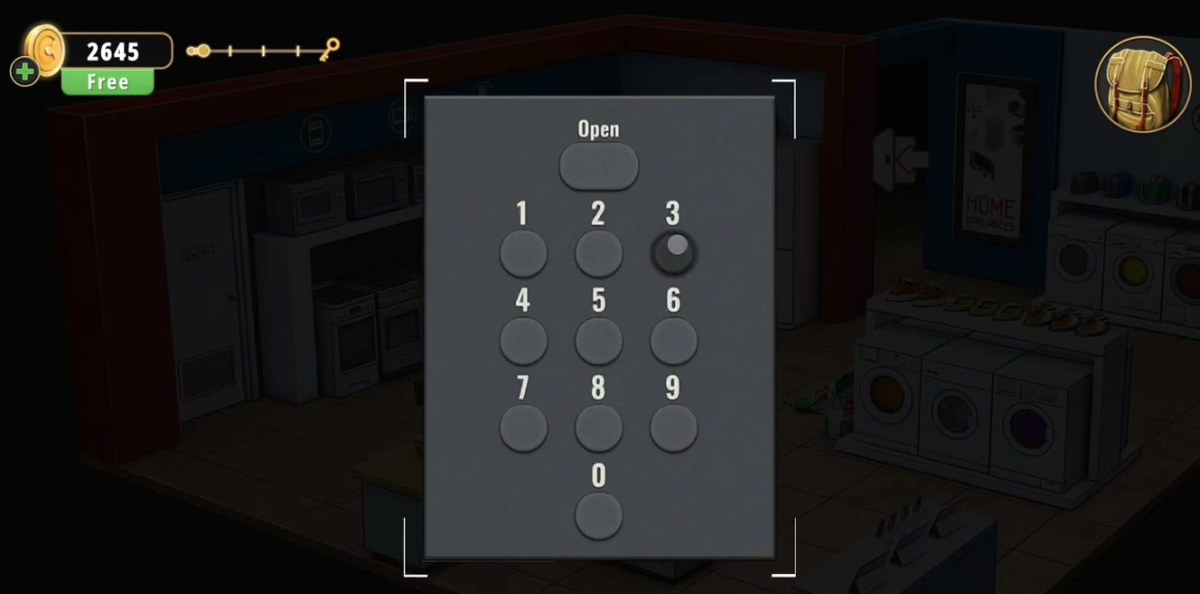
| Refrigerators | Back wall (five units) | The refrigeration corner carries the note with the circle puzzle, and an Open keypad stands in front of the fridges. Both are in the same corner of the room. |
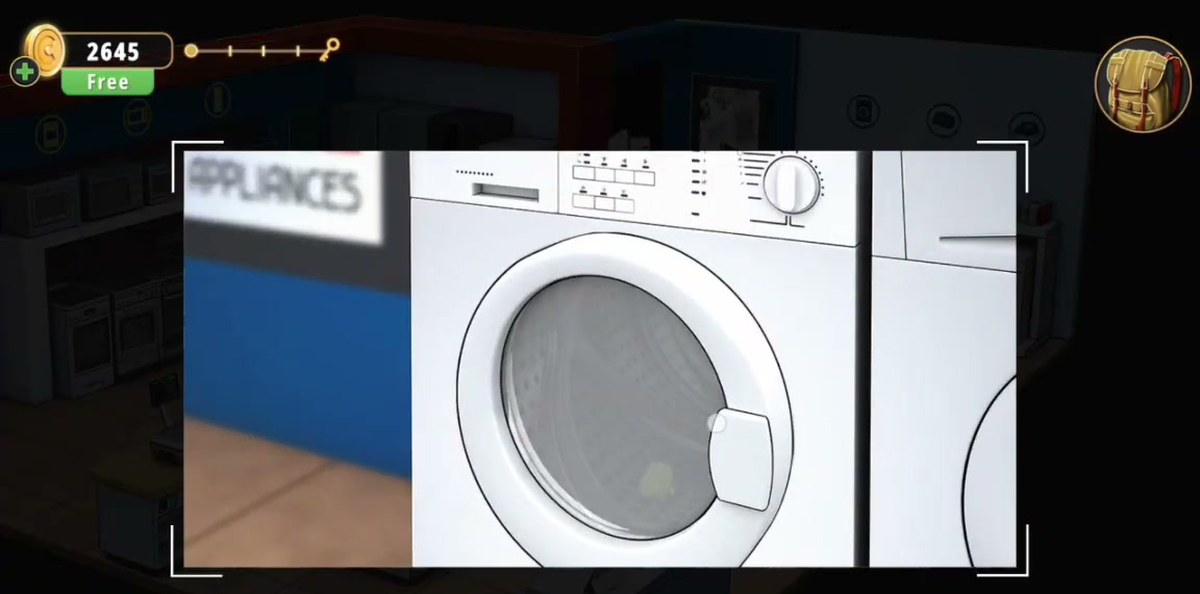
| Washing machines | Right wall (four) and a low island (three) | Standard front-loaders: detergent drawer, program buttons, cycle dial, round door. Doors open on bare steel drums. The island units are the ones with a different colour in the drum — orange, grey and purple — the only colour coding the laundry half gives you. |
| Toaster shelf | Above the laundry wall | A row of toasters in different colours. Decoration, as far as our footage shows. |
| Checkout counter | Foreground, L-shaped | Cash register with a screen, a printer and a small alarm clock. The counter front is set with a 2×2 grid of coloured icon tiles and a 3×3 symbol grid holding a circle, a cross, a square and a triangle. |
| Exit door | Far left wall | A white door with a red EXIT sign, a vent at the bottom and a plain knob. This is the finish line. |
| HOUSEHOLD ITEMS board | Right half, framed on the wall | A poster of pictograms — TV, speaker, computer, mixer, kettle — with the category name across the top. It is a sign, not a lock. |
| TV wall | Electronics corner, two shelves | One purple screen shows 1 2 8 6 with a symbol under each digit. This is the level's number. |
| Remote control | Beside the TV wall | A grid of pictograms instead of number keys. Matching them to the TV's symbols is the actual puzzle. |
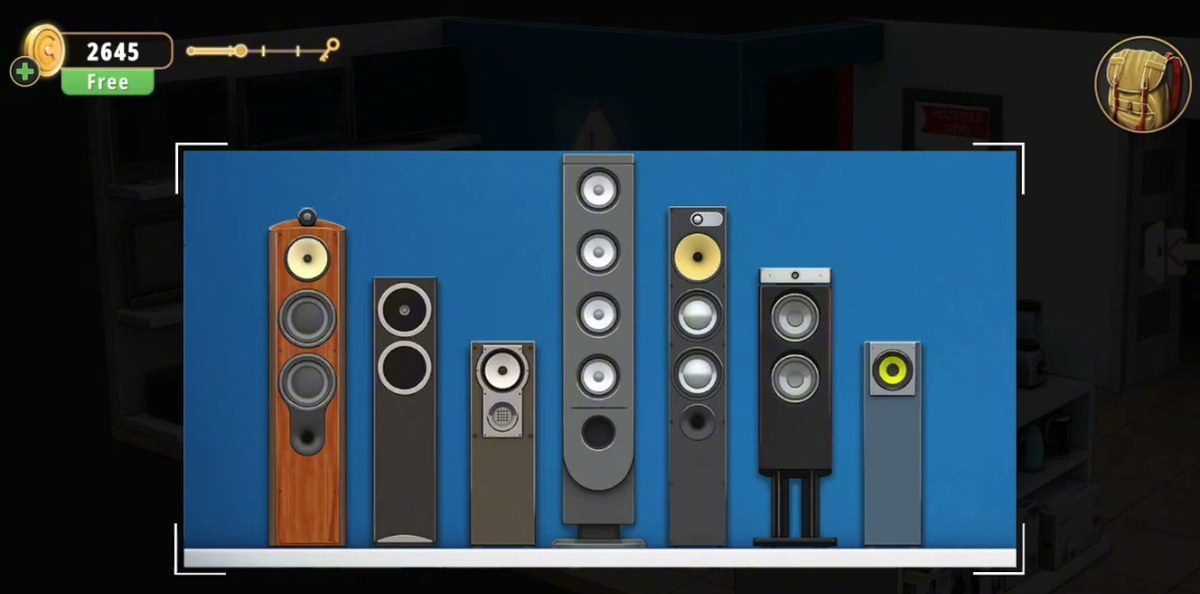
| Speaker display | Blue panel, electronics corner | Seven cabinets of different heights on one shelf. An ordering puzzle; nothing in our footage shows what it releases. |
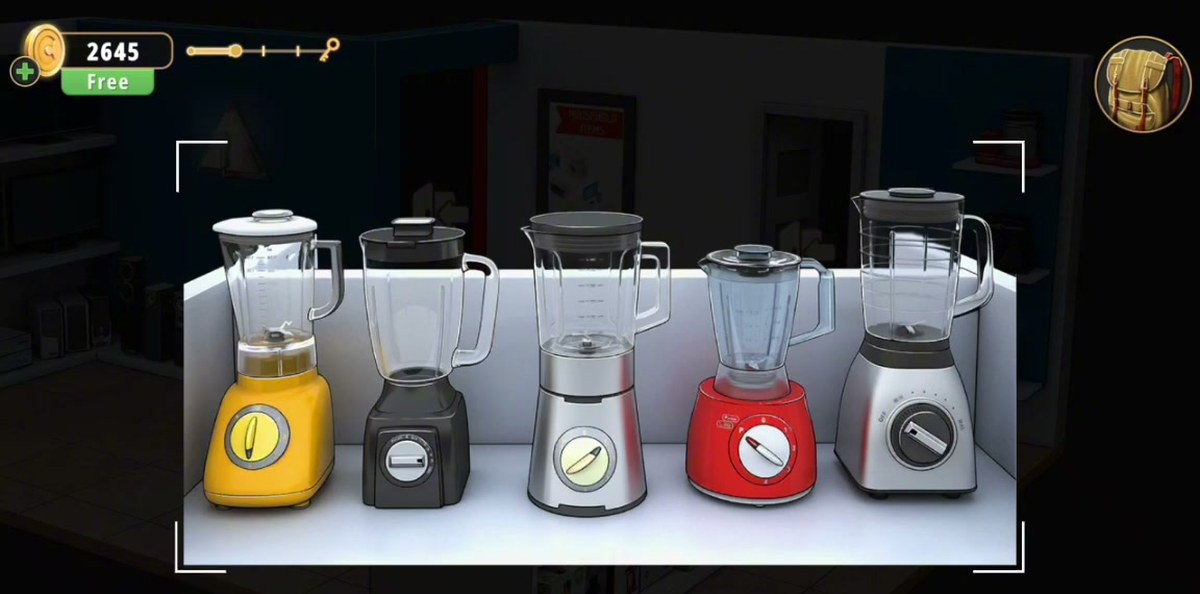
| Blender shelf | Centre display, right half | Five blenders, each with one large dial whose knob points to a different hour. A position puzzle. |
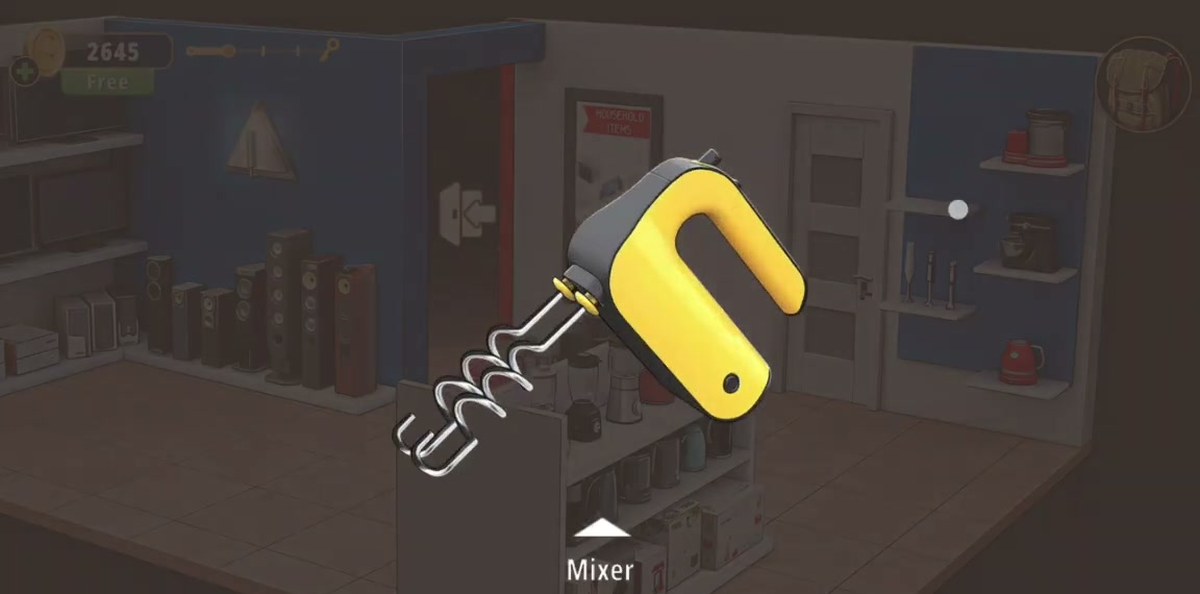
| Hand mixer | Floating pickup, shelf near the door | Labelled Mixer on pickup: yellow body, dark grey head, two chrome beaters. |
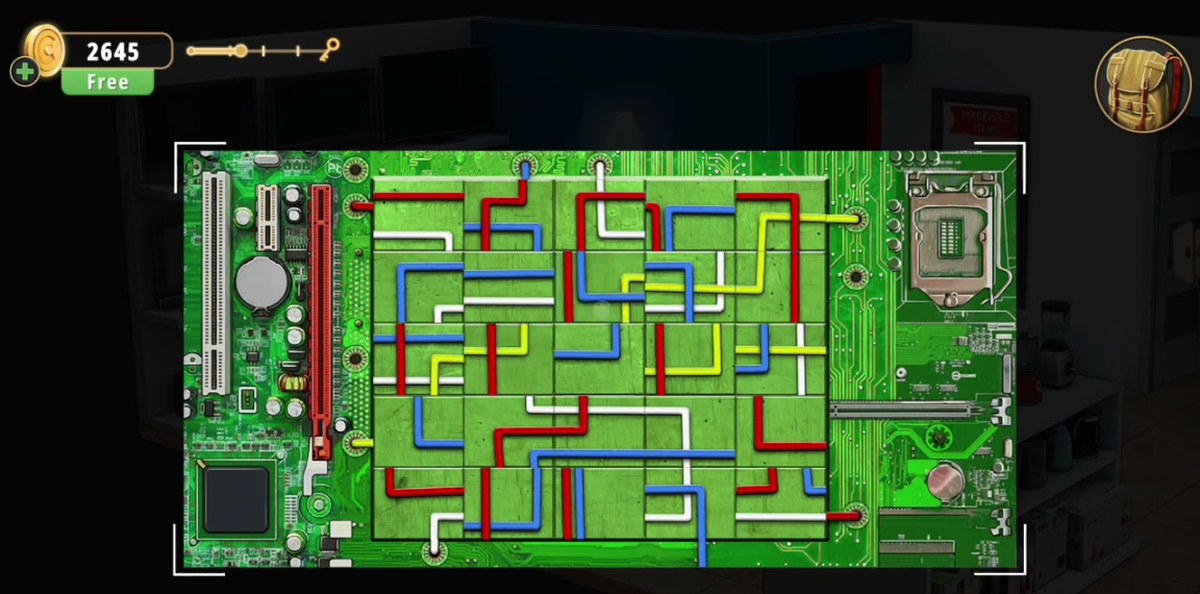
| Circuit board | Electronics corner, green panel | A PCB-shaped grid with coloured cable runs — red, blue, yellow, white — running from terminals around the edge. A route puzzle. |
| Ring maze | Staff room, close-up panel | Five concentric rings, blue walls, a white dot on the outermost ring and a bullseye in the middle. |
| Green lockers | Staff room, right wall | Seven doors, most with a key already in the lock. The tall unit carries a dark panel with a red cross and four buttons around it. |
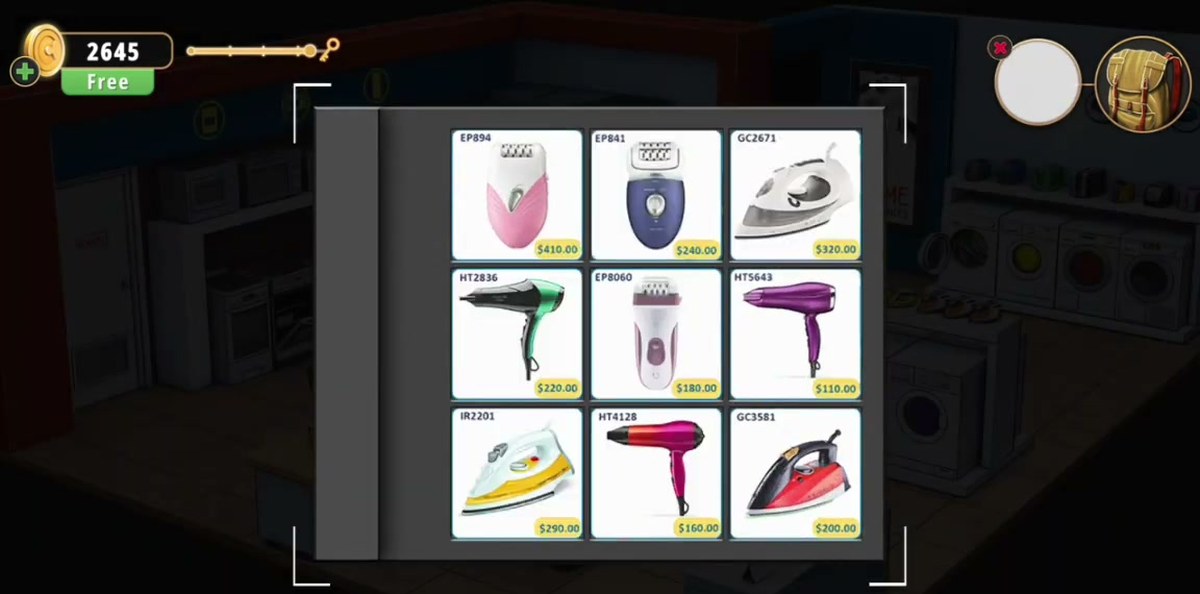
| Price catalogue | Wall-mounted, hangs over the laundry half | Nine small appliances in a 3×3 grid, each with a product code and a price. The most code-shaped object in the room, and not a lock. |
| Four-dial lock | Laundry half, pink pop-up panel | Four purple tumblers, a red closed and a green open padlock. Takes 1286 and opens a compartment holding the Key. |
Step by step.
The code chain, in order.
The showroom holds about a dozen locks and only three of them are in series. Written out, the chain is almost embarrassingly short:
- Television → digits. The purple screen gives you 1, 2, 8, 6 and four pictograms. Without the screen there is no number anywhere in the room.
- Remote → the same pictograms. The symbols under the digits reappear on the remote in the same corner, so the screen doubles as the remote's legend. This page does not spell out the press order — see the notes below for why.
- 1286 → Key. The pink four-tumbler lock accepts the number and opens a compartment with a silver key in it.
- Key → door. The white EXIT door on the far left wall is the finish line, and the key is the only thing that opens it.
Everything else is parallel. The hexagon rosette, the blenders, the speakers, the circuit board, the ring maze, the lockers and the catalogue are all real interactions and none of them is required. That is not a bug in the design so much as the shape of Chapter 2's late rooms: the game gives you a shop full of machinery and lets you decide which machines are load-bearing.
One consequence is worth stating plainly, because it is where most of the frustration in this level comes from. The number is on a screen in the electronics half, and the lock is in the laundry half. Players who work one half methodically and then the other will find one of the two and have no idea what it is for. If you have the number and cannot find a lock, walk back to the washing machines; if you have the lock and no number, walk into the TV corner.
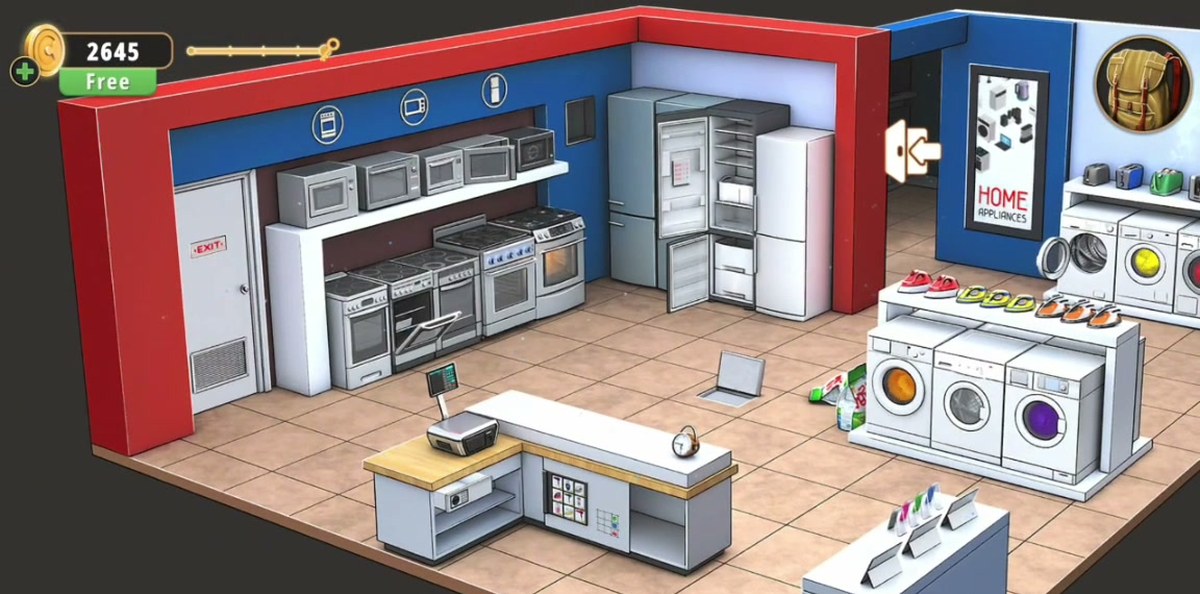
The door itself is deliberately plain: white, a red EXIT sign above the middle, a ventilation grille at the bottom, a round knob and no dial, no pane and no reader. That is the point. Every other lock in the showroom is dressed up as something, and the one that ends the level is a door with a keyhole in a wall you have been walking past since the first second.
Why the note counts circles.
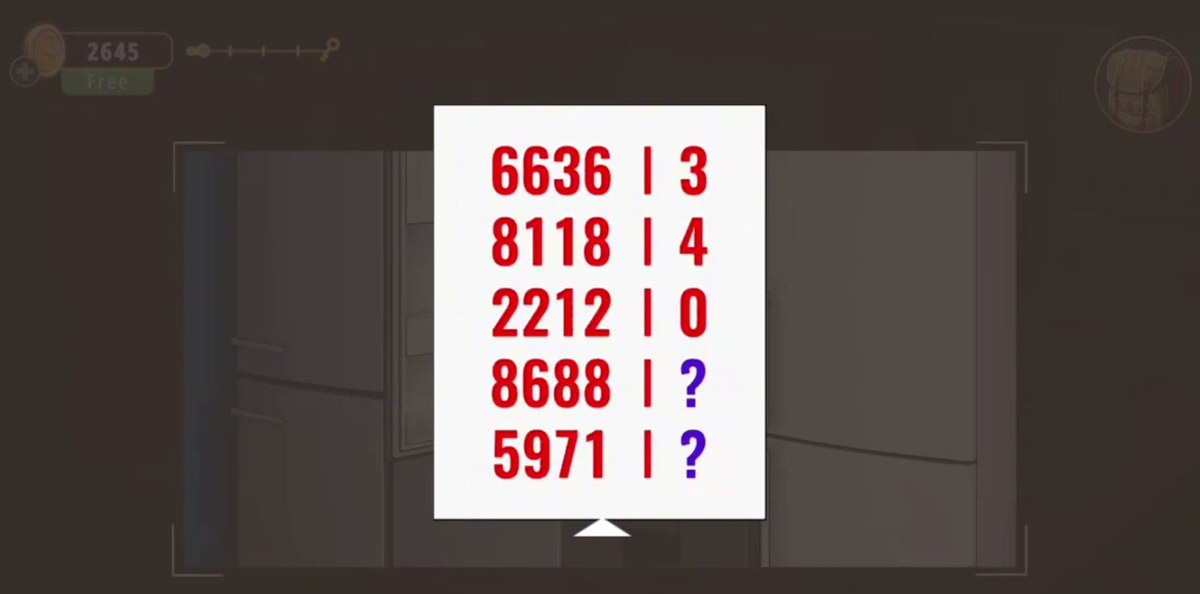
The paper with 6636, 8118 and 2212 is the level's one genuine logic puzzle, and it is worth understanding rather than copying, because the same rule shows up in other Rooms & Exits rooms. The right-hand column is not a sum, a difference or a digit count. It is the number of closed regions the left-hand digits enclose when you draw them the way the game's font draws them.
- 6 has one closed loop; 8 has two; 9 has one; 0 has one. 1, 2, 3, 4, 5, 7 have none.
- 6636 → 6 (one) + 6 (one) + 3 (none) + 6 (one) = 3. The note agrees.
- 8118 → 8 (two) + 1 (none) + 1 (none) + 8 (two) = 4. The note agrees.
- 2212 → four digits with no loops = 0. The note agrees.
- 8688 → 8 (two) + 6 (one) + 8 (two) + 8 (two) = 7.
- 5971 → 9 (one) = 1.
So the two question marks are 7 and 1. What the note does with them is the part this page will not invent: we never see 7 or 1 typed into a two-digit lock, and no keypad in the level has a two-character display. Treat the note as a worked example of a rule the room uses elsewhere — the hexagon rosette and the counter panels are both pattern-copying tasks in the same spirit — rather than as a password.
Where people get stuck.
- Treating the price catalogue as a code. Nine product codes and nine prices in a neat grid is exactly what a puzzle clue looks like, and it is the single biggest time sink in the room. No keypad in Household Appliances accepts a product code, and the four-dial lock takes digits 1-2-8-6, not a price.
- Hunting the number in the laundry half. The lock lives with the washing machines; the number lives with the televisions. If you have been turning tumblers for ten minutes without a number, you are in the wrong half of the shop.
- Reading the TV as the whole answer. 1286 is printed, so it feels like the puzzle is already solved — and for the four-dial lock it is. What the screen does not do is tell you which symbol maps to which button on the remote, and our footage could not settle that mapping either. If a press order is what the game is asking for, the digits alone will not get you through it.
- Opening the staff-room door late. The second room is dark on the first visit and contains four or five locks of its own. It is optional. If you are on the critical path, leave it alone until the level is finished.
- Expecting the mixer to matter. It is a labelled pickup with two beaters and no socket. One recording's caption suggests a clock-face use; our completing run never touches it.
- Trying to type into the microwave. The microwave control panels have a display, a dial and a column of buttons, and they never light up in any run we captured. They are the room's best decoy.
- Forgetting the key before the door. The EXIT door does not need to be examined, unlocked or tapped twice: select the key in the inventory, press Use, then tap the door. Tapping the door with the key still in the bag does nothing at all.
What this page could not verify.
This room is large, the camera moves constantly, and half its locks are pattern-copying tasks whose target is only on screen for a second. Everything below is something we could not read twice, listed rather than guessed. None of it is printed elsewhere on this page as a fact.
- The remote's exact button layout. We read the four pictograms under the digits on the television, and a remote covered in pictograms sits in the same corner, but no frame holds the remote and the screen together at a readable size, and one recording's caption speaks of two component symbols rather than four. The digits 1286 are solid; the press order on the remote is not something this page can spell out.
- The code that opens the "Open" keypad. We can see the keypad, its telephone layout and a single entered dot, but no run holds the accepted code on screen. No number is printed for it here.
- What the fridge keypad unlocks. It sits in the refrigeration corner beside the circle note, and the fridges open in our footage — but we never catch the moment the keypad accepts a code, so the link between the two is inference, not evidence.
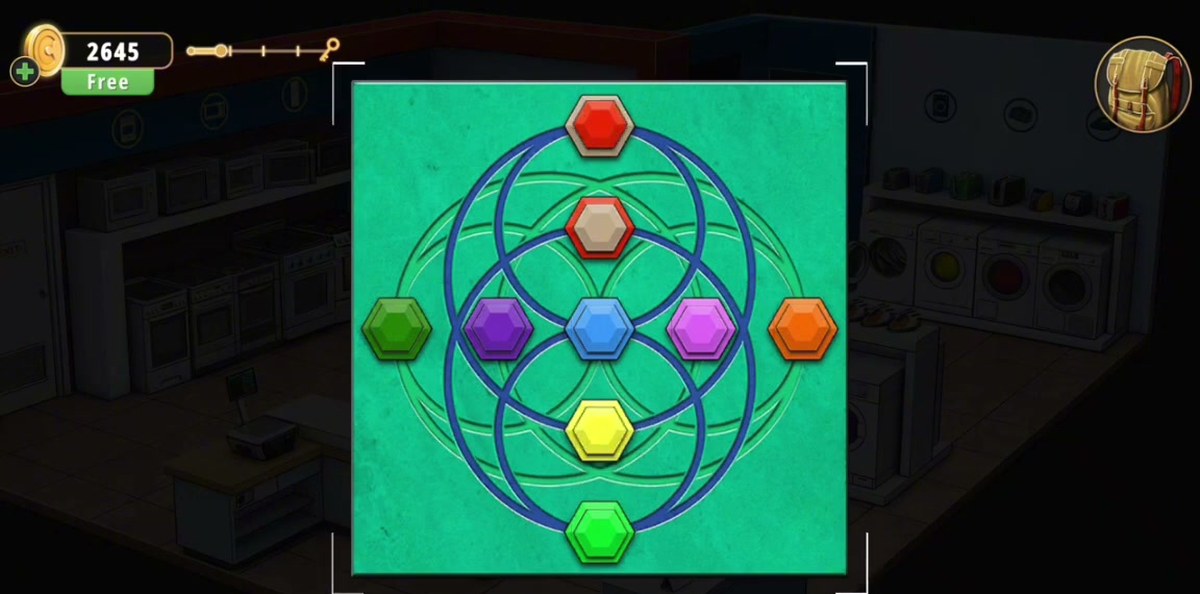
- The hexagon rosette's solved arrangement. The board is on screen for several seconds in two recordings, but never in a finished state — we can see that tiles are coloured and selectable, not which colour belongs where. The coloured drum linings on the island display are the only other colour code in the room, and no frame ties the two together.
- The blender knob sequence as a solution. The positions are readable (roughly one o'clock, nine, one, one, nine), but no run shows the panel accepting them, so we print the observation, not a solve order.
- What the speaker display, the circuit board and the ring maze release. All three are real puzzles with real interactions, and none of our recordings shows an item, a counter or an opened compartment at the end of them. They may feed locks we never saw solved; they may be optional.
- The four-button panel on the tall locker. A red cross with a button on each side is a distinctive lock and we can describe it precisely, but no accepted press order is legible in our footage.
- The last product code in the catalogue. Two captures of the same sheet disagree by one digit — HTS643 in one, HT5643 in the other. The price, $110.00, agrees. Given that nothing in the level consumes product codes, we have left the ambiguity visible rather than pick a reading.
- The efficiency score. The bar has ten squares and it fills as the panel animates in, so different frames show different numbers lit — seven, eight and all ten all appear across our captures. The reward (+50) and the time (21:34) are steady; the bar is not, so no efficiency grade is quoted.
- Whether the beaters open anything. One recording's caption reads set beaters like this to open the door over a bronze clock face with numbers 1 to 12 and two spring hands at roughly 9 and 6. We could not reproduce that mechanism in our own runs, and the run that completes does it with the key from the 1286 compartment. Do not treat the beaters as the exit condition on the strength of one caption.
- The exact in-game timestamps of the two compressed recordings. Their clocks run faster than real time, so the 14:39 and 21:34 readings are the game's own timer, not wall-clock minutes. The step timestamps above all point at the 9:10 video for that reason.
Chapter 2 levels.
Chapter 2 runs twenty-six rooms through the mall; the list below reflects what is written up so far.
- 1 Cell Phone Store guide
- 2 Cinemas guide
- 3 Pharmacy guide
- 4 Optical Store guide
- 5 Gym guide
- 6 Candy Shop guide
- 7 Food Court guide
- 8 Pet Shop guide
- 9 Indoor Playground guide
- 10 Restaurant guide
- 11 DIY Shop guide
- 12 Jewelry Store guide
- 13 Grocery Store guide
- 14 Exchange Office guide
- 15 Fashion Store guide
- 16 Art Supplies Store guide
- 17 Shoe Store guide
- 18 Sports Store guide
- 19 Bookstore guide
- 20 Furniture Store guide
- 21 Household Appliances you are here
- 22 Print Shop guide
- 23 Bakery guide
- 24 Toy Store guide
- 25 Restroom guide
- 26 Parking guide
FAQ.
What is the exit code in Rooms & Exits Chapter 2 Level 21?
1286. It is shown on one of the televisions in the electronics corner of the showroom: four large digits in a row, each with a small symbol underneath. The digits are printed on the screen; the symbols tie them to the pictogram buttons of the remote that sits in the same corner. All three recordings we broke down show the same four digits, and the pink four-dial lock accepts them.
Where exactly does 1286 come from?
The television, not the remote. A purple screen in the TV wall shows 1 2 8 6, with a different small pictogram under each digit. The remote in the same corner carries those pictograms instead of numbers, which is how the level ties the screen to its buttons. What this page can vouch for is the digits themselves: all three recordings agree on 1-2-8-6, and the pink four-dial lock accepts them.
What does the four-dial lock open?
A small compartment, not the door. The lock is a pink panel with four purple tumblers and two padlock icons — red closed, green open. Turn the tumblers to 1 2 8 6 and the padlock flips to green; the panel then opens on a pink-lined box with a single silver Key inside. Take the key and the box is empty.
What do I do with the key?
Use it on the exit. Open the inventory, select Key, press Use, then tap the white door with the red EXIT sign on the far left wall of the showroom. That is the last action of the level; the camera pulls back and the results panel appears.
What is the coin reward for Household Appliances?
+50 coins. The results panel reads Reward! +50 next to a pile of gold coins, with an efficiency bar of ten squares and a completion time. On the longest of our three recordings the clock reads 21:34, and the reward is the same +50 the level card advertises before you start.
What does the note with 6636, 8118 and 2212 mean?
Count the closed loops in each group of digits. 6636 has three loops (each 6 is one), so it reads 3. 8118 has four (each 8 is two), so it reads 4. 2212 has none, so it reads 0. That gives 8688 = 7 (2+1+2+2) and 5971 = 1 (the 9 is the only loop). The note never asks you to type the answers anywhere we could find — it is a clue, not a keypad.
How long does the Household Appliances level take?
The slowest of our three recordings finished in 21:34 of in-game time; a tighter run cleared the same room in about nine minutes of real time. Nothing in the level is timed and there is no fail state, so the only thing that stretches it is the number of separate locks standing between you and the door — this is one of the densest rooms in Chapter 2.
Do I need the mixer and its beaters?
Not in any run we captured. The yellow-and-grey hand Mixer is a real pickup with a real label and two chrome beaters, and one recording's caption ties the beaters to a clock-face mechanism on a door. Our own completing run never uses them: it takes the key out of the 1286 compartment and finishes. Treat the mixer as optional unless your build shows you a socket for it.
Previous written guide: ← Chapter 2, Level 20 — Furniture Store