Unofficial fan-made guide. Not affiliated with Webelinx Games, the developer of Rooms & Exits: Escape Room Games.
Rebuilt frame by frame from a recorded playthrough of the current build (MiniBoss, July 2025). Codes on this page were re-read from the footage; where a digit could not be read cleanly, the page says so instead of guessing.
Chapter 1 · Wicked Games11 of 11 with full written steps · 11 with a video
Quick answer
One line: card posters → 7♥ 2♦ 7♣ → dartboard cabinet → 4×4 symbol panel → Recipe → terrace slider → white Bottle → keypad cabinet → yellow Bottle → bar mixer → four Tiles → wall stack 3-5-7-2-1 → phone 35721 → hexagon path → graduation photo → exit.
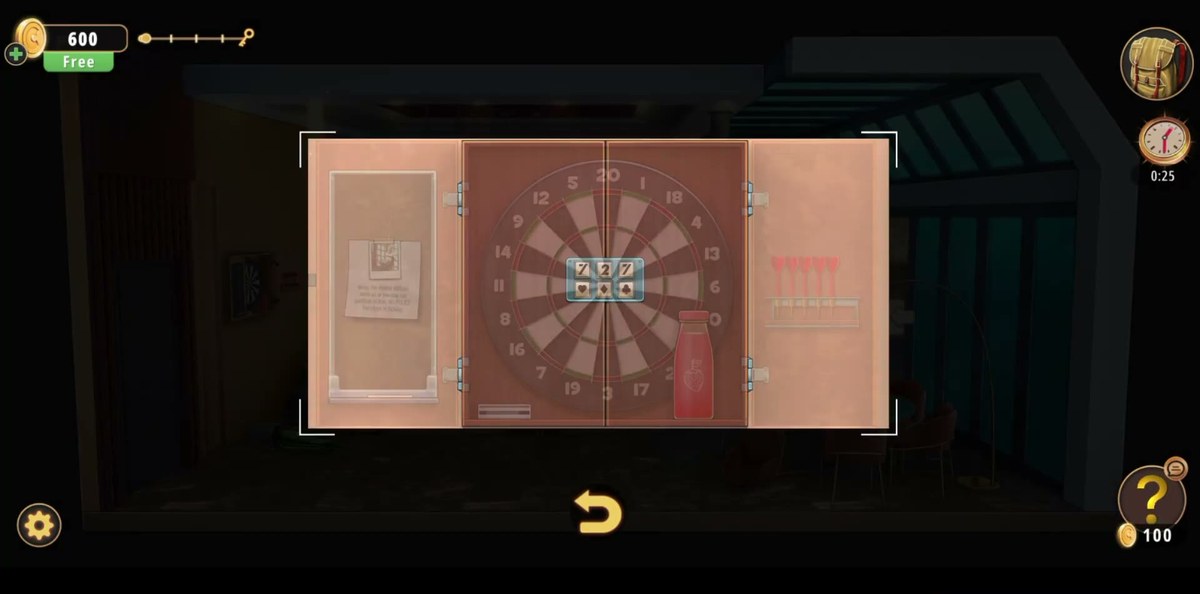
Set the three-dial cabinet lock to 7 / 2 / 7 with heart, diamond, club under the digits.
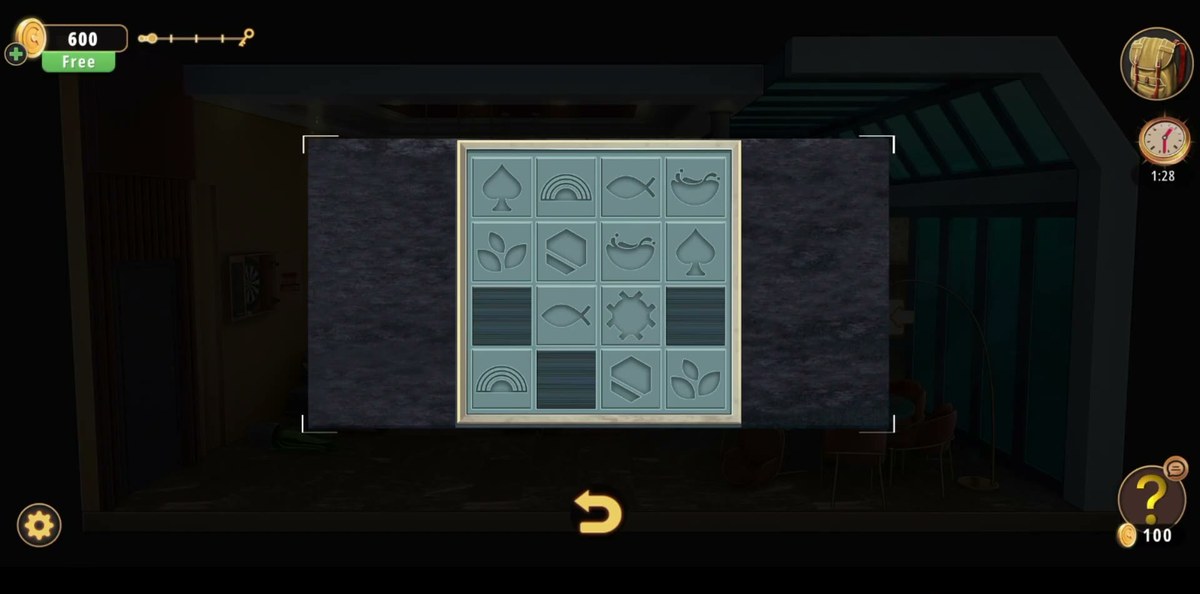
Fill the 4×4 symbol panel on the wall; it slides aside and shows the Recipe board.
Solve the sliding-block box on the terrace for the white Bottle, and the keypad cabinet for the yellow one.
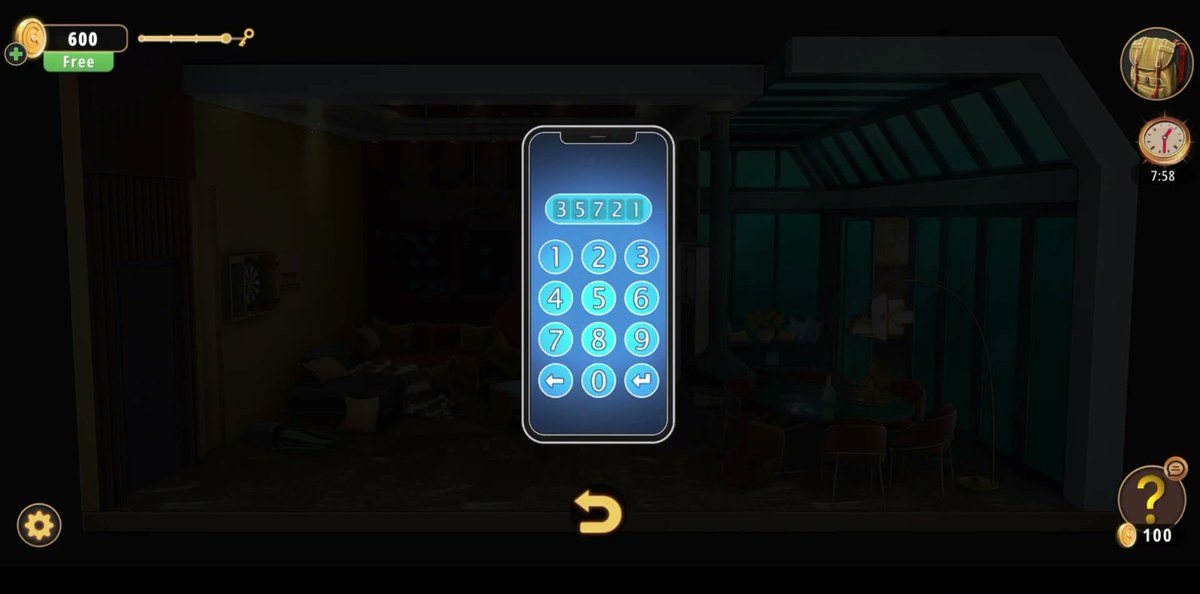
Mix both bottles at the bar, take the four Tiles, read 3-5-7-2-1 off the wall stack and type it into the phone.
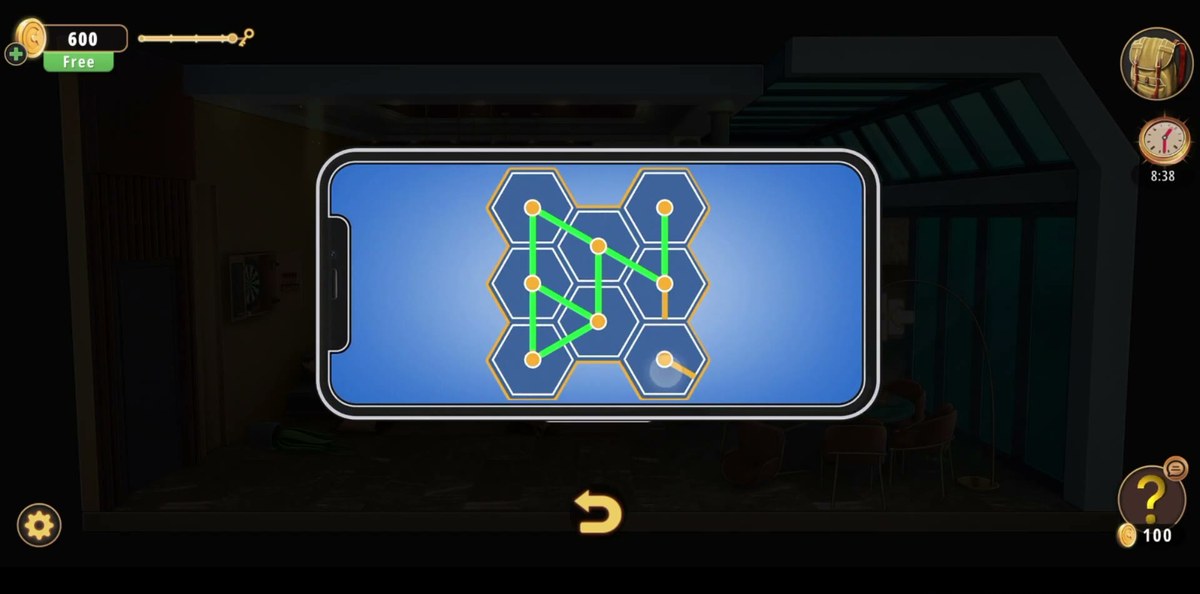
Finish the hexagon path on the phone and the room unlocks.
What this room is.
Level 3 is the first room in Chapter 1 that runs two item chains at once. Level 2 gave you one line of objects from the bookshelf to the exit door. William's apartment splits: the left side of the flat feeds the dartboard cabinet and the symbol panel, the terrace feeds the sliding box, and both chains meet again at the bar. If you have been working one surface at a time and getting nowhere, that is the reason. This room wants you to carry an unfinished item across the flat.
It also introduces the game's card-suit vocabulary. The lock on the cabinet is the first one in the game where you match a suit as well as a digit, and nothing in the room tells you the posters and the dials belong together except that both use the same pip shapes.
Step by step.
Step 1 · 0:15Arrival and the room read
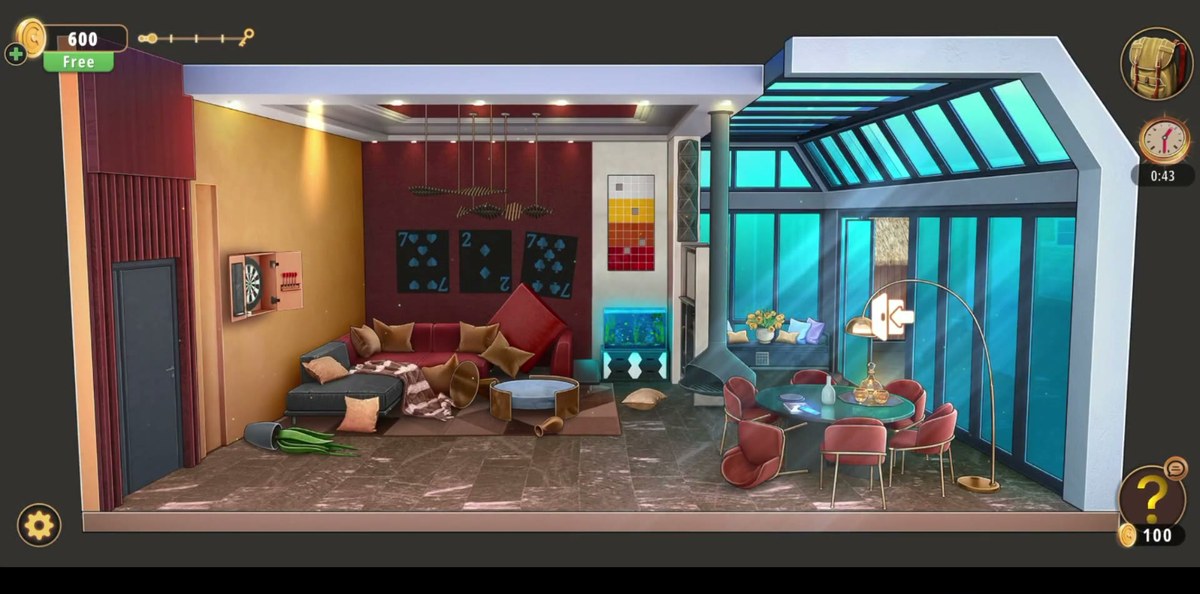
The intro cutscene drops the crew outside a door signed ESCAPE ROOM; tap Skip or let it run. The apartment loads in with the level title card, then Fiona says "Guys... His apartment is trashed!". Tap to continue. Nothing here is interactive yet, but the first screen is worth ten seconds: the dartboard cabinet is the big wooden box on the mustard wall, and the three oversized playing cards are on the maroon wall to its right. Those are the only two things in the room that look deliberately arranged.
Step 2 · 0:23Read the three playing-card posters
Zoom the posters on the maroon wall. They are not decoration and they are not a hint: each one is a playing card, arranged left to right as 7 of hearts, 2 of diamonds, 7 of clubs. That order is the answer to the cabinet lock, including which suit sits under which digit.
Step 3 · 0:43Open the dartboard cabinet: 7-2-7 plus suits
The cabinet lock is three dials, and each dial is a digit stacked over a card-suit symbol: so you are setting six things, not three. Set the digits 7, 2, 7 and the suits heart, diamond, club in the same order as the posters. The door swings open. There is no keypad here: it is a pure dial match, and the game accepts it the moment the sixth symbol lines up.
Step 4 · 0:46Inside the cabinet: darts, a rack and a note
The open cabinet holds a dartboard with three darts already stuck in it, a dart rack on the right-hand door and a pinned note on the left-hand door. The note is story, not a puzzle. It is a ransom demand about a man and a clock, and it does not give you a code. Do not spend time trying to turn it into numbers; the room never asks for one from this note.
Step 5 · 0:56Fill the 4×4 symbol panel
The square panel on the wall beside the cabinet opens into a 4×4 grid. Tap the tiles until the grid carries the panel's own carved symbols rather than blanks. The game prints no key, so this one is solved by cycling each tile until it stops changing. When the last cell locks in, the panel slides aside.
Step 6 · 1:35Take the Recipe board
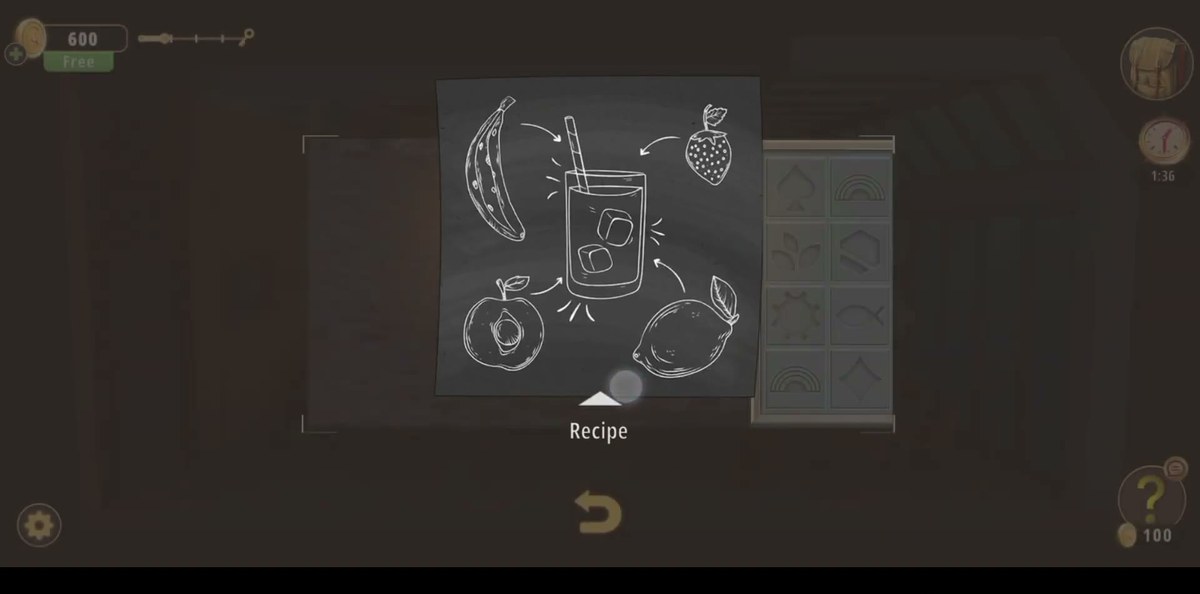
Behind the panel is a chalkboard labelled Recipe: banana, strawberry, apple and lemon going into a glass with a straw. This is the target for the drink you mix later, and it is the only place the four fruits are named. Keep it in mind. You need the set, not the order, when you reach the bar.
Step 7 · 1:45Terrace: the sliding-block box
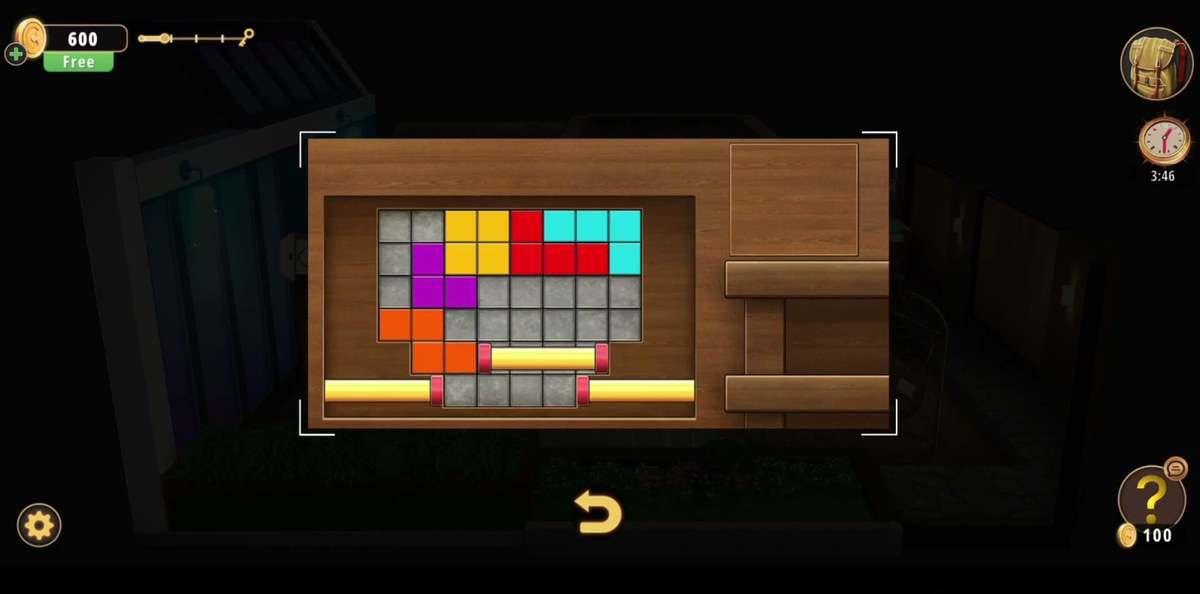
Out on the terrace, the wooden box is a Rush Hour puzzle. Coloured blocks that slide along fixed lanes, with a steel ball that has to reach the slot in the bottom bar. Work the blocks one lane at a time and keep the bottom row clear; the ball only rolls once the column under the slot is unobstructed. The box opens at 2:17 and hands you a Bottle (white, no fruit label).
Step 8 · 2:30The keypad cabinet and its second bottle
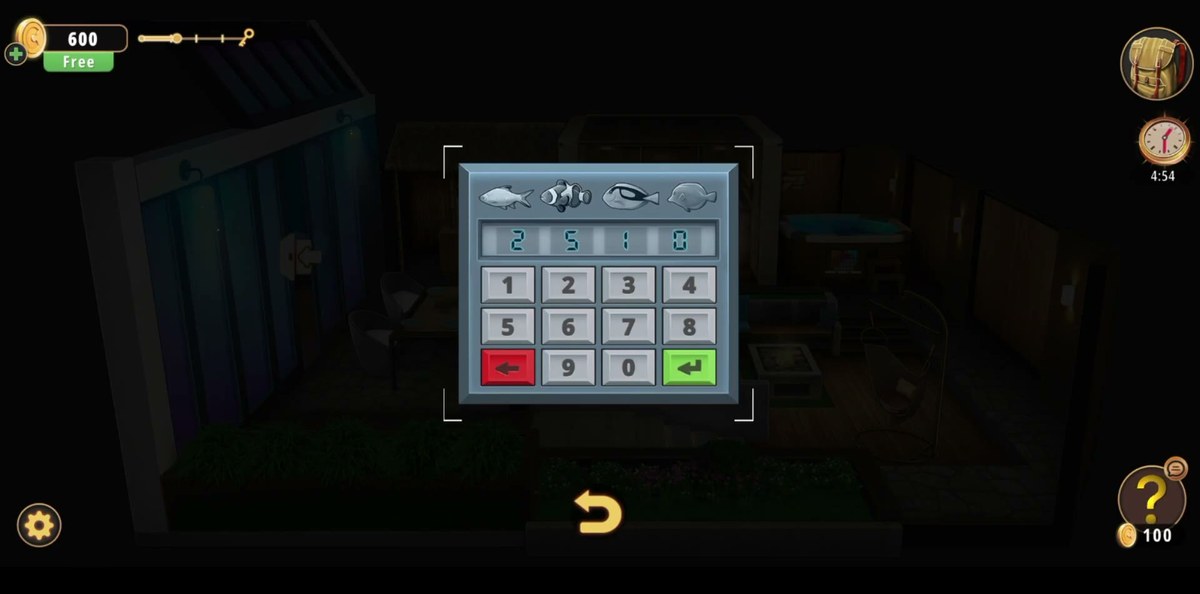
The wooden cabinet in the flat has a four-digit keypad with four small icon slots above the display. The code is 2519: 2, 5, 1, then 9, not 0. That last digit is where people stall: 2510 looks right on the display and the door does not move, because the fourth slot only accepts the 9. Press the green arrow and the door slides open, dropping a yellow citrus Bottle at 2:43.
Step 9 · 3:25Bar shelf: mix the drink
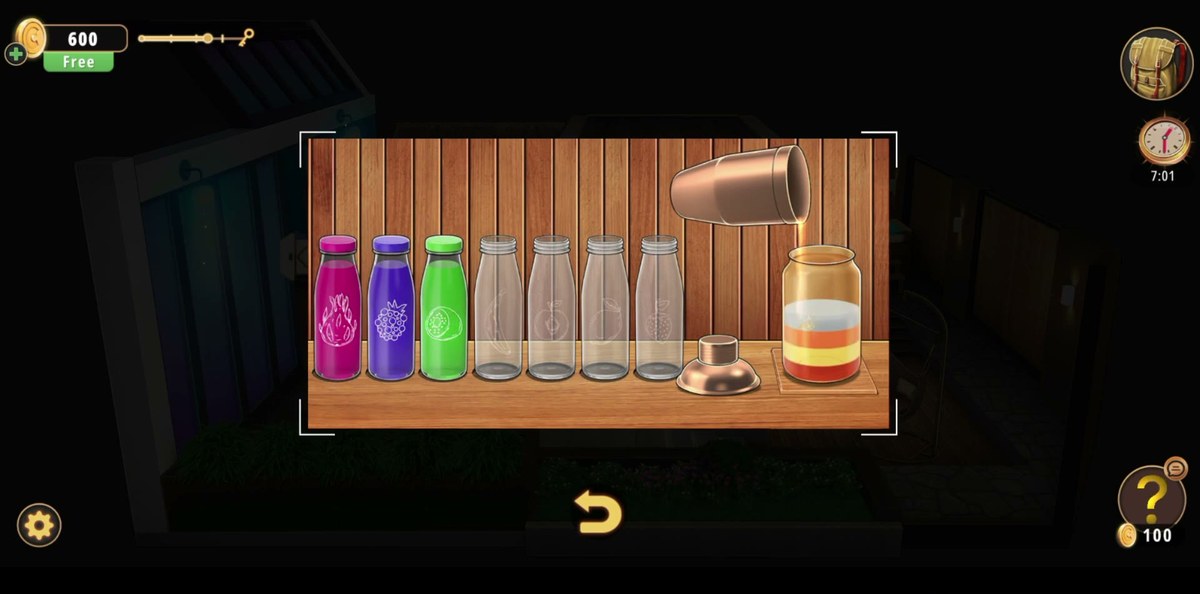
Behind the bar, load both bottles into the metal shaker and pour the mix into the big glass jug. The Recipe board from step 6 is the target. Four fruits, one drink. The pour animation runs on its own; you only choose what goes in. When the drink is finished it drops four coloured Tiles into your inventory at 3:34, and those tiles are the last item the room hands you.
Step 10 · 3:48Read the coloured stack: 3-5-7-2-1
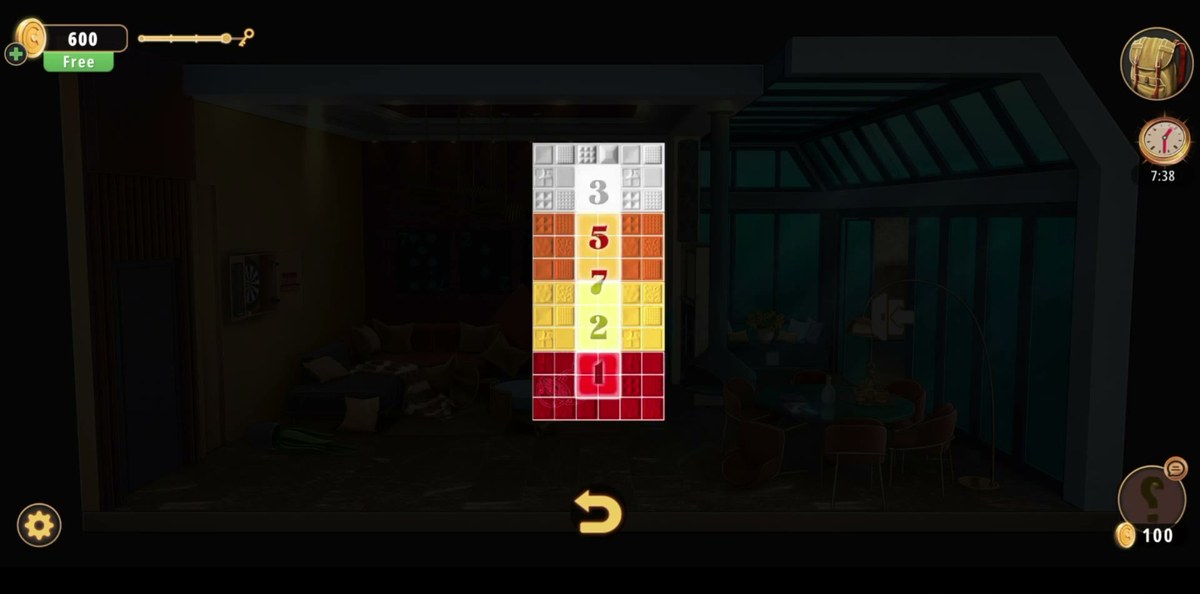
The vertical stack of coloured blocks on the wall is the phone's passcode, and it reads top to bottom: 3, 5, 7, 2, 1. Five blocks, five digits, no arithmetic. Note that it is not sorted and not a clean sequence. 3-5-7 looks like a pattern and the 2-1 at the bottom breaks it, which is exactly why players second-guess this one.
Step 11 · 4:08Phone: 35721, then the hexagon path
Pick the smartphone up off the dining table and key in 35721, then tap the arrow. The phone unlocks into a hexagon path puzzle: drag one continuous line that visits every node and ends on the marked one. It is a single-stroke puzzle, so the failure state is obvious. A node you cannot reach means you took a wrong branch earlier, and you restart rather than hunting for a missing tap.
Step 12 · 4:22Hexagon path to the graduation photo
Completing the path opens a graduation photo on the phone, and Fiona says "I bet our high school is our next destination!". The game pointing straight at Level 4. Tap the padlock popup afterwards to finish the room.
Step 13 · 4:54Level complete
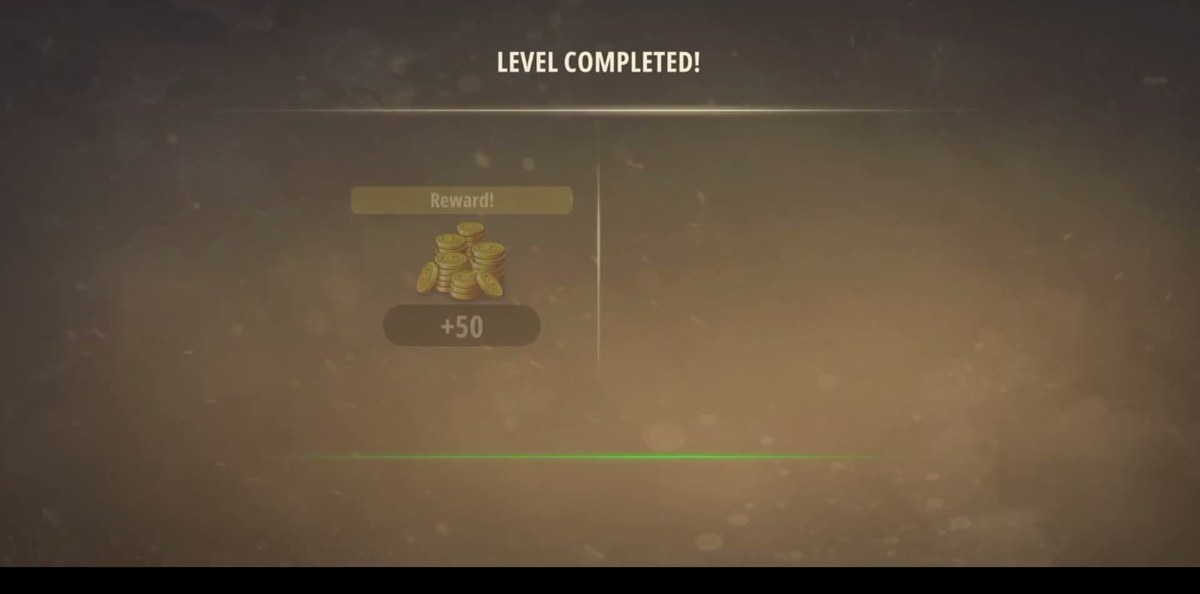
The comparison screen comes up with +50 coins, an efficiency bar and your time. Chapter 1 Level 4 is next, and the photo on the phone has already told you where it is set.
Nothing directly. They are the visual key to the wall stack
Every code in the room.
Lock
Code
Source
Dartboard cabinet (3 dials)
7 ♥ · 2 ♦ · 7 ♣
Three playing-card posters on the maroon wall
Wall colour stack
3-5-7-2-1 top to bottom
The stack itself
Smartphone
35721
The same stack, entered as five digits
Wooden cabinet keypad
2519
The four icon slots above the display
The fourth digit is the trap. The display fills 2-5-1 and the natural guess is 0, so most players type 2510 and stand there while nothing happens. The slots want 9. If the door has not moved for you, you are almost certainly on this lock, not on a missing item.
What makes this room harder than Level 2.
Three things, and they are worth knowing before you start rather than after you get stuck:
Two chains, one flat. The white bottle lives on the terrace and the yellow bottle lives in the cabinet, and neither does anything until both are in the shaker behind the bar. Work only one area and this room feels like it has run out of things to click.
Six-symbol locks. The first lock is a digit and a suit per dial. Players who set 7-2-7 and stop are half-right, and the door does not move. That is the most common dead stop in Chapter 1.
A note that is not a clue. The ransom note inside the cabinet reads like it should give you a code. It does not. The room's numbers come from the posters, the stack and the phone; nothing comes from the note.
Chapter 1 levels.
Chapter 1 · Wicked Games11 of 11 with full written steps · 11 with a video
Three dials, each a digit above a card suit. The posters on the maroon wall give 7 of hearts, 2 of diamonds, 7 of clubs left to right. Set 7-2-7 with heart, diamond, club underneath.
What is the phone code?
35721. The coloured block stack on the wall reads 3, 5, 7, 2, 1 top to bottom; enter it on the smartphone on the dining table.
What is the keypad code on the wooden cabinet?
2519. The four slots above the display take 2, 5, 1 and 9. Typing 2510 is the usual wrong turn. The door stays shut until the last digit is 9.
Where do the two bottles come from?
The white one from the sliding-block box on the terrace after the steel ball drops, the yellow citrus one from the keypad cabinet in the flat. Both go into the metal shaker behind the bar.
Does this match the current build?
Yes. The order and the codes were rebuilt from recorded footage of the current build rather than copied from another guide, and the one digit we could not read cleanly is marked as unconfirmed on this page instead of filled in.
 GridPaw
 Shikaku
 Akari
 Kakuro
 Nonogram
 Nurikabe
 Pictomino
 KenKen
 Binary
 Star Battle
 Hashi
 Slitherlink
 Murder Sudoku
 Meowdoku
 Crazy Cleanup