 GridPaw
 Shikaku
 Akari
 Kakuro
 Nonogram
 Nurikabe
 Pictomino
 KenKen
 Binary
 Star Battle
 Hashi
 Slitherlink
 Murder Sudoku
 Meowdoku
 Crazy Cleanup
Rooms & Exits Chapter 2 Level 20 Walkthrough: Furniture Store
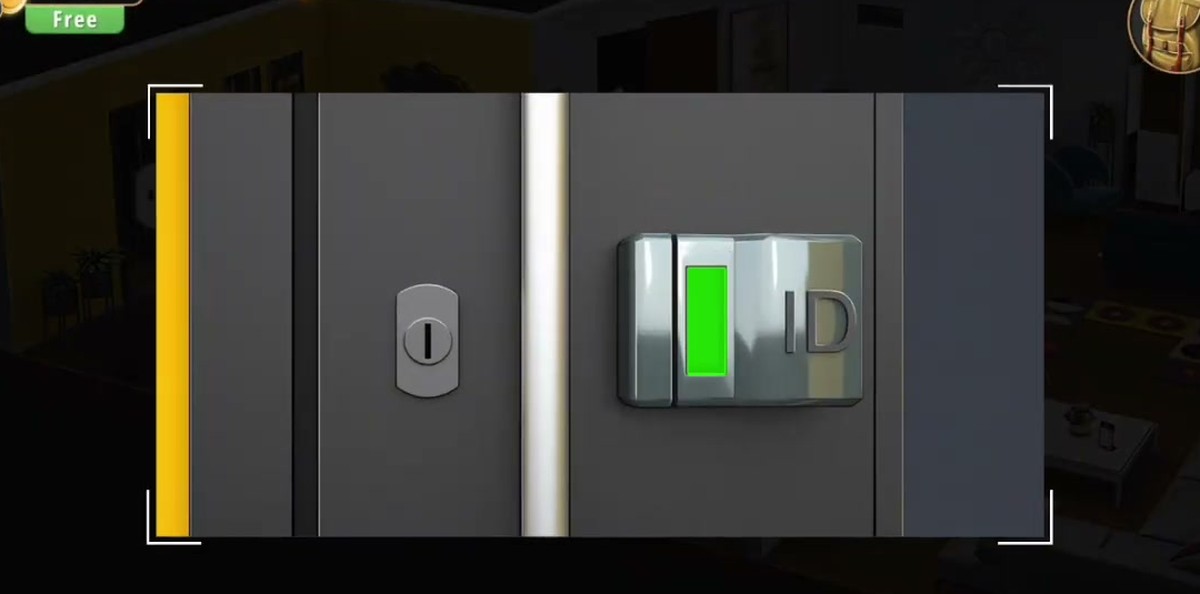
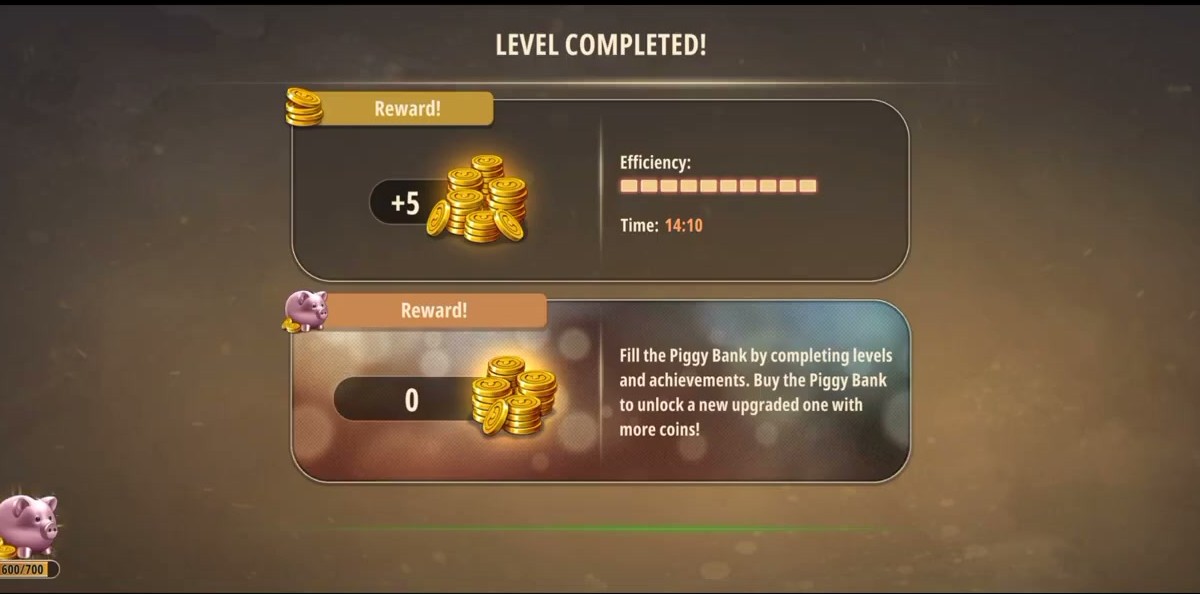
The exit is a card reader, not a keypad: put the ID card into the reader on the right leaf of the grey door and the light goes red → green, then the door opens. Three numbers carry the rest of the level — 693 opens the yellow safe, 12:08 opens the oven, and 02851 is the till code you read out of the mirror (the paper says 12850; the reflection says 02851). Finish worth +5 coins on the completion panel we captured, with 14:10 on the level clock.
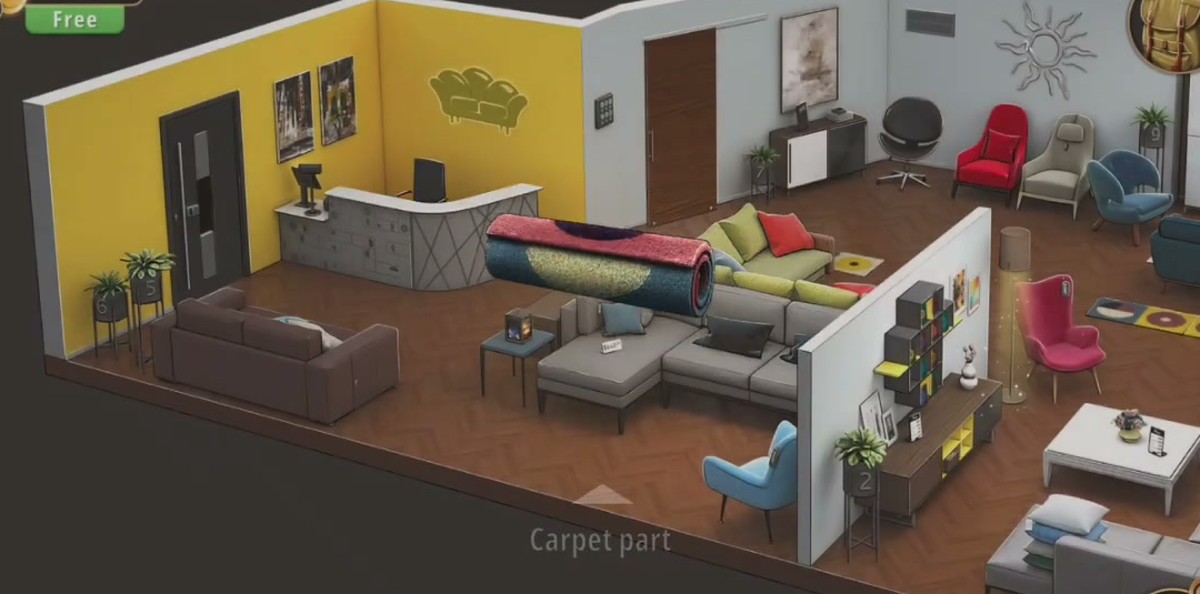
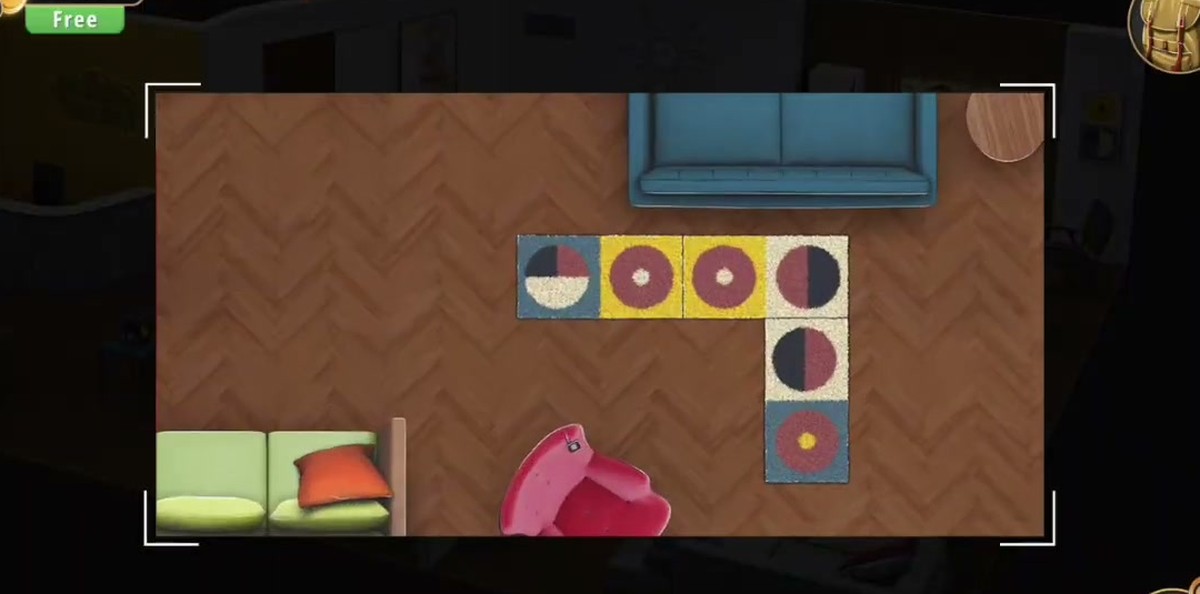
- Pick up the four Carpet parts and lay the round rug in the living-room display.
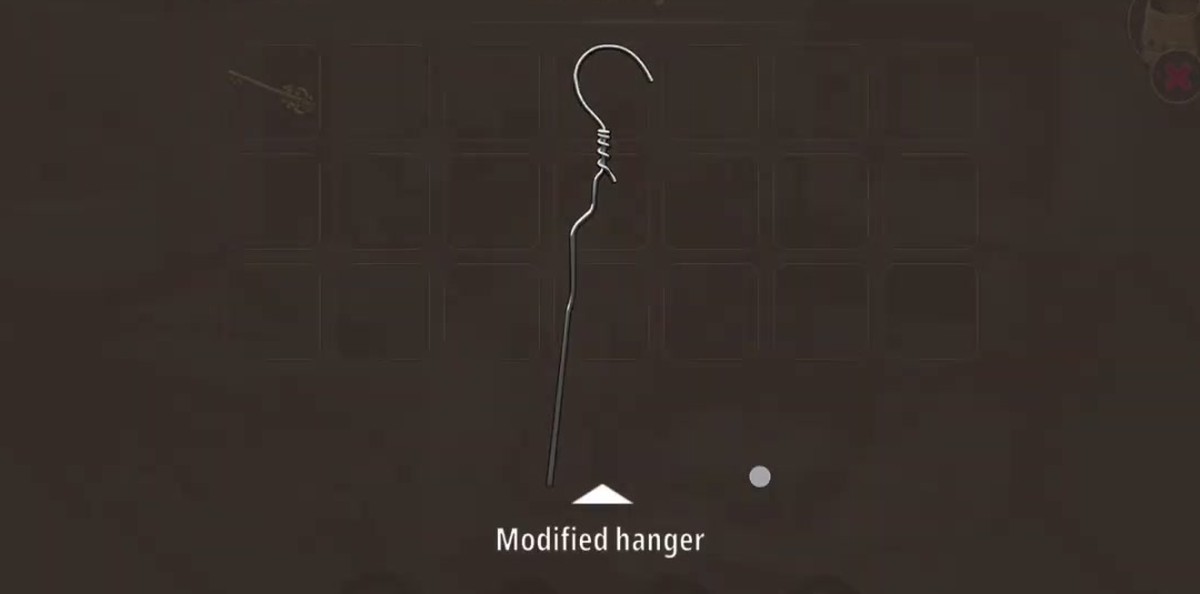
- Pliers on the Hanger makes the Modified hanger; the Screwdriver and the loose Screws are the second tool pair.
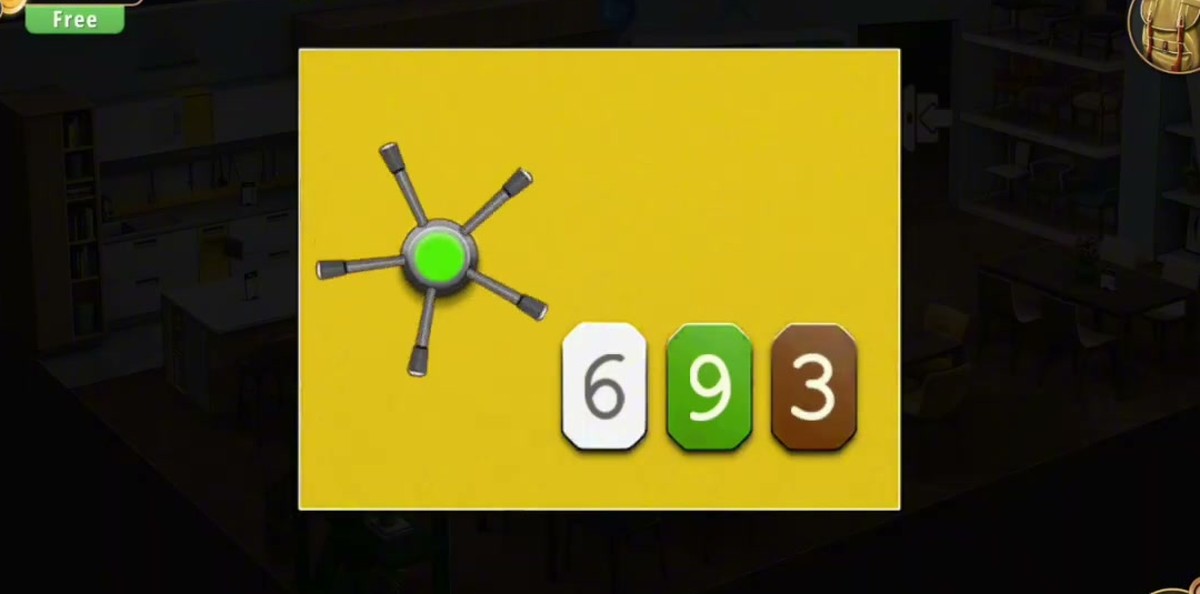
- Yellow safe, three windows and a dial → 693 → Batteries.
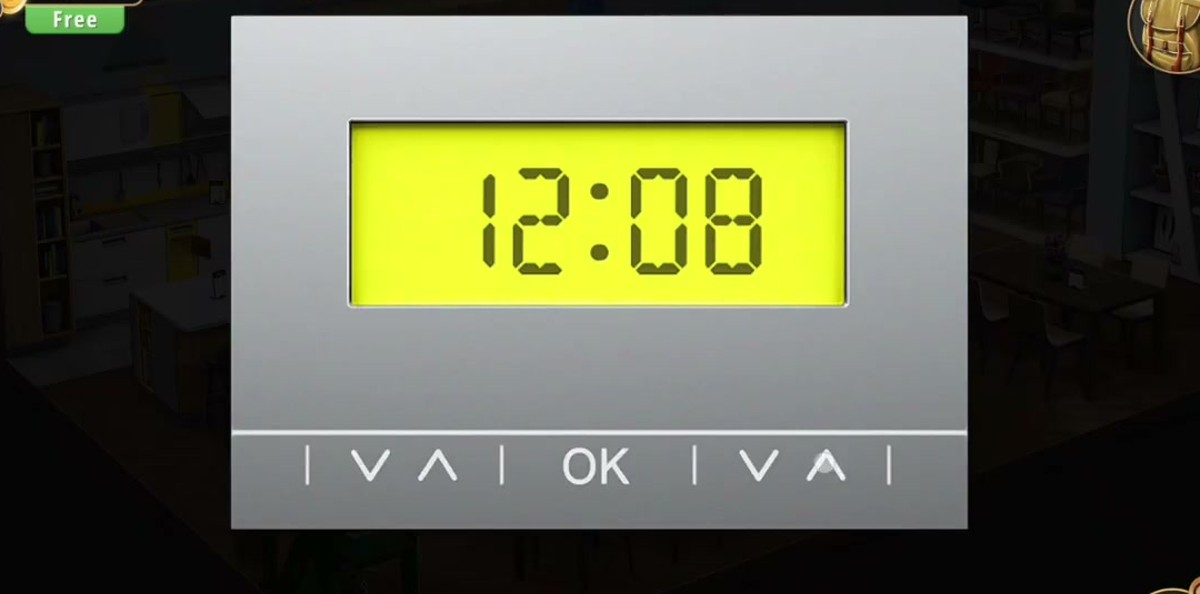
- Oven panel in the kitchen display → 12:08 → OK → the oven opens on a tray of crescent bakes.
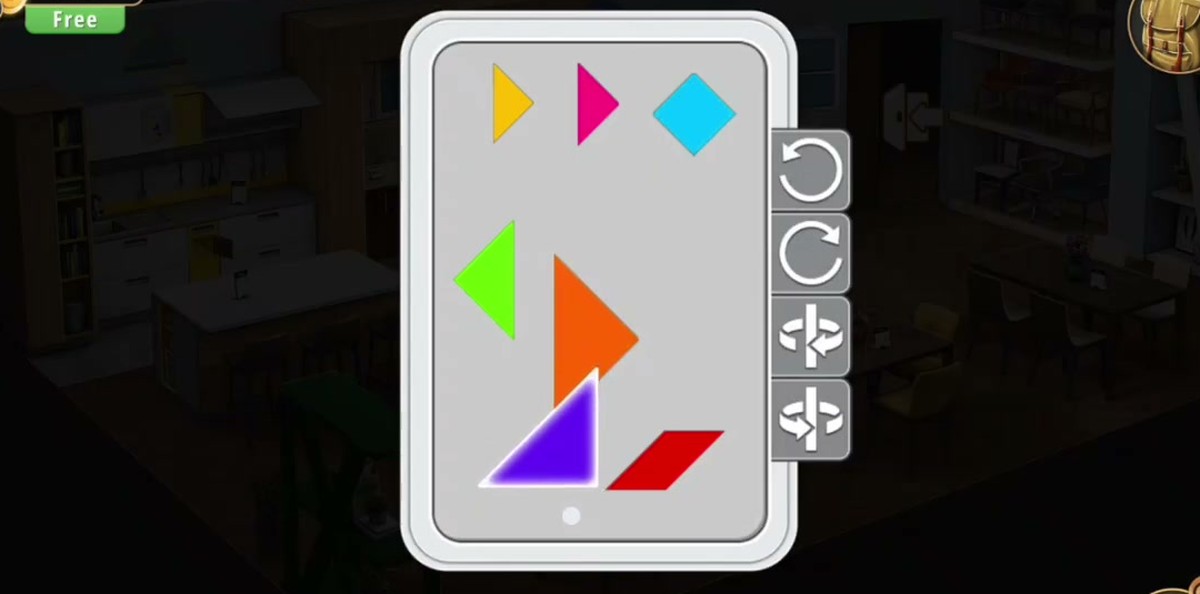
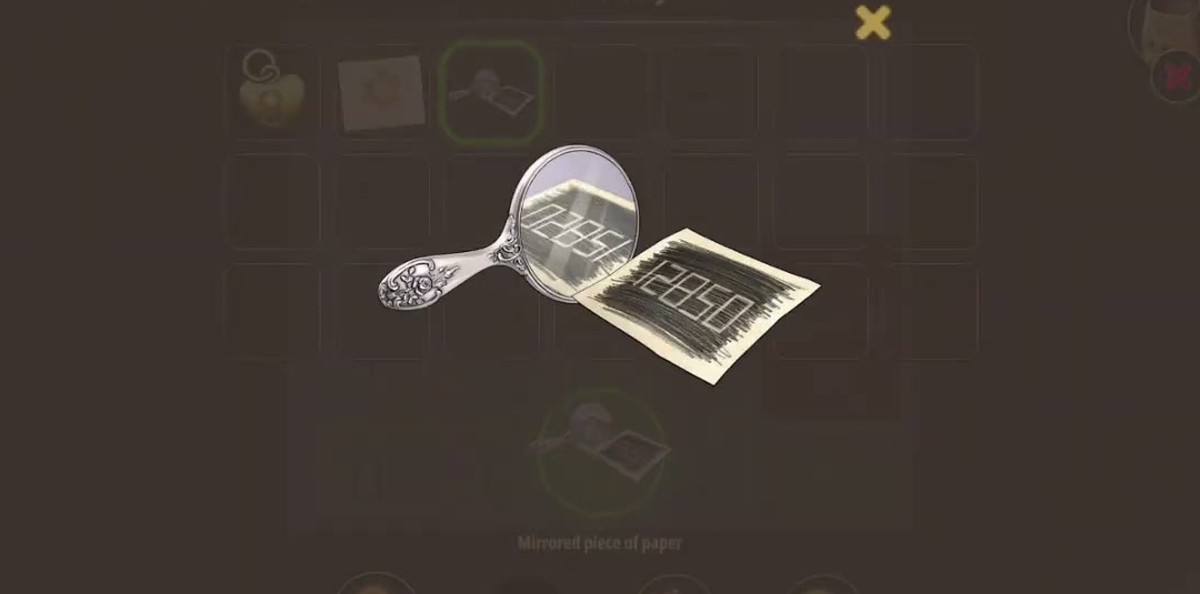
- Tangram board → Mirror. Combine it with the Piece of paper → reflection reads 02851.
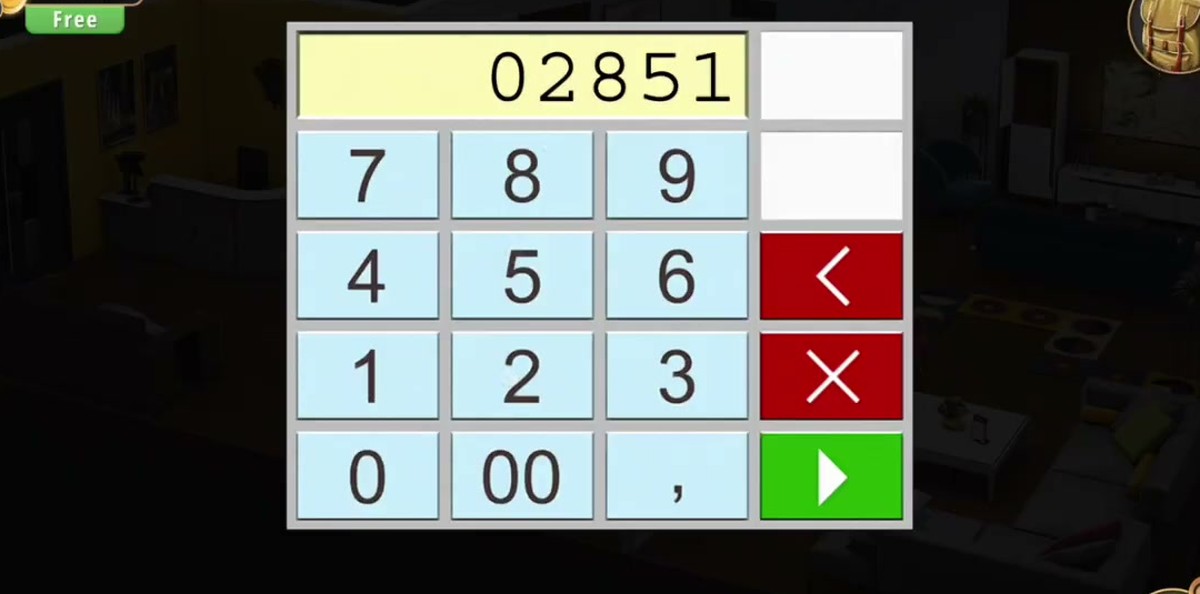
- Till at the reception desk → 02851 → receipt. Take the ID card off the desk, put it in the door reader → +5 coins.

What this level actually is.
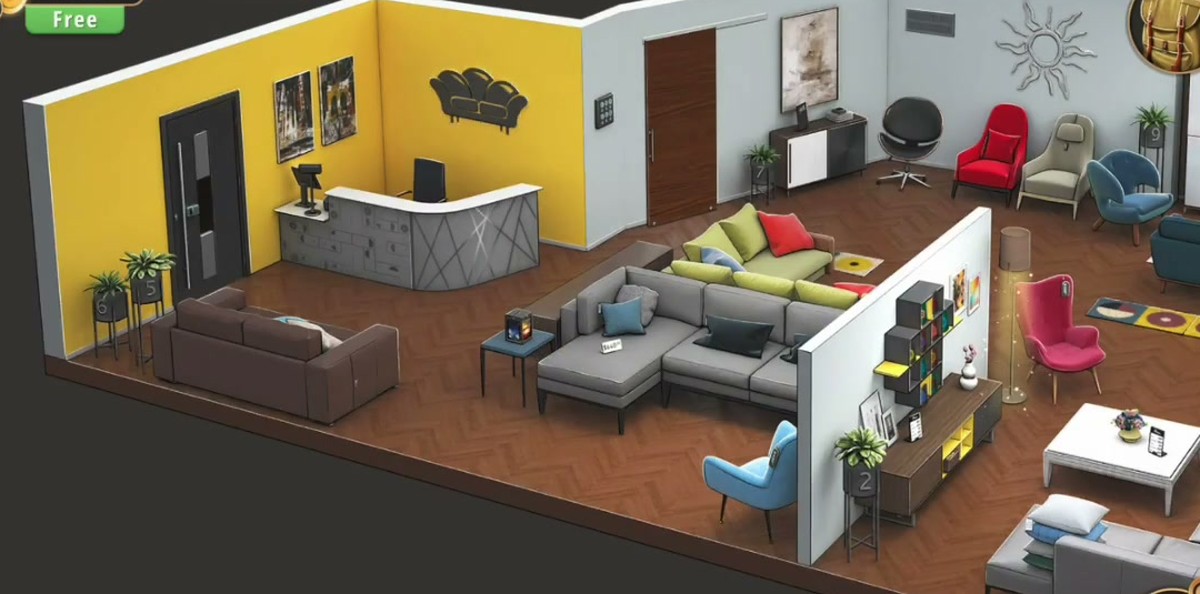
The Furniture Store is the twentieth room of Chapter 2, and it is not a shop so much as a showroom with the walls taken out. You get one isometric floor, lit like a catalogue shoot, laid out as a series of furnished displays: a living-room set with a grey sectional and a white half-wall behind it, a lounge corner with a sunburst mirror and a row of numbered plant stands, a kitchen set with blue and green cabinets and an island, and a dining set with a long table and yellow chairs. The reception desk sits under a yellow accent wall at the top left, and the door you leave through is a plain grey slab on the right-hand wall, wedged between two displays as if it were part of the furniture.
That last detail is the whole problem of the level. In most Rooms & Exits rooms the exit announces itself — a double door with panes, a vault, a gate. Here the exit looks like a service door, and the two things bolted to it read as scenery until you are standing in front of them: a keyhole on the left leaf and a small grey card reader on the right, with an indicator bar that sits red until you feed it an ID card. Players spend ten minutes hunting for a four-digit code for a door that never asks for one.
The other thing to understand early is that this room has two halves that barely talk to each other. The first half is furniture assembly and tool work — carpets, hangers, screws, a picture frame, a bag of loose pieces — and it hands you items without ever asking for a number. The second half is three number locks (a safe, an oven panel, a till) that only make sense once you have the paper and the mirror in the same bag. If you are stuck, the question is almost never "what is the code"; it is "which half am I in".
The map: what is where.
Every object in the Furniture Store that takes an input or gives you something, and what it is for. Everything else in the showroom — the sofas, the dining sets, the wall art, the numbered plant stands — is decoration.
| Object | Where | What it does |
|---|---|---|
| Rolled carpets | Scattered on the showroom floor | Four Carpet parts; they assemble the round rug in the living-room display. Counter reads 3/4 before the last one. |
| Reception till | Curved desk, yellow wall, top left | A five-digit keypad. Takes 02851 and prints a receipt. |
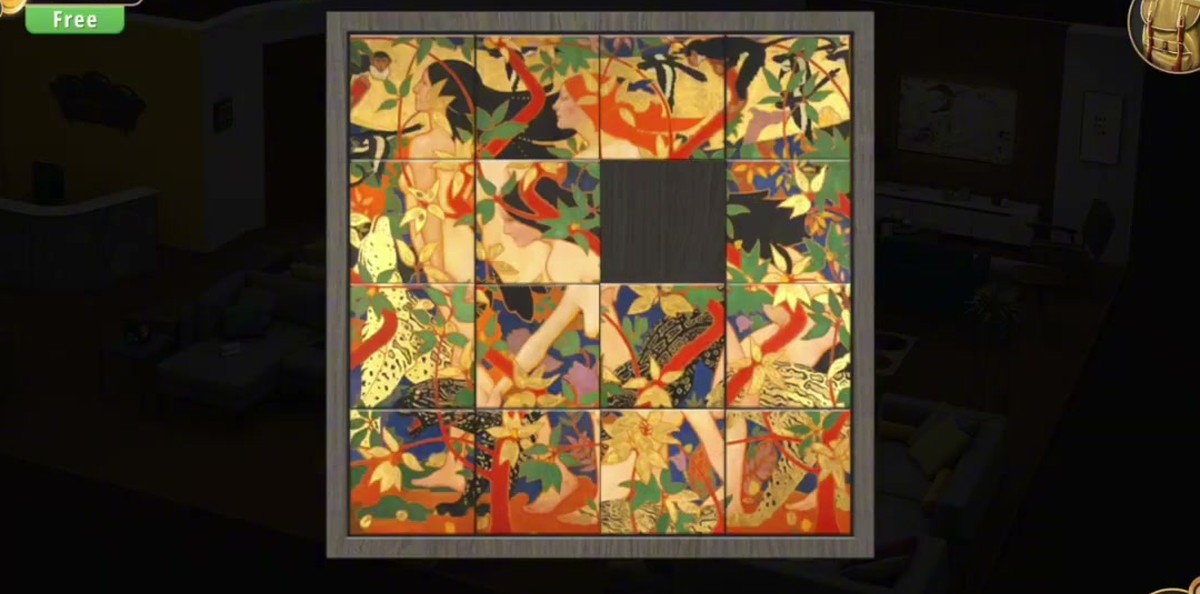
| Picture frame | Showroom wall, middle of the level | A sliding-tile puzzle with one tile missing; three artworks, one of them with a hidden number. |
| Pliers | Living-room display, low shelf | Pairs with the Hanger to make the Modified hanger. |
| Hanger | Wardrobe display | Raw material for the modified hanger. |
| Screwdriver / Screws | Kitchen and dining displays | A tool pair: four loose screws, one screwdriver. Neither is used alone. |
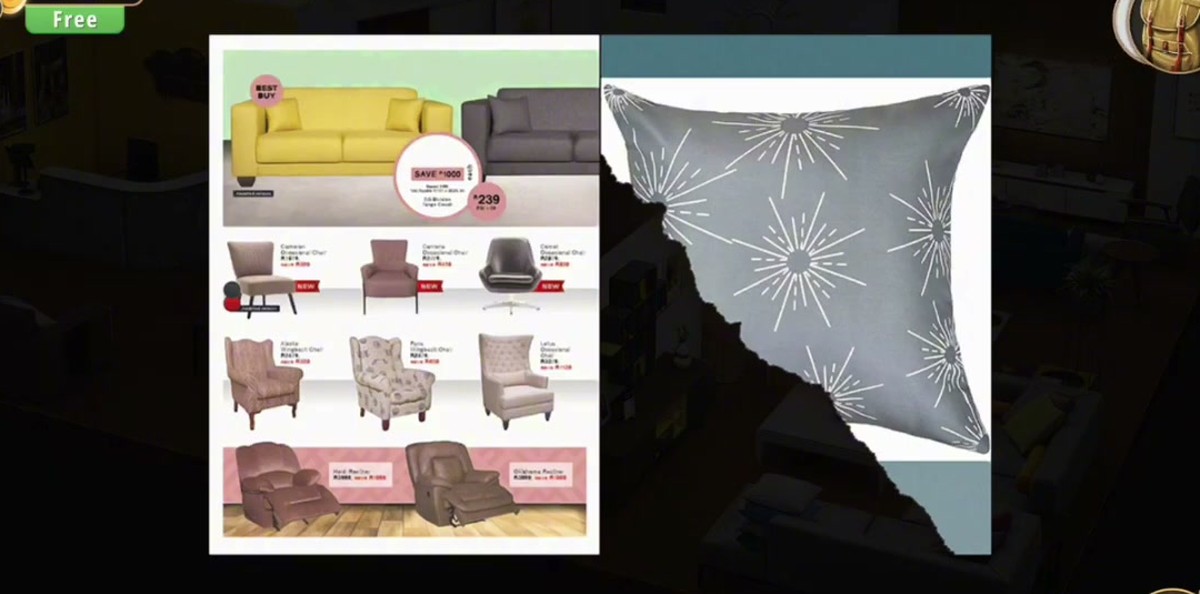
| Catalogue pages | Counter and wall racks | Printed furniture prices — sofas, armchairs, recliners. Scene dressing, not a lock. |
| Nine-button panel | Kitchen display wall | Weather pictograms (fan, sun, snowflake, cloud, moon, star) with digits under them. Lights up as you press; no confirmed reward. |
| Yellow safe | Kitchen display, low cabinet | Dial plus three digit windows. 693 → Batteries. |
| Oven panel | Kitchen display, built into the cabinets | Yellow-green clock with hour and minute chevrons and OK. 12:08 → the oven opens. |
| Tangram board | Dining display, on a stand | Coloured shapes with rotate and flip controls → Mirror. |
| Piece of paper | Dropped in the showroom | Reads 12850; combine with the Mirror to make the Mirrored piece of paper. |
| Exit door | Right-hand wall | Keyhole (left) plus card reader (right). ID card in the reader turns it green and opens the door. |
Step by step.
Timestamps are video time on the embedded run, not the game's level clock. Where a step only exists in the second recording it is marked.
The three numbers, and what each one is for.
Almost every wrong turn in this level comes from mixing these three up, because they are all somewhere in the showroom at the same time and only one of them is generated by the player.
- 693 — the yellow safe. Three wheels, a dial, no derivation. Nothing in the room writes it out for you, and none of our four recordings shows where the number comes from; the run simply walks the wheels until the handle goes green. It is the one code on this page you may have to brute-force, and three wheels is a small enough space that brute force is cheap. It pays out Batteries.
- 12:08 — the oven panel. A time, not a code, entered with chevrons and confirmed with OK. It pays out an open oven and a tray of bakes. The 12:06 frame that shows up in most captures is the step before the accepted value.
- 02851 — the till. The only derived number: the paper says 12850, the mirror reverses it to 02851, the till takes it. Five digits, no decimal, green confirm. It pays out the receipt and, through the receipt, the ID card.
Notice what is missing from that list: there is no code for the exit. The door takes an object. That inversion — three number locks that are not the exit, and an exit that is not a number — is the level's actual design idea, and once you see it the room stops feeling unfair.
The receipt, line by line.
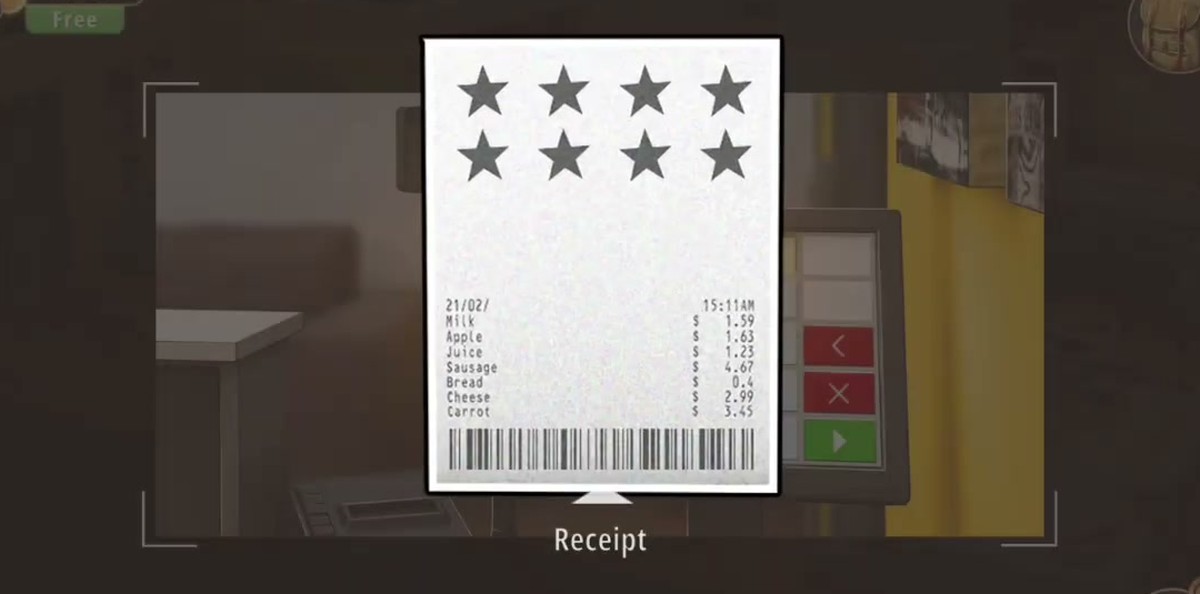
The receipt is worth reading once because it is the only place in the level where the game writes anything down, and players keep trying to turn it into a code. Here is what is actually printed on it, transcribed from the zoomed frames:
- Six dark stars across the top, in two rows of three — the shop's logo, not a rating.
- Date 21/02, timestamp 15:11.
- Milk 1.59, Apple 1.63, Juice 1.23, Sausage 4.67, Bread 0.4x, Cheese 2.99, Carrot 3.45.
- A barcode block at the bottom.
Seven lines, no total, no subtotal, no tax line. That absence is the tell: a real till receipt ends with a total, and this one does not, because it is not meant to be arithmetic. If you add the seven figures up you get a number that opens nothing in this room — we tried the arithmetic against every lock and it fits none of them. The receipt's job is to exist: printing it is the event that spawns the ID card.
Where people get stuck.
- Hunting for a door code. The door has no keypad, no dials and no digit panes. The keyhole and the reader are the whole interface, and only the reader matters. Players burn ten minutes here because every previous chapter taught them that the exit is a number.
- Reading the paper without the mirror. 12850 on its own is a five-digit number that fits nothing — the till wants five digits but rejects 12850. The paper has to be combined with the Mirror first. If the till is refusing you, check whether your paper is still the plain Piece of paper in the inventory rather than the Mirrored piece of paper.
- Setting the oven to 12:06. It looks right and it is one click short. The accepted value is 12:08, and the panel only opens when you press OK on that value — the display does not auto-confirm.
- Treating the catalogue as a clue sheet. Prices, product names, sale stickers, and none of it feeds a lock. The same goes for the numbers painted on the plant stands and the six stars on the receipt.
- Missing the fourth carpet. The counter reads 3/4 and the floor puzzle looks solvable with three tiles placed. It is not. Sweep the whole showroom floor, including the area behind the reception desk, before you start laying tiles.
- Ignoring the tangram. It reads as a decoration because it sits on a stand in a dining display. No mirror, no till code, no receipt, no ID card — the tangram is the head of the entire second half of the level.
Chapter 2 levels.
Chapter 2 runs twenty-six rooms through the mall; the list below reflects what is written up so far.
- 1 Cell Phone Store guide
- 2 Cinemas guide
- 3 Pharmacy guide
- 4 Optical Store guide
- 5 Gym guide
- 6 Candy Shop guide
- 7 Food Court guide
- 8 Pet Shop guide
- 9 Indoor Playground guide
- 10 Restaurant guide
- 11 DIY Shop guide
- 12 Jewelry Store guide
- 13 Grocery Store guide
- 14 Exchange Office guide
- 15 Fashion Store guide
- 16 Art Supplies Store guide
- 17 Shoe Store guide
- 18 Sports Store guide
- 19 Bookstore guide
- 20 Furniture Store you are here
- 21 Household Appliances guide
- 22 Print Shop guide
- 23 Bakery guide
- 24 Toy Store guide
- 25 Restroom guide
- 26 Parking guide
FAQ.
How do I open the exit door in Rooms & Exits Chapter 2 Level 20?
With a card, not a code. The exit is the grey door on the right-hand wall with a keyhole on the left leaf and a card reader on the right; insert the ID card into the reader and its indicator goes from red to green, then the door swings open. Our second recording shows the whole sequence: red at 14:10, card in at 14:11, green at 14:12, door open at 14:13. There is nothing to type at the door — no keypad, no dials, no pane digits.
What is the till code in the Furniture Store?
02851, five digits. It is not written anywhere: the Piece of paper in your bag reads 12850, and once you have combined it with the Mirror into the Mirrored piece of paper, the reflection reads 02851. Type that into the till keypad at the reception desk and the register prints a receipt. Our footage shows the display rolling 0 → 0285 → 02851 on consecutive frames and the receipt appearing four seconds later.
What is the safe code?
693. The yellow safe panel in the kitchen display has a five-spoke dial and three digit windows tinted white, green and brown. Our run walks the windows through 695, 699, 692 and stops on 693, and the door gives up a pair of Batteries. We never find the clue that produces 693 in any of our four recordings, so treat it as a number to try rather than a number to understand.
What time does the digital clock want?
12:08. The panel is the oven's control display in the kitchen showroom — a yellow-green readout with hour chevrons on the left, minute chevrons on the right and an OK button between them. Set 12:08 and press OK, and the oven door drops open on a baking tray with two crescent-shaped bakes on it. Our footage reads 12:06 one frame before the accepted 12:08, which is the frame everyone screenshots.
What are the four Carpet parts for?
They build the round rug in the living-room display. Four rolled carpet pieces are scattered around the showroom floor, and the inventory counts them up as you take them — the counter reads 3/4 on the frames just before the last one goes in. Lay them around the coffee table and the circular rug assembles itself into the patterned disc you can see in every wide shot afterwards. It is the level's opening chore, not a lock.
Where does the Mirror come from?
The tangram board. A white tablet-shaped board with coloured geometric pieces and four controls down its right edge — rotate left, rotate right, flip horizontally, flip vertically — takes up the middle of the level from about 10:00. Clear it and the Mirror goes into the bag at 10:33. Without the mirror the paper is just a five-digit number that fits nothing in the room.
What is the receipt for?
It is the printout from the till after you enter 02851, and it is a reward rather than a clue: six stars at the top, the date 21/02, a 15:11 timestamp, seven grocery lines — Milk 1.59, Apple 1.63, Juice 1.23, Sausage 4.67, Bread 0.4x, Cheese 2.99, Carrot 3.45 — and a barcode at the bottom. The moment it prints, the showroom lights up with new hotspots; our run picks the ID card off the reception desk seven seconds later.
How long does the Furniture Store take?
Our fastest full recording finishes in 11:13 and the only run that reaches the results panel shows 14:10 on the level clock. Nothing is timed and there is no fail state, so the difference is entirely how long you spend looking for a code at the door that does not exist.
What do I get for finishing Chapter 2 Level 20?
The results panel we captured pays +5 coins with a Time field of 14:10 and an efficiency bar about seven tenths full. That panel comes from a build that numbers this room Level 24 rather than 20, so the first-clear payout on the current build may well be larger — the +5 is what we could actually read, and it is printed here as read rather than as a guess.
Previous written guide: ← Chapter 2, Level 17 — Shoe Store