 GridPaw
 Shikaku
 Akari
 Kakuro
 Nonogram
 Nurikabe
 Pictomino
 KenKen
 Binary
 Star Battle
 Hashi
 Slitherlink
 Murder Sudoku
 Meowdoku
 Crazy Cleanup
Rooms & Exits Chapter 3 Level 19 Walkthrough: Garden Shed
The Garden Shed is the nineteenth room of Chapter 3, Murder Dressed in White, and it is the most physical room in the chapter: a lawnmower you have to fuel, a generator you have to start, a toolbox with a three-dial lock on it, and a 3x3 sliding-tile board that eats about four in-game minutes of your life. It also has a proper ending — this is the one level in the Chapter 3 batch where the recording actually reaches the LEVEL COMPLETED card, with +50 coins on it.
Garden Shed is room 19 of Chapter 3. Set the red toolbox dials to 918, tune the radio to 91.8, and the reward at the end is +50 coins in 8:12.
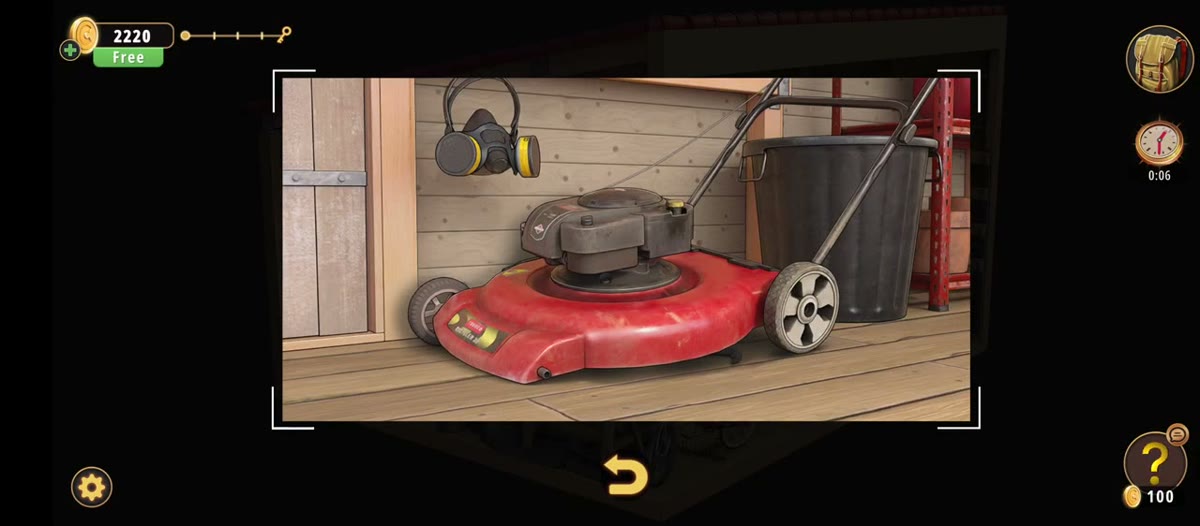
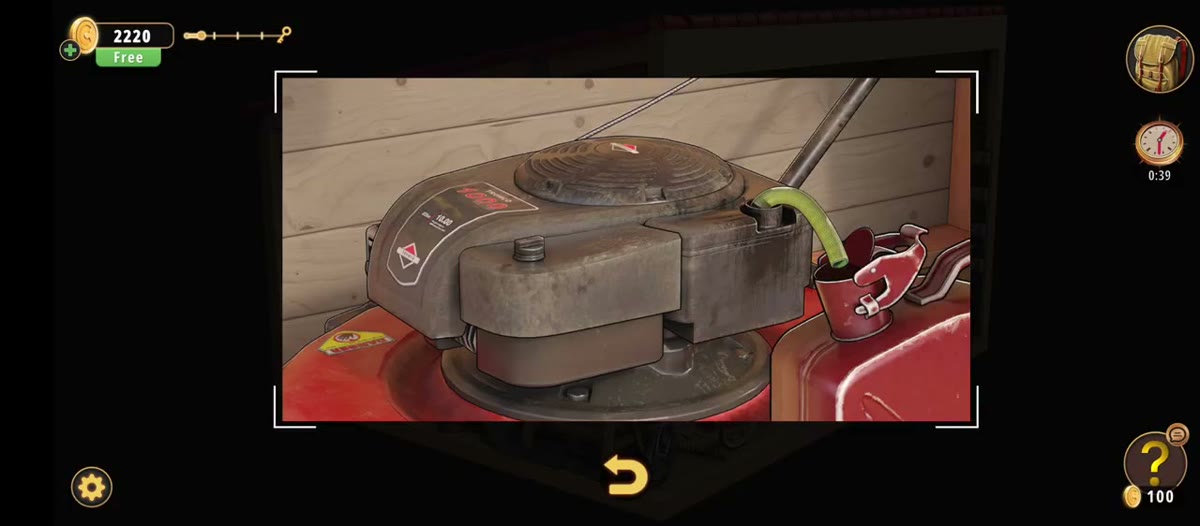
- Take the jerrycan out of the grey bucket (0:19) and pour it into the mower (0:41).
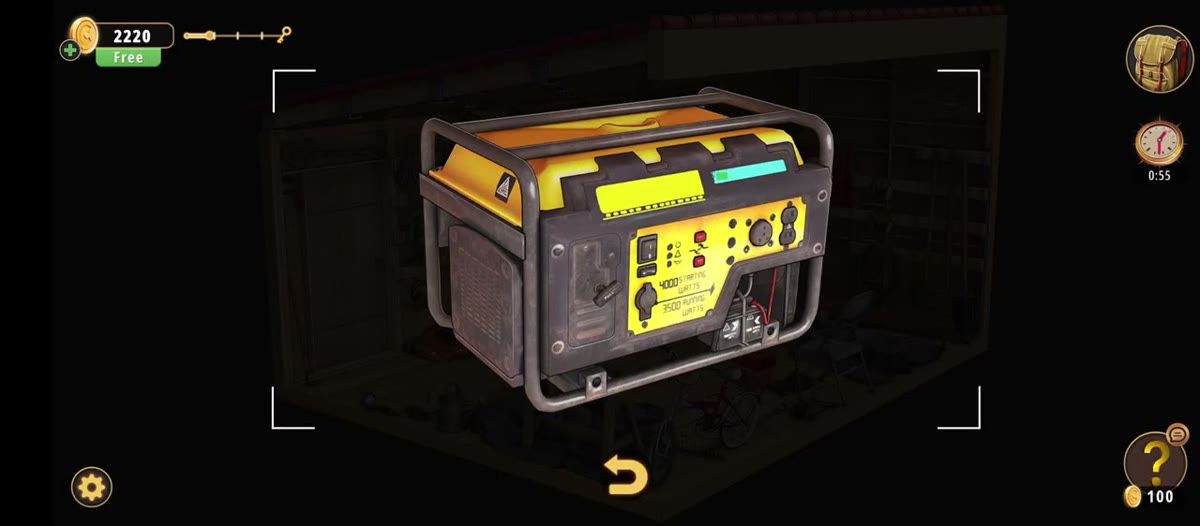
- Read the generator plate: 4000 starting / 3500 running watts.
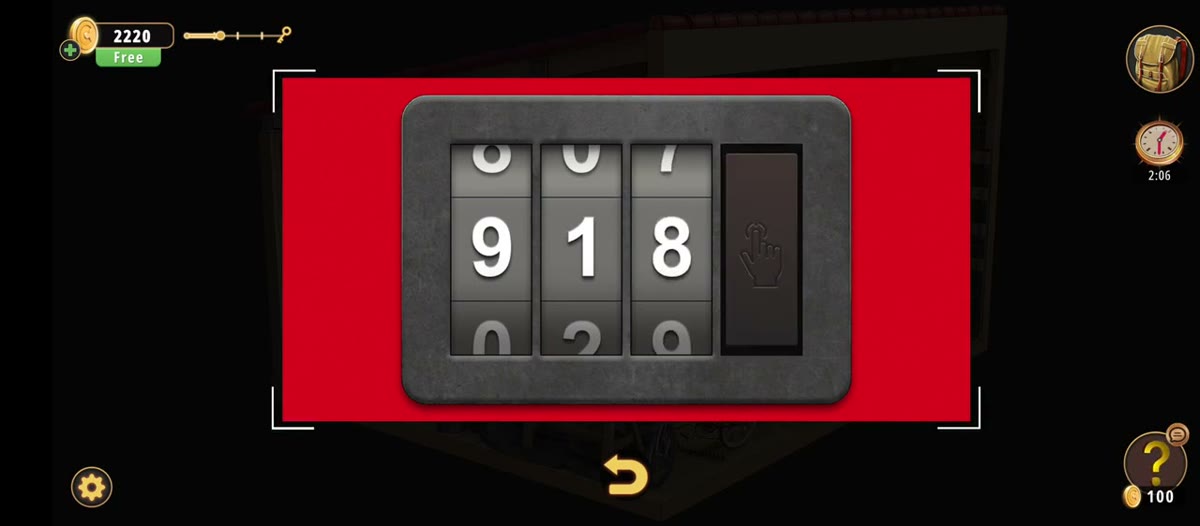
- Note the radio display — 91.8 — then set the three toolbox dials to 918 (2:10).
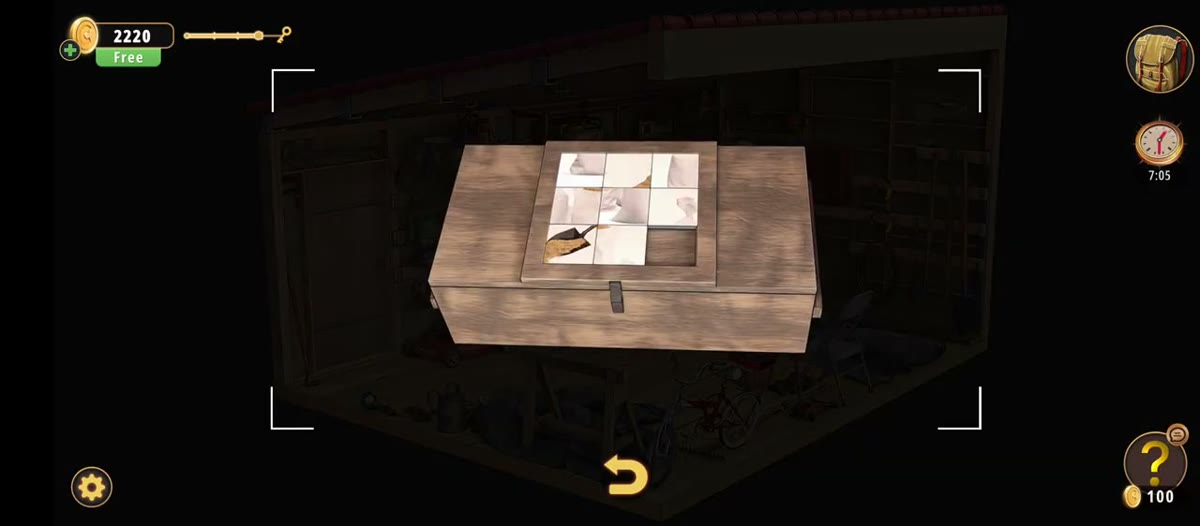
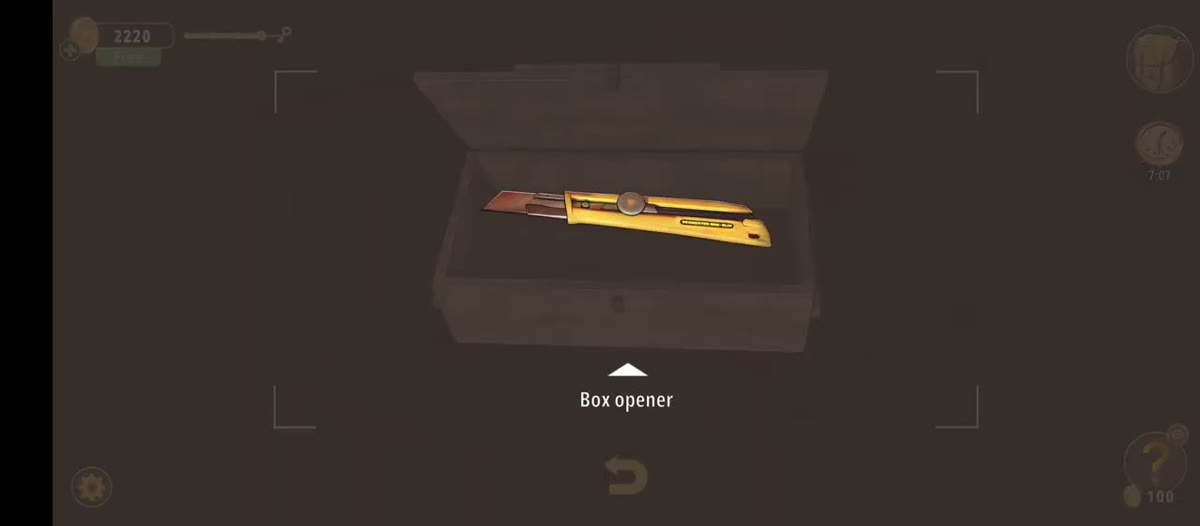
- The 3x3 sliding-tile board opens at 3:19. It takes four in-game minutes; solving it at 7:15 gives you the Box opener.
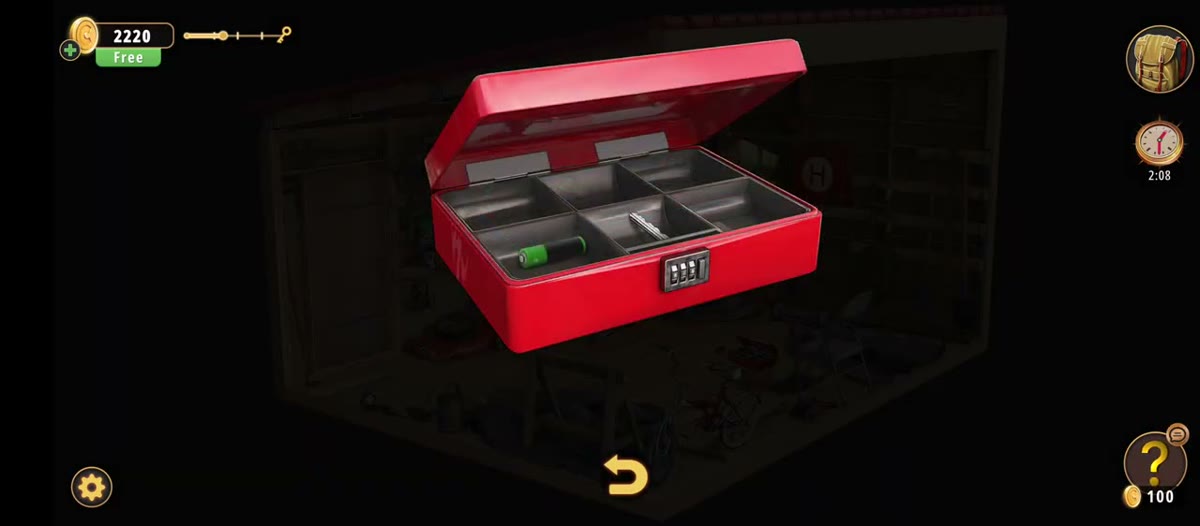
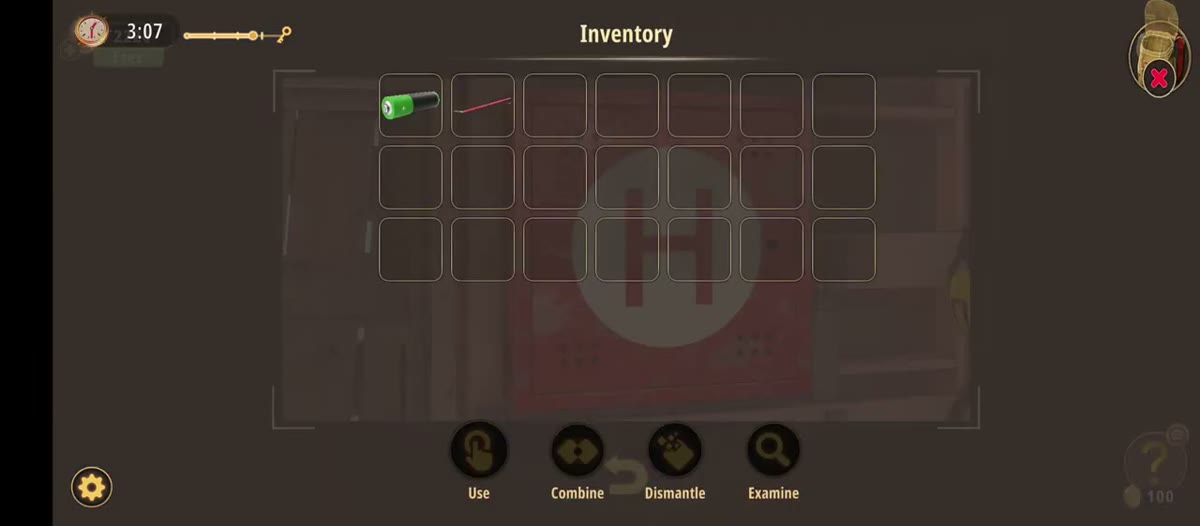
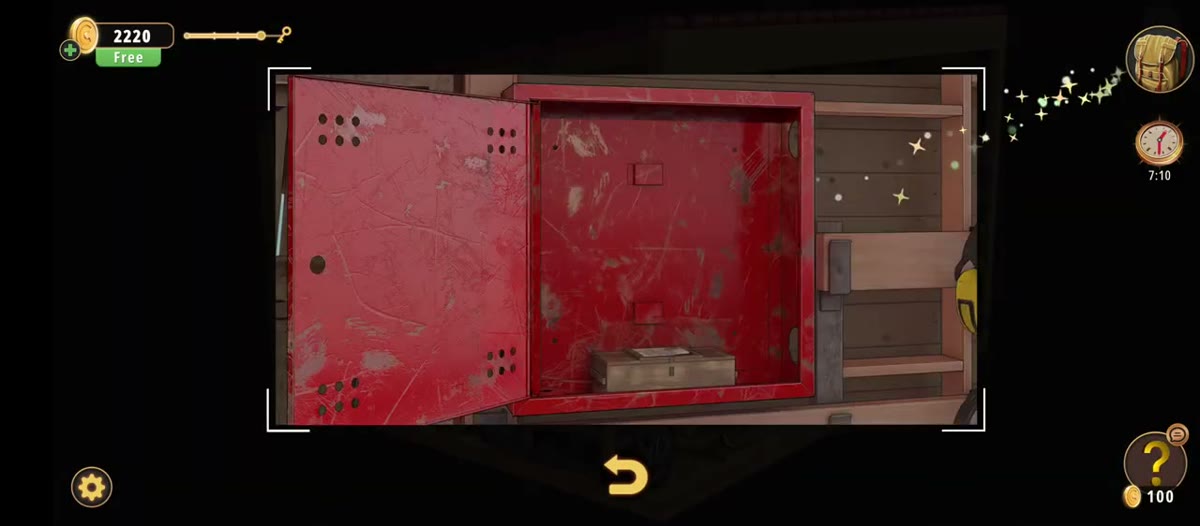
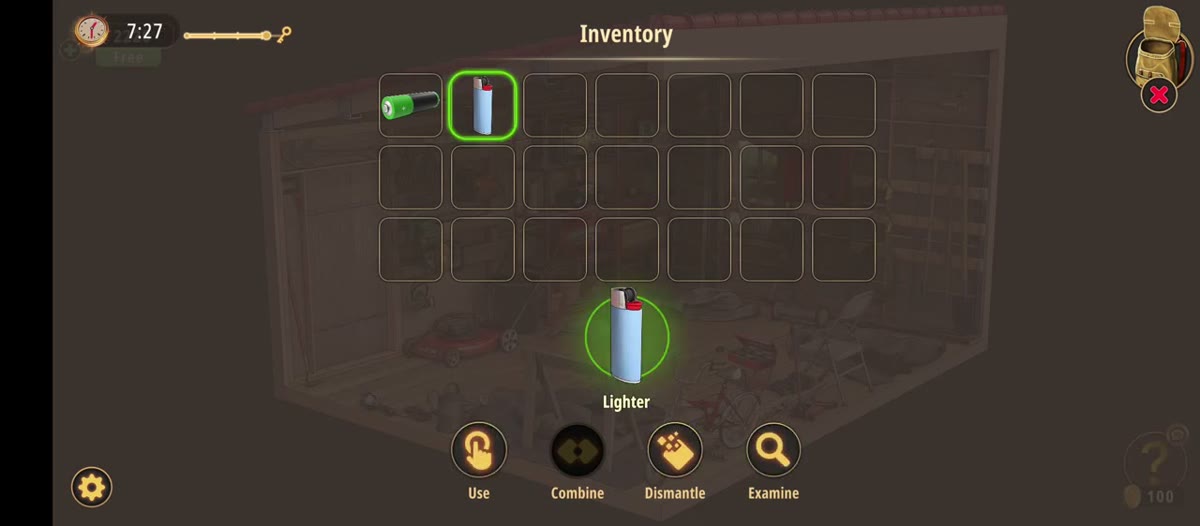
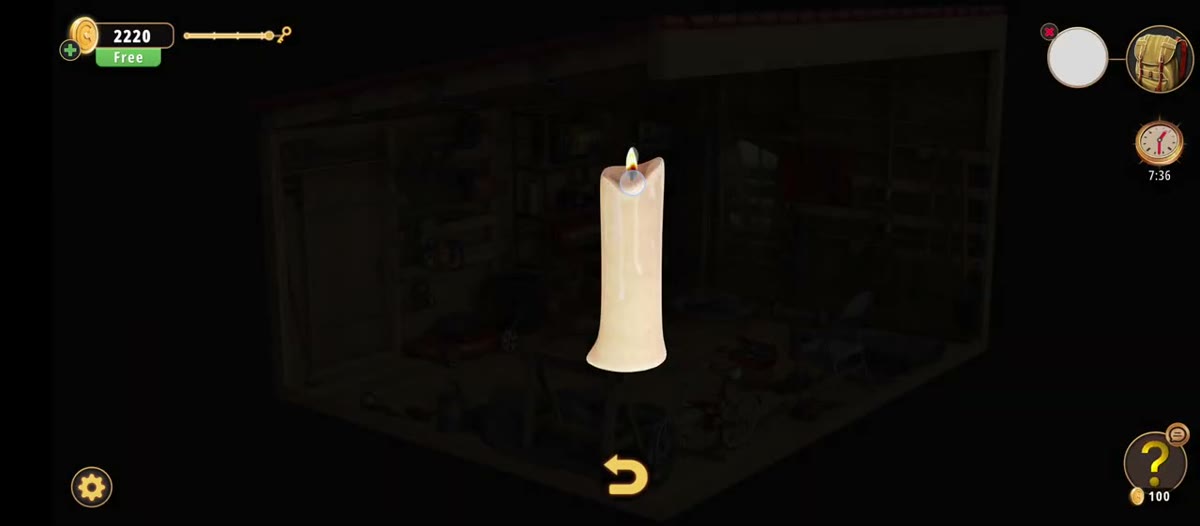
- Open the red locker (7:18), collect the Battery, the Bag of sand and the Lighter, and light the candle at 7:45.
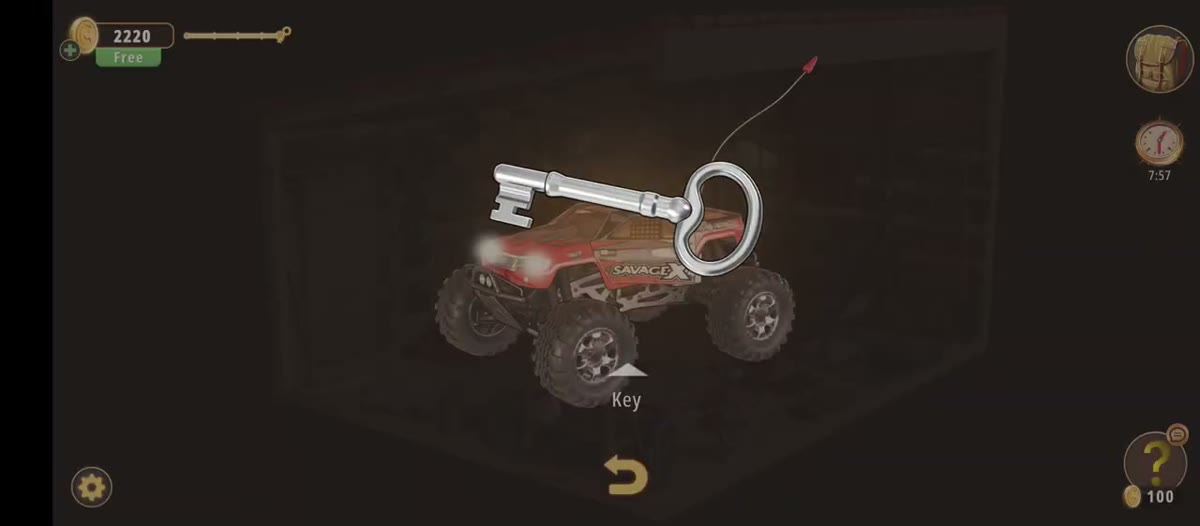
- Take the Key off the RC truck (8:06) and open the back door (8:18). Results card at 8:24.
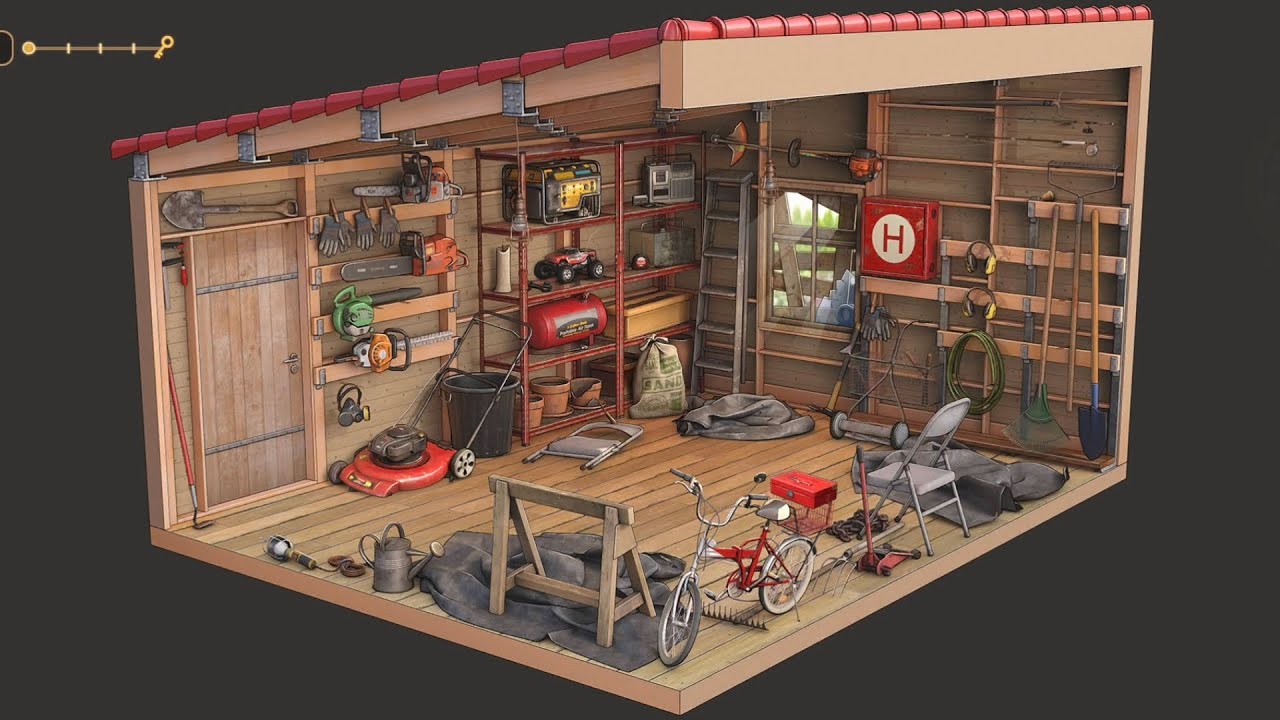
The complete Garden Shed run used for every frame on this page.
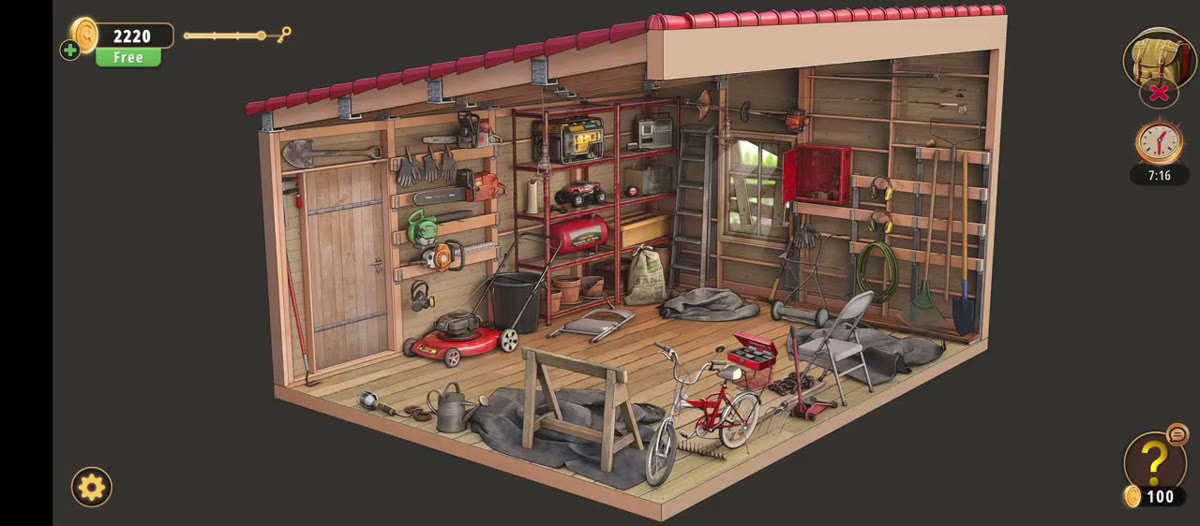
What this level actually is.
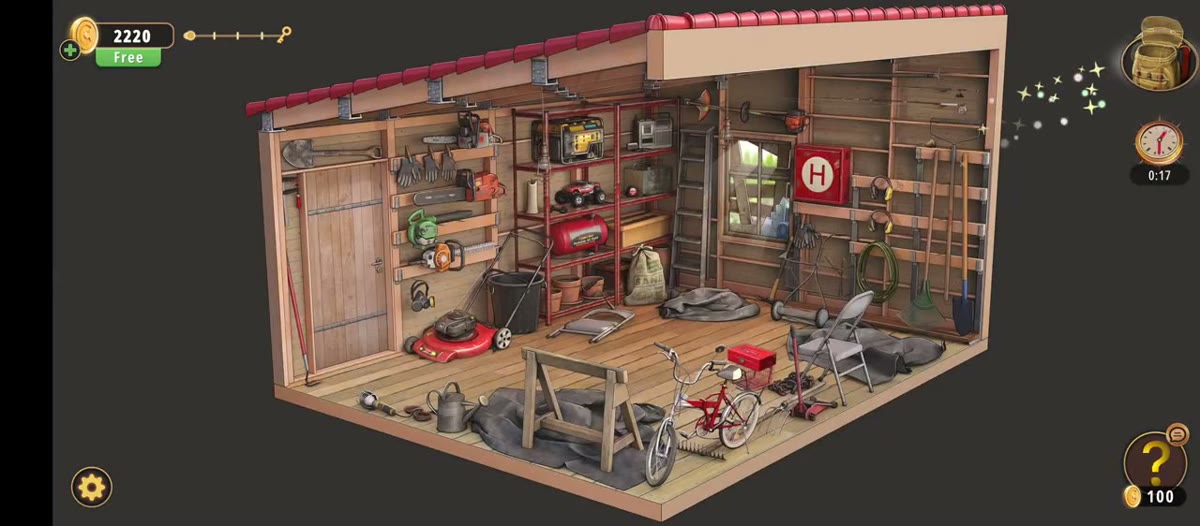
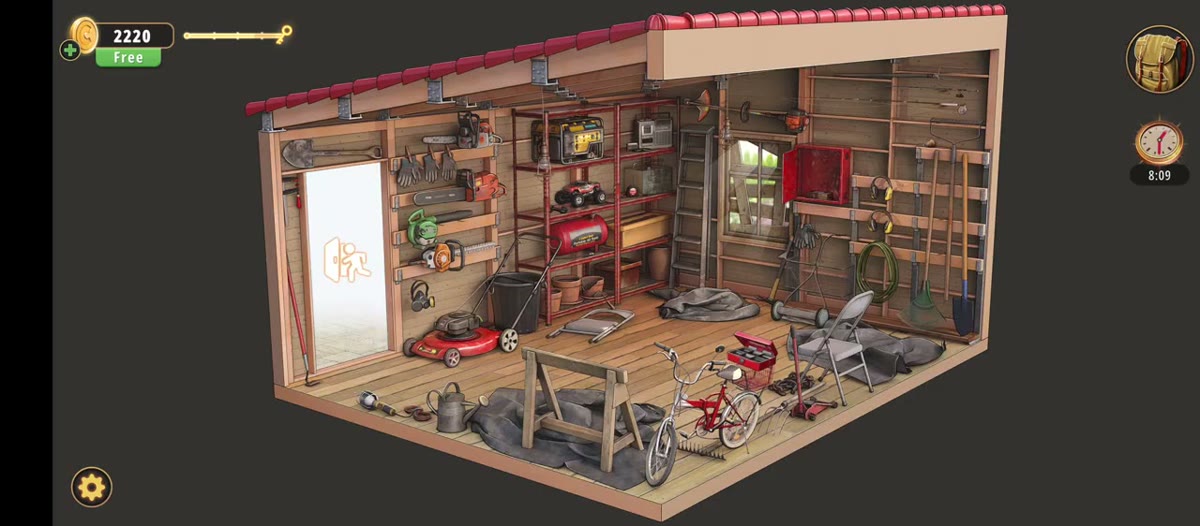
A single-room shed, seen isometrically with the front wall removed. The left wall is tools: three chainsaws hanging nose-up, rakes and shovels, a red-framed steel shelf unit holding the generator and the radio, and a red bicycle leaning at the back. The centre is the working floor, with the lawnmower near the door, a red cabinet marked H on the back wall, and a grey bucket in the corner. The right side is the workbench under a tarp, two folding chairs, watering cans and a black bin.
The room has a lighting arc that most players miss. It starts bright enough to read every plate in it, then at 7:45 it goes almost black and you are working by candlelight. That is not a graphical glitch — the level dims the shed deliberately for its last three pickups, which is why the truck, the key and the door are all found in near-darkness.
Structurally the Garden Shed is two halves with a board game in the middle. The first half is machines: fuel, generator, radio, toolbox. The second half is containers: the locker, the inventory, the truck. The sliding-tile board at 3:19 sits between them and takes longer than everything else combined.
The map: what is where.
Everything we could identify, and what it is for.
| Object | Where | What it does |
|---|---|---|
| Lawnmower | Near the door | Fuel tank under the cap; needs the jerrycan before it runs. |
| Jerrycan | Inside a grey bucket, 0:19 | Red can with a yellow cap; pours green fuel into the mower at 0:41. |
| Generator | Red shelf unit, left wall | Plate reads 4000 starting / 3500 running watts; charge bar on the top cover, I/O switch, PULL starter, two outlets, two red breakers. |
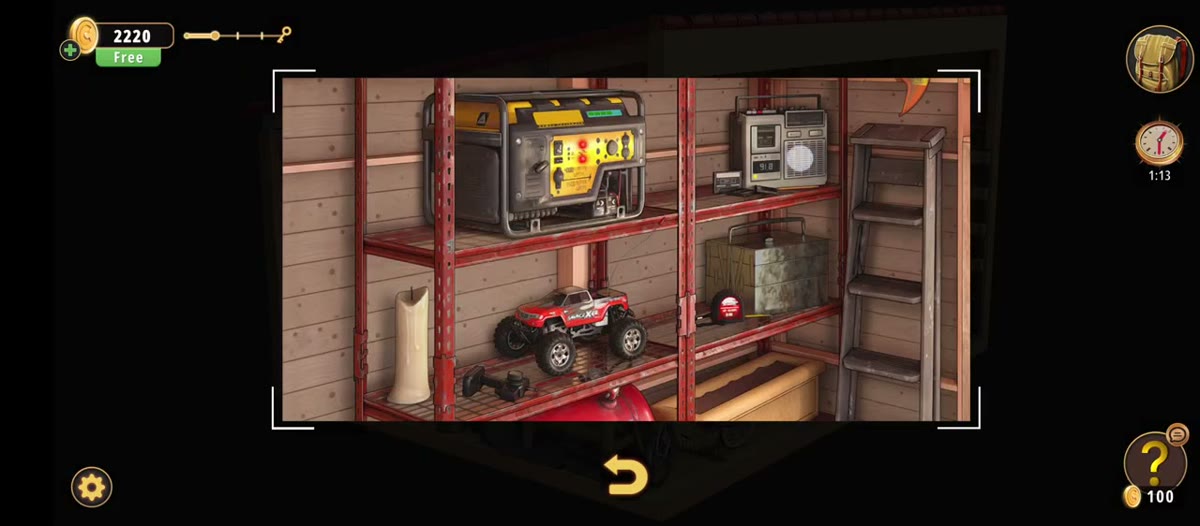
| Radio | Shelf beside the generator | Small LCD reads 91.8; cassette deck, loose cassette and pencil alongside. |
| Red toolbox | On the bench line, centre | Three number dials on the front; opens at 918. |
| Red cabinet “H” | Back wall, centre | Wall-mounted red cabinet with a white H on the door. |
| Sliding-tile board | Wooden panel, 3:19 | 3x3 grid, eight tiles and one empty slot; releases the Box opener. |
| Box opener | Item card, 7:15 | Yellow utility knife with a red blade; cuts the red locker open. |
| Red locker | Right of centre, 7:18 | Tall red metal locker; opens with the Box opener and holds the late pickups. |
| Battery | Inventory, 7:30 | Green cell; sits in the top-left slot of the inventory grid. |
| Bag of sand | Inventory, 7:30 | Beige sack; third slot. |
| Lighter | Inventory, 7:36 | Light blue disposable lighter; fourth slot. |
| Candle | Shed floor, 7:45 | Tall cream taper; the only working light in the level. |
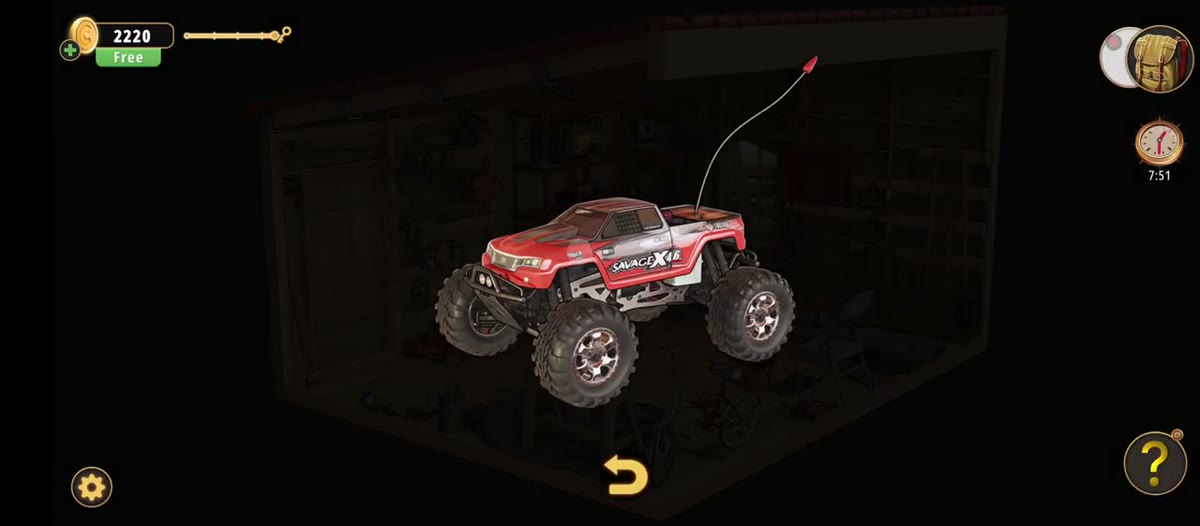
| RC monster truck | Floor, 8:00 | Red remote-control truck badged SAVAGE X4.6. |
| Key | On the truck, 8:06 | Large ornate silver key; the level's exit item. |
| Back door | Left wall | Swings open at 8:18 onto bright daylight; exit icon appears. |
Step by step.
The order below follows the recording. Timestamps are video time; the links jump to the matching second.

Where people get stuck.
You cannot find the jerrycan. It is not on a shelf and it does not get an item card. It stands inside a grey bucket in the corner, red can with a yellow cap. If you are hunting the inventory for a fuel item and it never appears, you have not picked it up yet.
The generator will not start. The plate says 4000 starting and 3500 running, and the control face has an I/O rocker, a pull cord and two breakers. Reading the plate is not the same as starting it — and starting it is not the same as lighting the shed, because the shed stays dark until the candle. Do not sit here waiting for the lights.
The toolbox dials do nothing. There is no confirm button on that lock: the box opens the moment the third wheel lands on 918. If you are hunting for a green tick, you are on the wrong lock — this level has no keypad, only the dials, the tile board and a physical key.
The tile board eats your evening. Four in-game minutes in the recording, and there is no clue anywhere in the shed that helps, because it is a pure sliding puzzle. If you are looking for a hint you will lose more time than the puzzle costs. Solve it by fixing the top row first and working downward.
You light the candle with the Battery. The Battery is a green cell and it goes into something, but the thing that lights the candle at 7:45 is the Lighter picked up at 7:36 — light blue, fourth inventory slot. Battery plus candle is the most common wrong combine in the room.
You go through the front door. The front of the shed is open to the camera and looks like an exit, but the exit icon only appears on the back door at 8:18, and it needs the Key from the truck. Walking at the open front face of the room does nothing.
Where the Garden Shed sits in Chapter 3.
Chapter 3 is Murder Dressed in White, and its rooms run: Dining Room, Living Room, Study Room, Guest Toilet, Workshop, Guest Bedroom, Master Bathroom, Kids Playroom, Backyard, Garden, Kitchen, Driveway, Kids Bedroom, Storage Room, Garage, Attic, Terrace, Basement, Garden Shed, Kids Bedroom 2. The Garden Shed is room 19 — after the Basement and one before the chapter's last room.
Mechanically it is the chapter's palate cleanser after the Basement's four-lock density. Where the Basement stacks three parallel chains, the Shed gives you one long line: fuel, generator, radio, dials, board, locker, light, truck, key, door. The only place it opens up is the board, and that is a time problem rather than a logic problem. It is also, unusually for this chapter, a room that ends on camera — which is why this page can print a reward when the Terrace and Basement pages cannot.
- 1 Dining Room guide
- 2 Living Room guide
- 3 Study Room guide
- 4 Guest Toilet guide
- 5 Workshop guide
- 6 Guest Bedroom guide
- 7 Master Bathroom guide
- 8 Kids Playroom guide
- 9 Backyard guide
- 10 Garden guide
- 11 Kitchen guide
- 12 Driveway guide
- 13 Kids Bedroom 1 guide
- 14 Storage Room guide
- 15 Garage guide
- 16 Attic guide
- 17 Terrace guide
- 18 Basement guide
- 19 Garden Shed you are here
- 20 Kids Bedroom 2 guide
- 21 Hobby Room guide
- 22 Master Bedroom guide
- 23 Entertainment Room guide
- 24 Hallway guide
Previous room: Chapter 3 Level 18 — Basement
Next room: Chapter 3 Level 20 — Kids Bedroom 2
Back to: All Rooms & Exits walkthroughs
Frequently asked questions.
What are the codes in Rooms & Exits Chapter 3 Level 19 Garden Shed?
Two numbers matter. The three-dial lock on the red toolbox is set to 918 — three digits, read twice from separate frames, once at 2:06 mid-entry and once at 2:10 settled. The radio on the shelf displays 91.8, read twice at two crop scales. There is no four-digit keypad anywhere in this level: its other locks are a 3x3 sliding-tile board and a physical key.
What is the generator for?
The generator sits on the red steel shelf unit against the left wall, and its plate reads 4000 starting watts over 3500 running watts. It has a horizontal charge bar on the top cover, a rocker switch marked I and O, a pull starter labelled PULL, two outlets and two red breaker buttons. The recording fills the mower first and comes back to the generator, but the shed's power never comes on in the footage — the lights stay off until the candle at 7:45.
What does the radio show?
A portable radio with a cassette deck, sitting on the shelf beside the generator. Its small LCD reads 91.8, and a pencil lies on the shelf next to a loose cassette. 91.8 is the level's one piece of broadcast information, and it is the sort of number this game uses for a three-dial lock — which is exactly what turns up on the red toolbox at 2:06.
How do I open the red toolbox?
Three number dials on the front of the case. The player works them from about 1:48, and by 2:10 the display reads 9 1 8; the lid is up at 2:12 with the tray visible. The dials are stacked vertically, each with the current digit in a window and two flanking digits visible above and below, so you can see how far each wheel has travelled.
What is the 3x3 sliding-tile puzzle?
At 3:19 the game opens a 3x3 sliding-tile board on a wooden panel: eight numbered or pictured tiles and one empty slot. It is the slowest puzzle in the level — the recording shows it still scrambled at 7:13, roughly four in-game minutes later, and only solves it at 7:15. Solving it releases the Box opener, a yellow utility knife with a red blade, which appears with its own item card.
What does the Box opener open?
The red metal locker, at 7:18. The Box opener is consumed on it — it is in the inventory at 7:30 but the locker is already standing open with its door swung wide. This is the level's last container: everything after it is inventory management and the bike at the door.
What is the candle for?
At 7:45 a lit taper candle stands in the middle of the shed floor and the room is almost black — you can just make out the shelves and the workbench. Lighting it takes the shed from dark to dim, which is the point: the last three pickups (the truck, its key and the exit) all happen in a room you can barely see. The candle is the only light source in the level that actually works.
Where is the Key?
On top of the red remote-control monster truck, on the shed floor, at 8:06. The truck's own label reads SAVAGE X4.6, and the key is a large ornate silver key that glows when the camera lands on it; the label under it simply reads Key. Take it, then turn around to the back door.
What is the reward for Level 19?
The results card at 8:24 pays +50 coins, shows an Efficiency bar with nine of its ten segments filled, records Time: 8:12, and adds 300 to the piggy bank with the note that the piggy bank fills as you complete levels. This is the only room in the Chapter 3 batch whose completion screen is inside the recording, so it is the only one on this site with a printed reward.
How long does this level take?
The in-game clock on the results card says 8:12. The YouTube recording is 8:24 because it includes the title card and about ten seconds of standing still after the door opens. Roughly four of those in-game minutes are spent on the sliding-tile board alone — it is the single biggest time sink in the room, and everything you need for it is available by 3:19.
Is the Garden Shed room 19 of Chapter 3?
Yes. Chapter 3 is Murder Dressed in White, and the Garden Shed is room 19 — after the Basement (18) and before Kids Bedroom 2 (20). It is the last outdoor-adjacent room in the chapter and the only one where the exit is a garden door rather than an interior one.
Do I need the jerrycan and the mower to finish?
The mower is one of the level's two fuel-driven machines, and the jerrycan comes out of a grey bucket at 0:19. Pouring the fuel into the mower's tank at 0:41 is a required step in the run we followed — the mower's engine is what the level uses to get you moving between the shed's two halves. Skip it and the generator sequence has nothing to build on.
What this page could not verify.
1. The picture on the sliding-tile board. The 3x3 board is opened at 3:19 and never shown with its tiles all facing the camera in a clean frame. Two passes read it as a pale image of white sacks with a scoop of grain, which is consistent but not certain, and the solved board is on screen for barely a second before the panel opens. The puzzle's mechanic is certain; the artwork is not.
2. What the Battery actually powers. It appears in the inventory at 7:30 and nothing in the readable footage consumes it. The red cabinet marked H is the obvious candidate — a battery box is exactly what an H-marked wall cabinet in a shed would be — but the recording never shows the cabinet being opened, so this page will not claim it as a step.
3. What is in the red toolbox. The dials and the code 918 are solid, and the lid is up at 2:12, but the contents sit under the tray and the camera angle never gives a clean look. If you are following the guide for an item, take it off the box rather than trusting a guess from this page.
4. Whether the generator ever runs. The plate, the switch, the pull cord and the breakers are all clearly shown and clearly worked, but the shed's lights do not come on at any point in the recording, and the darkness at 7:45 is handled by the candle instead. Either the generator is a red herring or its payoff is a door or hatch that the camera never lingers on. We are not going to invent a hidden panel for it.