Rooms & Exits Chapter 1 Level 7 Walkthrough: The Game Night Agency
Unofficial fan-made guide. Not affiliated with Webelinx Games, the developer of Rooms & Exits: Escape Room Games.
Rebuilt frame by frame from a recorded playthrough of the current build, 489 seconds of video at 1080p. Two floors, five puzzle stations and one safe. Every timestamp below is the video's own clock, not the in-game timer. The in-game clock starts at 0:00 about 17 seconds into the recording.
Chapter 1 · Wicked Games11 of 11 with full written steps · 11 with a video
Quick answer
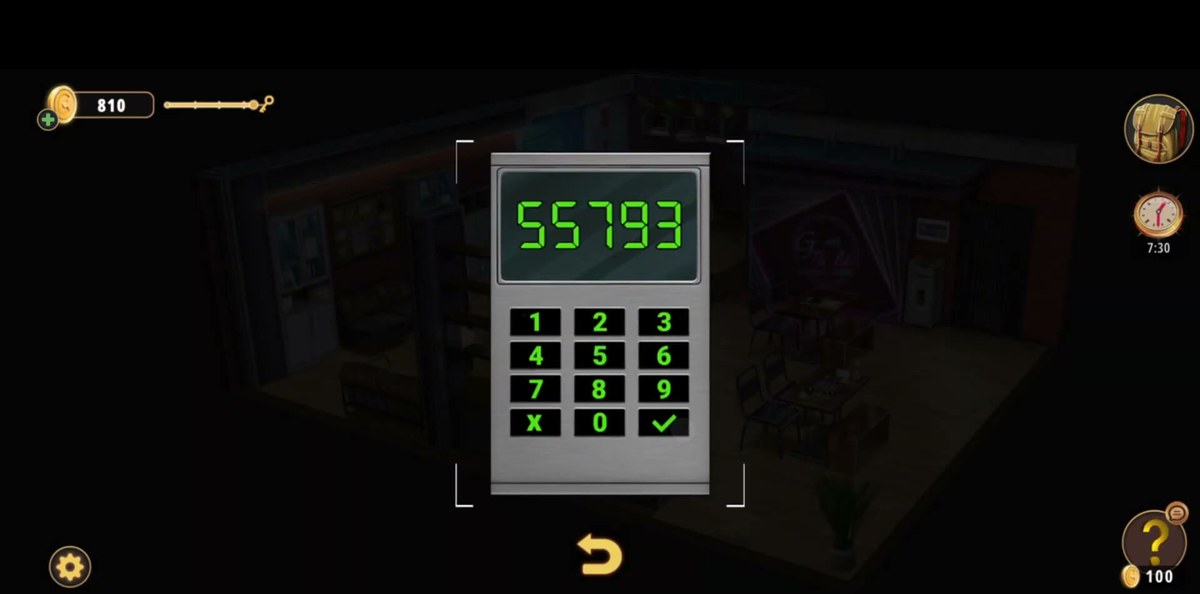
The safe code in The Game Night Agency is 55793. It is written on a crumpled note lying on the bottom shelf of the board-game shelf, next to the Scrabble box. A small white object that is very easy to walk past.
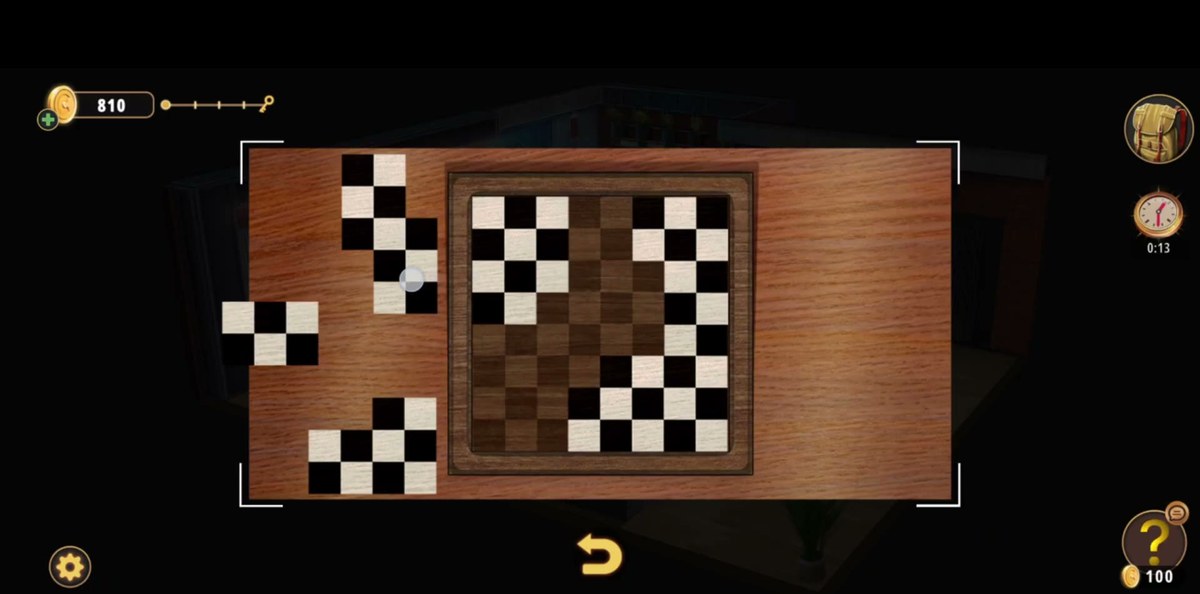
Solve the checkerboard packing puzzle on the low table → note H=C (0:41).
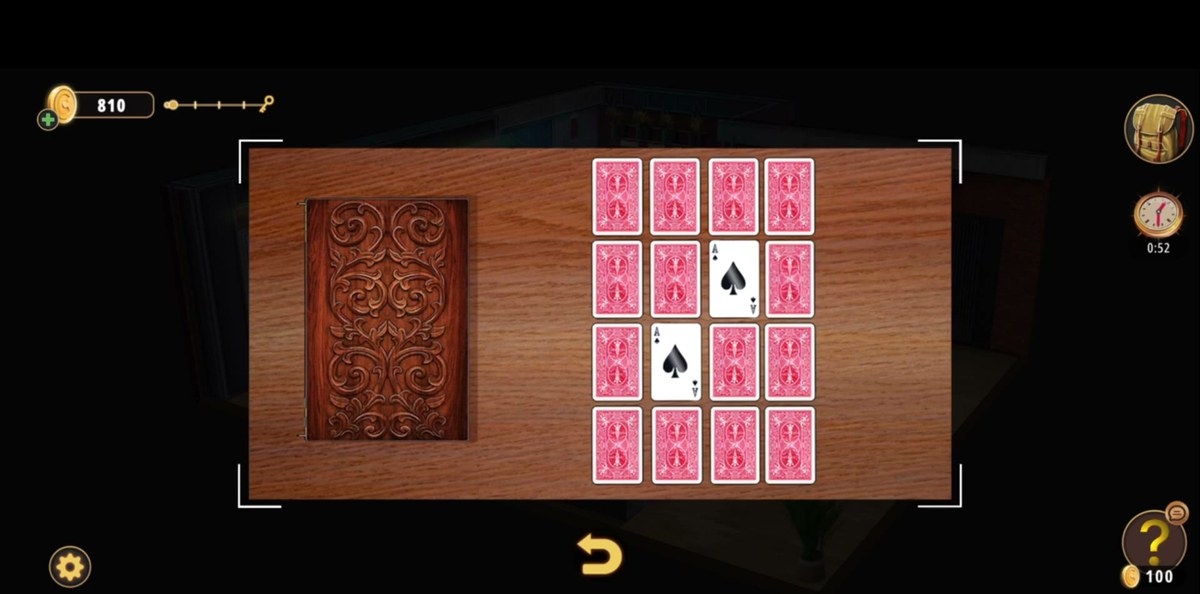
Clear the 4×4 card board (16 cards) → the carved wooden box opens (0:46).
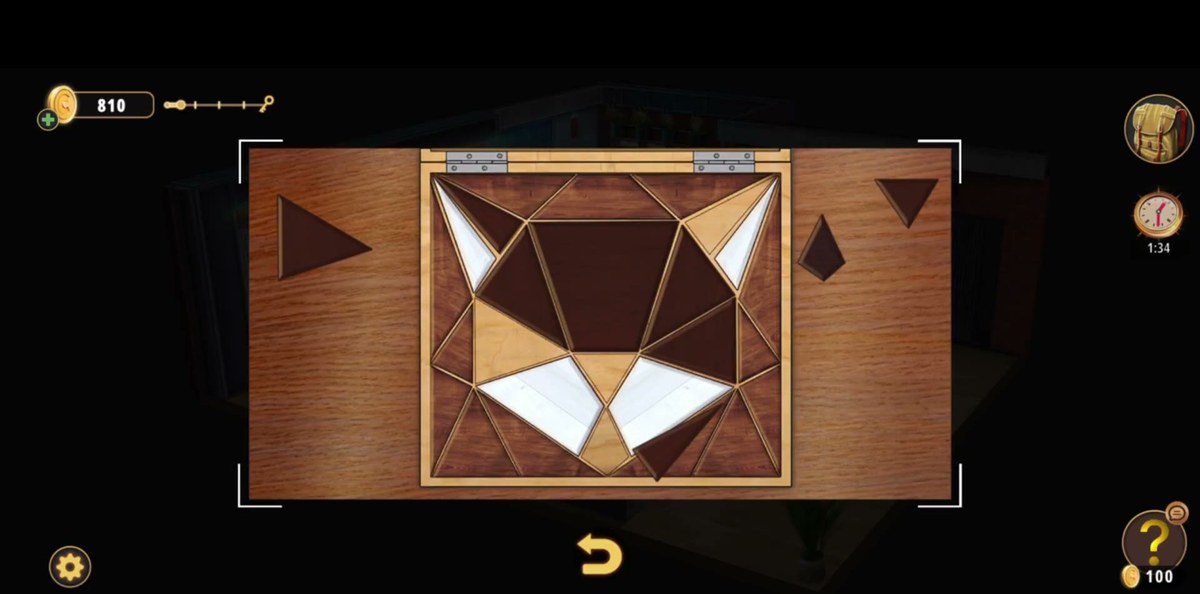
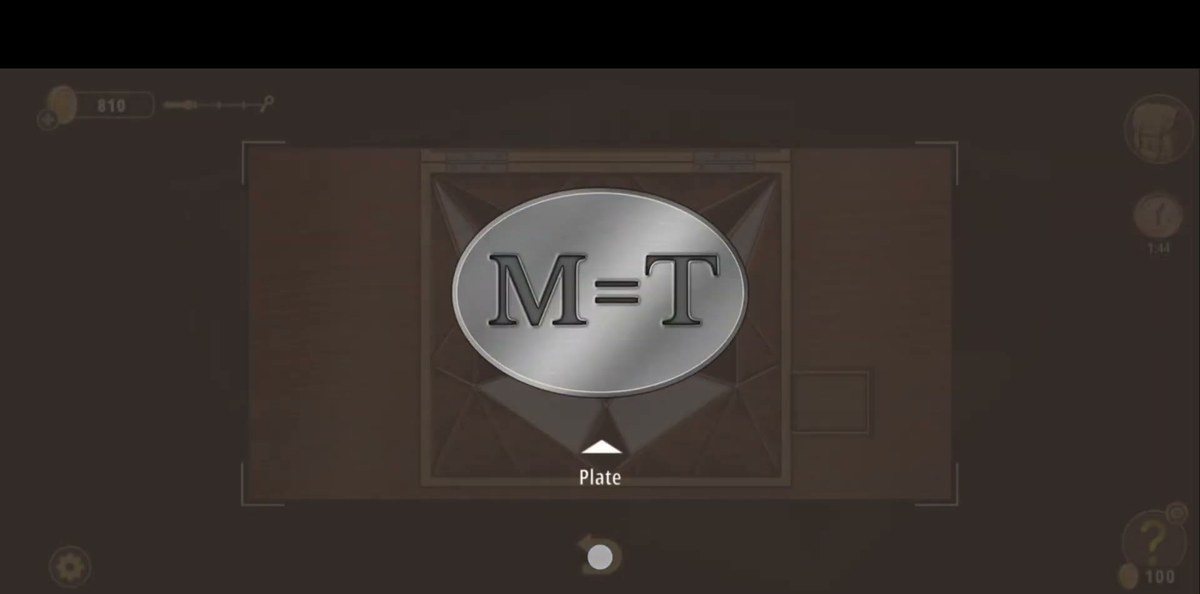
Build the fox in the tangram box → a Plate marked M=T (2:03).
Finish the briefcase block puzzle → the CAN board game and a photograph (2:45).
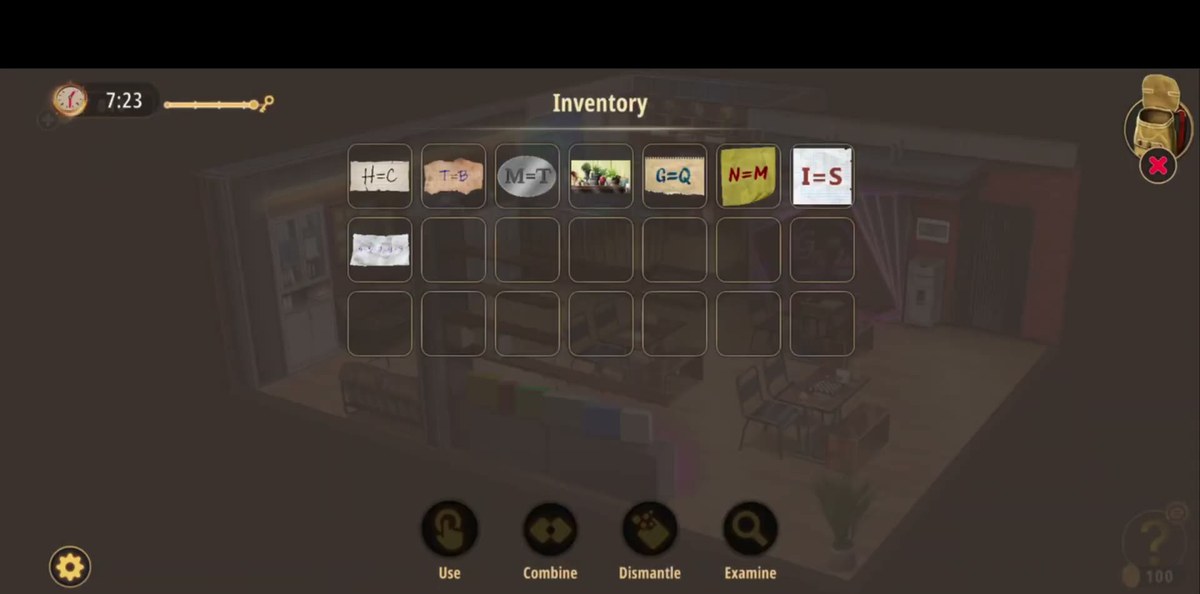
Pick up the small white object on the bottom shelf of the game shelf (7:13), smooth it out, read 55793, then type it on the keypad beside the door.
What this level actually is.
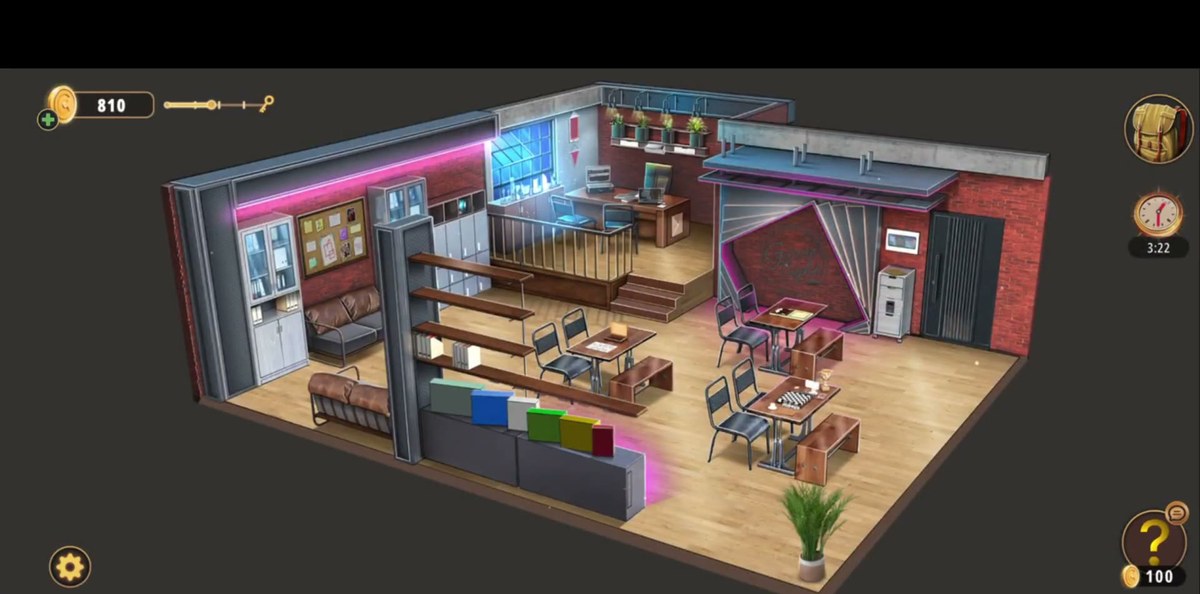
The Game Night Agency is one room pretending to be two. It is a cafe-cum-office for a company that runs game nights, and the game drops you on the lower floor between a row of tables and a long shelf of board games. Stairs on the right lead up to the office half: two desks, monitors, a glass cabinet, a cork board. There is no corridor and no second room. Every clue you need is inside these two floors.
What makes Level 7 different from the four rooms before it is that nothing chains in a straight line. Several puzzle stations are open from the first minute, each one hands you an object, and the objects do not point at each other. The one number that matters. The safe code. Is not on any of the puzzles. It is a crumpled scrap lying on the bottom shelf of the game shelf, and our recording only notices it at 7:13, when everything else is already done.
So the honest way to play it is not "follow the steps". It is: clear every station on the lower floor first, because that is where the drawer, the safe and the exit door all are.
Step by step.
Step 1 · 0:18Stand still and read the room before you touch anything
You start on the lower floor with five open stations around you: the low table with the checkerboard, the cabinet with the card board, the shelf of board games, the plant shelf, and the low unit on the left wall. The stairs to the office half are on the right. Nothing here is hidden behind a door, which is why players waste their first two minutes opening the obvious objects and finding nothing.
Step 2 · 0:22The checkerboard on the low table is a packing puzzle
A recessed square board with half a checkerboard already in place, and loose checkerboard-patterned pieces sitting around it. Drag each piece into the board until the pattern closes. There is no chess move to find. The loose pieces are the whole puzzle, and the board rejects them if they overlap. Clear it and a note lifts out of the board: H=C at 0:41.
Step 3 · 0:46The 4×4 card board: sixteen cards, flipped two at a time
Next to the carved wooden box is a board of sixteen face-down cards in a four-by-four grid. Turn two, keep the pair, put them back if they do not match. It is the one station in the level with no code attached and nothing to collect. What it gates is the carved box on the same cabinet. In our recording the box opens only after the board is cleared, and the tangram inside is the next puzzle.
Step 4 · 1:33The fox tangram in the carved box
A wooden frame of triangles and quadrilaterals in three wood tones, and a fox's head as the target image. Drag the loose pieces from around the frame into it until the fox is complete: ears, muzzle, eyes. It is the cleanest puzzle in the level. No timer, no penalty, and the pieces do not rotate away from where they belong.
Step 5 · 2:03Out comes the Plate. And it carries the second note
Solving the tangram releases a metal Plate, and the plate is engraved with the second letter pair: M=T. This is the pattern of the whole room. You are not collecting keys, you are collecting substitutions, and each one arrives attached to an object rather than as a loose piece of paper.
Step 6 · 2:09The briefcase block puzzle: coloured blocks and a D-pad
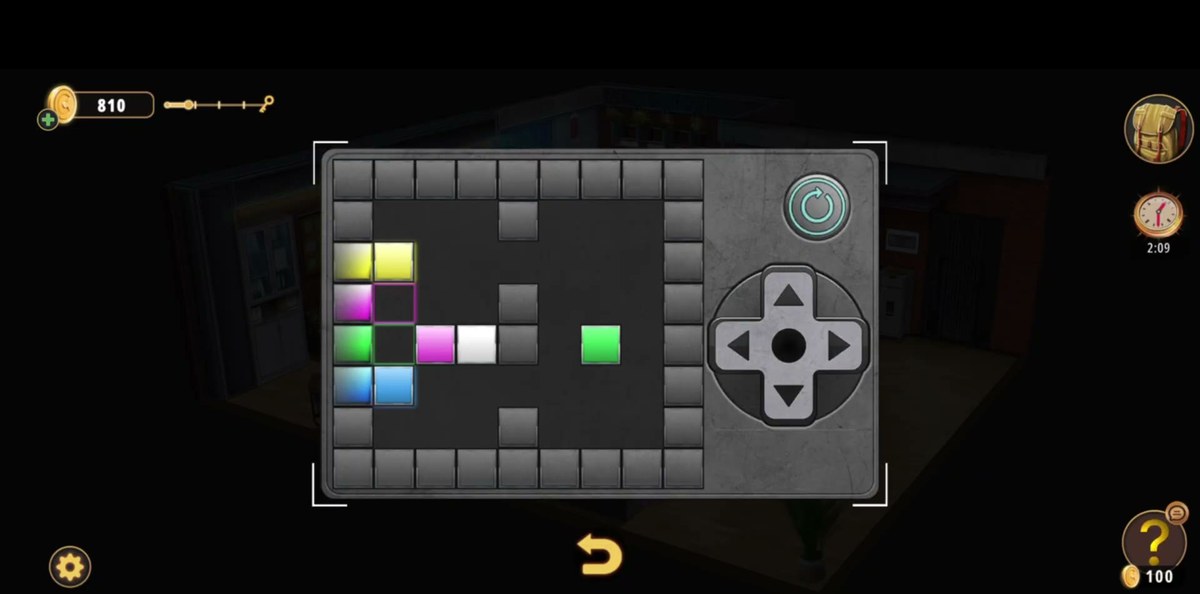
Open the briefcase on the table and you get a grid with coloured blocks pre-placed and a ring of blocks waiting on the left. You move blocks with the D-pad on the right, not by dragging, and there is a reset arrow above it if you corner yourself. Fit every block into the grid and the briefcase gives up its contents at 2:45: the CAN board game, then a photograph a second later.
Step 7 · 2:54The plant shelf, and the drawer under it
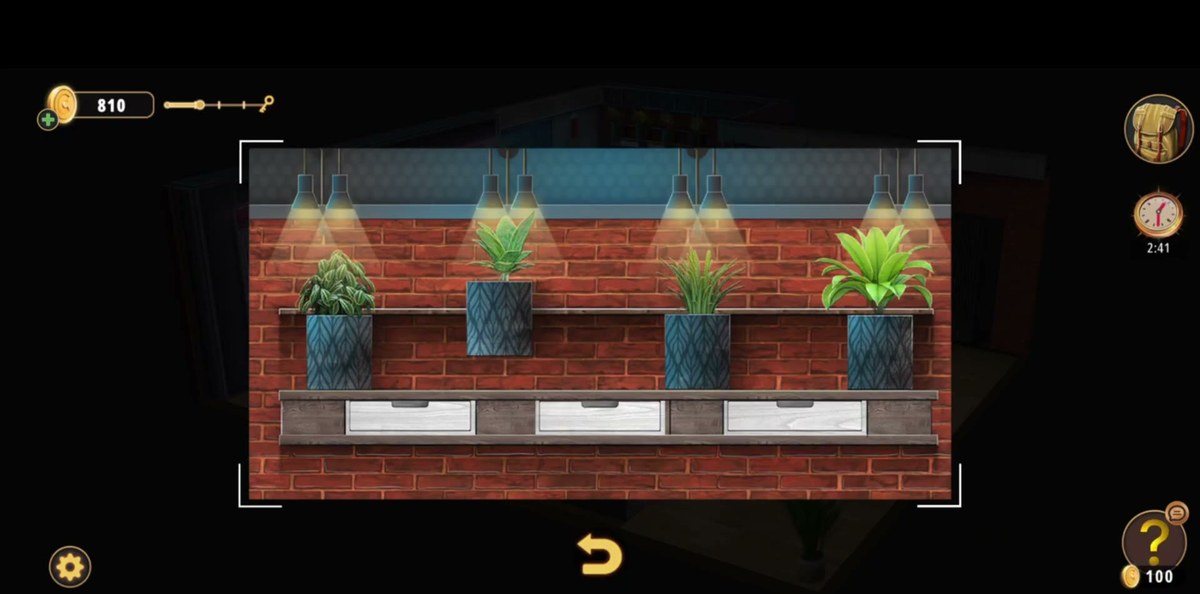
Three potted plants on a brick shelf lit by two hanging lamps, with drawers underneath. This is the station people photograph and then forget: the Picture you picked up at 2:47 belongs here, and the shelf is where the third note turns up at 3:27. Search the drawers while you are standing here. One of them is the closest thing the lower floor has to a stash.
Step 8 · 3:35The board-game shelf is a joke with a purpose
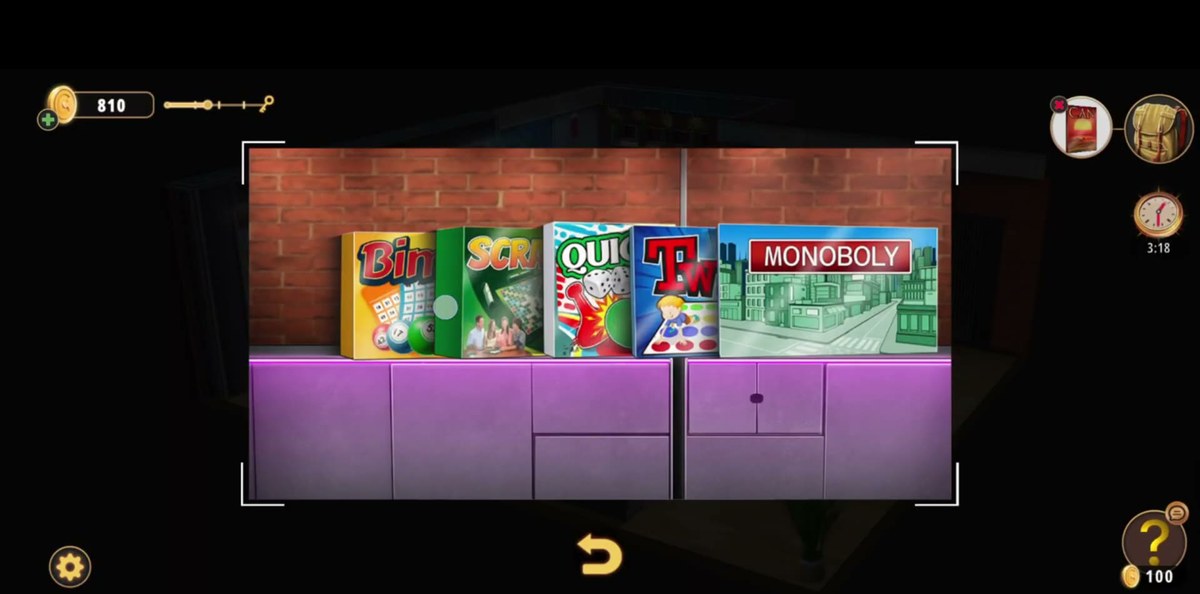
Five boxes on a purple shelf, all of them real games with one letter bent: a Bingo box, a Scrabble box, a Quiz box, a Twister box and a Monopoly box spelled Monoboly. The shelf is the room's theme statement rather than a lock. Look at it, take the CAN box's slot in your inventory as read, and move on. The puzzle work on this floor is on the walls, not the merchandise.
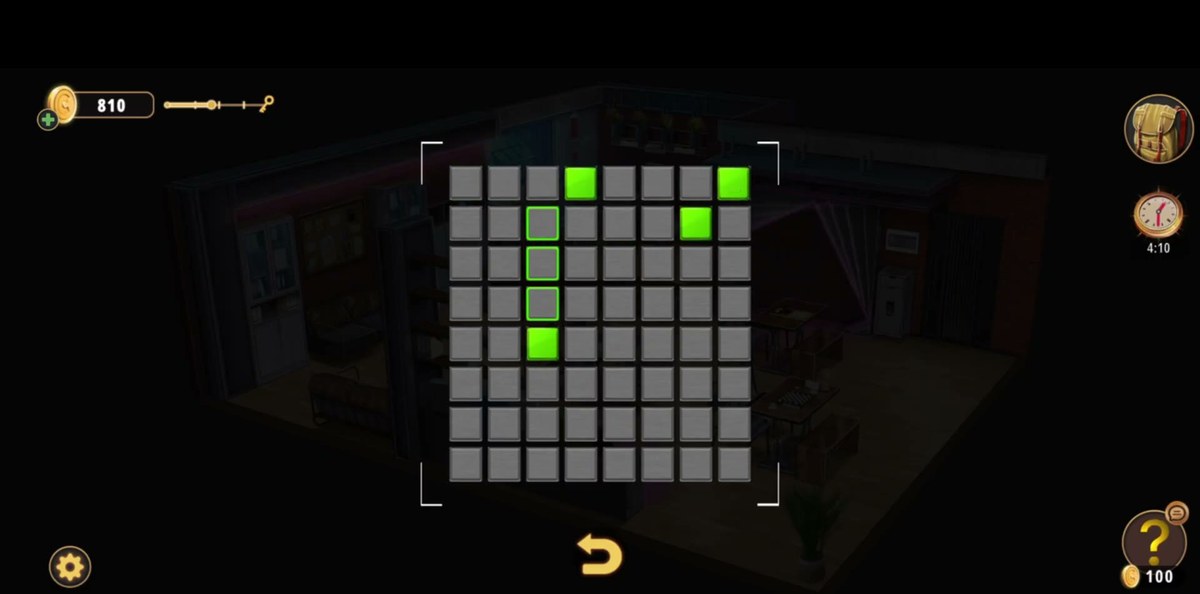
Step 9 · 4:00The green light grid on the back wall
A grid of dark squares on the back wall that lights up green as you work it. It reads as decoration on the first pass and it is not: it is a full station, and it takes the longest of any single puzzle in the room. Our recording is still on it at 4:59. Work the squares systematically from one corner; there is nothing timed here and the back arrow undoes a misstep.
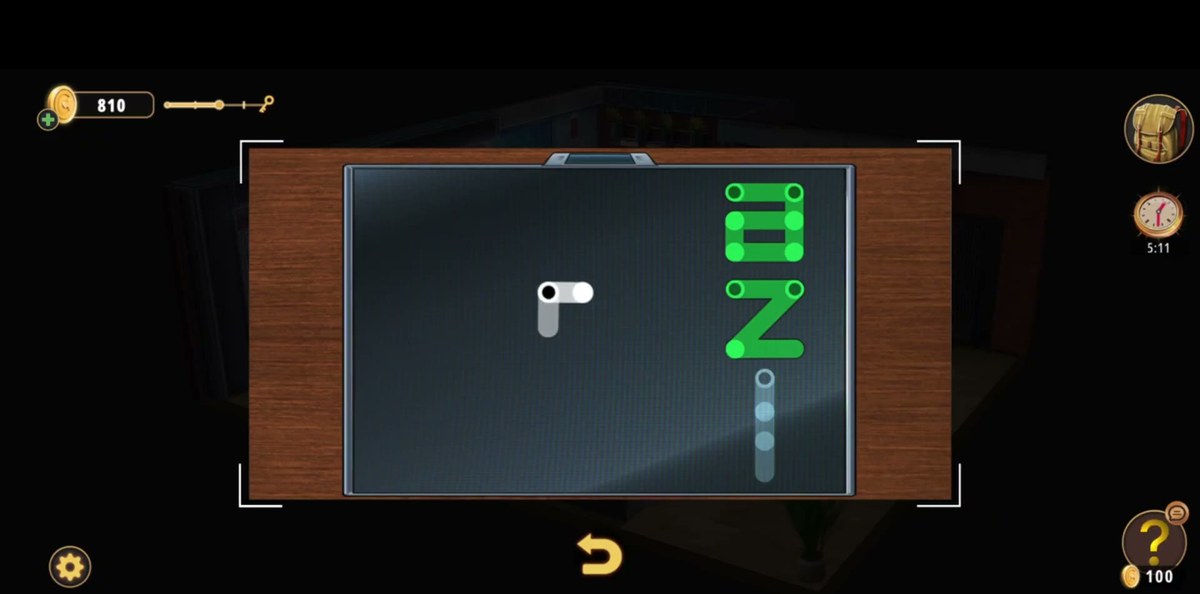
Step 10 · 5:12The small screen with the toggle and the segmented letters
A framed screen on the lower floor: a white toggle switch on the left, green segmented letterforms on the right, three pale circles underneath. This is the one station our recording uses without fully explaining. The player toggles it, watches the letters settle, and leaves. Nothing enters the inventory here. Treat it as a look-and-note stop: copy whatever letters it shows before you walk away.
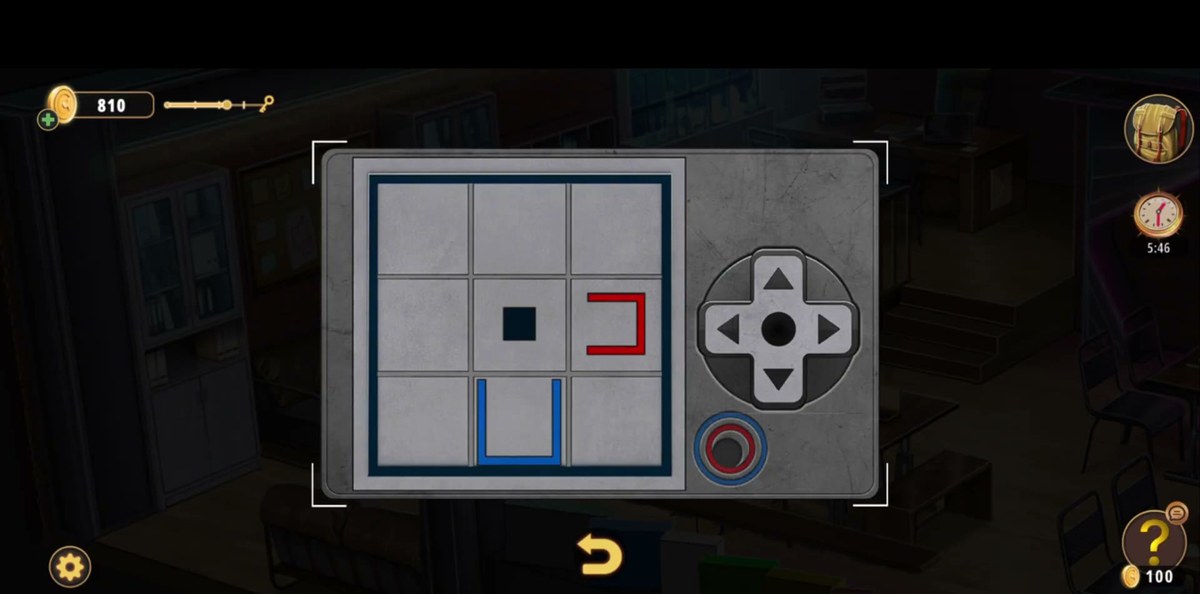
Step 11 · 5:50The sliding-block puzzle that unlocks the drawer
A three-by-three well with a blue U-shaped block, a red U-shaped block and a single black square, and a D-pad with a red button below it. Shuffle the blocks with the D-pad until the board settles into its solved state. The shape is the classic sliding-block problem, but on a board small enough to brute-force. In our recording the puzzle is finished at 6:12 and the drawer below it opens at 6:17.
Step 12 · 6:17Open the drawer for the gold bars. The code is not in here
The drawer in the low grey cabinet pulls out with two gold bars inside and sparkle markers on it. Take them and move on. This is the level's trap: the drawer looks like the payoff and it is not. The safe code is a separate scrap of paper sitting on the bottom shelf of the game shelf, and if you stop at the drawer you will never find it.
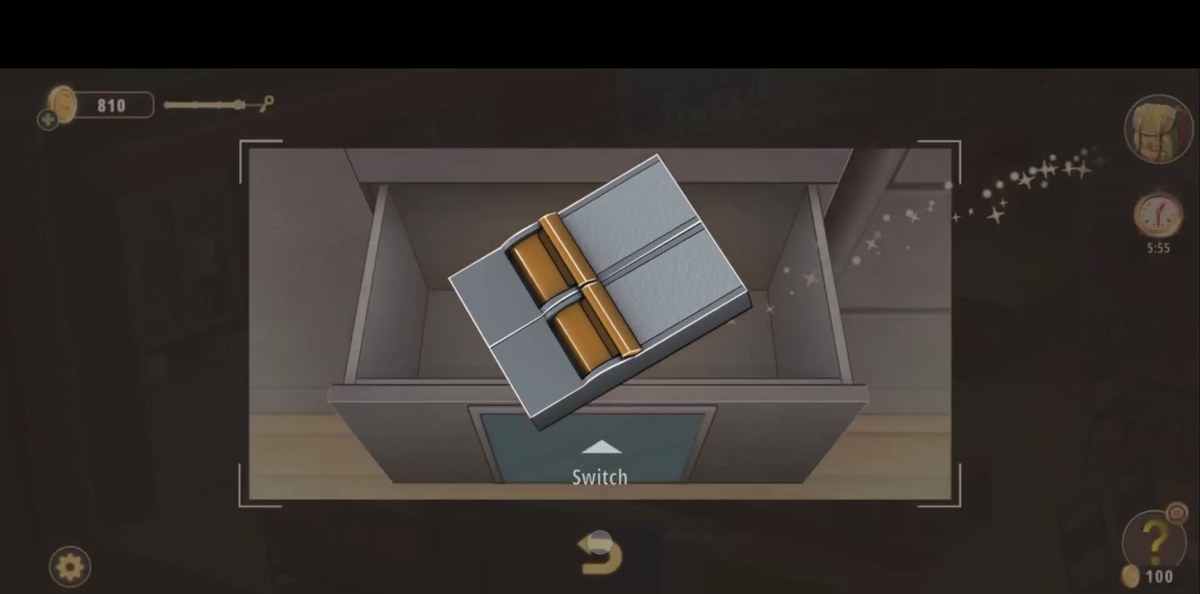
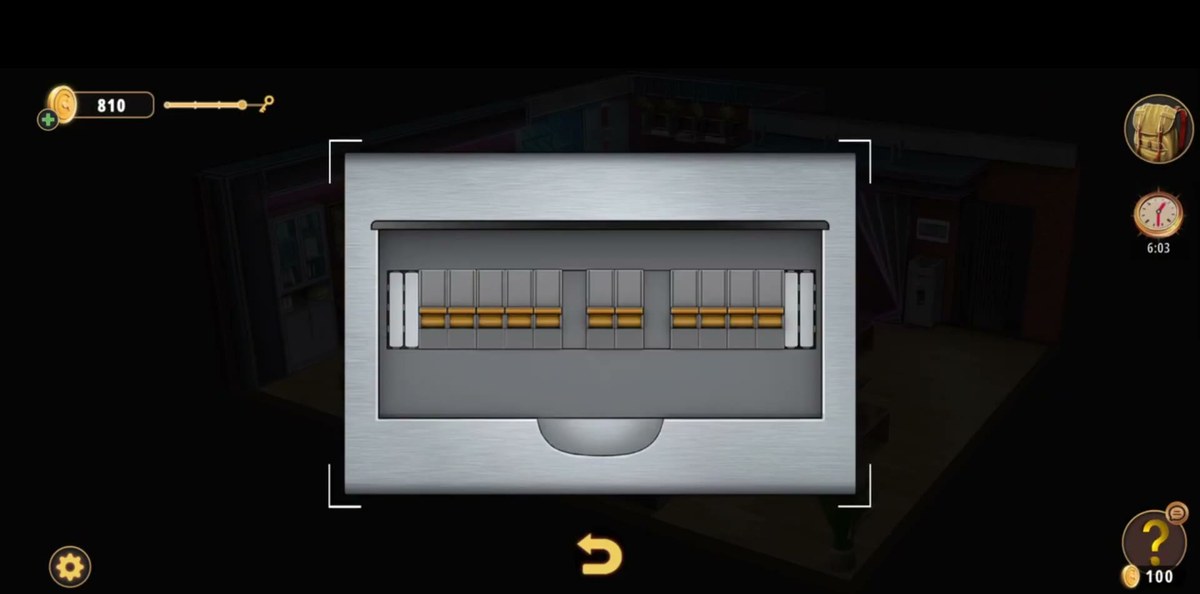
Step 13 · 6:25The fuse box with eight switches
A grey panel of horizontal switches, some up and some down. Set them so the panel reads as solved. Our recording settles it in about fifteen seconds, which means the correct configuration is close to what you find. Nothing drops into the inventory; the panel is part of the room's power-up chain, and the lights come back on around the counter.
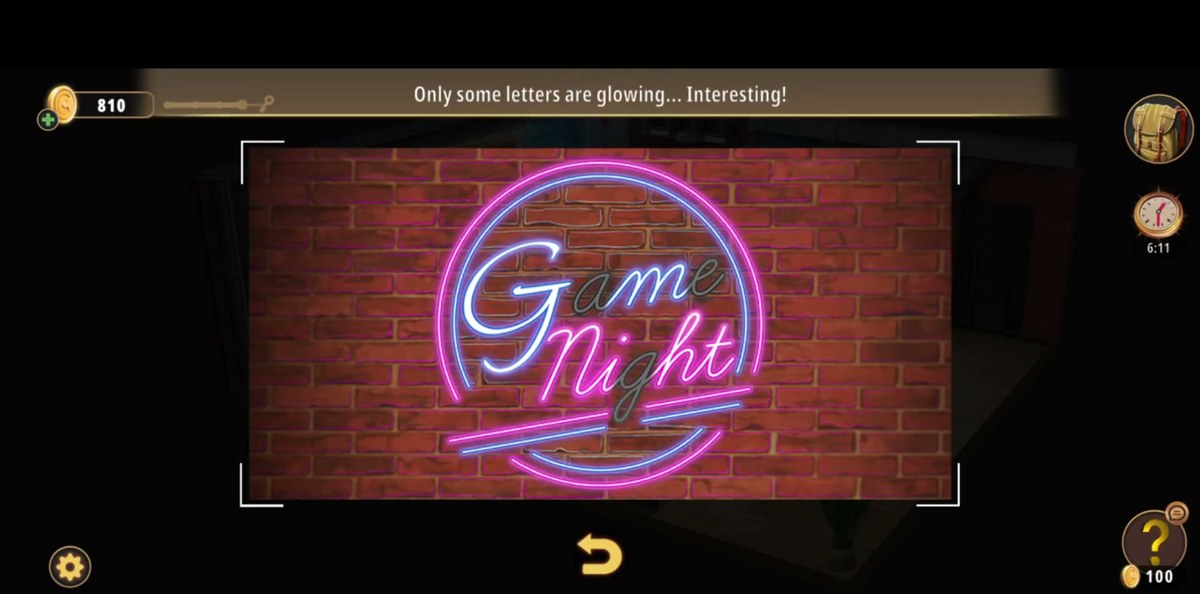
Step 14 · 6:30The Game Night sign: only some letters are glowing
Over the counter, a blue Game above a pink Night, both inside two neon rings. Look at it and the game puts the nudge on screen itself: "Only some letters are glowing... Interesting." That is the note puzzle's home. You are meant to read the glowing letters against the six substitutions in your inventory. Do not expect the sign to give you the safe code. It does not.
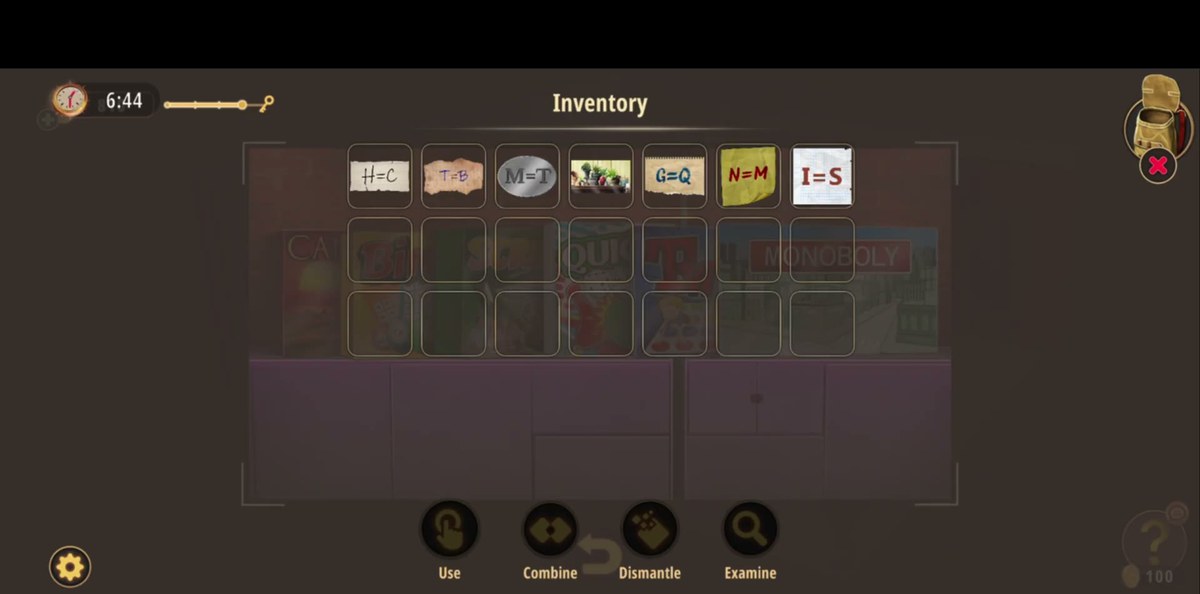
Step 15 · 7:00Inventory check: six notes, one photograph, a plate and two board games
By 7:00 the inventory is the level's scoreboard. Six letter-pair notes, the plant photograph, the Plate, the CAN box, the two gold bars, and the note from the checkerboard. If you are missing a note, you have missed a station. The six do not come from six obvious places, and two of them arrive attached to objects rather than as paper.
Step 16 · 7:37Picked up at 7:13, straightened out at 7:37: 5-5-7-9-3
The crumpled paper sits next to the Scrabble box on the bottom shelf of the game shelf. Smooth it out and the digits are written in purple ink, one dash between each: 5-5-7-9-3. Five digits, and that is exactly how many the keypad takes. This is the only place in The Game Night Agency where the code appears. It is not repeated on a wall, a board or the neon sign.
Step 17 · 7:50The keypad by the door: 55793
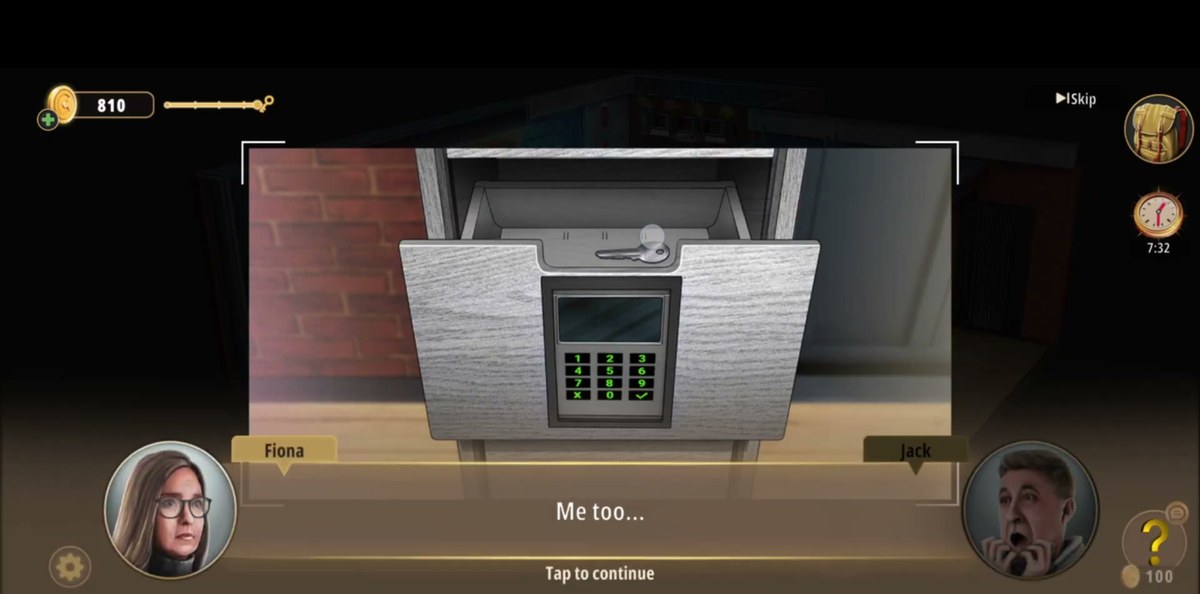
The wall safe sits beside the exit door on the lower floor, and its keypad is a plain 0–9 grid with an X and a green tick. Type 55793 and confirm. The safe swings open and there is a key inside. This is the object the level has been withholding, not another puzzle piece.
Step 18 · 7:56The outro: Fiona and Jack, and then the results screen
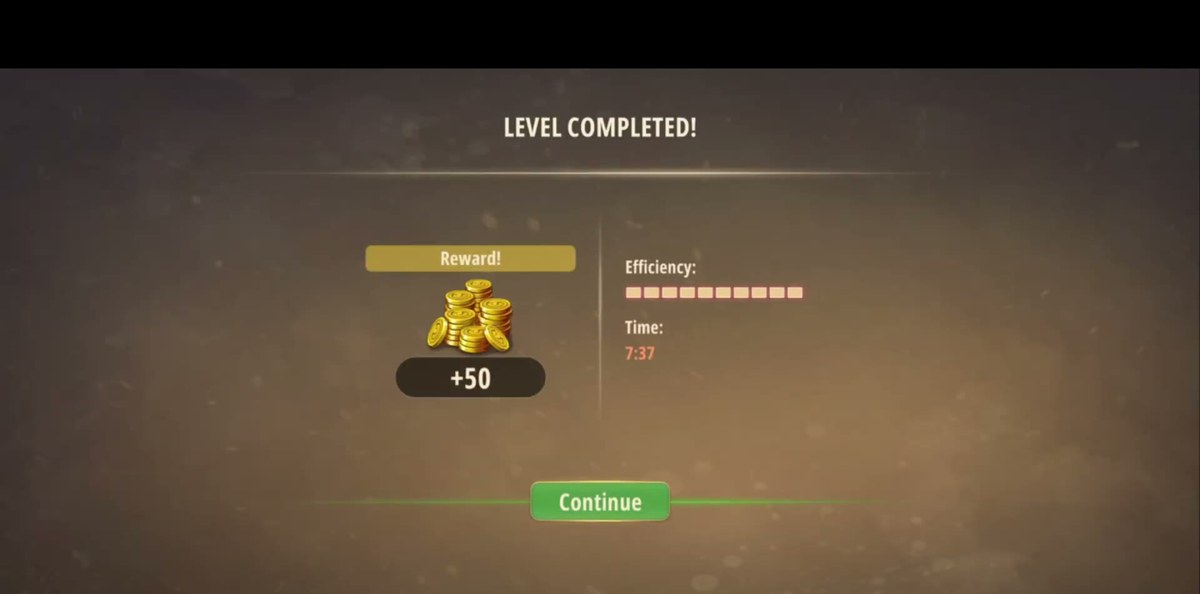
Taking the key starts the closing dialogue. Fiona: "What did he get himself into?! I have a very bad feeling about this." Jack: "Me too..." You can skip it with the button in the corner, but it is thirty seconds and it is the only story beat the room has. Then the results screen: +50 coins, an efficiency meter, and a time of 7:37.
Step 19 · 8:05Level complete
The Game Night Agency ends at 8:05 on the video clock with an in-game time of 7:37 and +50 coins, the same flat reward the rest of Chapter 1 pays out. Level 8 (Log Cabin) follows immediately; the coins and the efficiency meter are what the star gate in later chapters actually reads.
Six notes turn up across the level, each carrying one letter pair. They look like a cipher and players spend a long time trying to turn them into the safe code. They are not the safe code. The set, as it appears in the inventory:
HCTBMTGQNMIS
What they belong to is the neon sign over the counter on the lower floor: a blue Game over a pink Night, circled in neon, with the game's own nudge appearing on screen when you look at it. "Only some letters are glowing... Interesting." Our recording collects all six notes before it bothers with the sign, and the inventory order is the order the room gives them to you, not an order you type anywhere.
Why the code is not on the notes.
This is the single most common way people lose ten minutes in The Game Night Agency: they treat the six letter pairs as a keypad cipher and try to read H=C as a number. The keypad has no letters on it. It is a plain 0–9 pad with an X and a green tick, five digits wide, and the only five-digit string in the level is on the crumpled note from the game shelf.
The notes are a different puzzle with a different answer. The safe is the exit; the sign is the flavour. If you have been staring at a letter substitution table trying to make a five-digit code out of it, stop. The paper you want is on the bottom shelf of the game shelf at 7:37, and it reads 5-5-7-9-3.
Where people get stuck.
The checkerboard is not chess. The pieces are loose and they get dragged into the recessed board. Players who assume it is a chess position sit there looking for a legal move that does not exist.
The card board is a gate, not a lock. Sixteen cards in a 4×4 grid, flipped two at a time. Nothing in your inventory changes when you clear it. What changes is that the carved wooden box on the same cabinet opens, and the tangram inside is the next thing you need.
The drawer is behind a puzzle you may have skipped. The sliding-block puzzle (blue and red U-shaped blocks, D-pad on the right) is easy to walk past because it sits low on the left wall. No sliding-block solve, no drawer, no two gold bars.
The code is not in the drawer, and it is not on the notes. It is a small white scrap on the bottom shelf of the board-game shelf, next to the Scrabble box. The least dramatic object in the room, and the one that ends the level.
The green grid looks like decoration. A grid of dark squares on the back wall that lights up green as you work them. It is a real station, not a wall pattern.
The door is a decoy. The level does not end by walking through it. It ends when the wall safe next to it opens and the outro plays.
Five digits, not four. Every other room in Chapter 1 uses four-digit codes. This one does not, and the pad will sit there looking broken while you wait for a fourth digit to do something.
Chapter 1 levels.
Chapter 1 · Wicked Games11 of 11 with full written steps · 11 with a video
55793. The keypad takes five digits and that is the number written on the crumpled note from the bottom shelf of the game shelf.
Where do you find the code in Level 7?
On the bottom shelf of the board-game shelf, next to the Scrabble box: a small white crumpled scrap you can pick up at 7:13. Smooth it out in your inventory and it reads 5-5-7-9-3. It is not in the drawer and it is not on the letter notes.
Is the checkerboard a chess puzzle?
No. It is a packing puzzle: loose pieces with a checkerboard pattern are dragged into the recessed board until the pattern closes. There is no legal-move rule and no chess opening to spot.
Do the letter notes open the safe?
No. The six notes carry letter pairs. H=C, T=B, M=T, G=Q, N=M, I=S. And the keypad only takes digits. The safe code comes from the crumpled paper. The notes belong to the Game Night neon sign, where only some letters glow.
How long does Level 7 take?
Our recording finishes with an in-game time of 7:37 and a reward of +50 coins. A first run takes longer, because both floors have to be searched before the odd little scrap on the game shelf means anything.
 GridPaw
 Shikaku
 Akari
 Kakuro
 Nonogram
 Nurikabe
 Pictomino
 KenKen
 Binary
 Star Battle
 Hashi
 Slitherlink
 Murder Sudoku
 Meowdoku
 Crazy Cleanup