 GridPaw
 Shikaku
 Akari
 Kakuro
 Nonogram
 Nurikabe
 Pictomino
 KenKen
 Binary
 Star Battle
 Hashi
 Slitherlink
 Murder Sudoku
 Meowdoku
 Crazy Cleanup
Rooms & Exits Chapter 2 Level 13 Walkthrough: Grocery Store
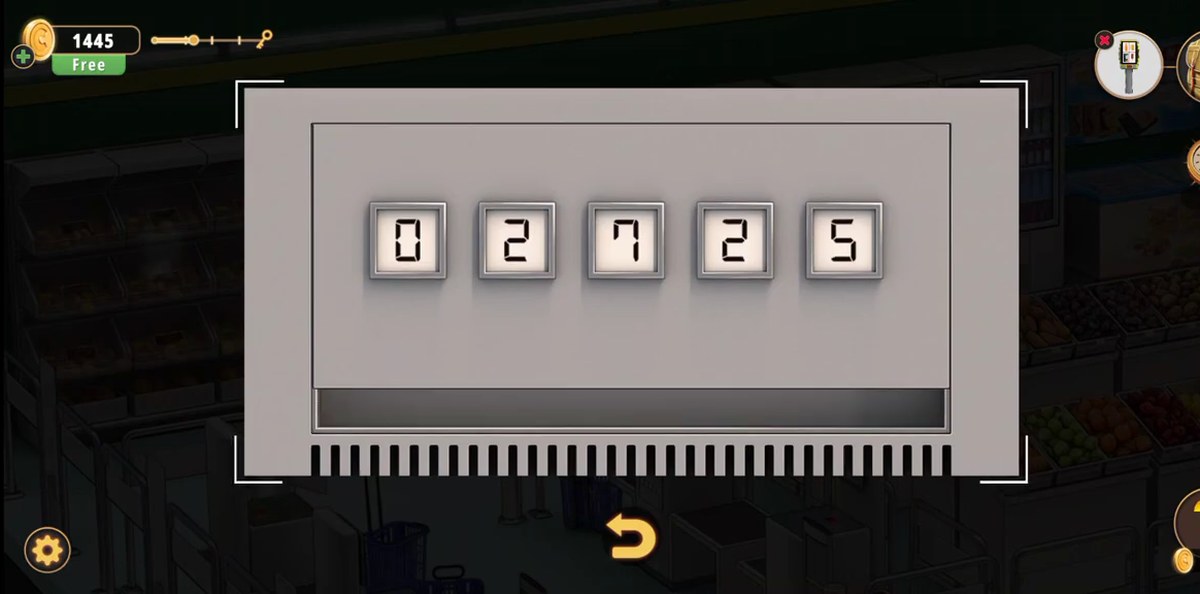
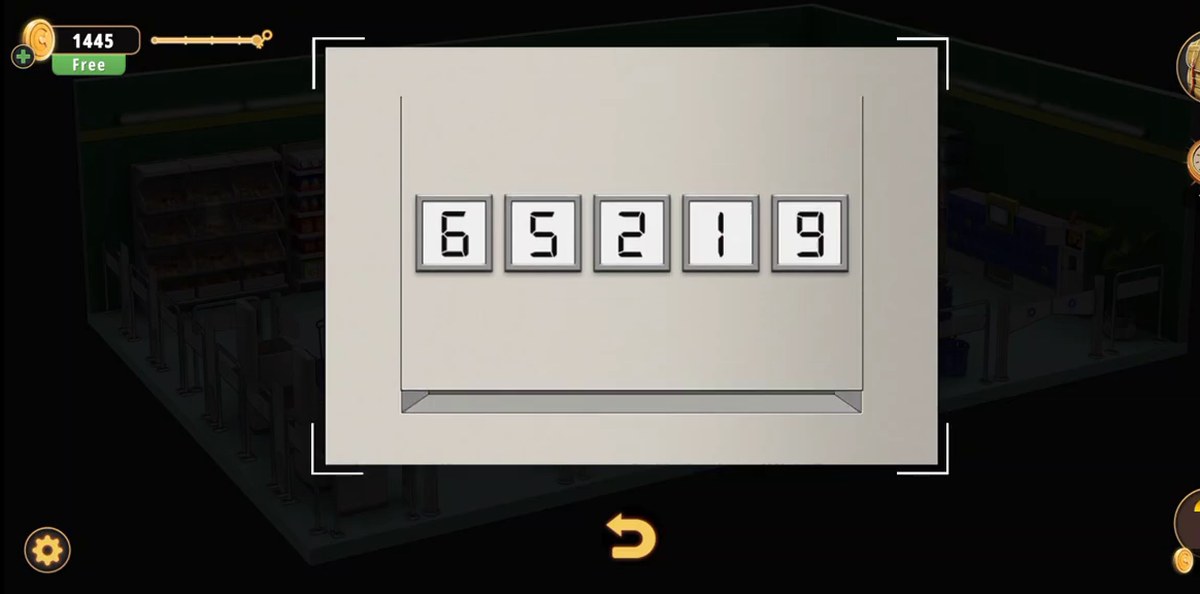
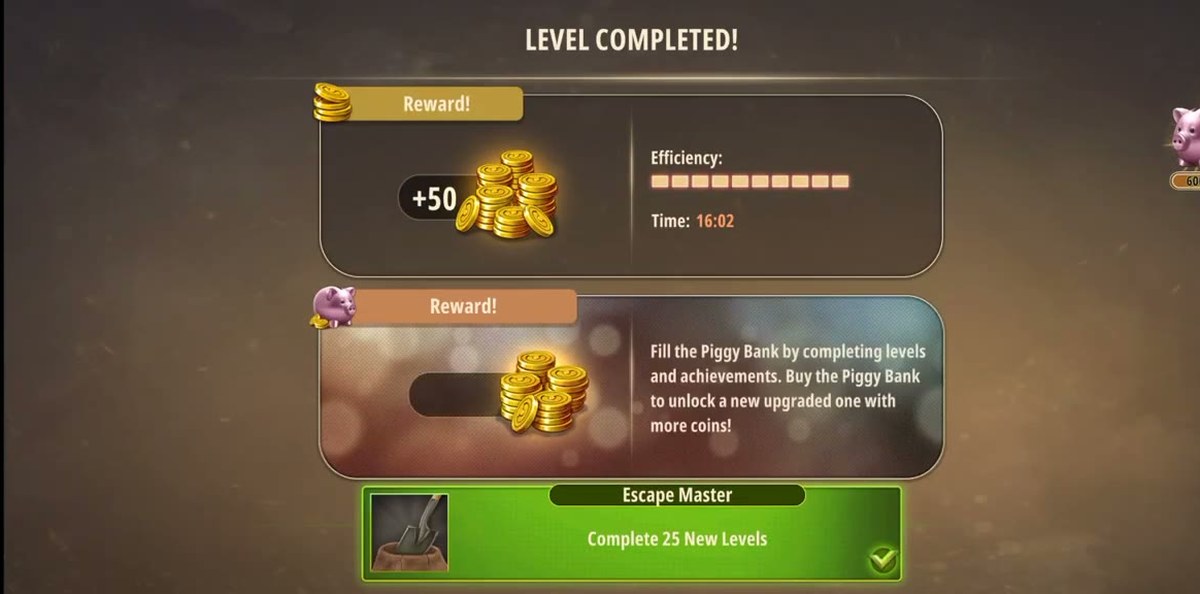
The Grocery Store runs on two five-digit numbers and four barcodes: 02725 on the dials under the drinks fridge, and 65219 on the plate under the self-checkout counter at the very end. Finish worth +50 coins.
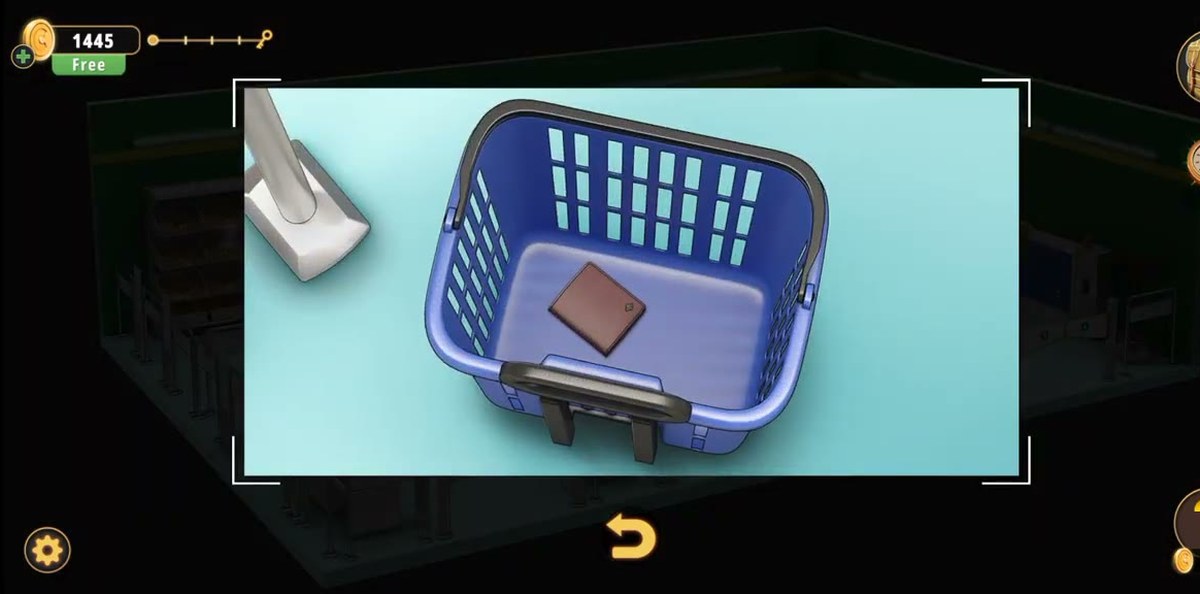
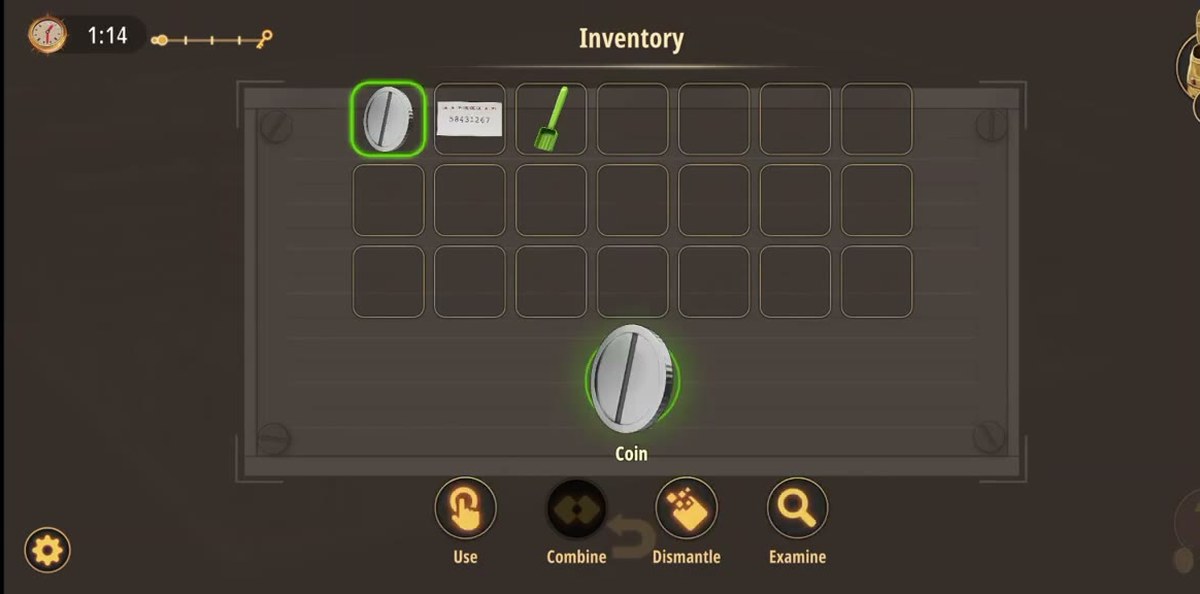
- Take the wallet from the blue basket by the self-scan till, then Dismantle it → coin + Code card (58431267).
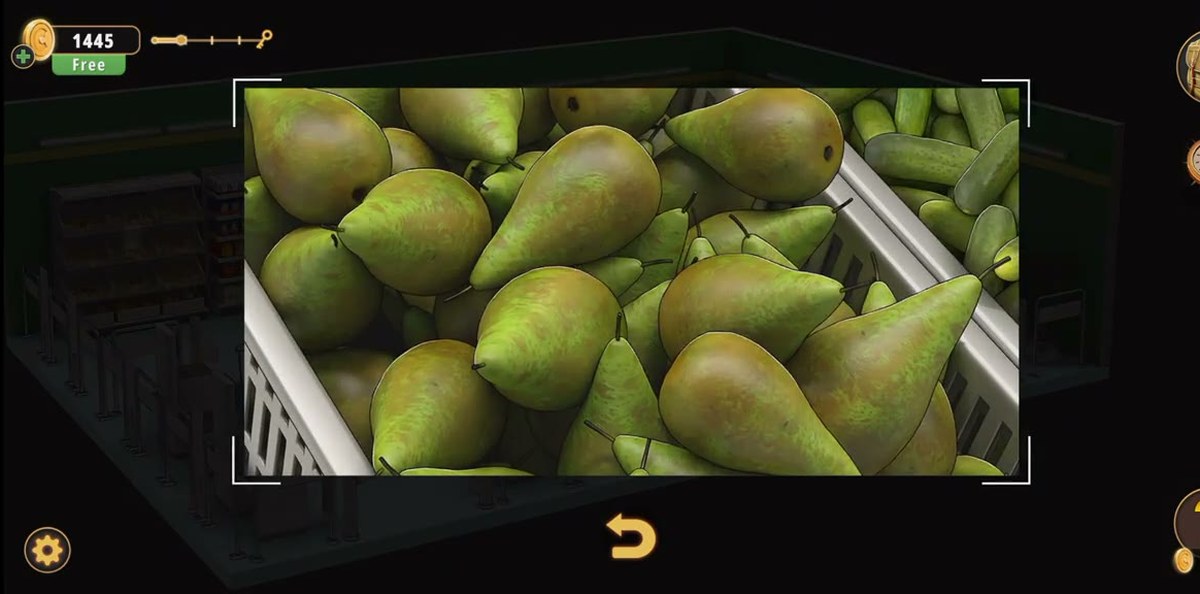
- Collect the orange, the hammer and the marker from the produce bins, and the green shovel from the blue lockers.
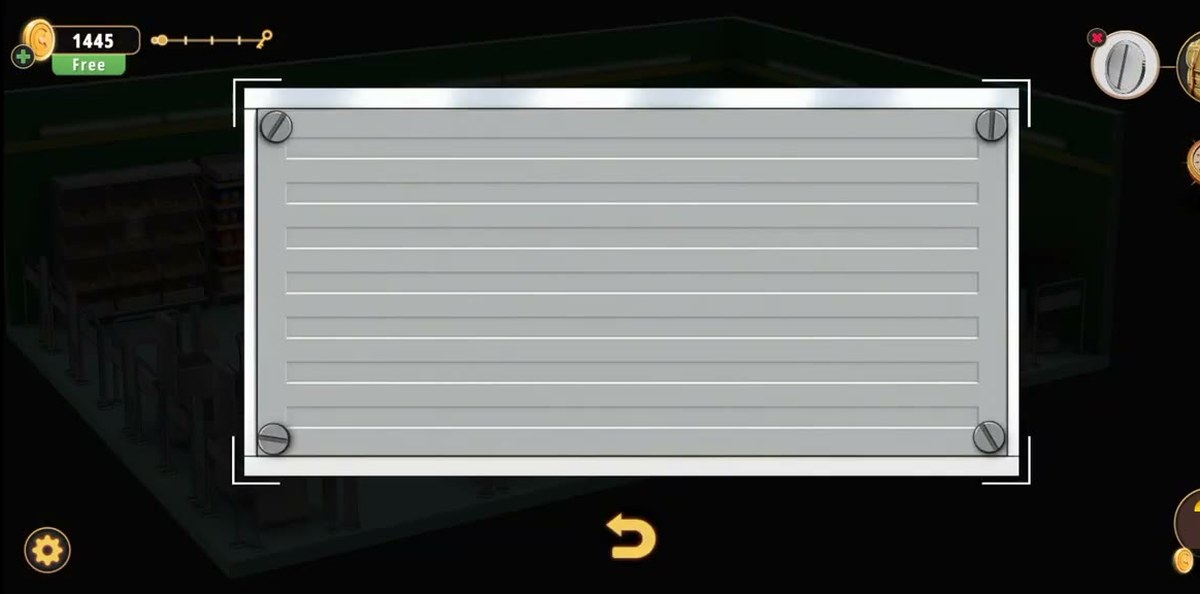
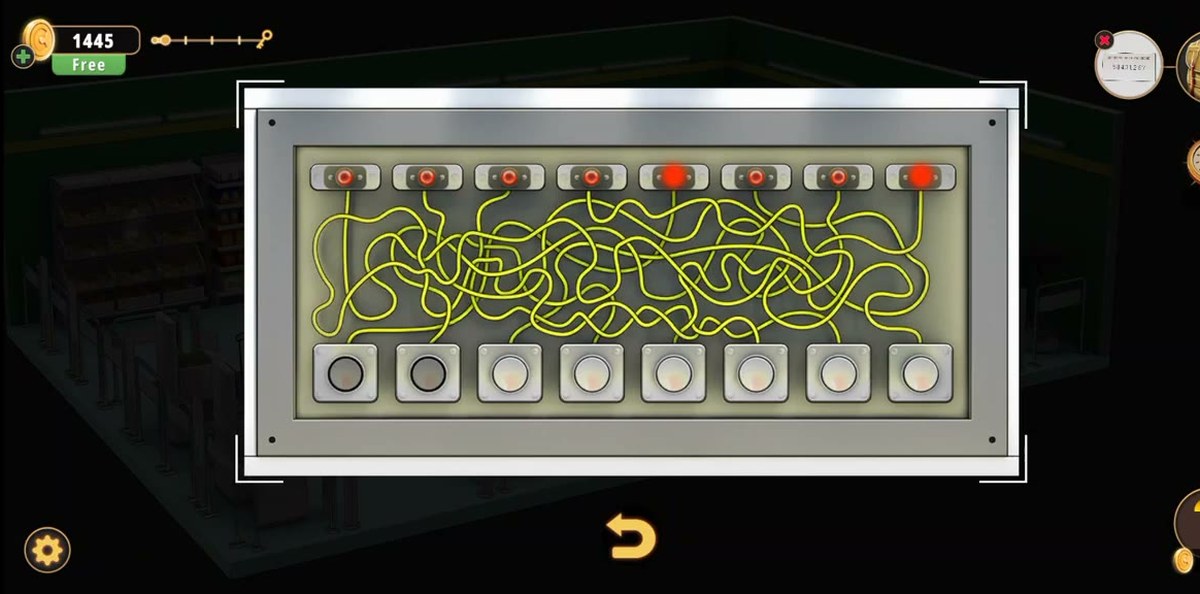
- Use the coin on the four screws of the vent cover → eight-button panel. Press the buttons in the order on the Code card (they are not the modules above them).
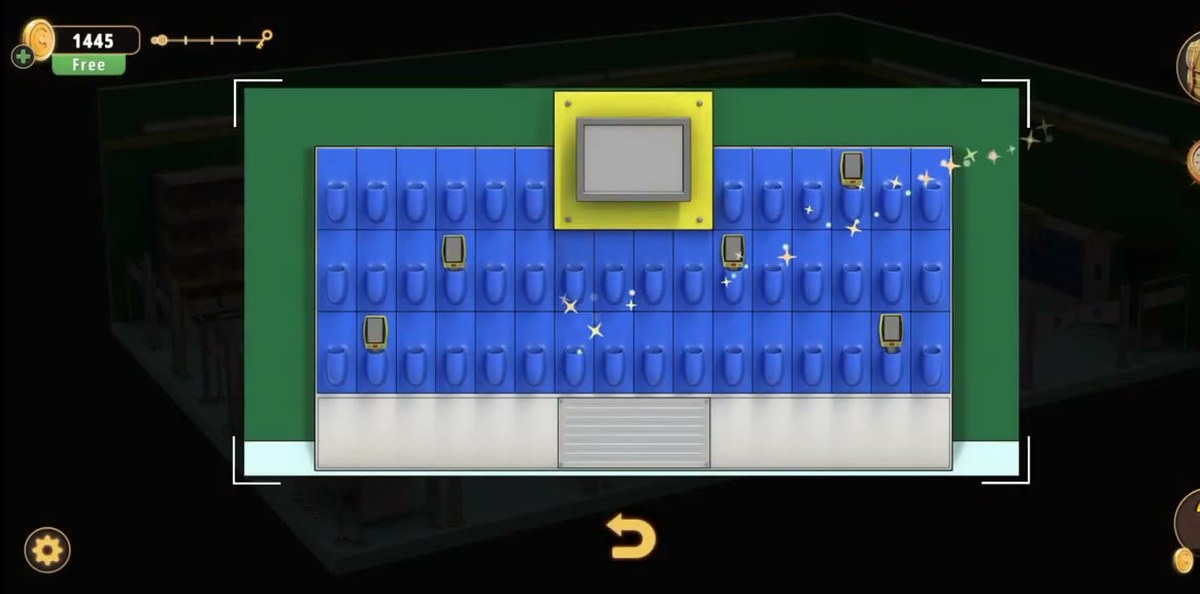
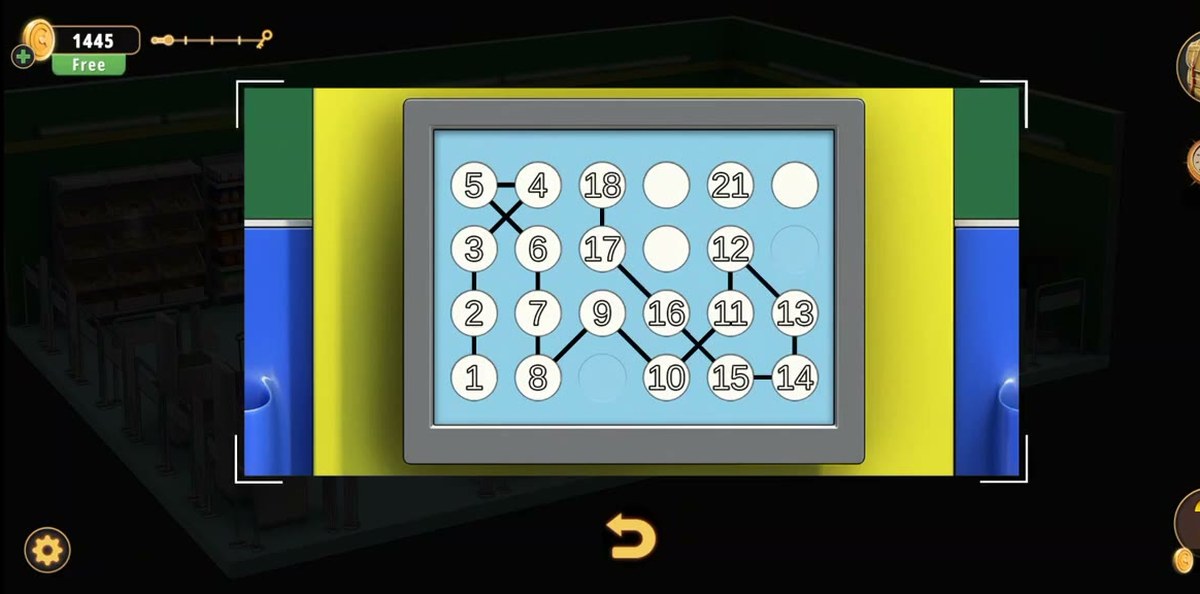
- Clear the number board that opens on the locker screen → hand barcode reader.
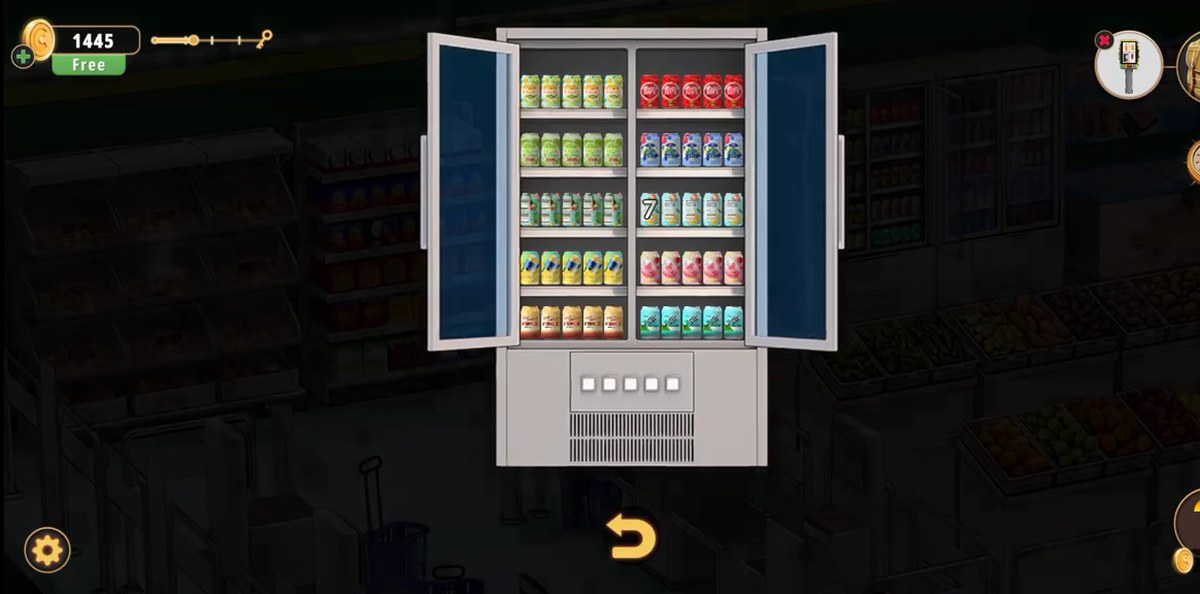
- Tap the rows of cans in the drinks fridge to reveal five digits, then set the dials under it to 02725 → key.
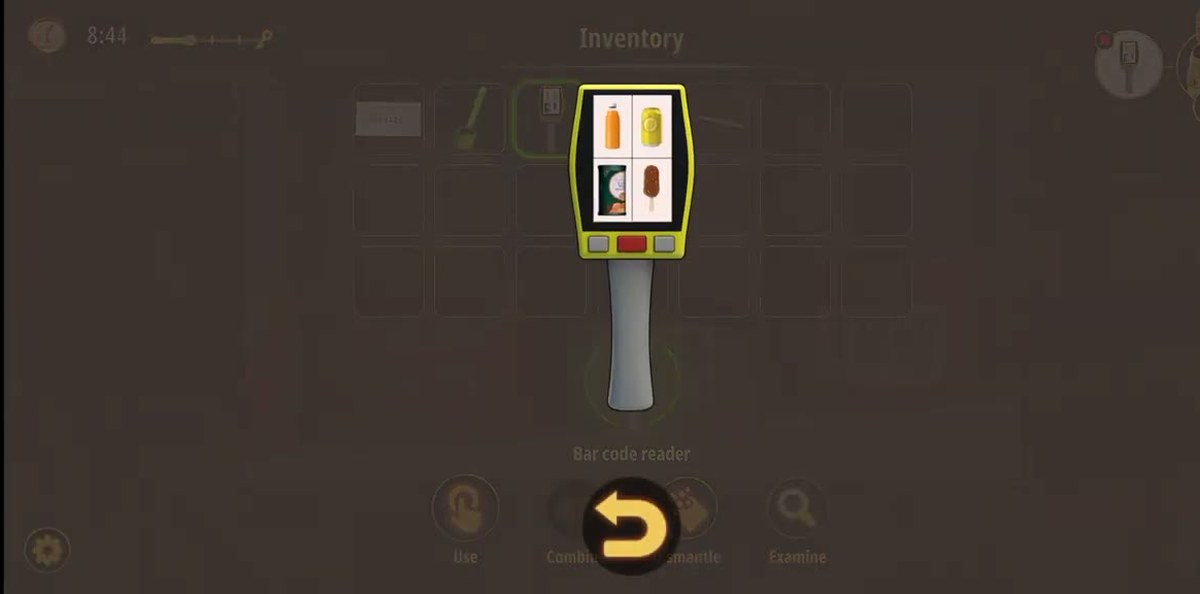
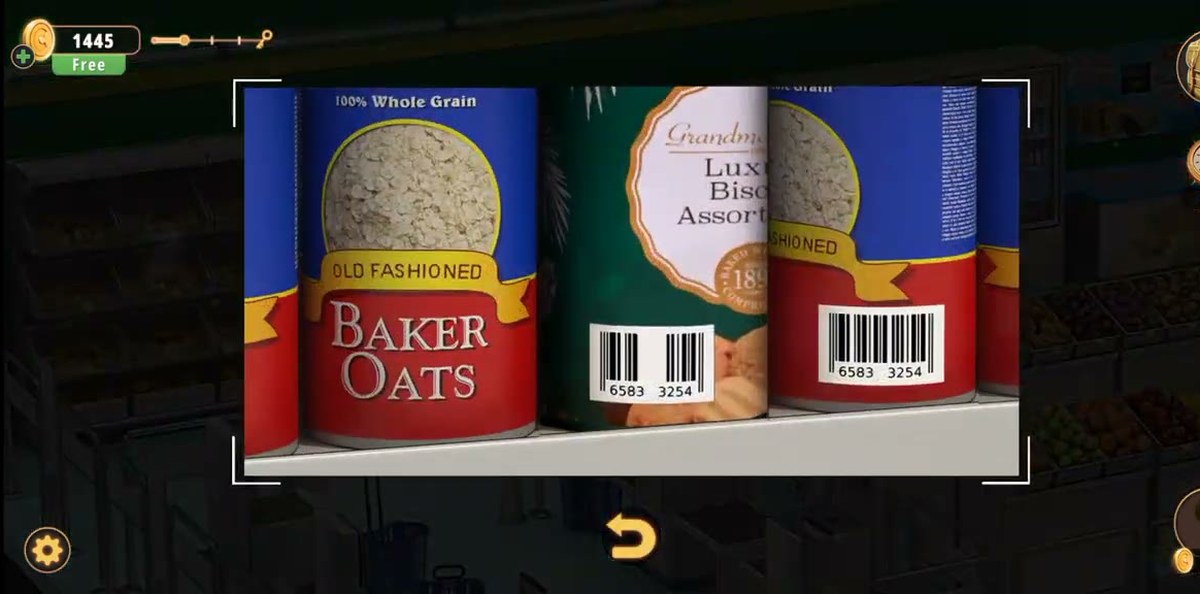
- Key opens the second drinks fridge → bottle. Read the four barcodes: tins by the bread, a yellow soda can, the ice cream in the chest freezer, and the juicer's receipt.
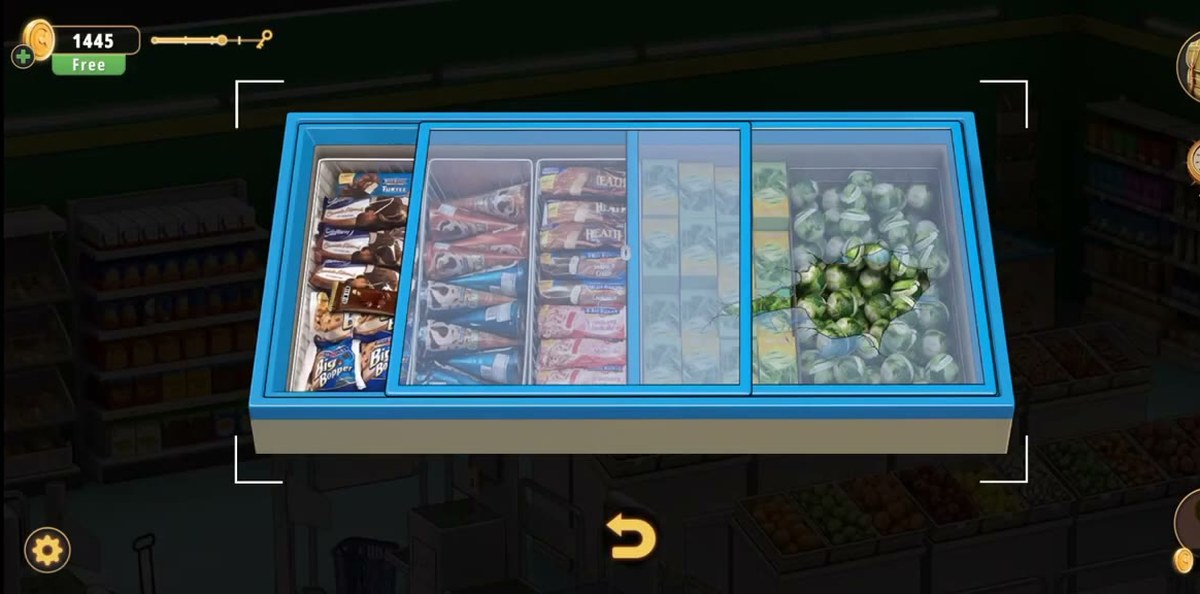
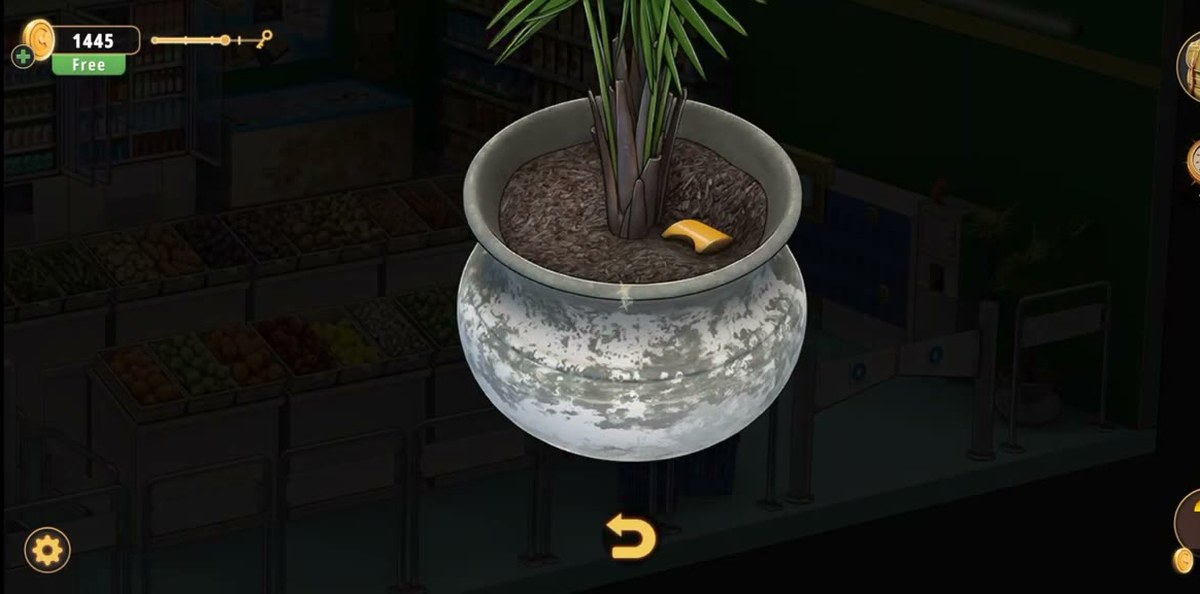
- Hammer the cracked freezer pane and dig the flower pot → two gear parts → combine → gear for the juicer.
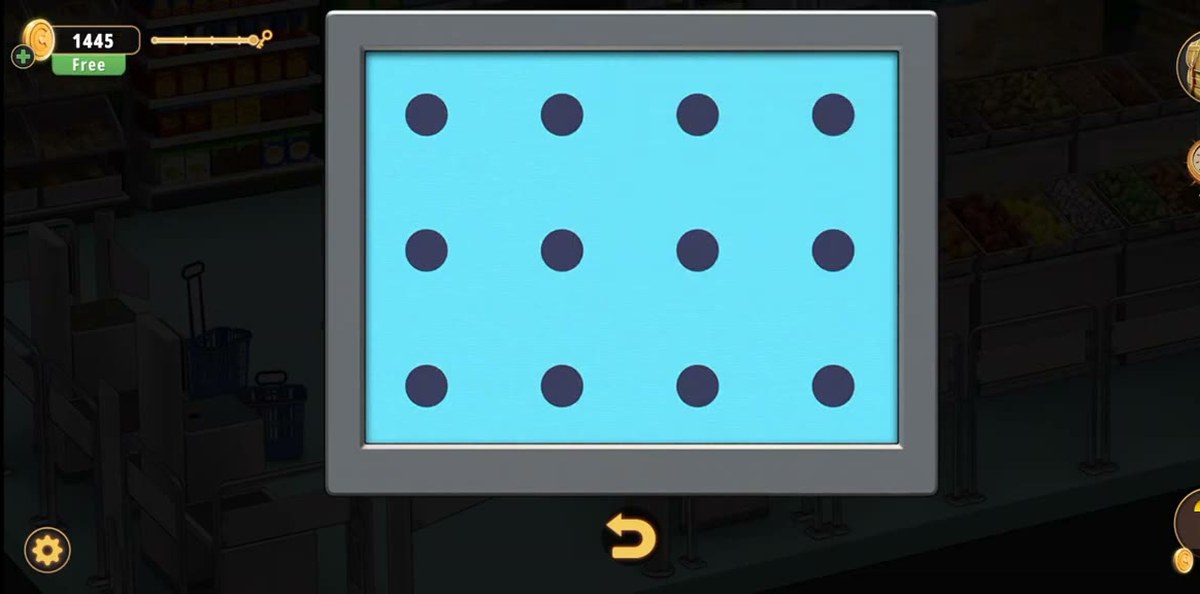
- Put the reader on the till by the baskets, clear the dot grid, then dial 65219 into the five-slot plate under the counter. Press the red button underneath → results screen, +50 coins.

What this level actually is.
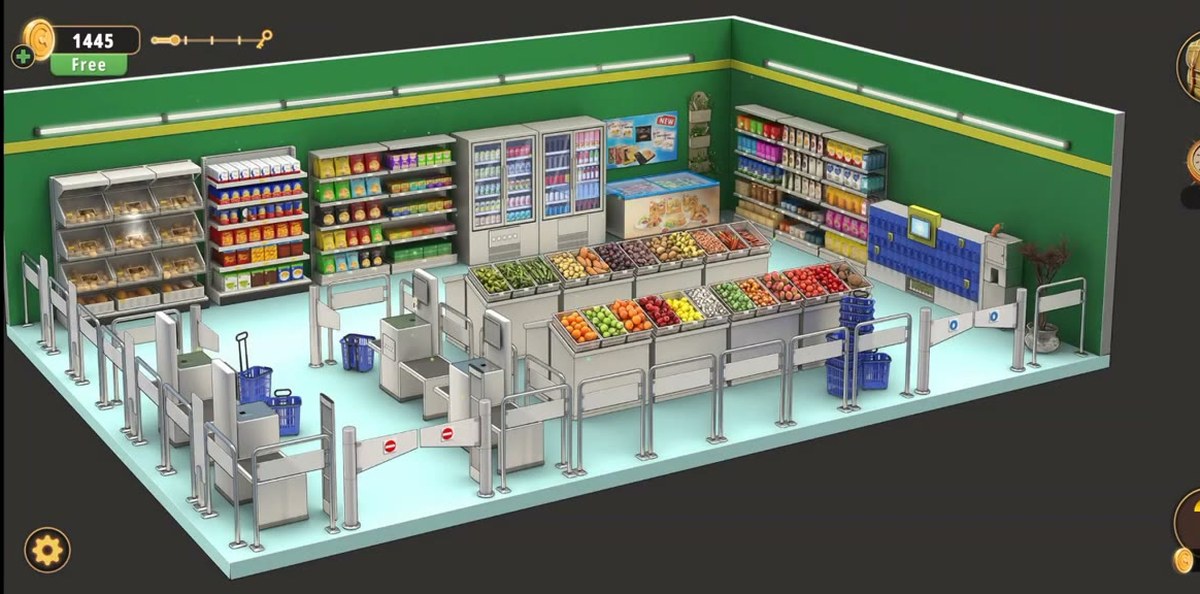
The Grocery Store is one big room, and unlike most rooms in Chapter 2 it is not a puzzle box with a corridor behind it. The camera sits high and looks down into an isometric shop: green walls with a yellow stripe, a pale blue floor, a bakery counter and two packaged-goods aisles down the left wall, two glass-door drinks fridges and a chest freezer along the back wall under a "NEW" poster, a long produce island down the middle — oranges, apples, pears, coconuts, peppers, greens — and a battery of self-checkout tills with three turnstiles at the front. In the back-right corner there is a blue bank of lockers with a yellow-framed screen above it, and beside the lockers a potted plant and a small counter with a bird ornament on it. Everything you need is in that one frame. Nothing is behind a door.
That is exactly why the level runs long. It is not a room with a hard puzzle in it; it is a room with a dozen live objects and a chain that only closes at the end. The gate is a hand barcode reader, and you get it from a puzzle that does not look like a puzzle — a grid of numbered circles on the locker screen. Until you have the reader you can walk the produce, open the fridges, tap the tins and open the freezer and nothing progresses, because four separate barcodes in this shop have to be read and only the reader can read them.
The other thing that makes the room feel bigger than it is: it contains two five-slot displays that look identical — same grey plate, same five little windows, same seven-segment digits. One sits under the drinks fridge and takes 02725. The other sits under the self-checkout till and ends on 65219. Players who find the fridge panel first reasonably assume it is the exit lock, and then spend ten minutes trying to feed it a code they have not earned yet. They are two different machines, two different codes, and one of them is not an input at all.
Length is the honest measure of the room: our recording clears it in 16:02 of level time, a second recording manages 15:03, and neither of them is fast. There is no timer, no fail state, no way to lock yourself out. The only unrecoverable mistake in the Grocery Store is walking past the wallet.
The route at a glance.
| You need | Where it is | What it unlocks |
|---|---|---|
| Wallet | Blue basket by the self-scan tills | Dismantles into the coin and the 58431267 Code card |
| Green shovel | Blue locker bank, back-right corner | Digging the flower pot for a gear part |
| Hand reader | Reward for the locker-screen number board | Every barcode in the shop |
| 02725 | Five dials under the drinks fridge | Key to the second drinks fridge, and the bottle |
| Two gear parts | Chest freezer pane + flower pot | Combined into the juicer's gear |
| 65219 | Five-slot plate under the self-checkout till | The big red button and the exit |
Step by step.
The two five-slot panels, and how to tell them apart.
This is the single most useful thing to understand about the Grocery Store. The level contains two devices that look the same — grey plate, five little windows, seven-segment digits — and they behave completely differently.
- The fridge panel (02725). It sits under the drinks fridge, directly beneath five square buttons. You build this code yourself: five rows of cans, five revealed digits, five dials, starting from 00000. It is an input, and the reward is the key and then the bottle.
- The till panel (65219). It sits under the self-checkout counter where you found the wallet, and it also starts at 00000. This one takes the exit code, which is the number the shop gives up at the very end — after the dot grid on the till screen clears and the screen settles on a barcode. Same hardware, different code, and only this one finishes the level: under it is the single red button.
Read that again if you are currently staring at a five-slot display and nothing you do makes it accept anything: the chance that you are at the wrong one of the two is high. If there are five square buttons over the display, you are at the fridge and the code is 02725. If the display sits on a counter with one red button under it, you are at the till and the code is 65219 — and if you have not cleared the dot grid yet, you have not earned the right to be here.
Why people get stuck.
- The wallet is in a basket, not a drawer. It is the only item in the room that gates everything else, and it is sitting in plain sight next to the tills. If the vent cover will not come off and you have no coin, you have not tapped the basket.
- Dismantle, not Use. The wallet does nothing on its own. The two items that matter only exist after you press the third verb in the inventory bar, and most players never press it in the first half of a level.
- The vent buttons are not above their lamps. Everyone's first instinct is to press the eight buttons in the order of the modules over them. The wires are drawn tangled, so the mapping cannot be read by eye. The order is on the card.
- The number board looks like decoration. It is a pale grid of circles on a screen; nothing about it says "drag a line". Until you draw, nothing happens, and you can leave the room without the barcode reader and never understand why the tills are inert.
- The cans only show their digits while they spin. Tap a row, watch the can that turns, and tap again if you miss it. Reading all five takes a few passes.
- The pot will not give up its gear dry. Water first, shovel second. Doing it the other way round is silent failure — no message, no animation, just nothing.
- 65219 is not the end. It is the last number, but the level finishes on the red button under it. Players who read the code and wait for a door to open stand in front of it for a while.
- The exit is at the front. The turnstiles you entered through are the way out; there is no back-room door and no loading bay to find.
Chapter 2 levels.
The Grocery Store is the thirteenth room of the twenty-six in Chapter 2, between the Jewelry Store and the Exchange Office. The list below reflects what is written up so far.
- 1 Cell Phone Store guide
- 2 Cinemas guide
- 3 Pharmacy guide
- 4 Optical Store guide
- 5 Gym guide
- 6 Candy Shop guide
- 7 Food Court guide
- 8 Pet Shop guide
- 9 Indoor Playground guide
- 10 Restaurant guide
- 11 DIY Shop guide
- 12 Jewelry Store guide
- 13 Grocery Store you are here
- 14 Exchange Office guide
- 15 Fashion Store guide
- 16 Art Supplies Store guide
- 17 Shoe Store guide
- 18 Sports Store guide
- 19 Bookstore guide
- 20 Furniture Store guide
- 21 Household Appliances guide
- 22 Print Shop guide
- 23 Bakery guide
- 24 Toy Store guide
- 25 Restroom guide
- 26 Parking guide
FAQ.
What is the final code in Rooms & Exits Chapter 2 Level 13?
65219. It goes into the five-slot plate under the self-checkout counter near the self-scan tills, and that plate starts at 00000. Our recording dials 6-5-2-1-9, reads the last slot turning from 8 to 9, and the plate closes the moment it reads 65219; a second recording of the same level also ends on that number. Under the plate is one big red button, and pressing it finishes the level.
What is the code on the drinks fridge dials?
02725. The fridge with five square buttons under its shelves hides one digit inside each row of cans: tap a row, the cans spin, and one can shows a number. The five digits are 0-2-7-2-5, and the five dials under that fridge start at 00000 and take them one slot at a time. Accepted, the fridge drops a key.
Where do I get the coin and the code card?
From the wallet in the blue shopping basket by the self-scan tills. Take the wallet, open the inventory, select it and press Dismantle: it splits into a Coin and a printed card labelled Code that reads 58431267. The coin is the only tool that opens the vent, and the card is what the eight vent buttons are for.
How do I get the vent cover off?
Select the coin from the inventory and tap each of the four screws on the grey vent cover. The cover comes away and exposes a brushed panel with eight round buttons along the bottom and eight modules with lamps along the top, wired together with yellow tangles. The buttons do not correspond to the modules directly above them, so work from the order the Code card gives, not from the layout.
Where is the green shovel?
In the blue locker bank in the back-right corner of the store, under the yellow-framed screen. Tap the lockers, let the bank open, and take the green shovel. It is the only item in the lockers, and you need it later on the flower pot beside them.
How do I fix the juicer and get the receipt?
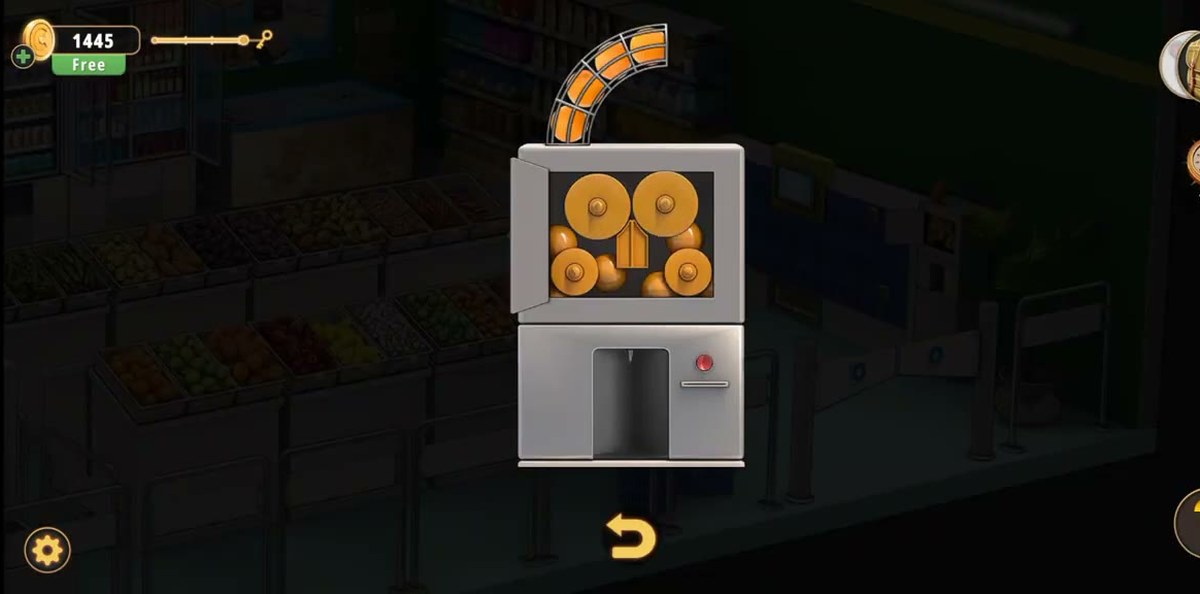
Four things, in this order: drop the orange into the hopper on top, open the small door under the hopper and seat the combined gear in the empty socket, set the bottle under the spout, then press the button. It runs, fills the bottle and prints a receipt. Read the receipt with the hand barcode reader to log the last barcode.
Where are the two gear parts?
One is inside the chest freezer at the back, behind the cracked pane that only the hammer will break. The other is buried in the flower pot beside the lockers: pour the bottle into the soil first, then dig with the green shovel. Combine the two parts in the inventory and you get the gear the juicer is missing.
How long does the Grocery Store take and what does it pay?
The recording finishes it in 16:02 of level time for +50 coins; a second, faster recording clears the same room in 15:03. There is no timer and no fail state. The length comes from four barcodes and two five-digit panels, not from difficulty.
Previous written room: ← Chapter 2, Level 10 (Restaurant)